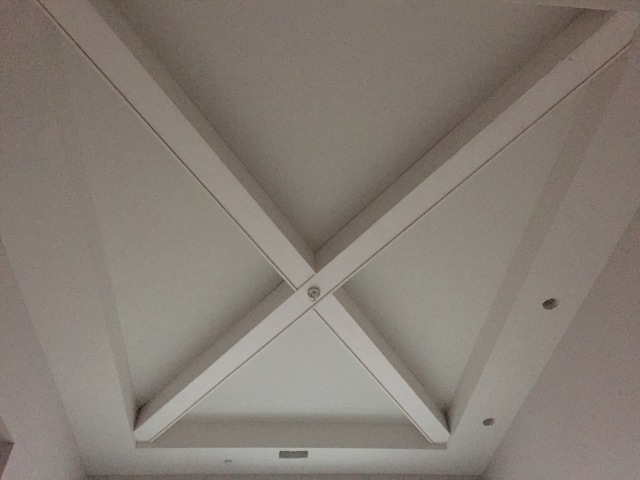
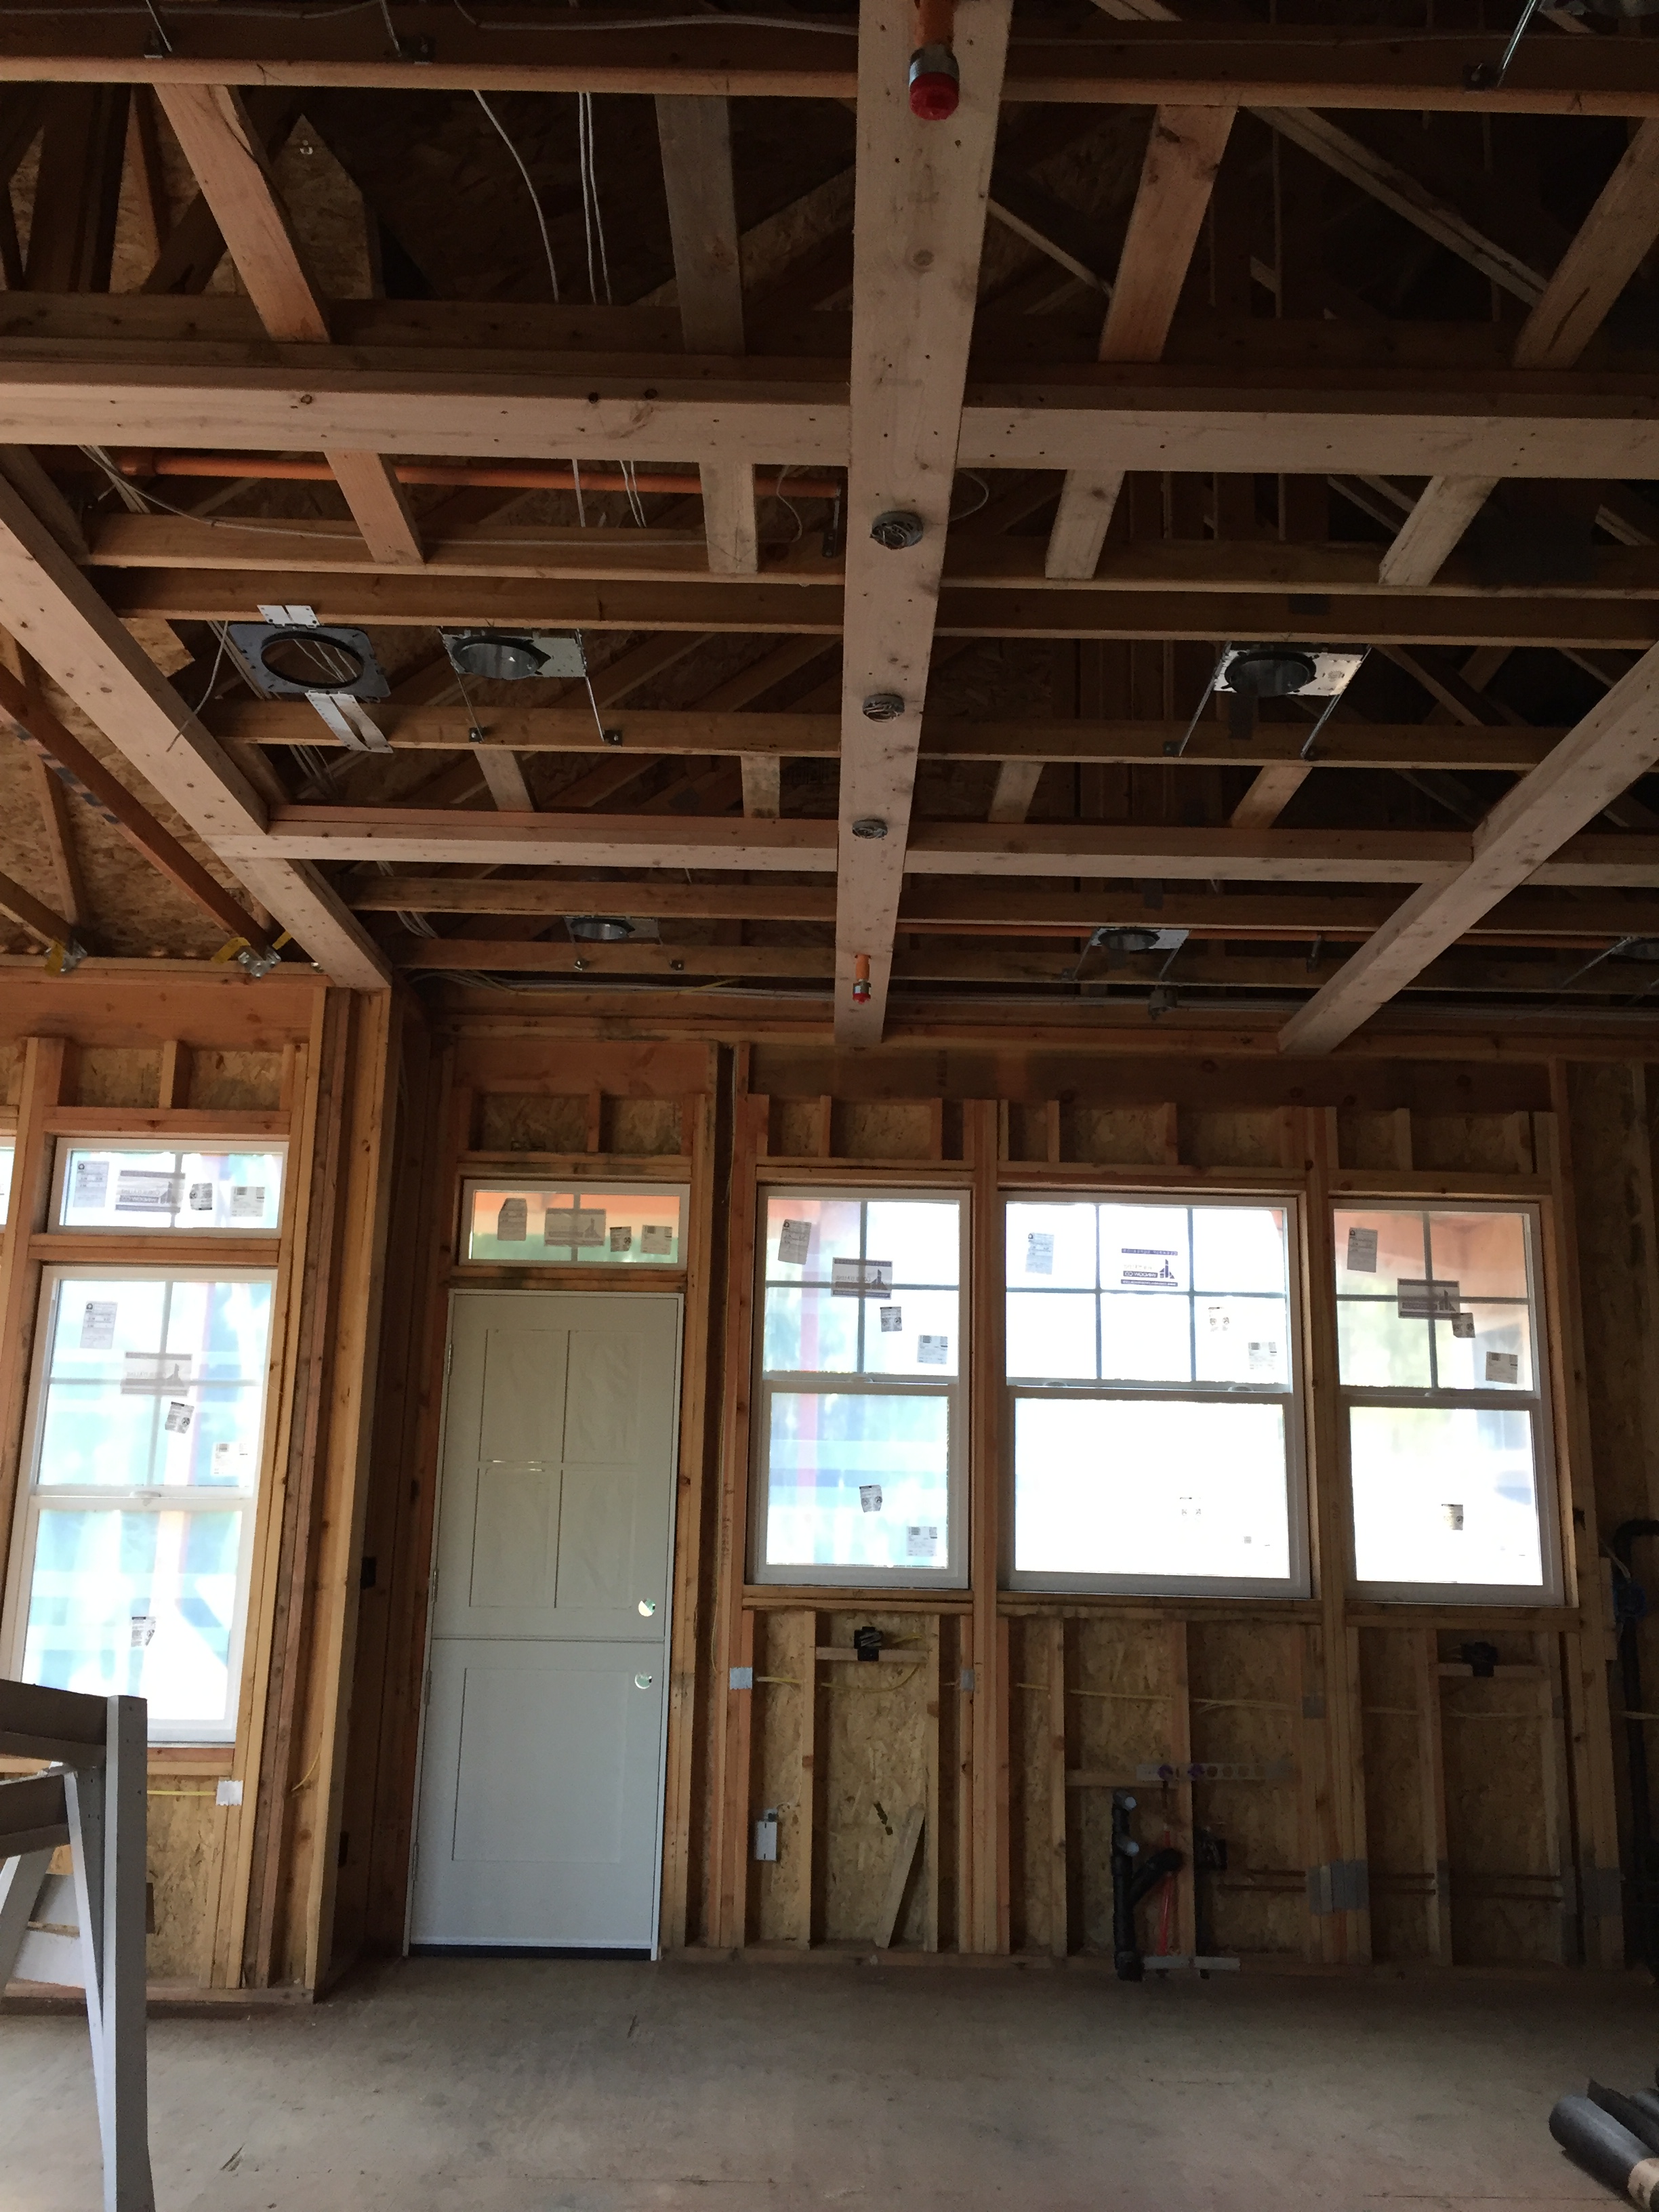
The faux beams and crown moulding in the kitchen were installed and look fantastic!! I absolutely love how it turned out. Everything is so symmetrical too! I really would have noticed if we didn’t center the beams and make each of the spaces the same size. A bit more planning than what we had in the original plans, but well worth the extra time I spent figuring that out. Matt’s subs did a great job with it too. They’re 8″x8″ but it feels deeper than that. I’m glad we didn’t have them make them any bigger too – this size seems perfect. It adds just the right amount of dimension to the room without being overbearing.
-

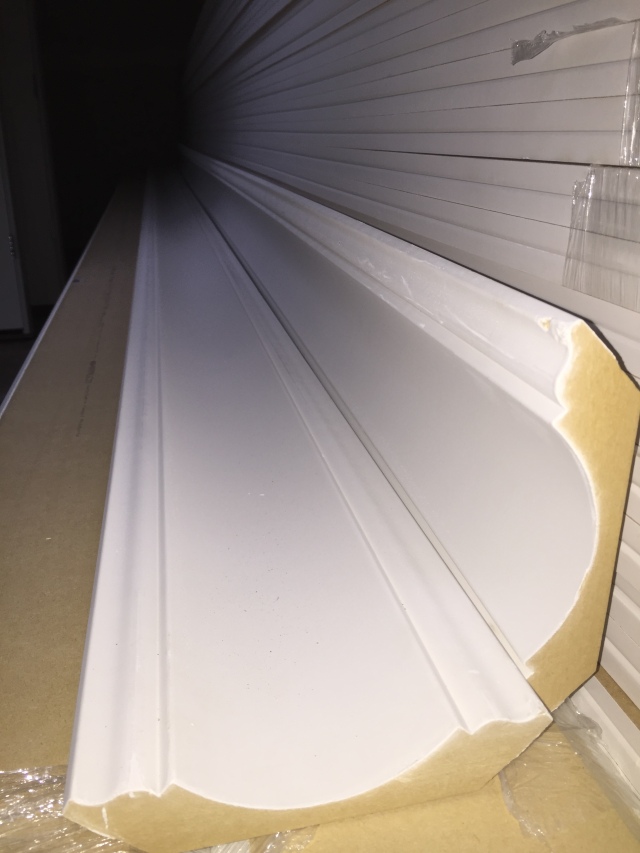
- This is the first time that we’re getting to see the crown moulding and I think it looks fantastic! It’s hard to pick out from a catalog, and I thought it was going to have too much “detail” in the crown for me, but I really do like it.
-

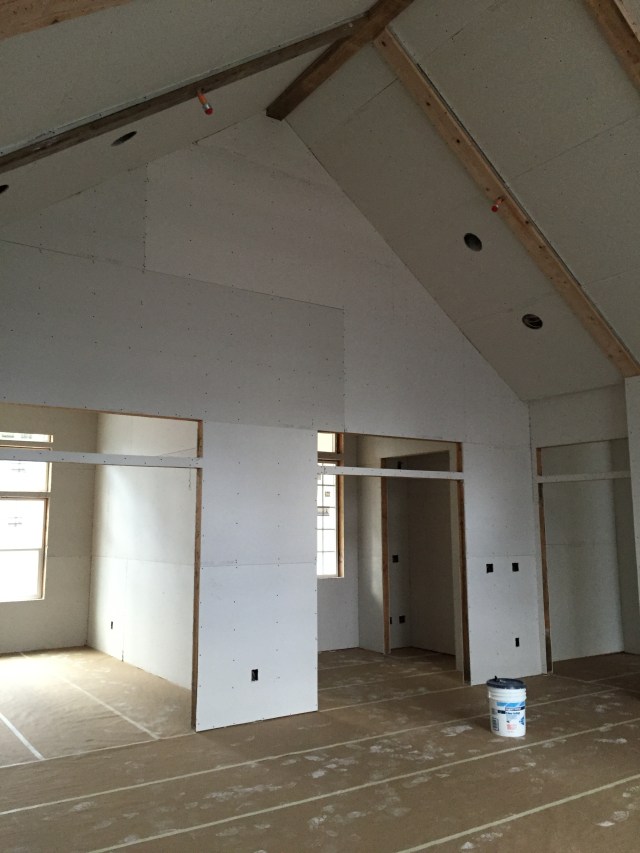
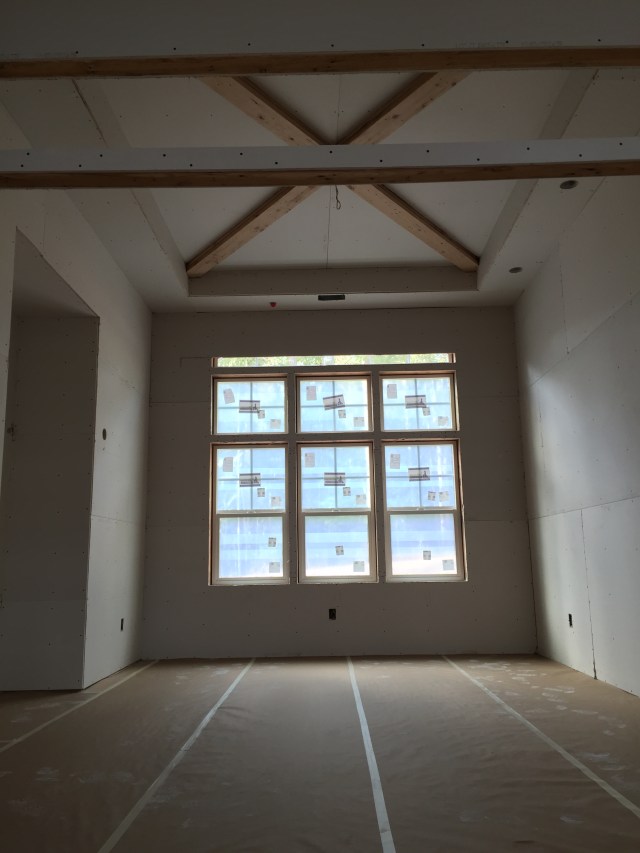
- The coffered ceiling really give the room some dimension. And I love that we didn’t carry it through into the informal eating area by the windows…it really helps define the spaces.
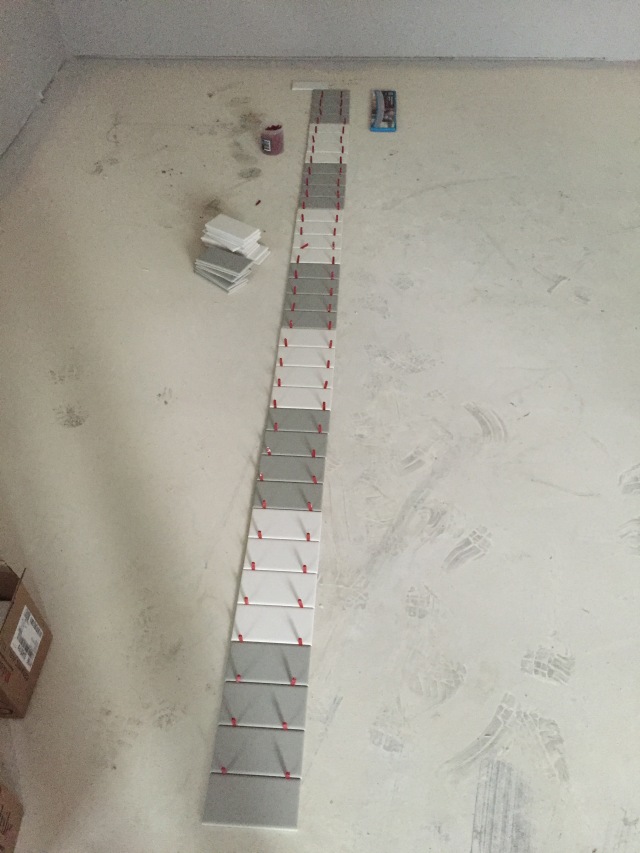
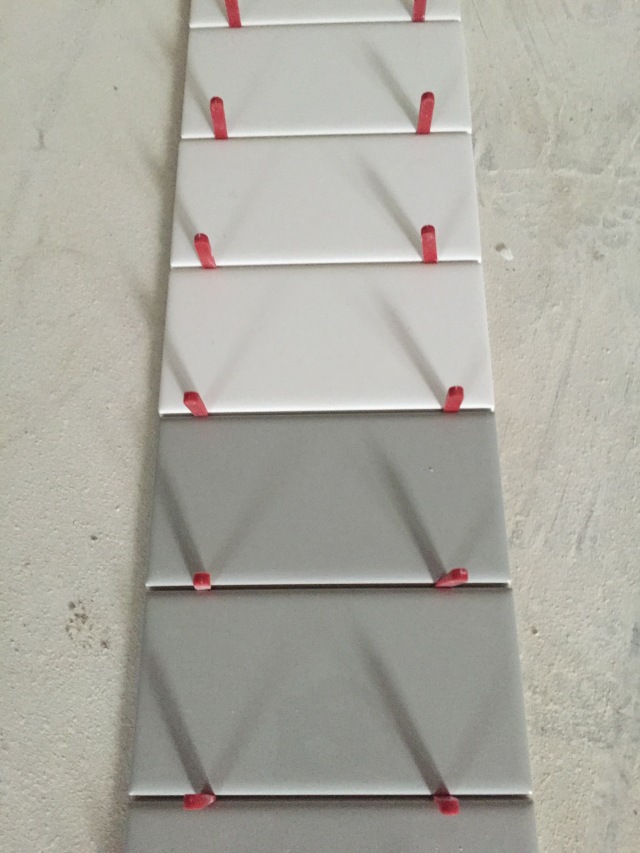
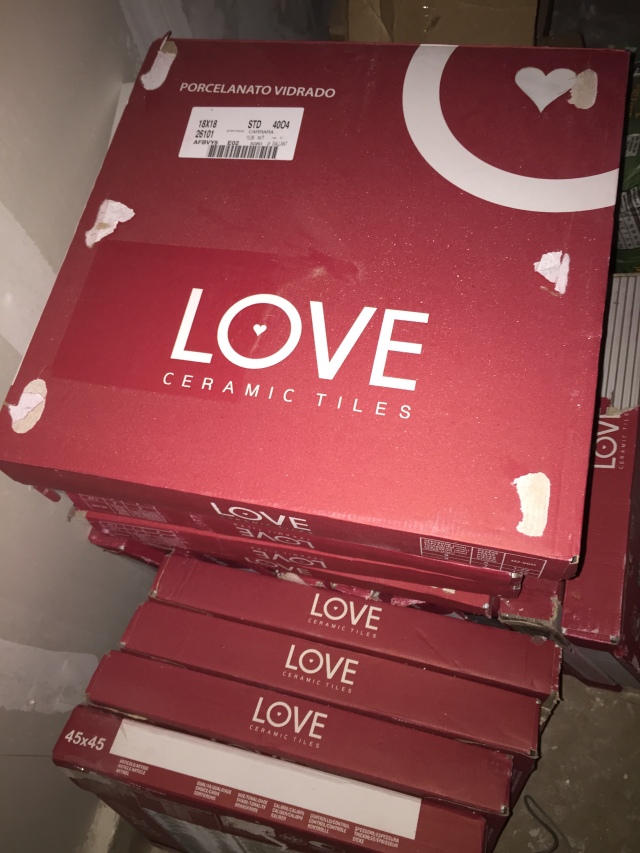
The rest of the week was more than a little frustrating though. I got a call mid-week letting me know that unfortunately the tile we picked out for the guest bath floor and the master bath floor (same tile) couldn’t be set in a brick pattern and that it had to be done at 1/3 offset. I’m actually not a huge fan of the 1/3 offset, and I already had to have it in the mudroom and the boys’ bathroom. So I definitely didn’t want to have it in the guest and more importantly in our master bath. And, come to find out there’s actually two ways to install tile in a 1/3 offset (see below).
-

- This is the first option that has the vertical grout lines jump back and forth by 1/3.
-

- And then this option has the vertical grout lines step at 1/3 intervals.
Of course, I had no idea there were two ways of installing tile in a 1/3 offset, and I much prefer the second “stepping” option layout. Unfortunately, nobody told me there were actually two ways of doing it and they already installed the boys’ bathroom in the first option which I really don’t care for. Then come to find out they already installed a few rows of the guest bath in the same pattern without even discussing it with me! Luckily they ripped it out pretty easily and they are going to change it to the “stepping” option that I liked. As for the boys’ bath – they already installed it, and they did a really good job installing it…it’s just in the wrong pattern than I was ever expecting. Honestly, it’s fine though – we’re just going to keep it as is and let it be. I doubt the boys will ever know the difference anyhow…I doubt Joel will either 😉 For our master bathroom though – I really didn’t want to have the 1/3 offset installed in there. So we ponied up more money to have them install the tile “on point”…rotated 45 degrees to a diamond pattern. There’s more cuts involved in this layout so we had to buy more tile and the labor is more expensive.
The boys bath floor was installed in the 1/3 offset pattern that I really wasn’t fond of. Luckily (if you can call it that), they also installed the flooring in the opposite direction than what I wanted. So the incorrect 1/3 layout is definitely less noticeable from the doorway. At least they did a good job on the install!
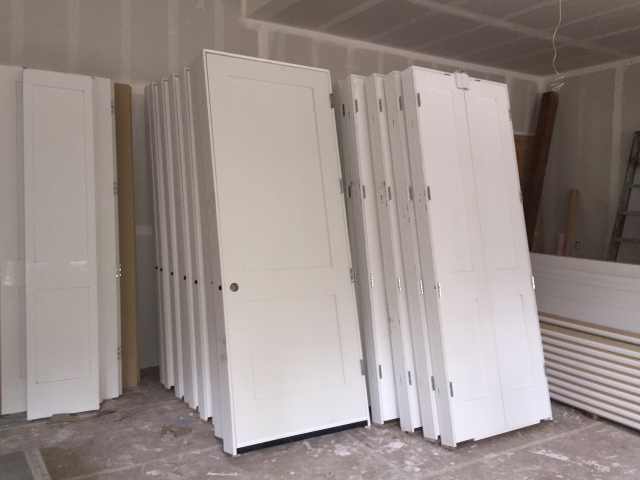
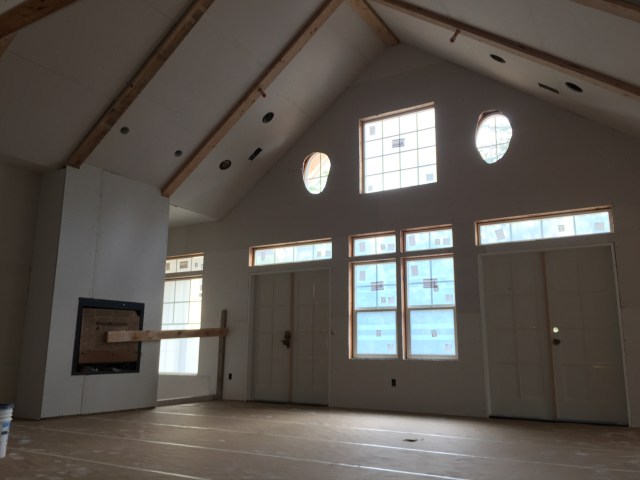
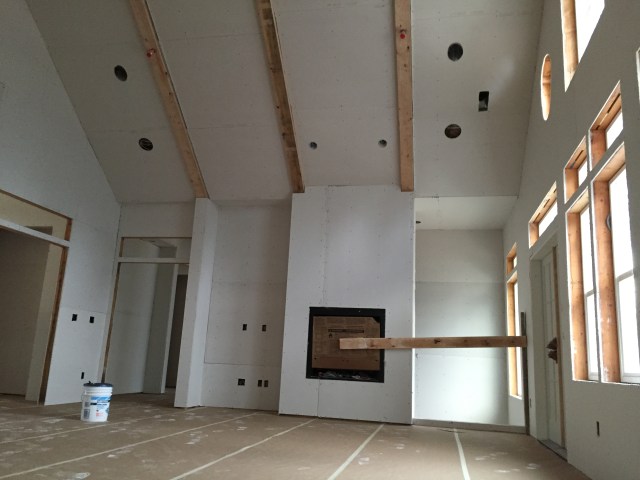
The crazy thing is that when I went over to check out the tile situation (about it being installed incorrectly in the guest bath) I noticed that all of the window trim had been installed. And of course there was something with that too! I honestly was cringing even having to tell Matt that there was something wrong with that too…but I did. And it caused a HUGE argument. Ugh. A bit of a miscommunication on our part. I had sent him a picture of what I wanted the window trim to look like and a link to a website that gave all of the dimensions for each trim piece. He looked at the picture, but not the link. Then called me to ask if I was ok with a 5″ top piece because that’s what’s standard on most windows. I wasn’t at a computer so I said, “yep, that’s fine, it’s going to match the picture, right?” Not realizing that he never actually clicked on the link, 5″ turns out to be too short…it should have been 6″. So annoying. So now we’re having to paying to rip them all down and install the taller top piece. And I fully realize that it looks ‘ok’, but to me it looks really squatty and not in the correct proportions. I honestly don’t want to live with it like that. Better to fix it now than when it’s already caulked and painted!
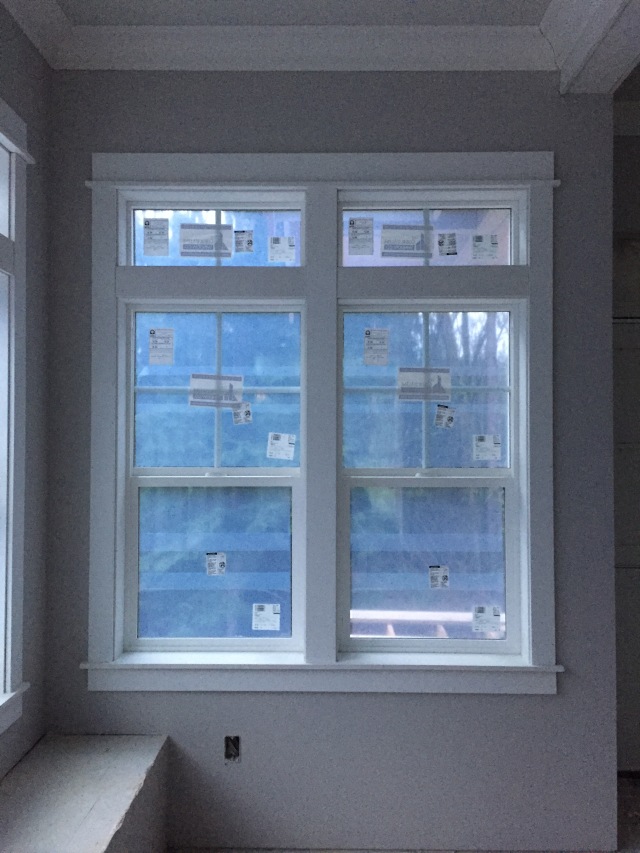
The piece on top just doesn’t look right to me – it’s simply too small. I can’t wait for it to be redone with the correct size trim. And I’ll be excited once all that film to come off the windows too…oh for the day that they’re finally done building!