This week the major work was tiling…of course. Matt’s subs are pretty slow at tiling, but they take their time and install it right. And really plan out where all of the cuts are going to be in the room before they get started. So that’s really nice to see. And that’s the reason that we stuck with the tiling company even though choosing the tile with the designer lady was WAY more complicated than it needed to be. That said, the install job is looking really good and I think the patterning of the tile is really turning out great.

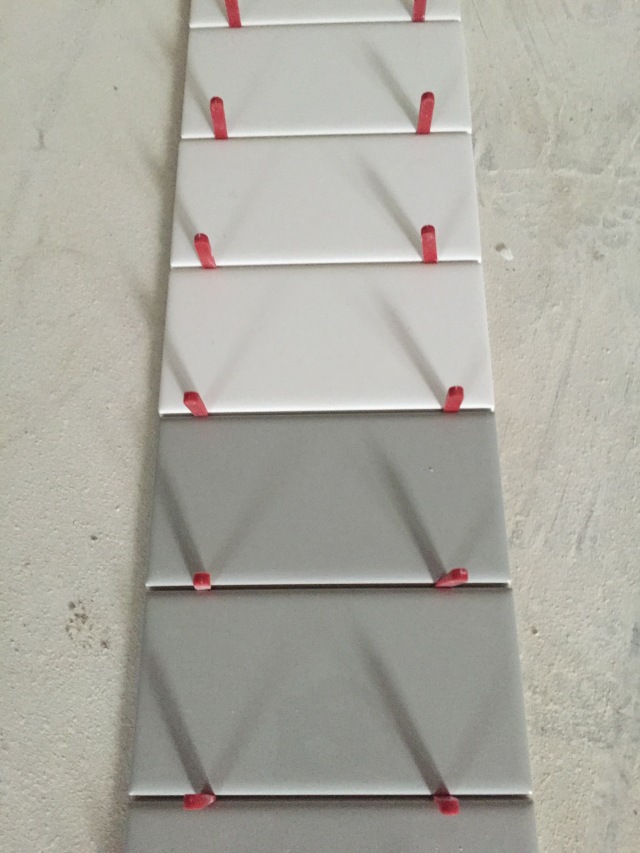
This is the layout of the tile in the master shower. The lower & larger white tiles will be in a brick pattern, then there will be a detail band and then white subway tiles above it.
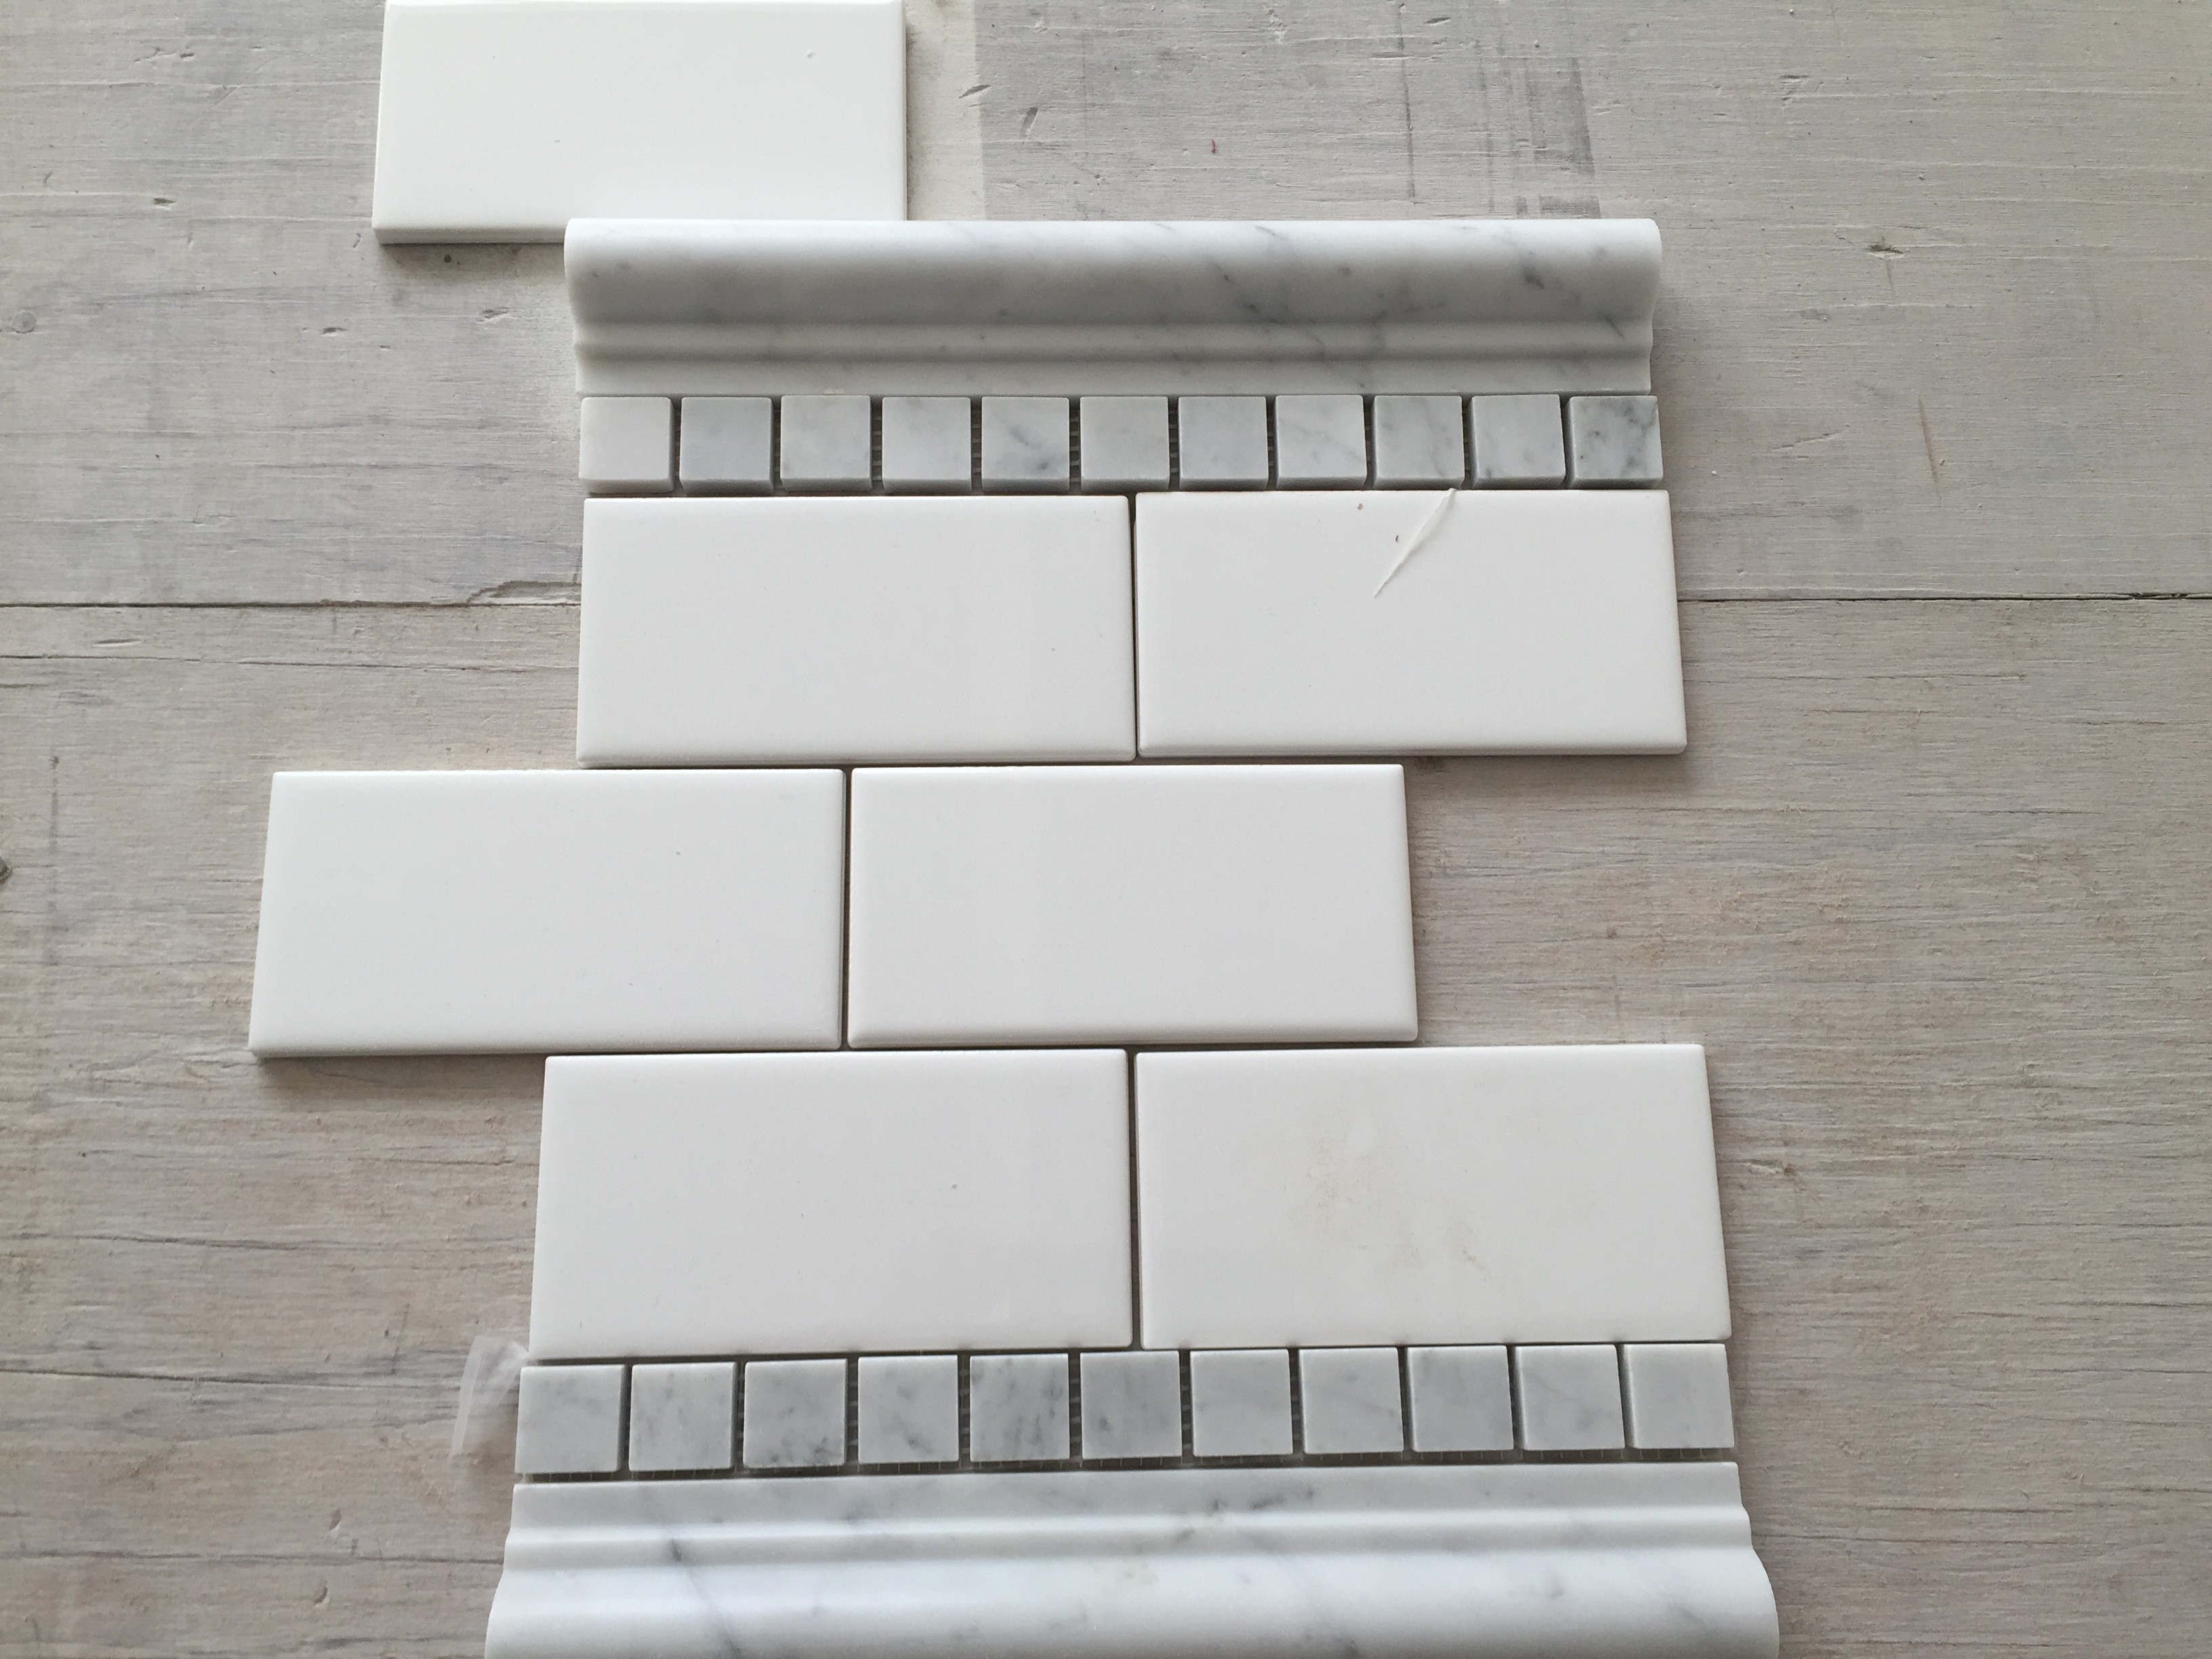
The detail band in the master shower will be separated by a cararra marble chair rail and a row of 1″ cararra tiles.
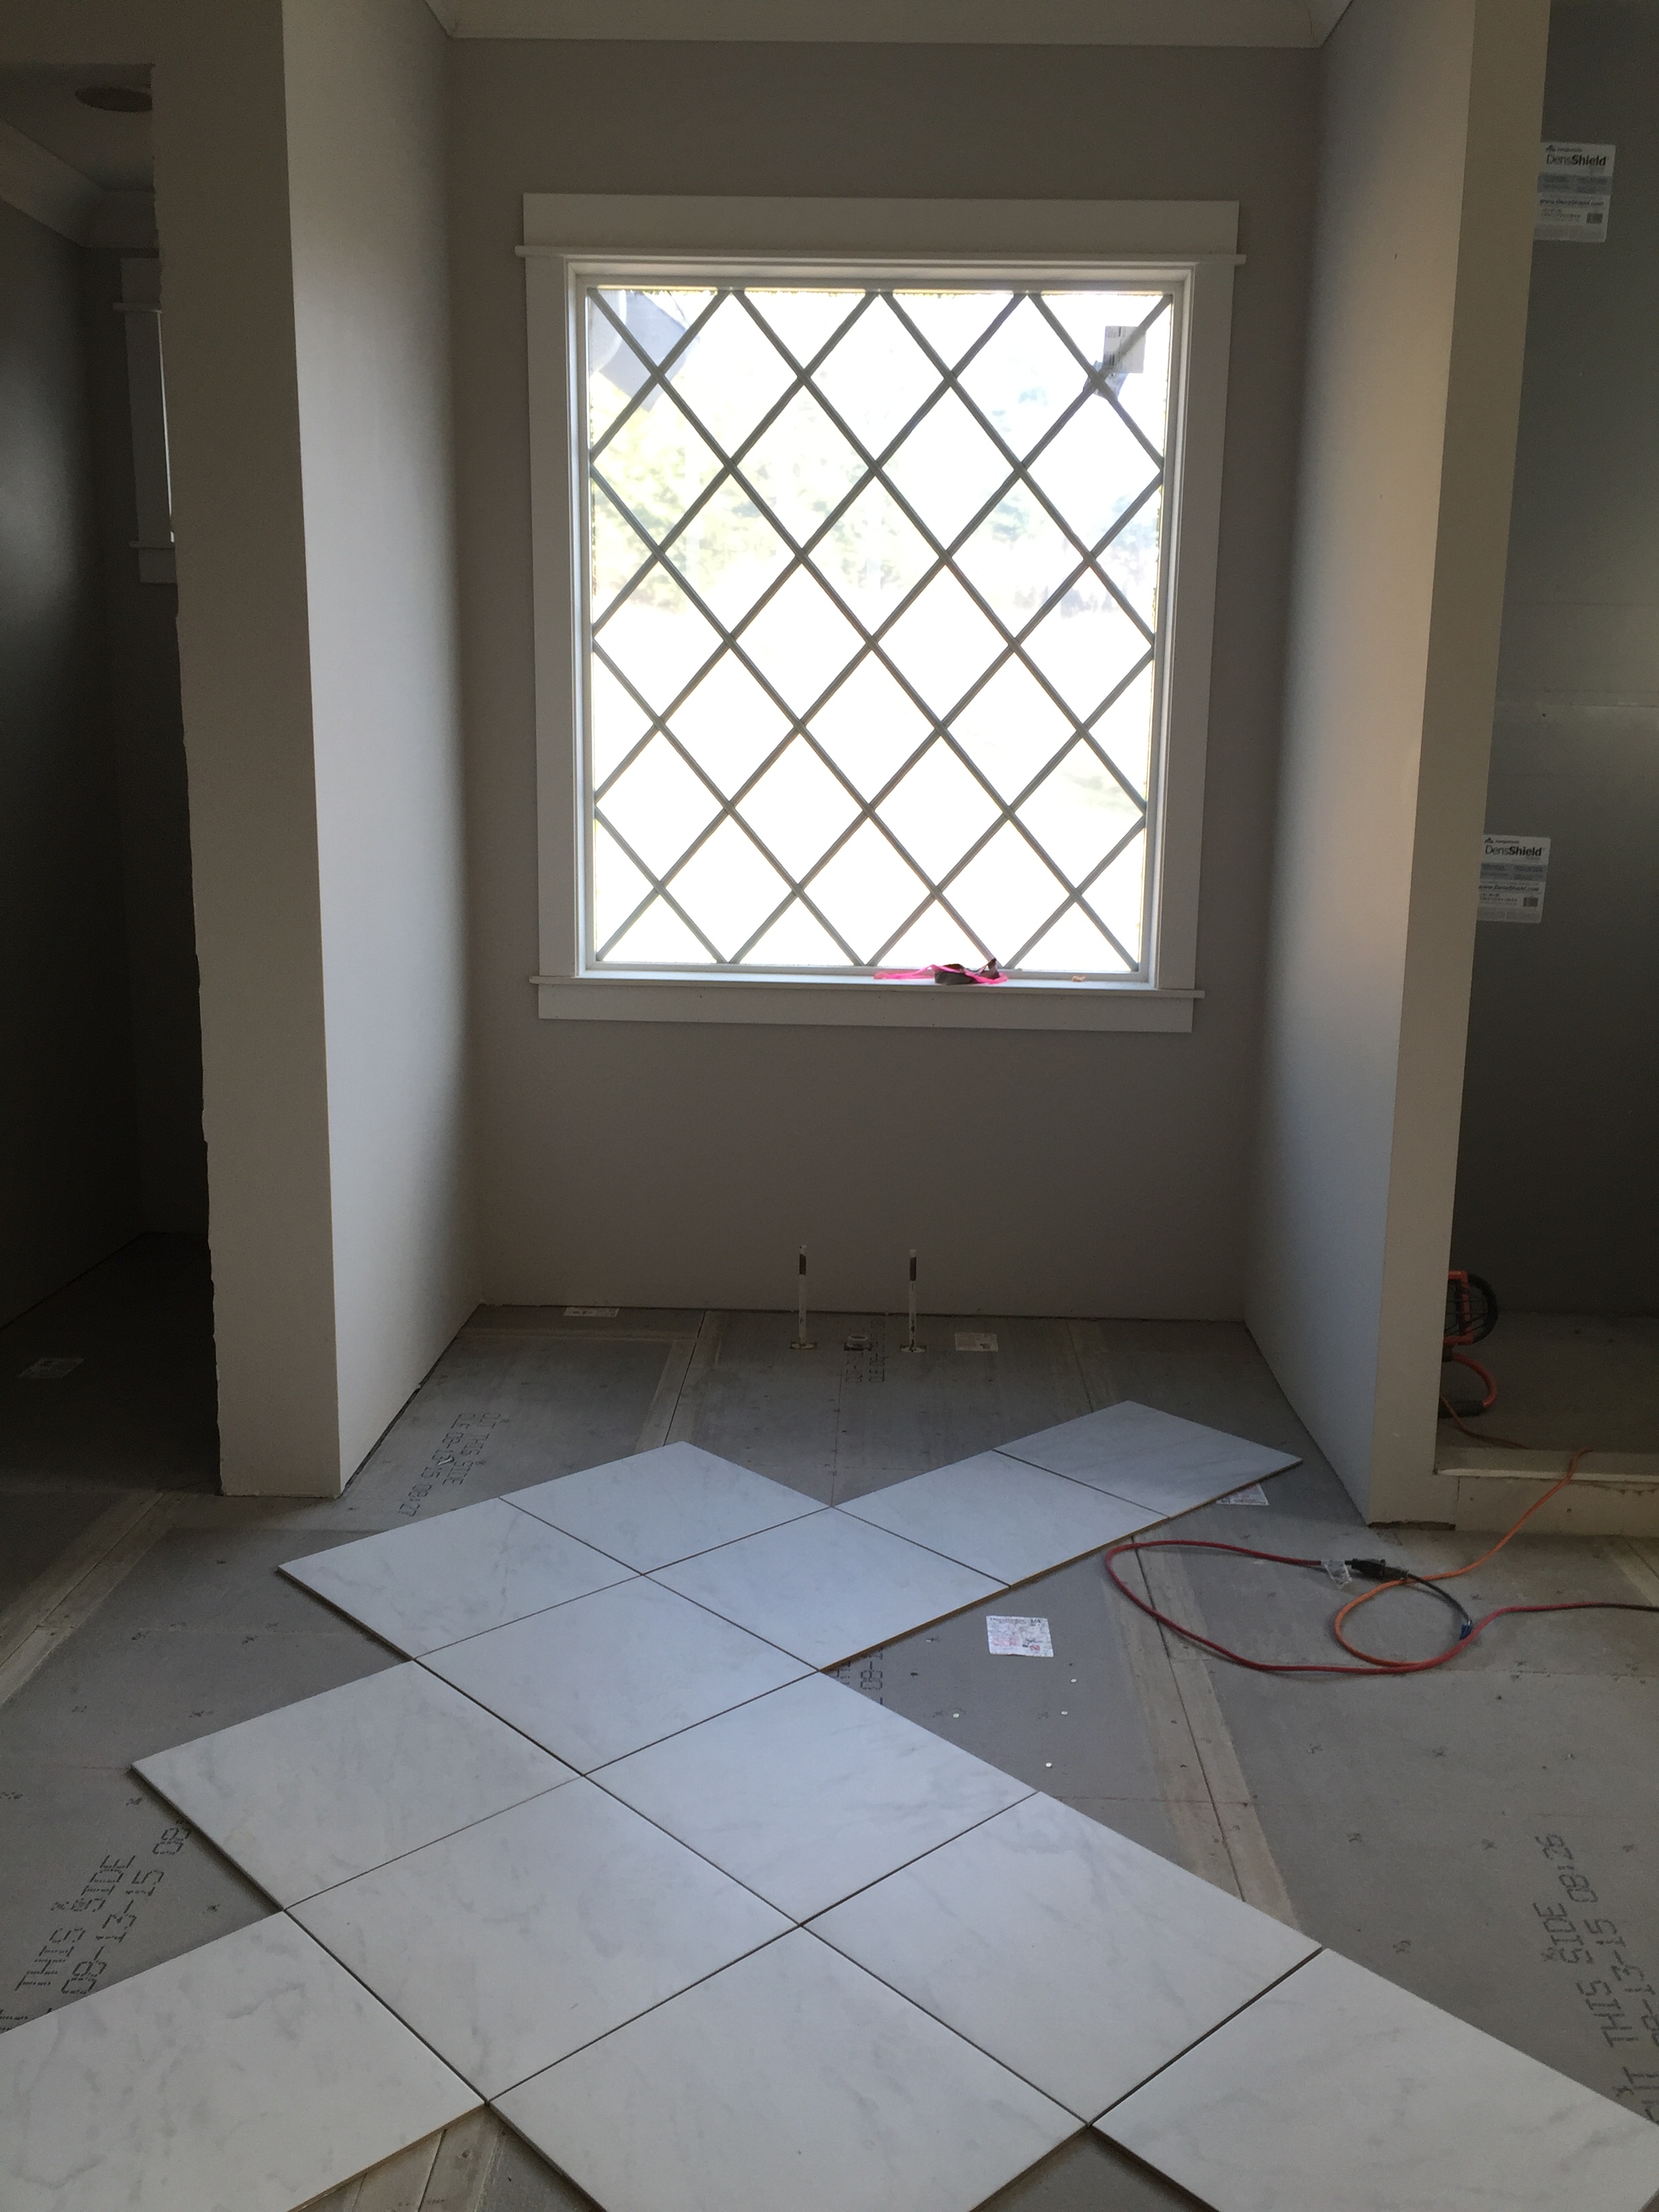
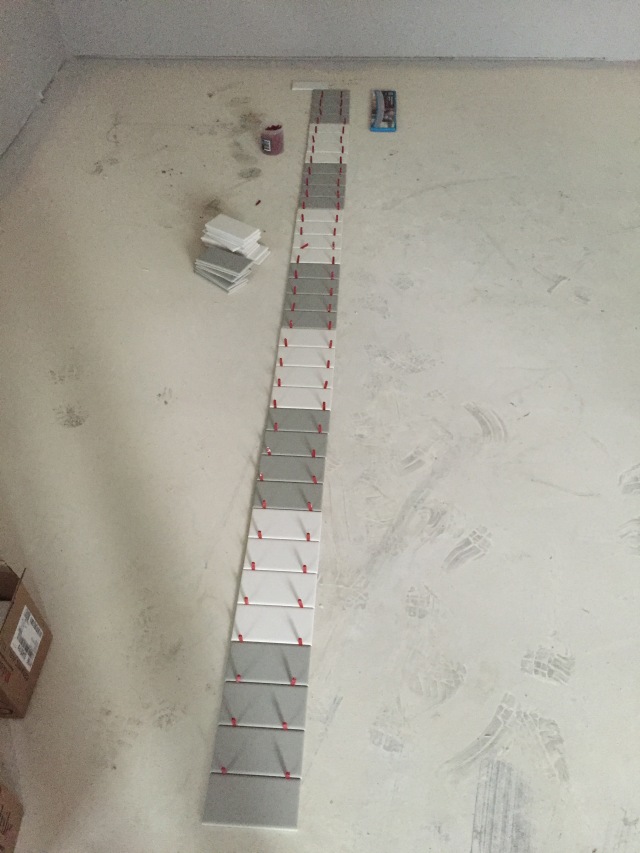
In the master bath we decided to turn the floor tiles “on point” which mimics the window grids. This was just a dry run of it, but I have a hunch that it’ll look great!
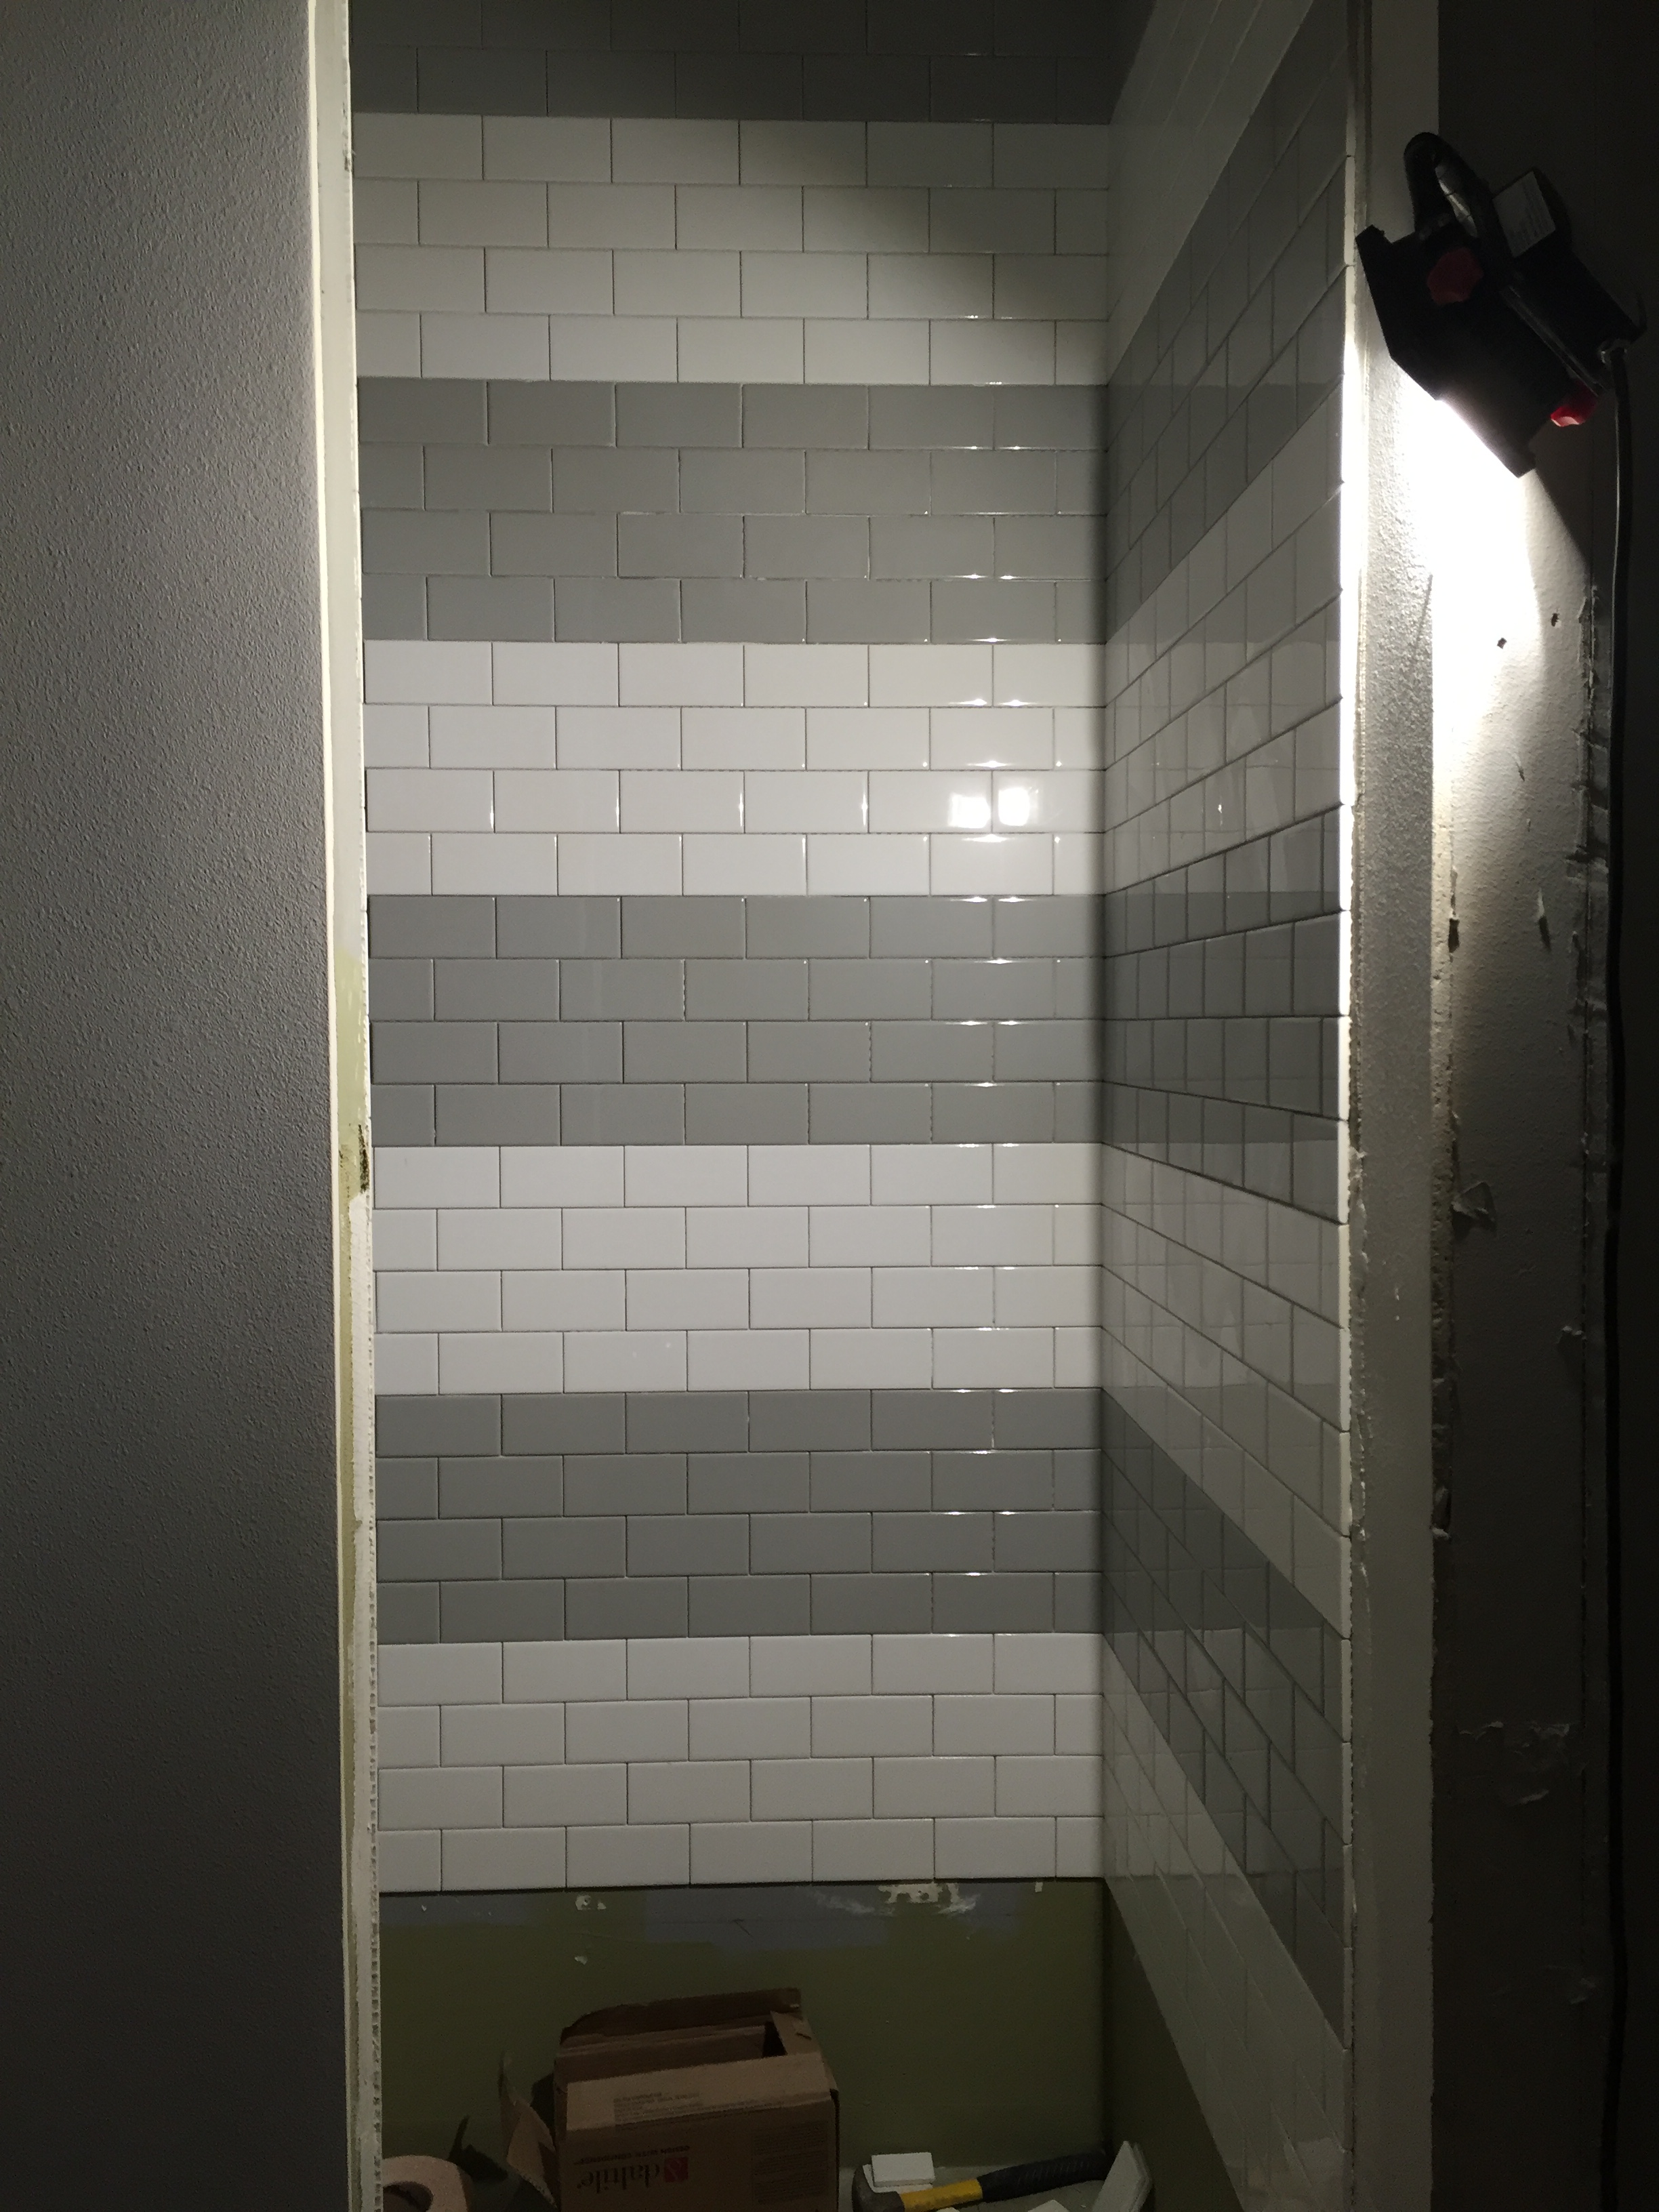
In the guest bath shower we had them create stripes of gray and white subway tiles and 1′ each. I absolutely love how this is turning out!

This will be the layout in the boys’ bathroom. pretty simple – there will be wainscoting of subway tile (in a brick pattern) for the entire shower room with 3 rows of a blue-gray glass tile detail then a chair rail. All of that will continue into their shower and we’ve added more subway tile above it to the ceiling. This is just the rough layout on the floor to get the spacing right – it’ll be fun to see it on the walls next week.
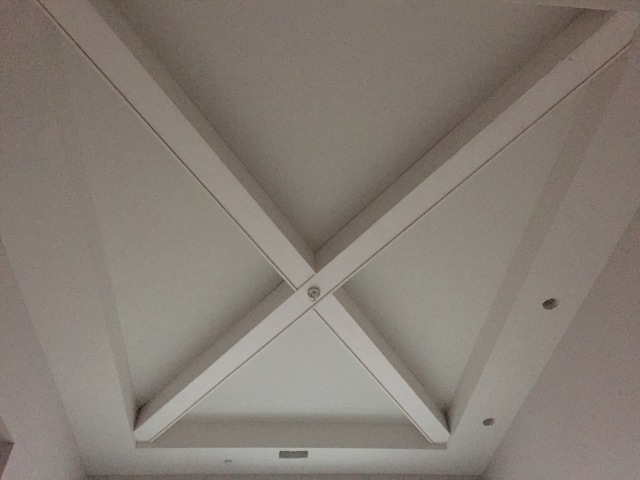
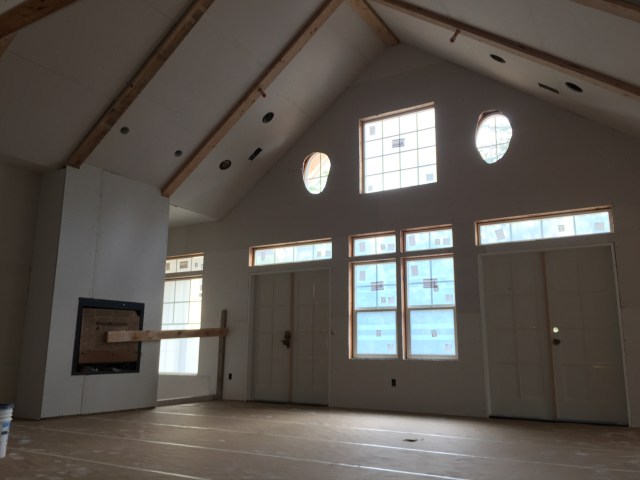
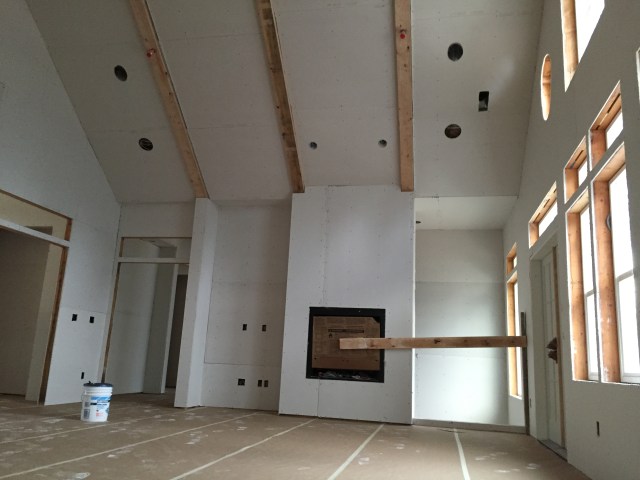
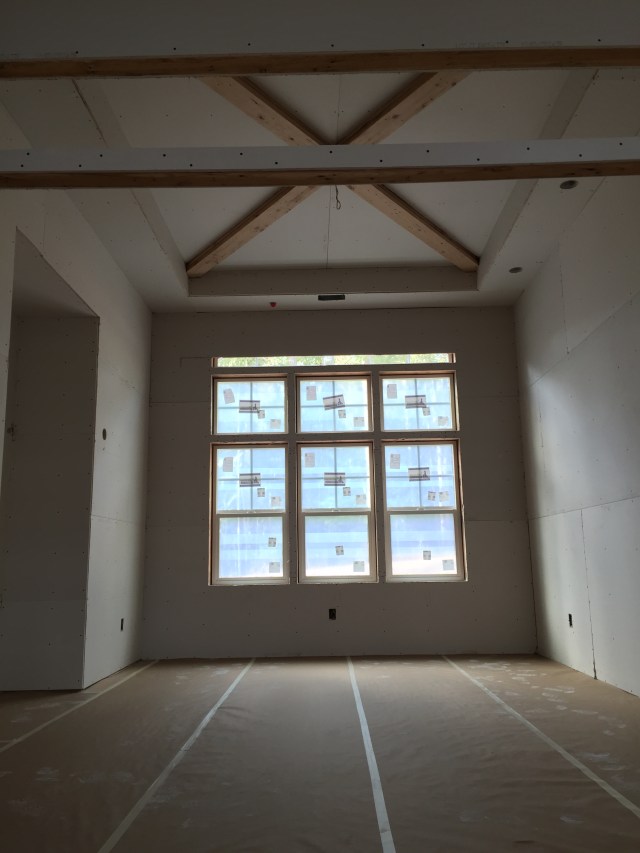
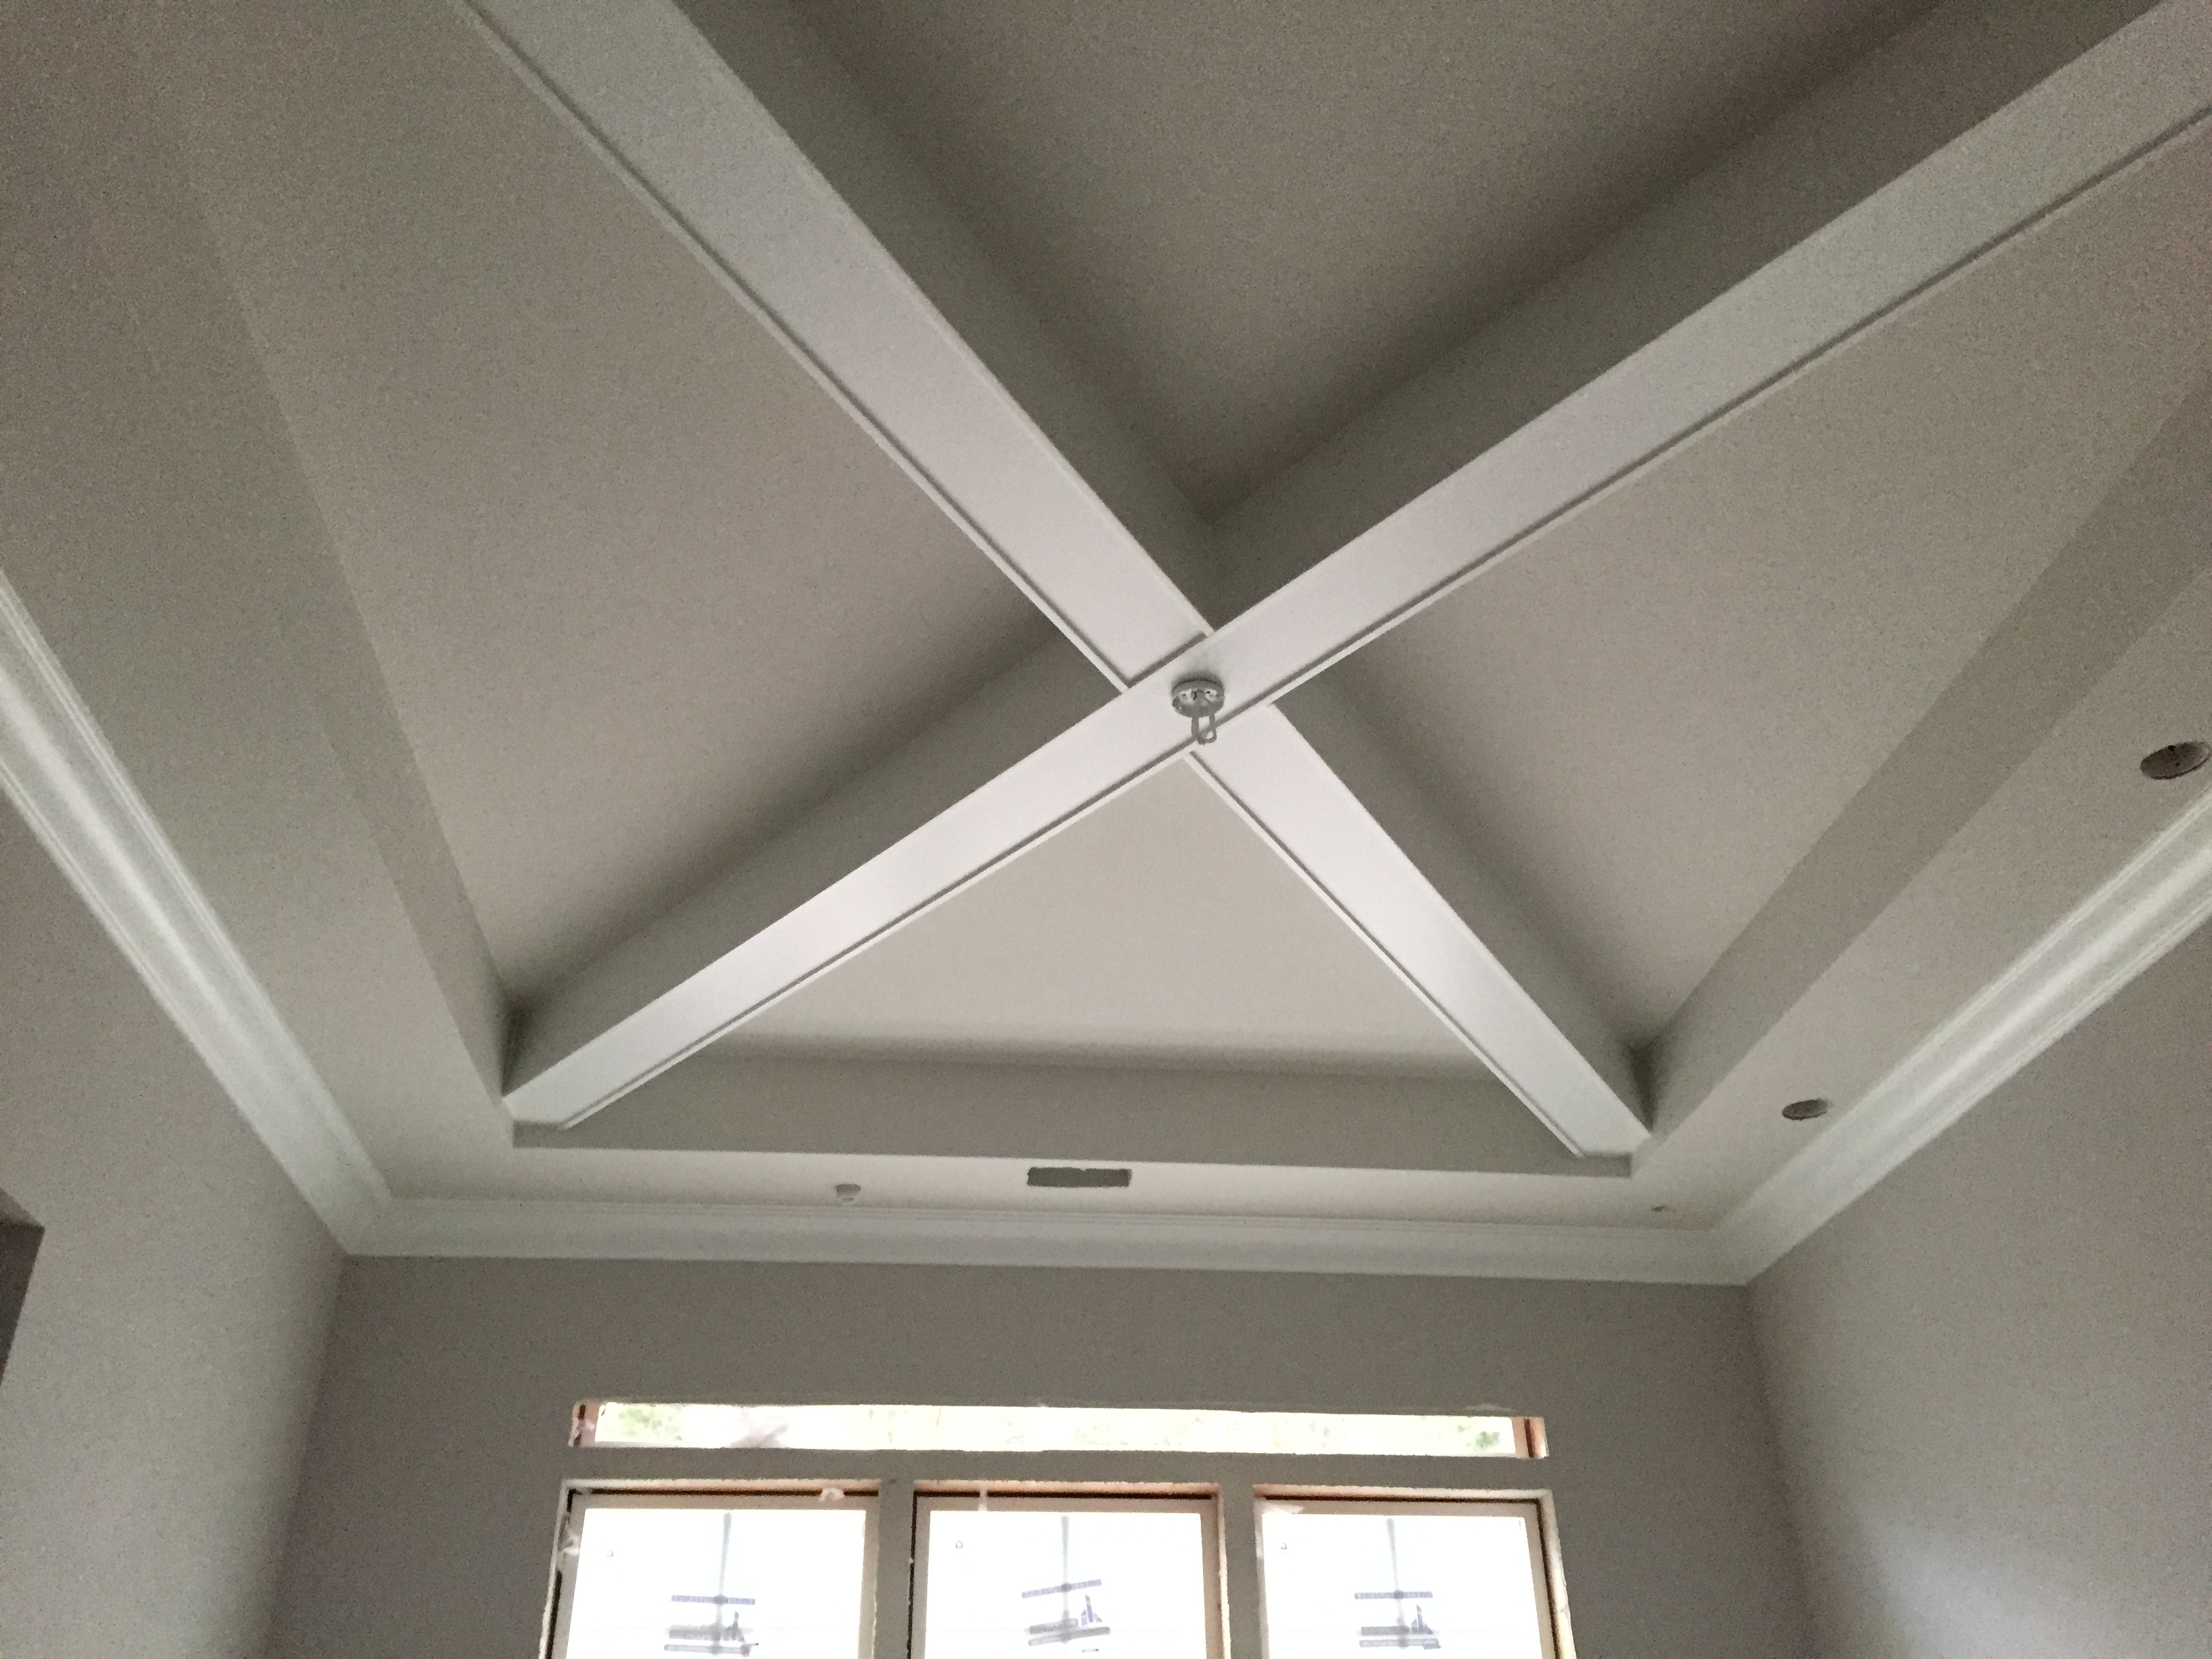
In addition to getting to see preliminary layouts for the showers, we also got to see the faux beams in the great room – and they look fantastic! I am so happy with the way that they’ve turned out…they look fantastic! And I know they’ll look even better painted next week.

The guys did a such a great job on the beams in the great room. I honestly have no clue how they create them so perfectly, but I think they look great!

Here’s a better representation of the colors in the room. The white beams look fantastic…and they’re only primed…and bondo’d. This picture is looking back at the front entry on the right and the opening to the dining room on the left. Really not sure what we’re going to put in that huge wall space above these doorways…probably nothing for quite a while.
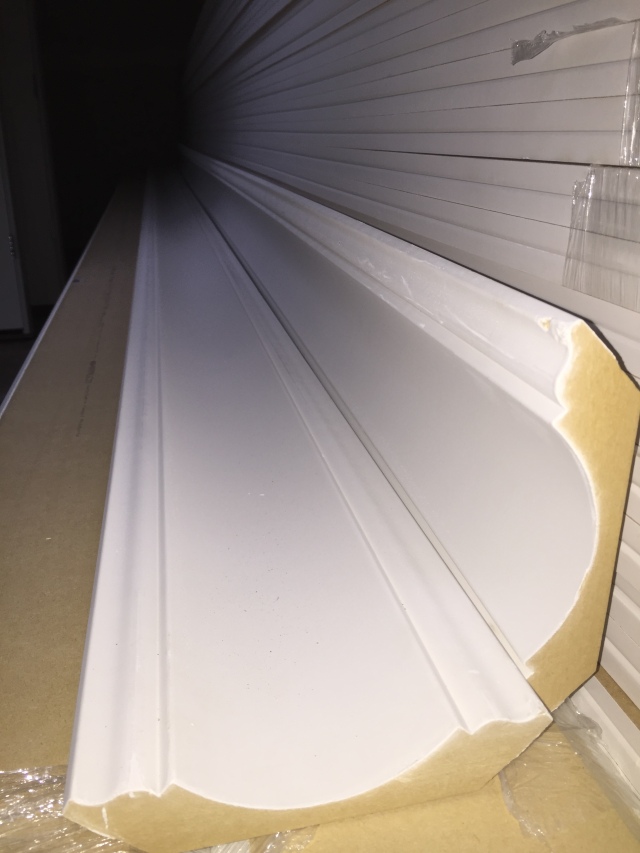
The crown moulding was installed in the dining room, entry, master bedroom and master bathroom this week as well. The trim in the dining room was also painted the final color. YAY!!!

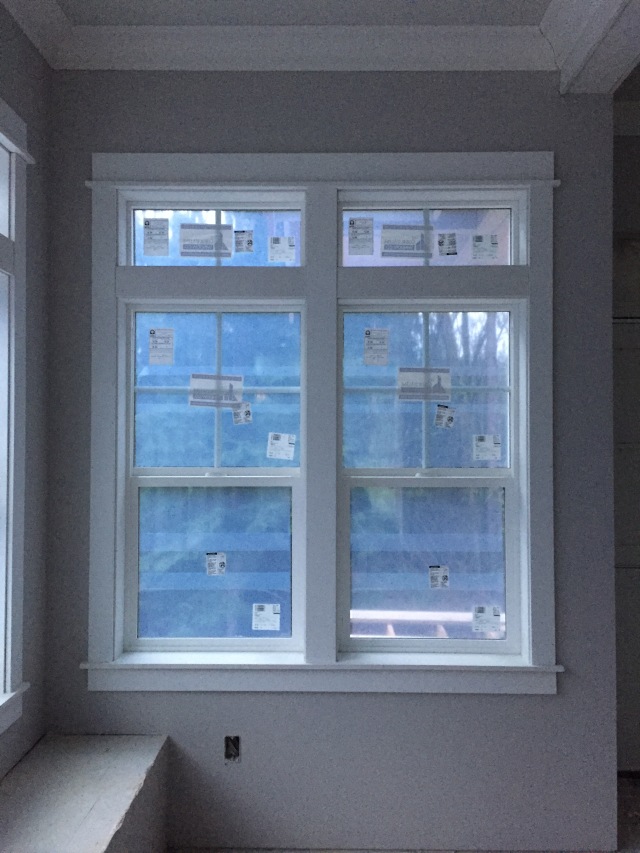
The window trim in the kitchen look like they’re getting ready to be sanded and painted too.
On the exterior of the house, the siding subs came back to finish up some of the miscellaneous details – like the corbels. They had to custom make all of the corbels (which are the small pieces of wood underneath the “bump out” parts of the gables). We never talked about picking these out so It was awesome to see that they made them look like exactly what I drew! I couldn’t be happier with them! They also finished the front of the house where the mudroom door is. Since that door was installed after the siding was done, they had to come back and finish that up.

The siding subs came back this week to custom make and install the corbels on the exterior of the house.

It’s been a while since I posted exterior pictures so I thought I’d add a few since it was a sunny day. Plus, don’t the corbels look great?!

I love every time I pull up to the front of the house. Just a couple more months and we’ll be doing that every day!

The back of the house turned out great, and the corbels look really nice too.

Here’s a view of the back of the house, standing by the guest room and looking up underneath the gables.
On Thursday this week I flew to Phoenix to spend time with my friend Neely and on Saturday we flew to Las Vegas to see Boyz II Men in concert. That was a TON of fun…and a good break from the everyday stresses of life for a quick fun girls’ weekend getaway. The concert was amazing too…I’d easily go back and see them again!

We were anxiously awaiting the concert to start!

Boyz II Men were absolutely, 100%, amazing. If you have a chance to ever see them, I’d definitely recommend it!