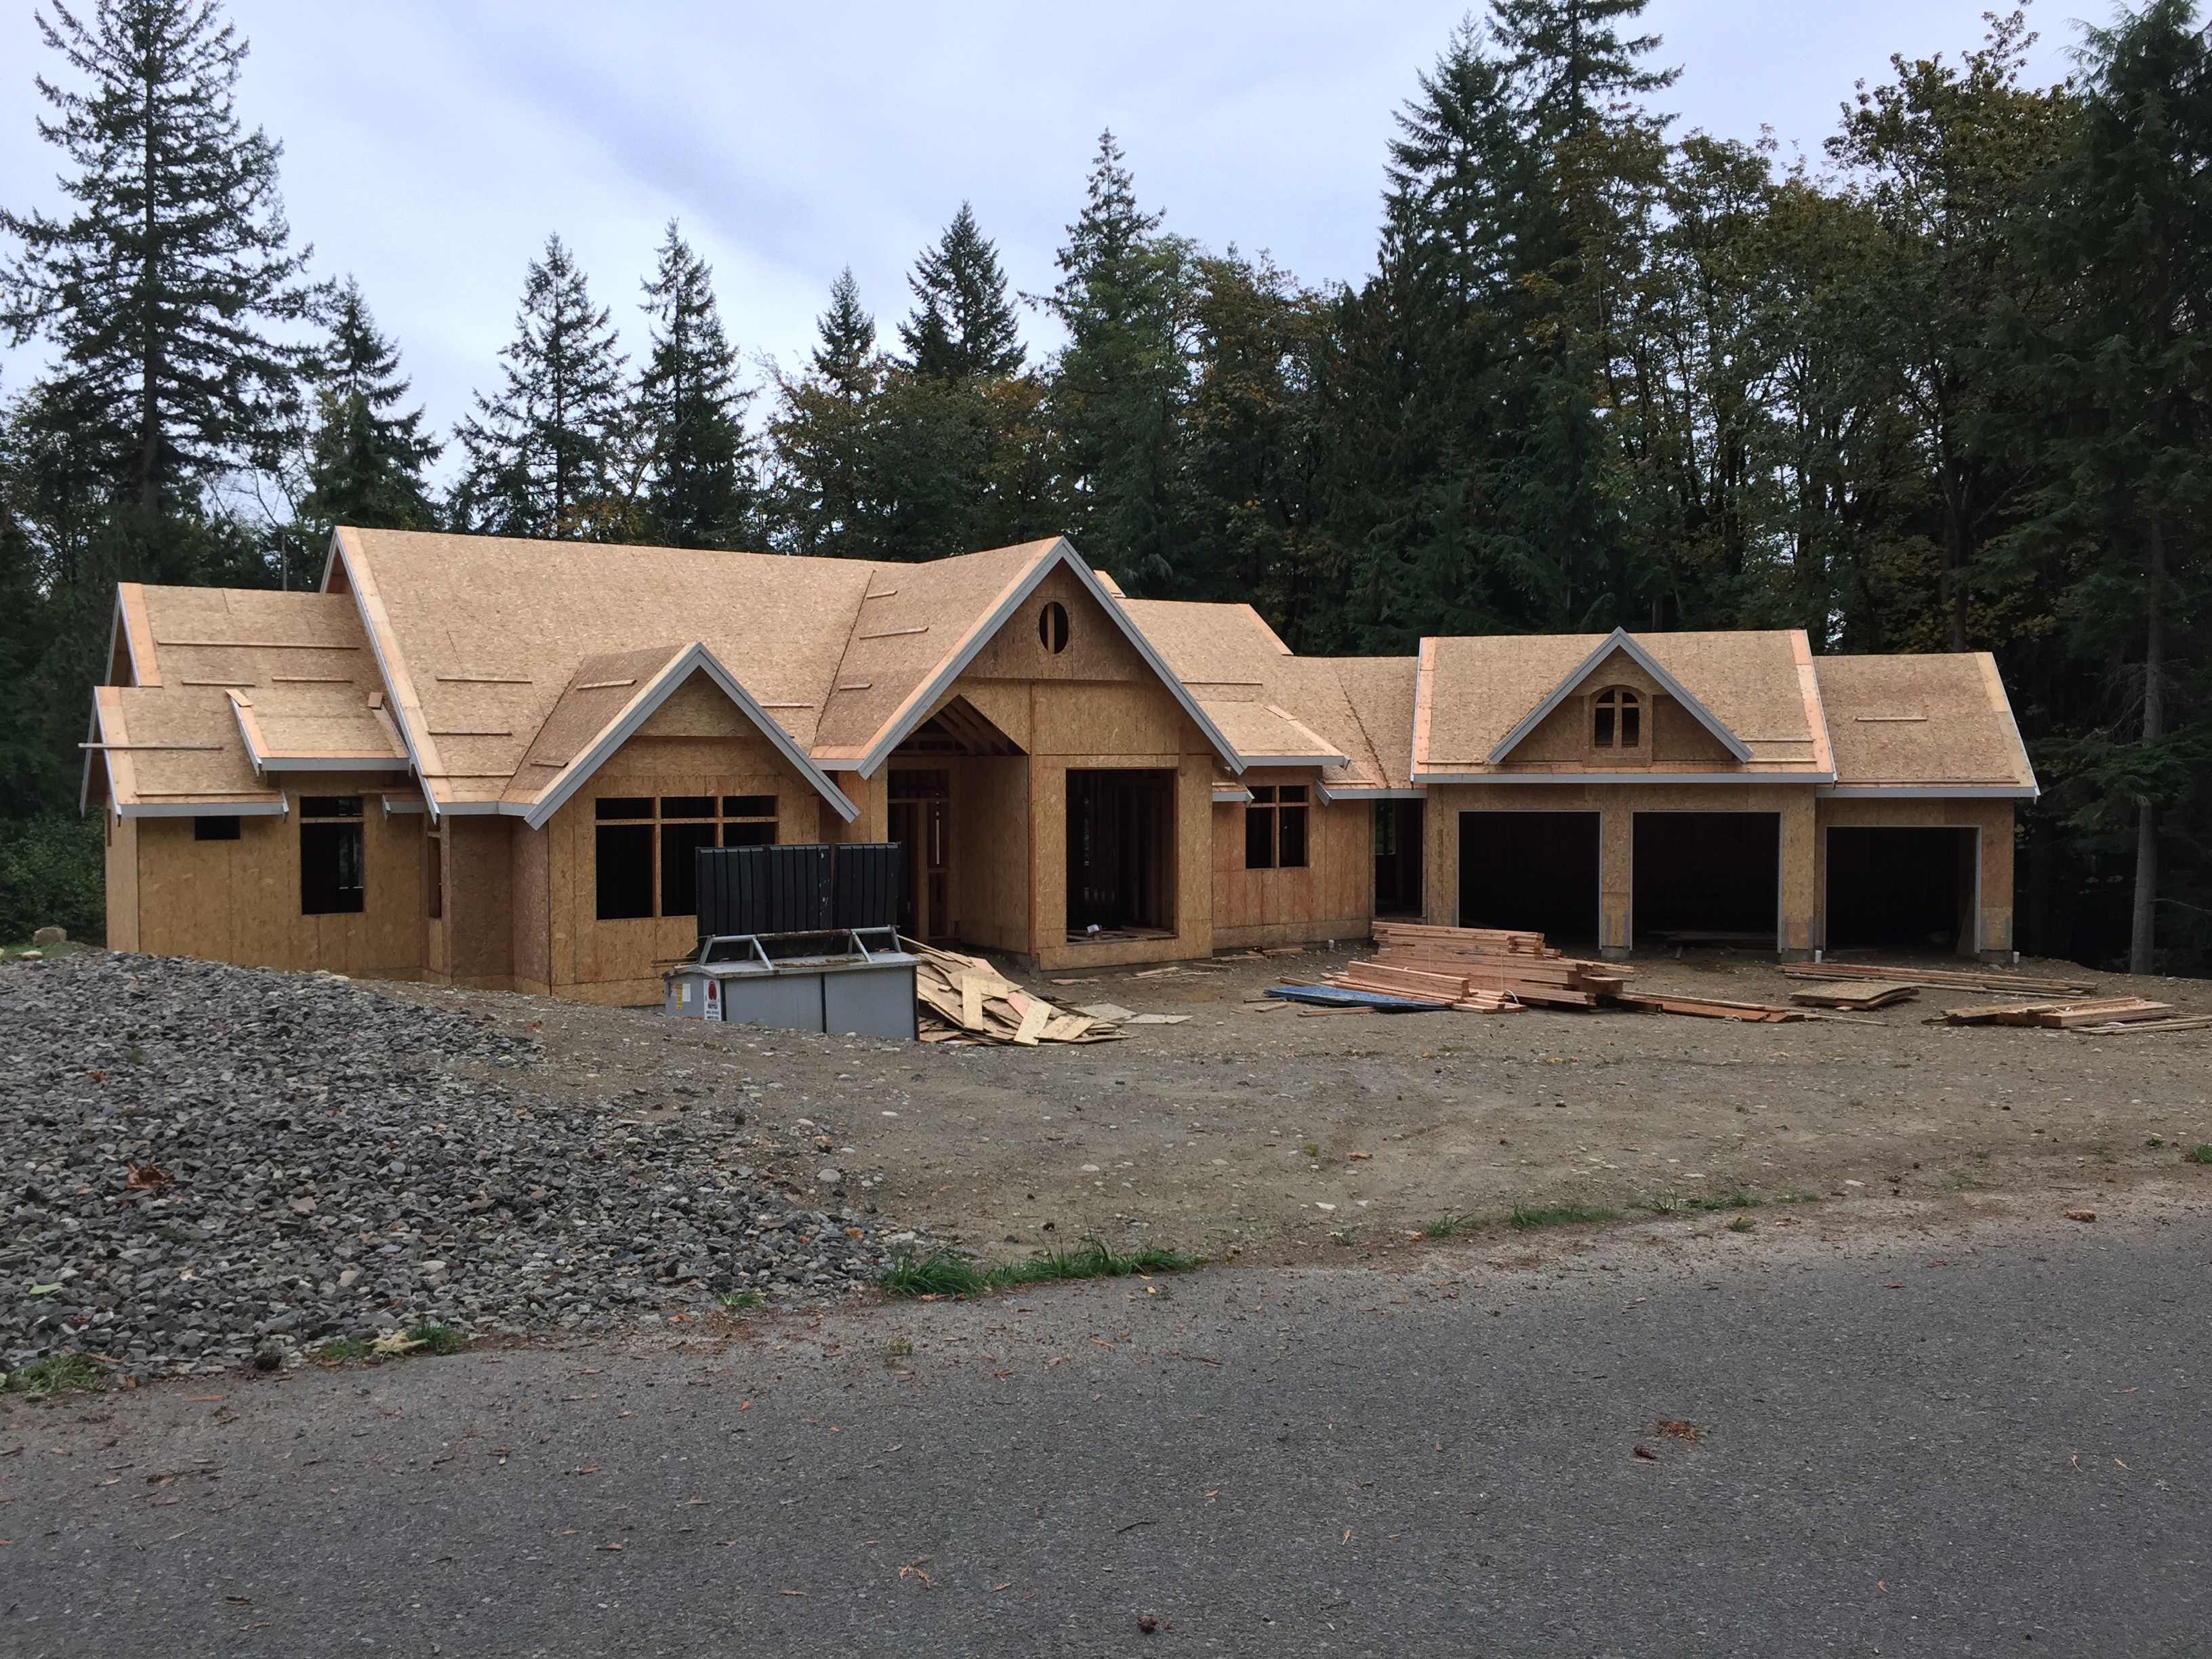
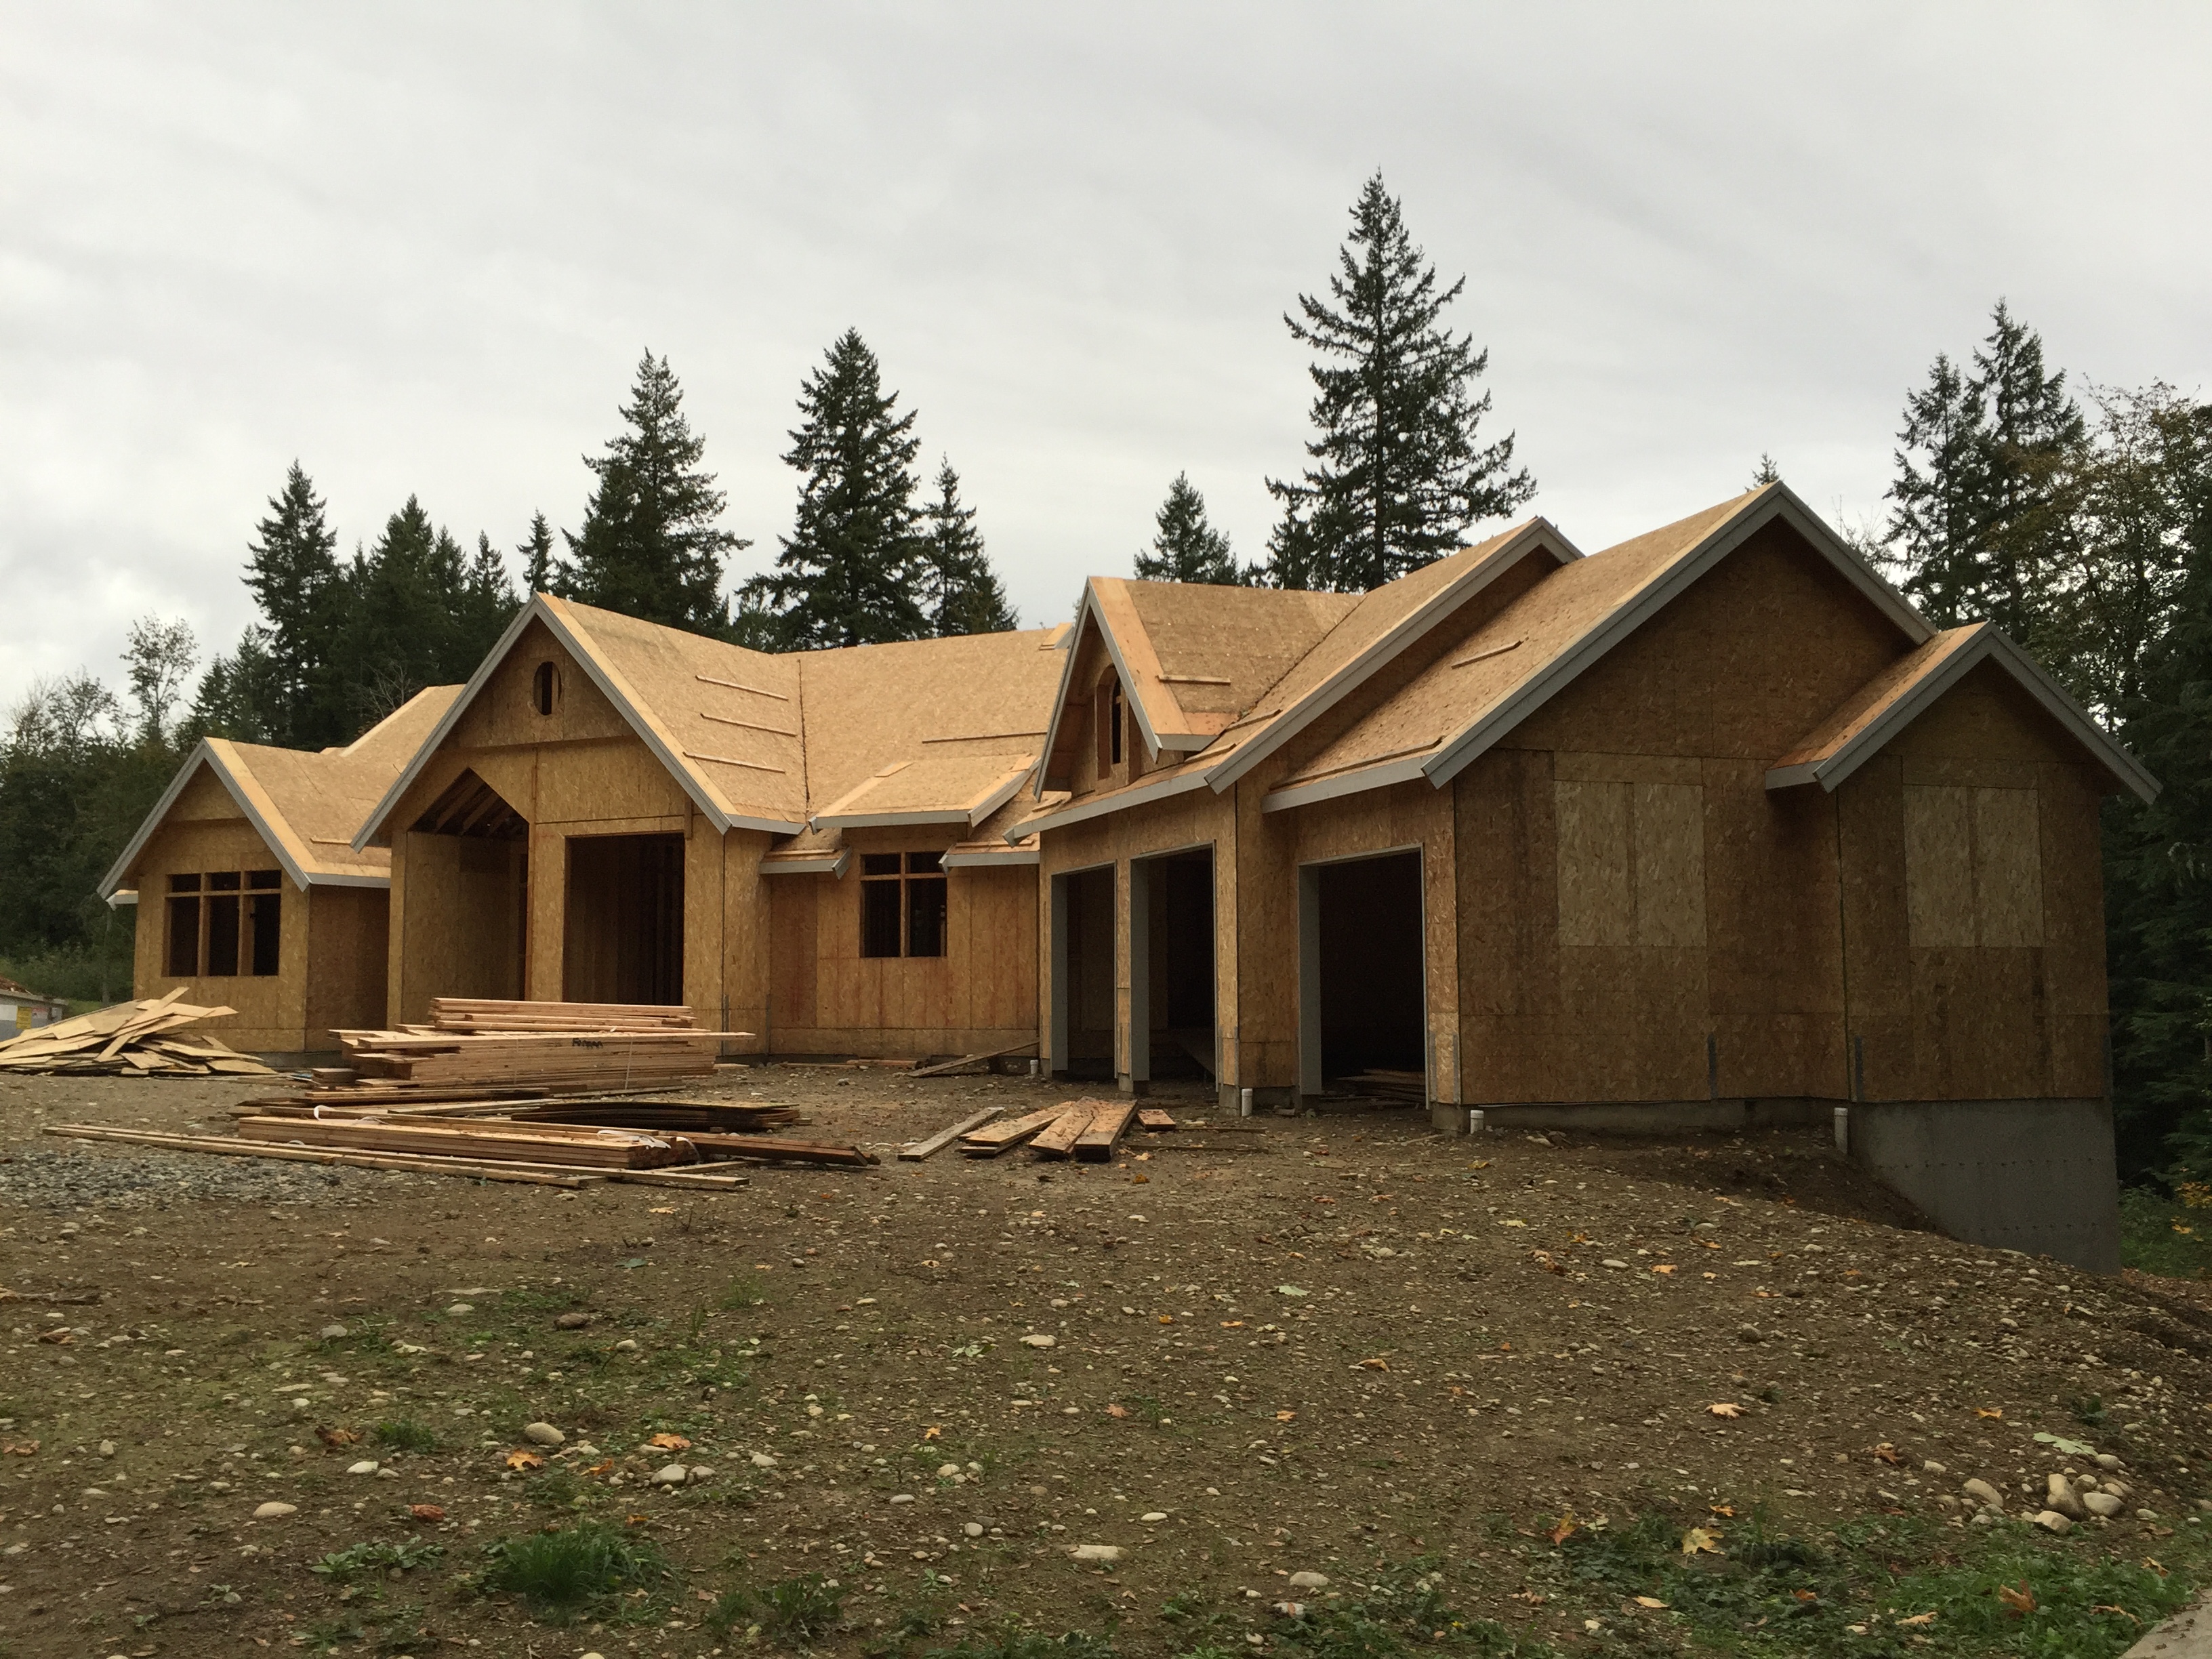
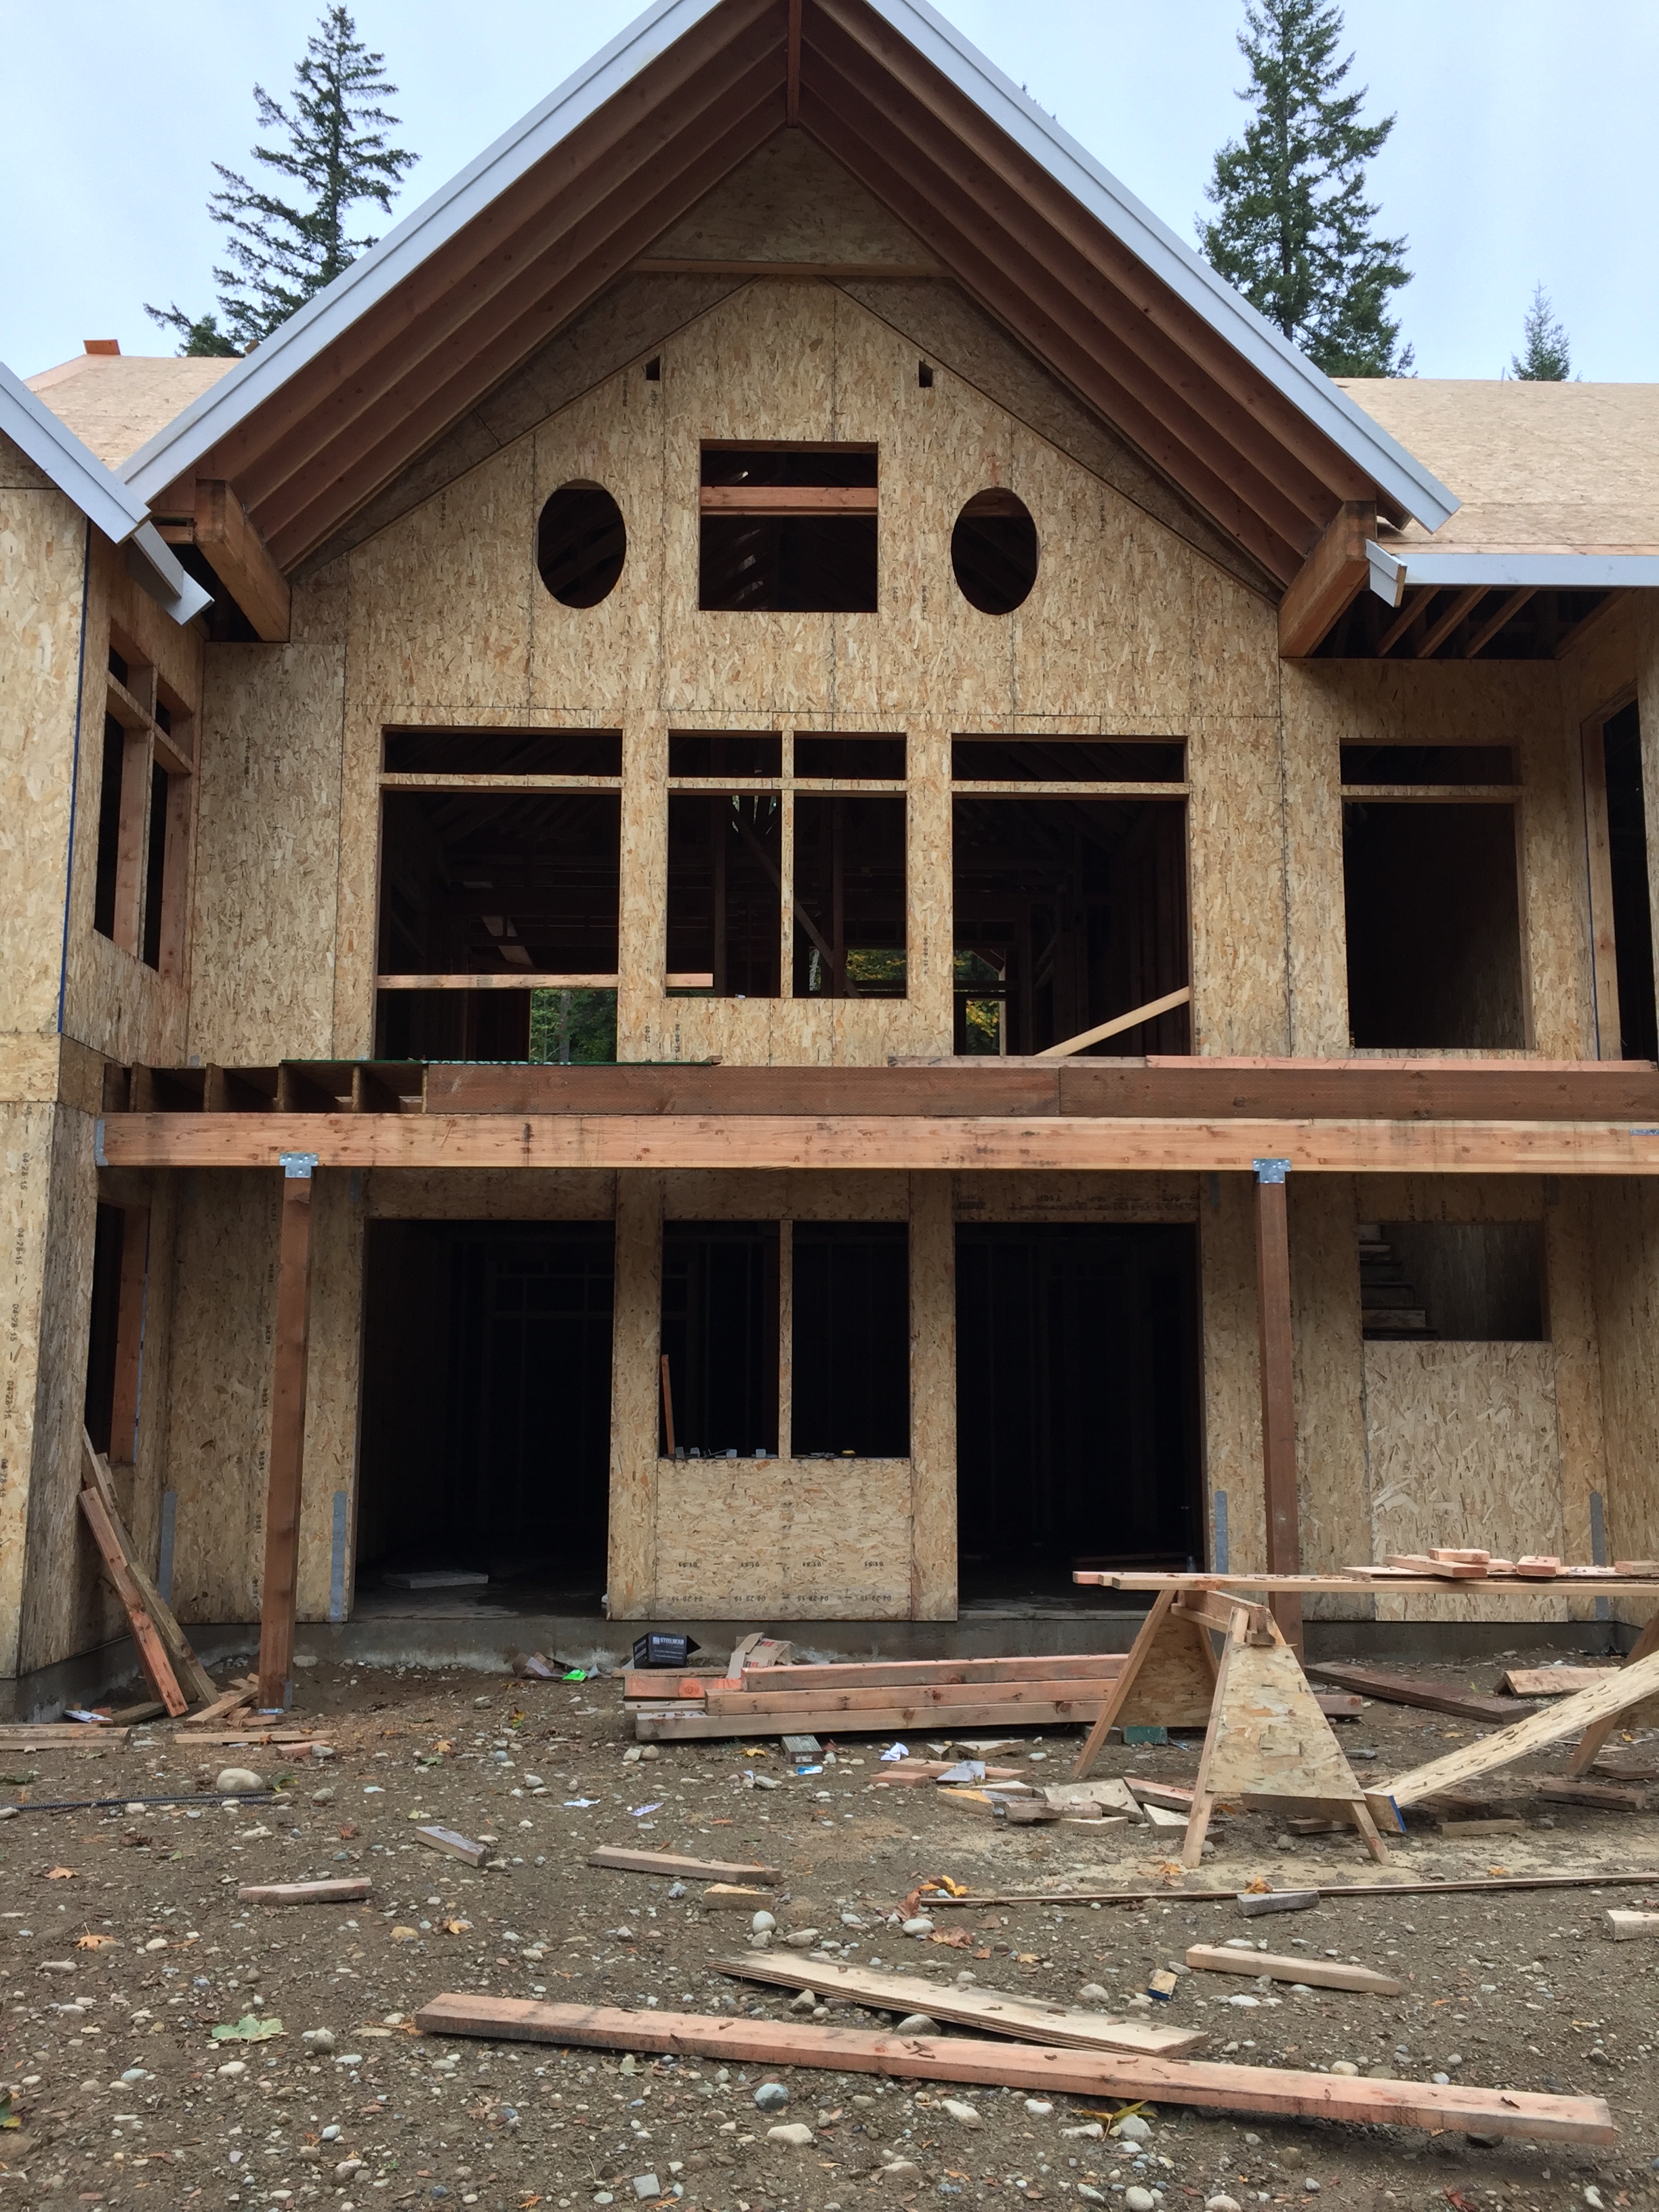
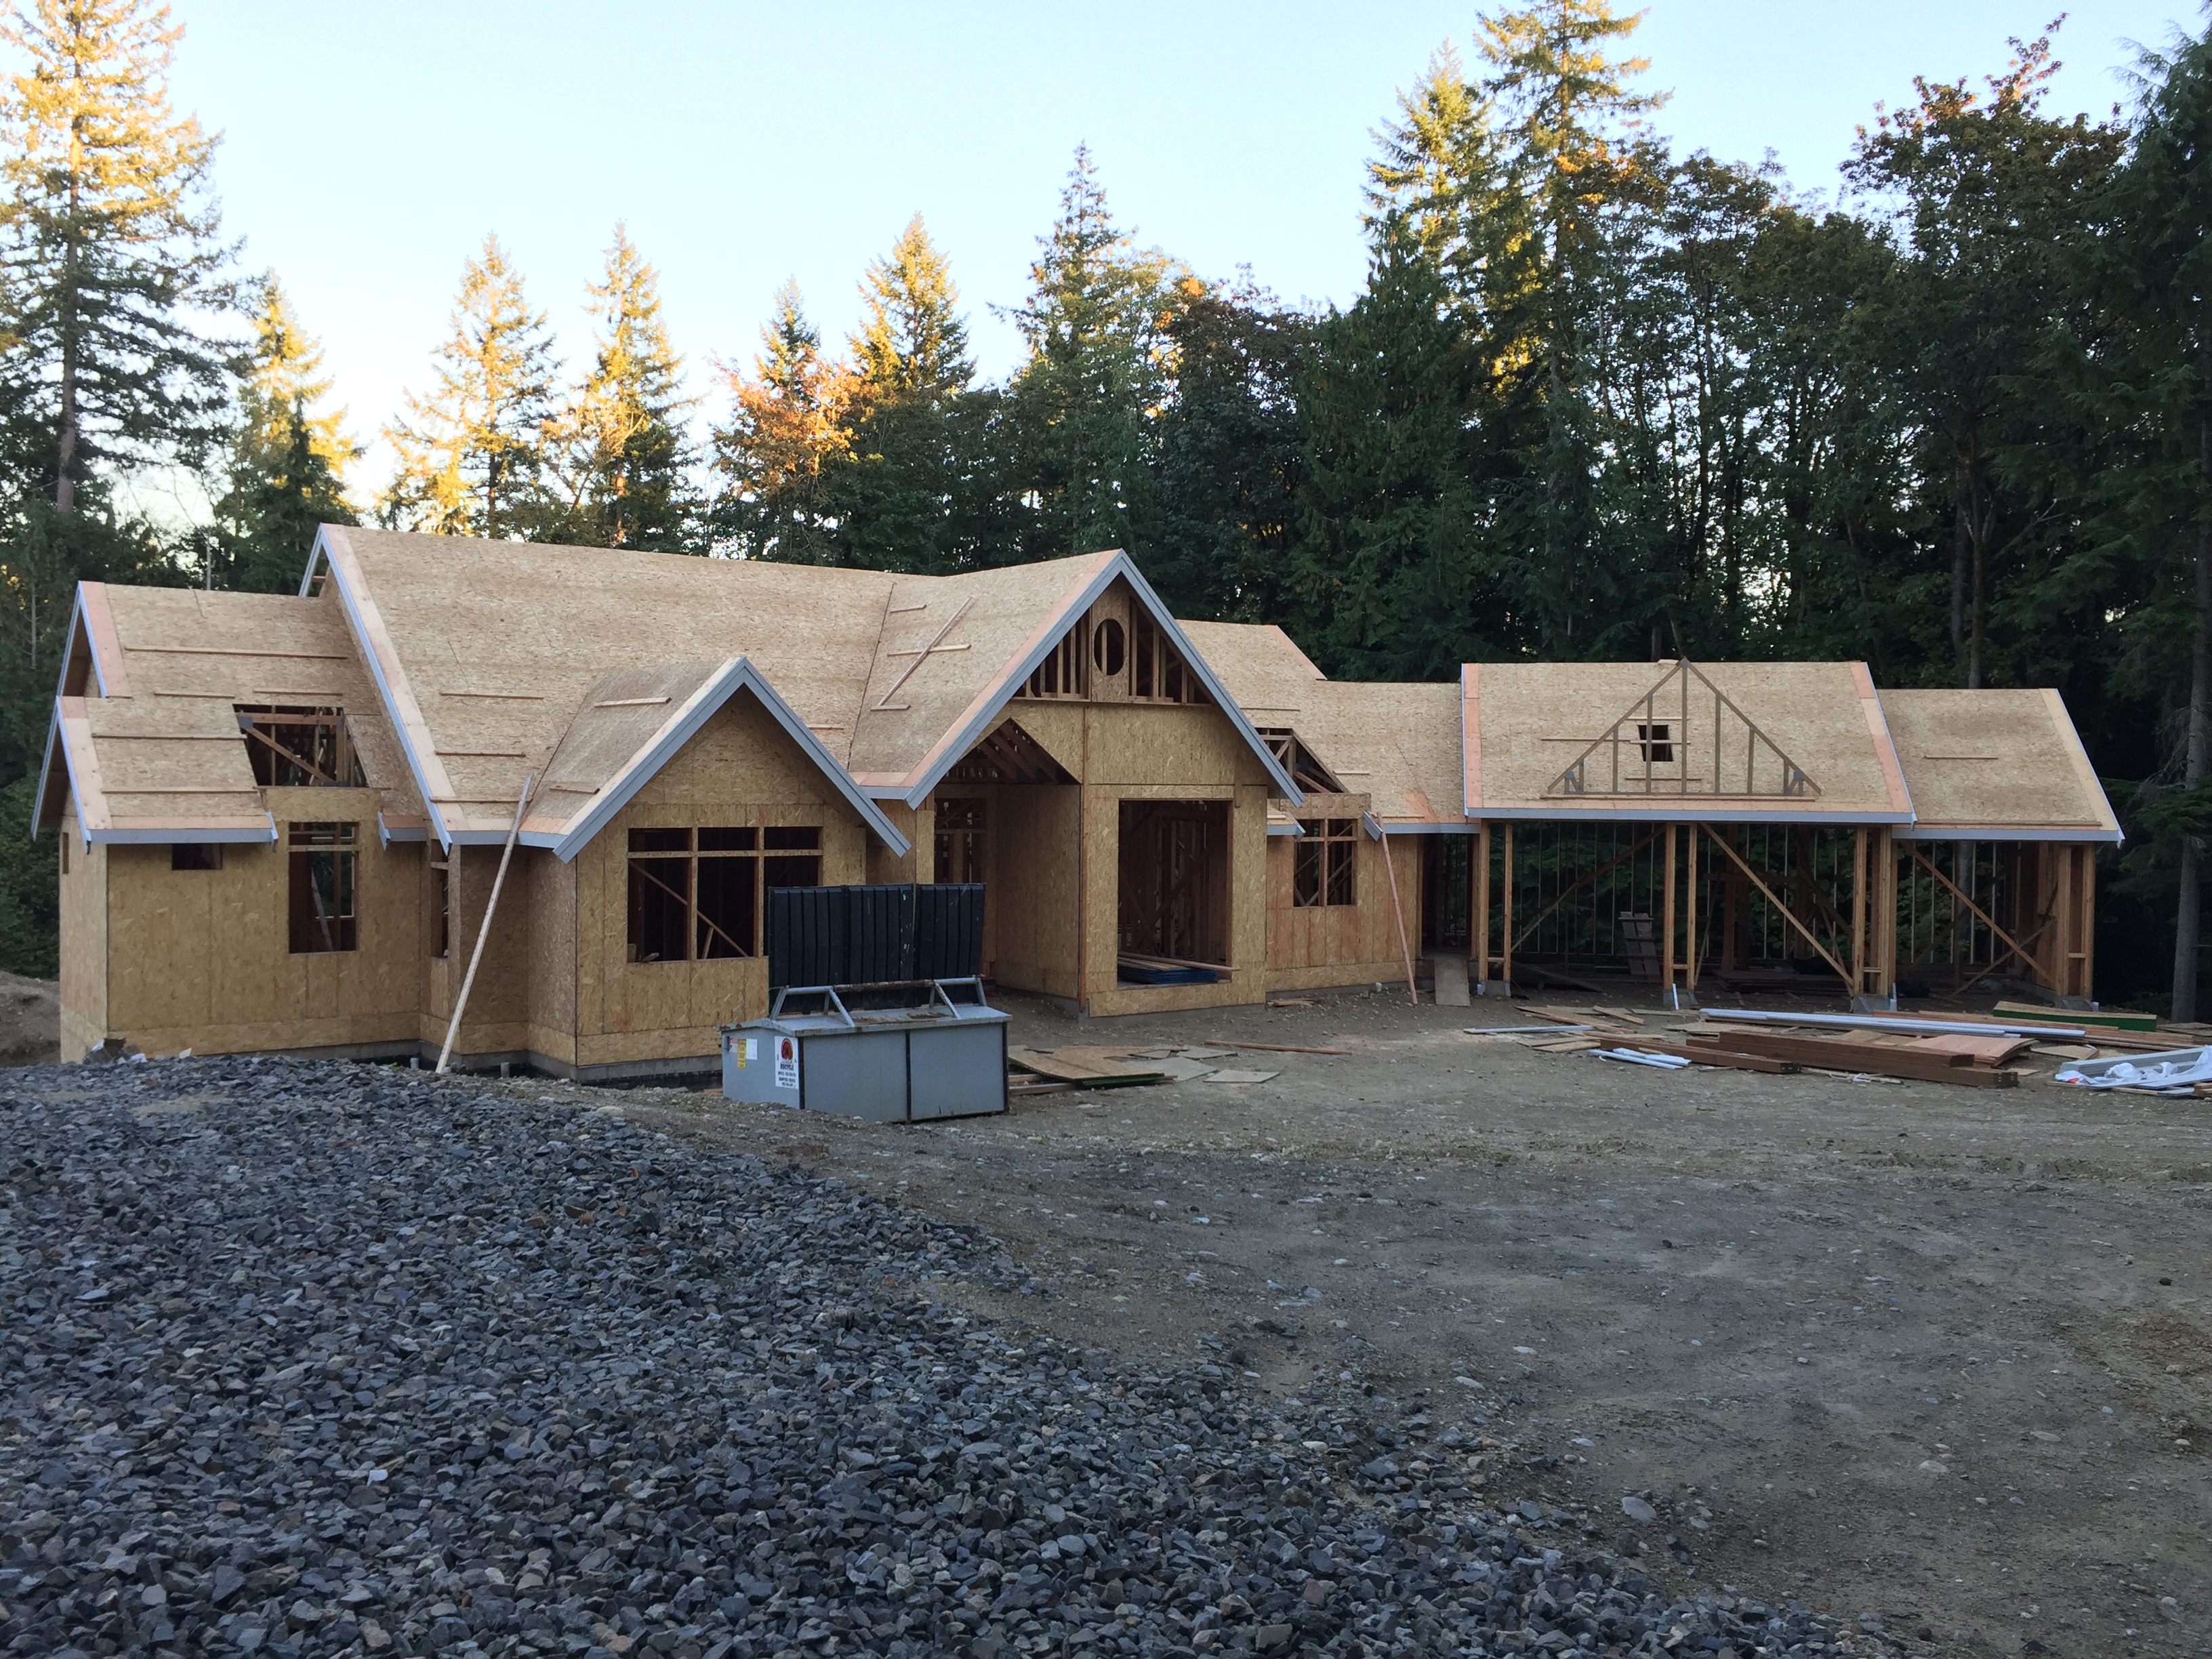
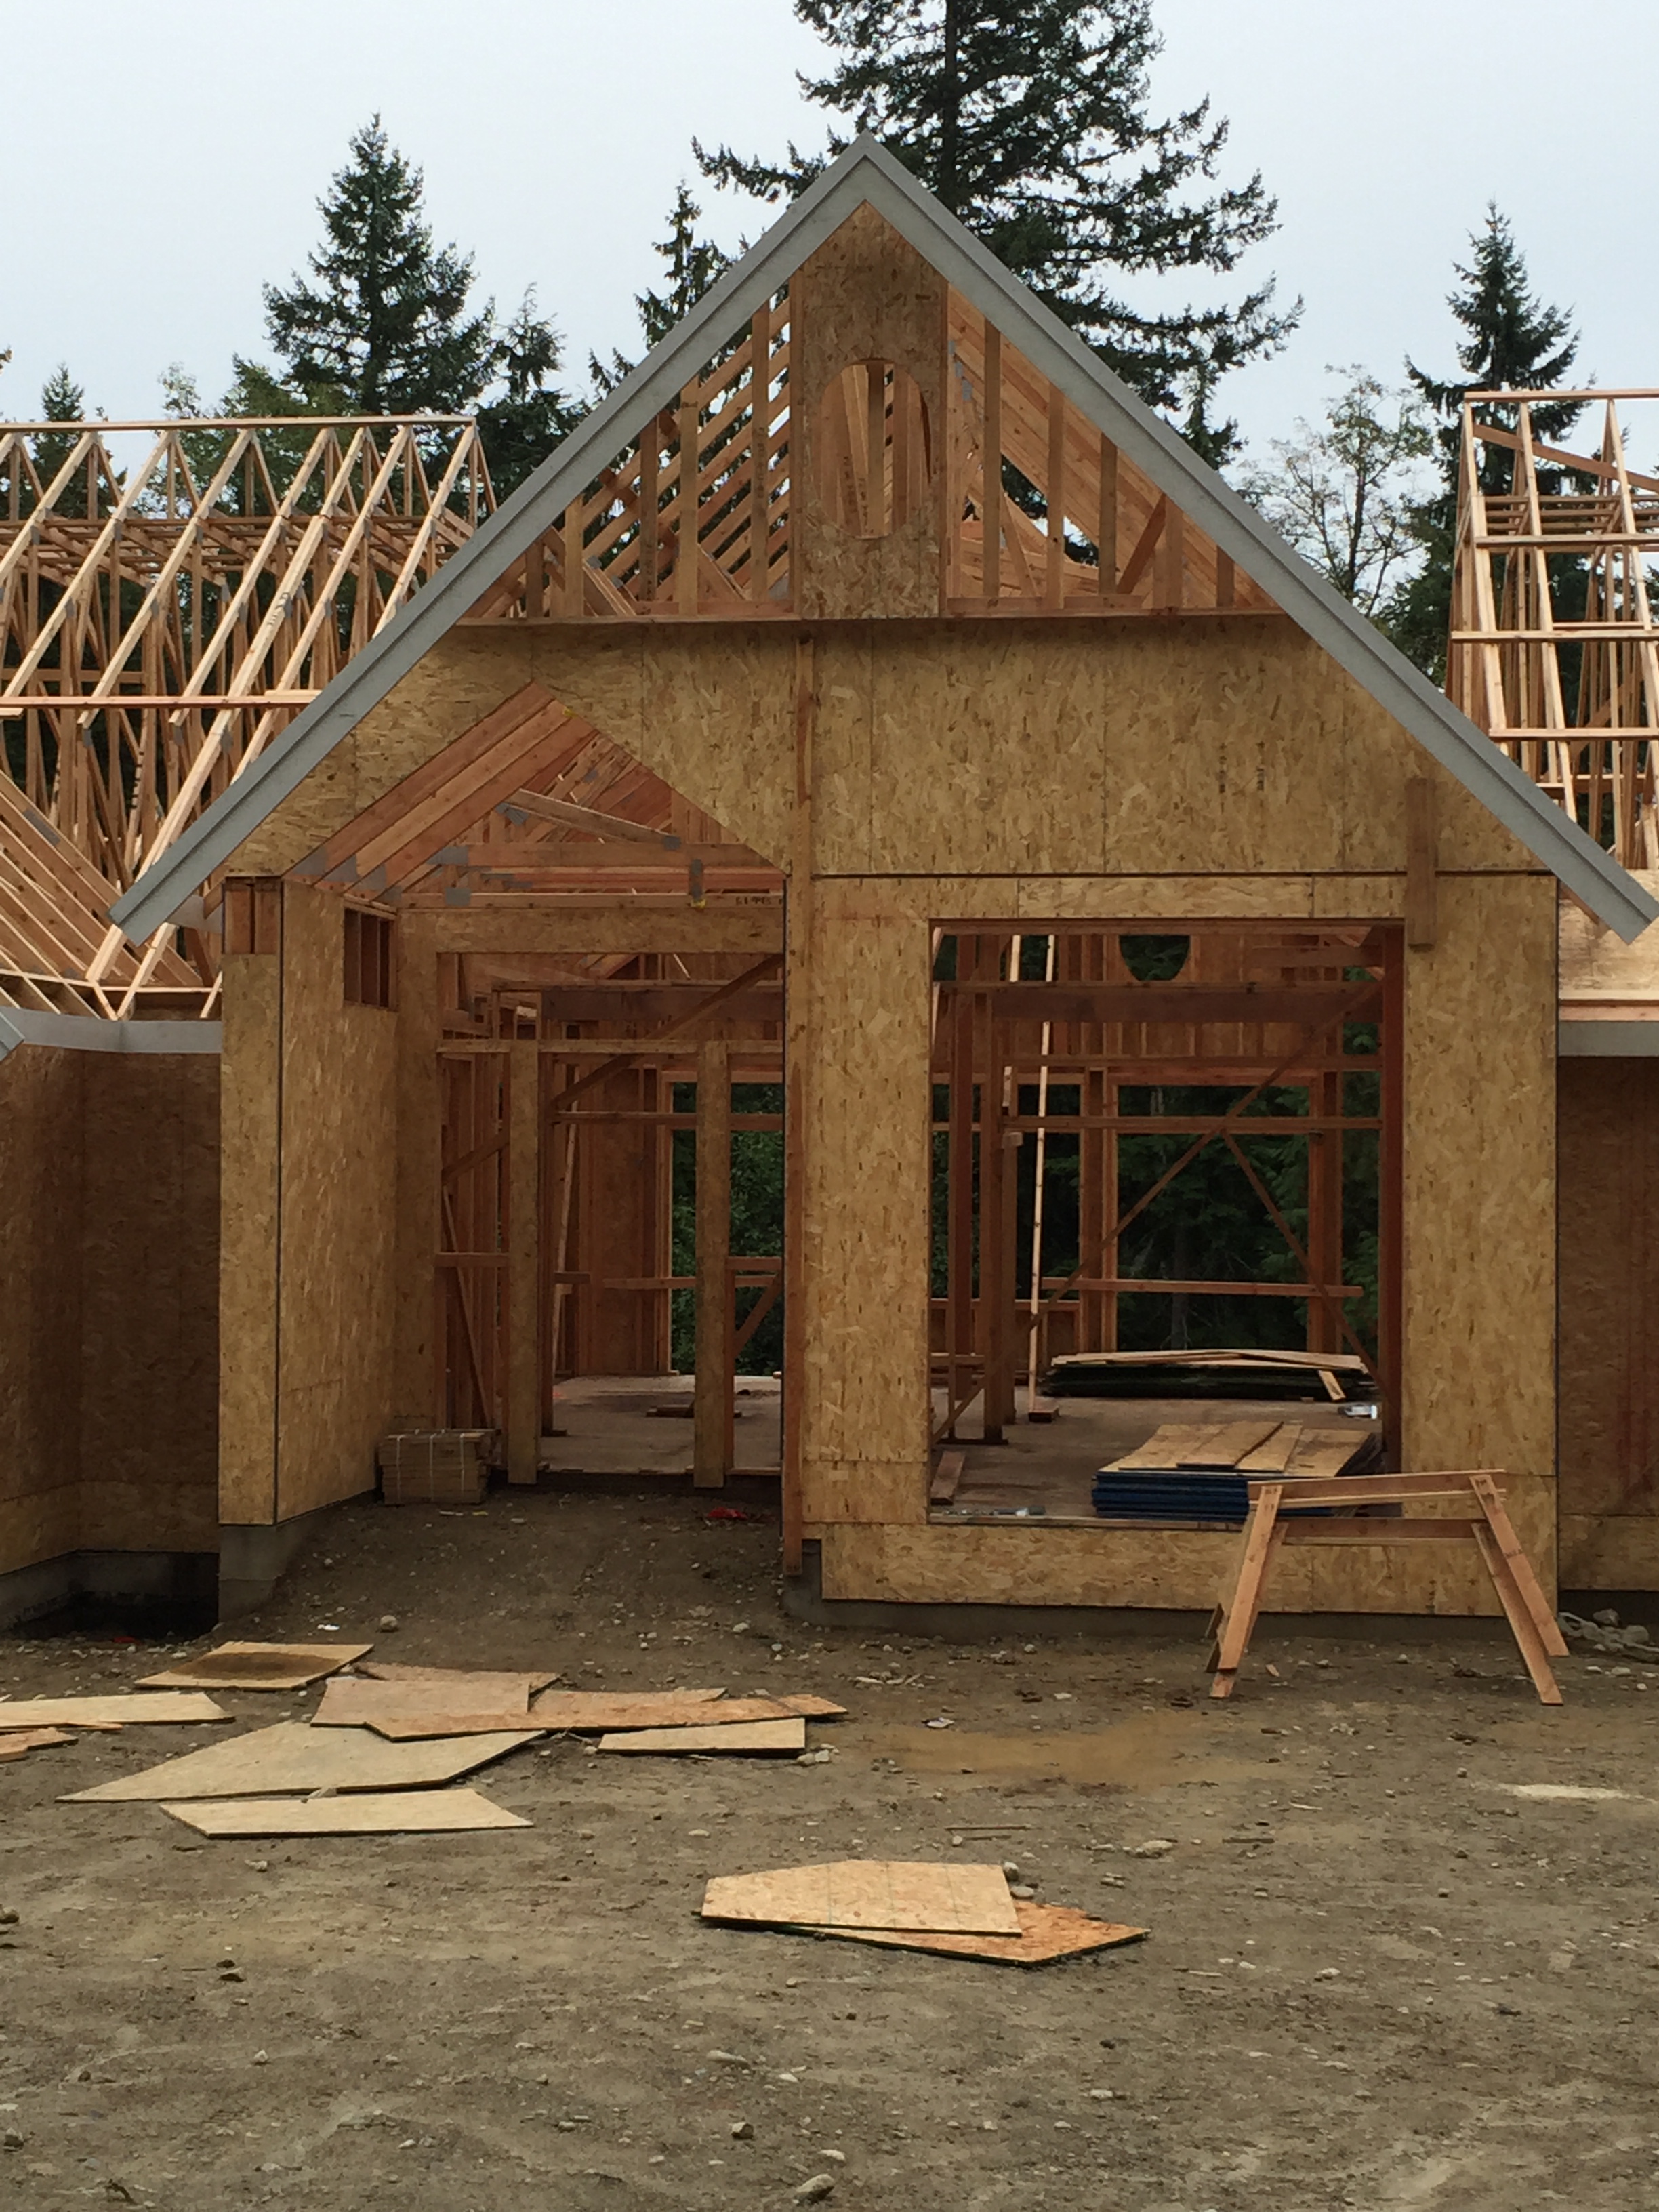
This week a few really fun details were built in with the framing. To begin with, the front entry way and dining windows were finally done. The arches that they added really make the front area look finished. There’s an arch over the front porch, as well as an arched window over the front door. The arch over the front porch is a bit higher than the window over the door so that when you’re standing back at street level, you can see both of them.

By the end of the week, the arches have been added at the front of the house, and the roofing has been delivered and is ready to be installed.

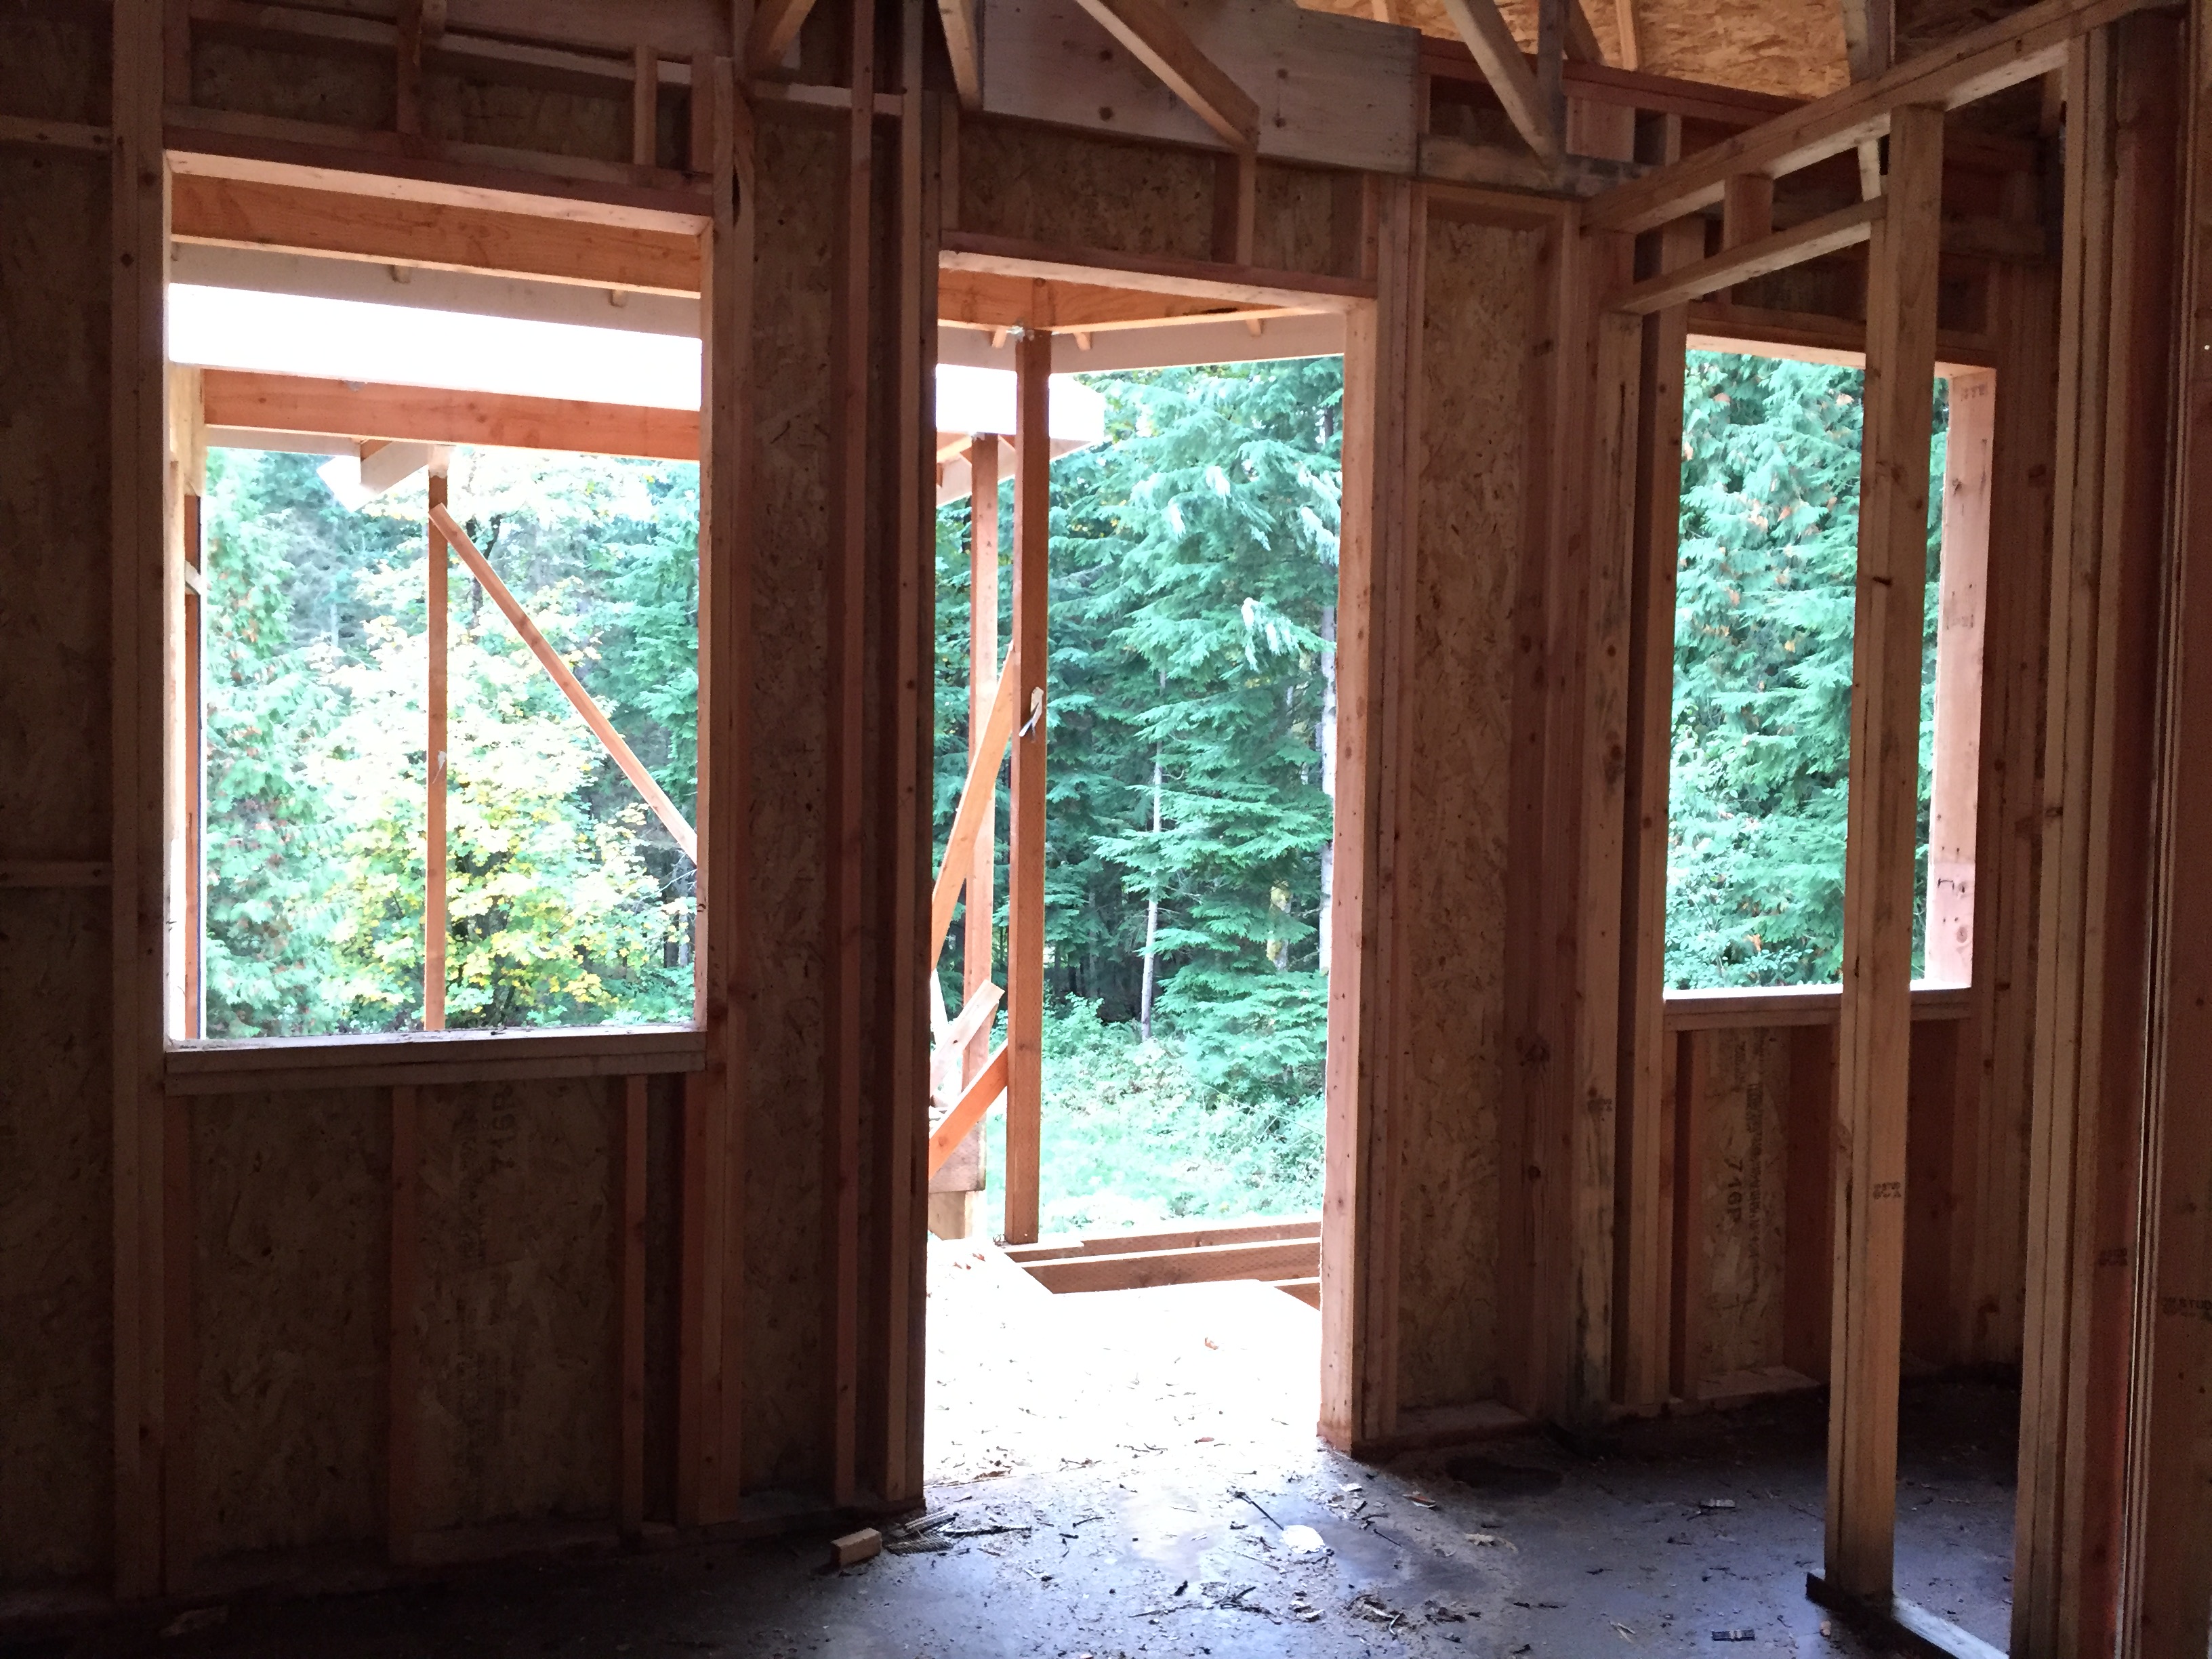
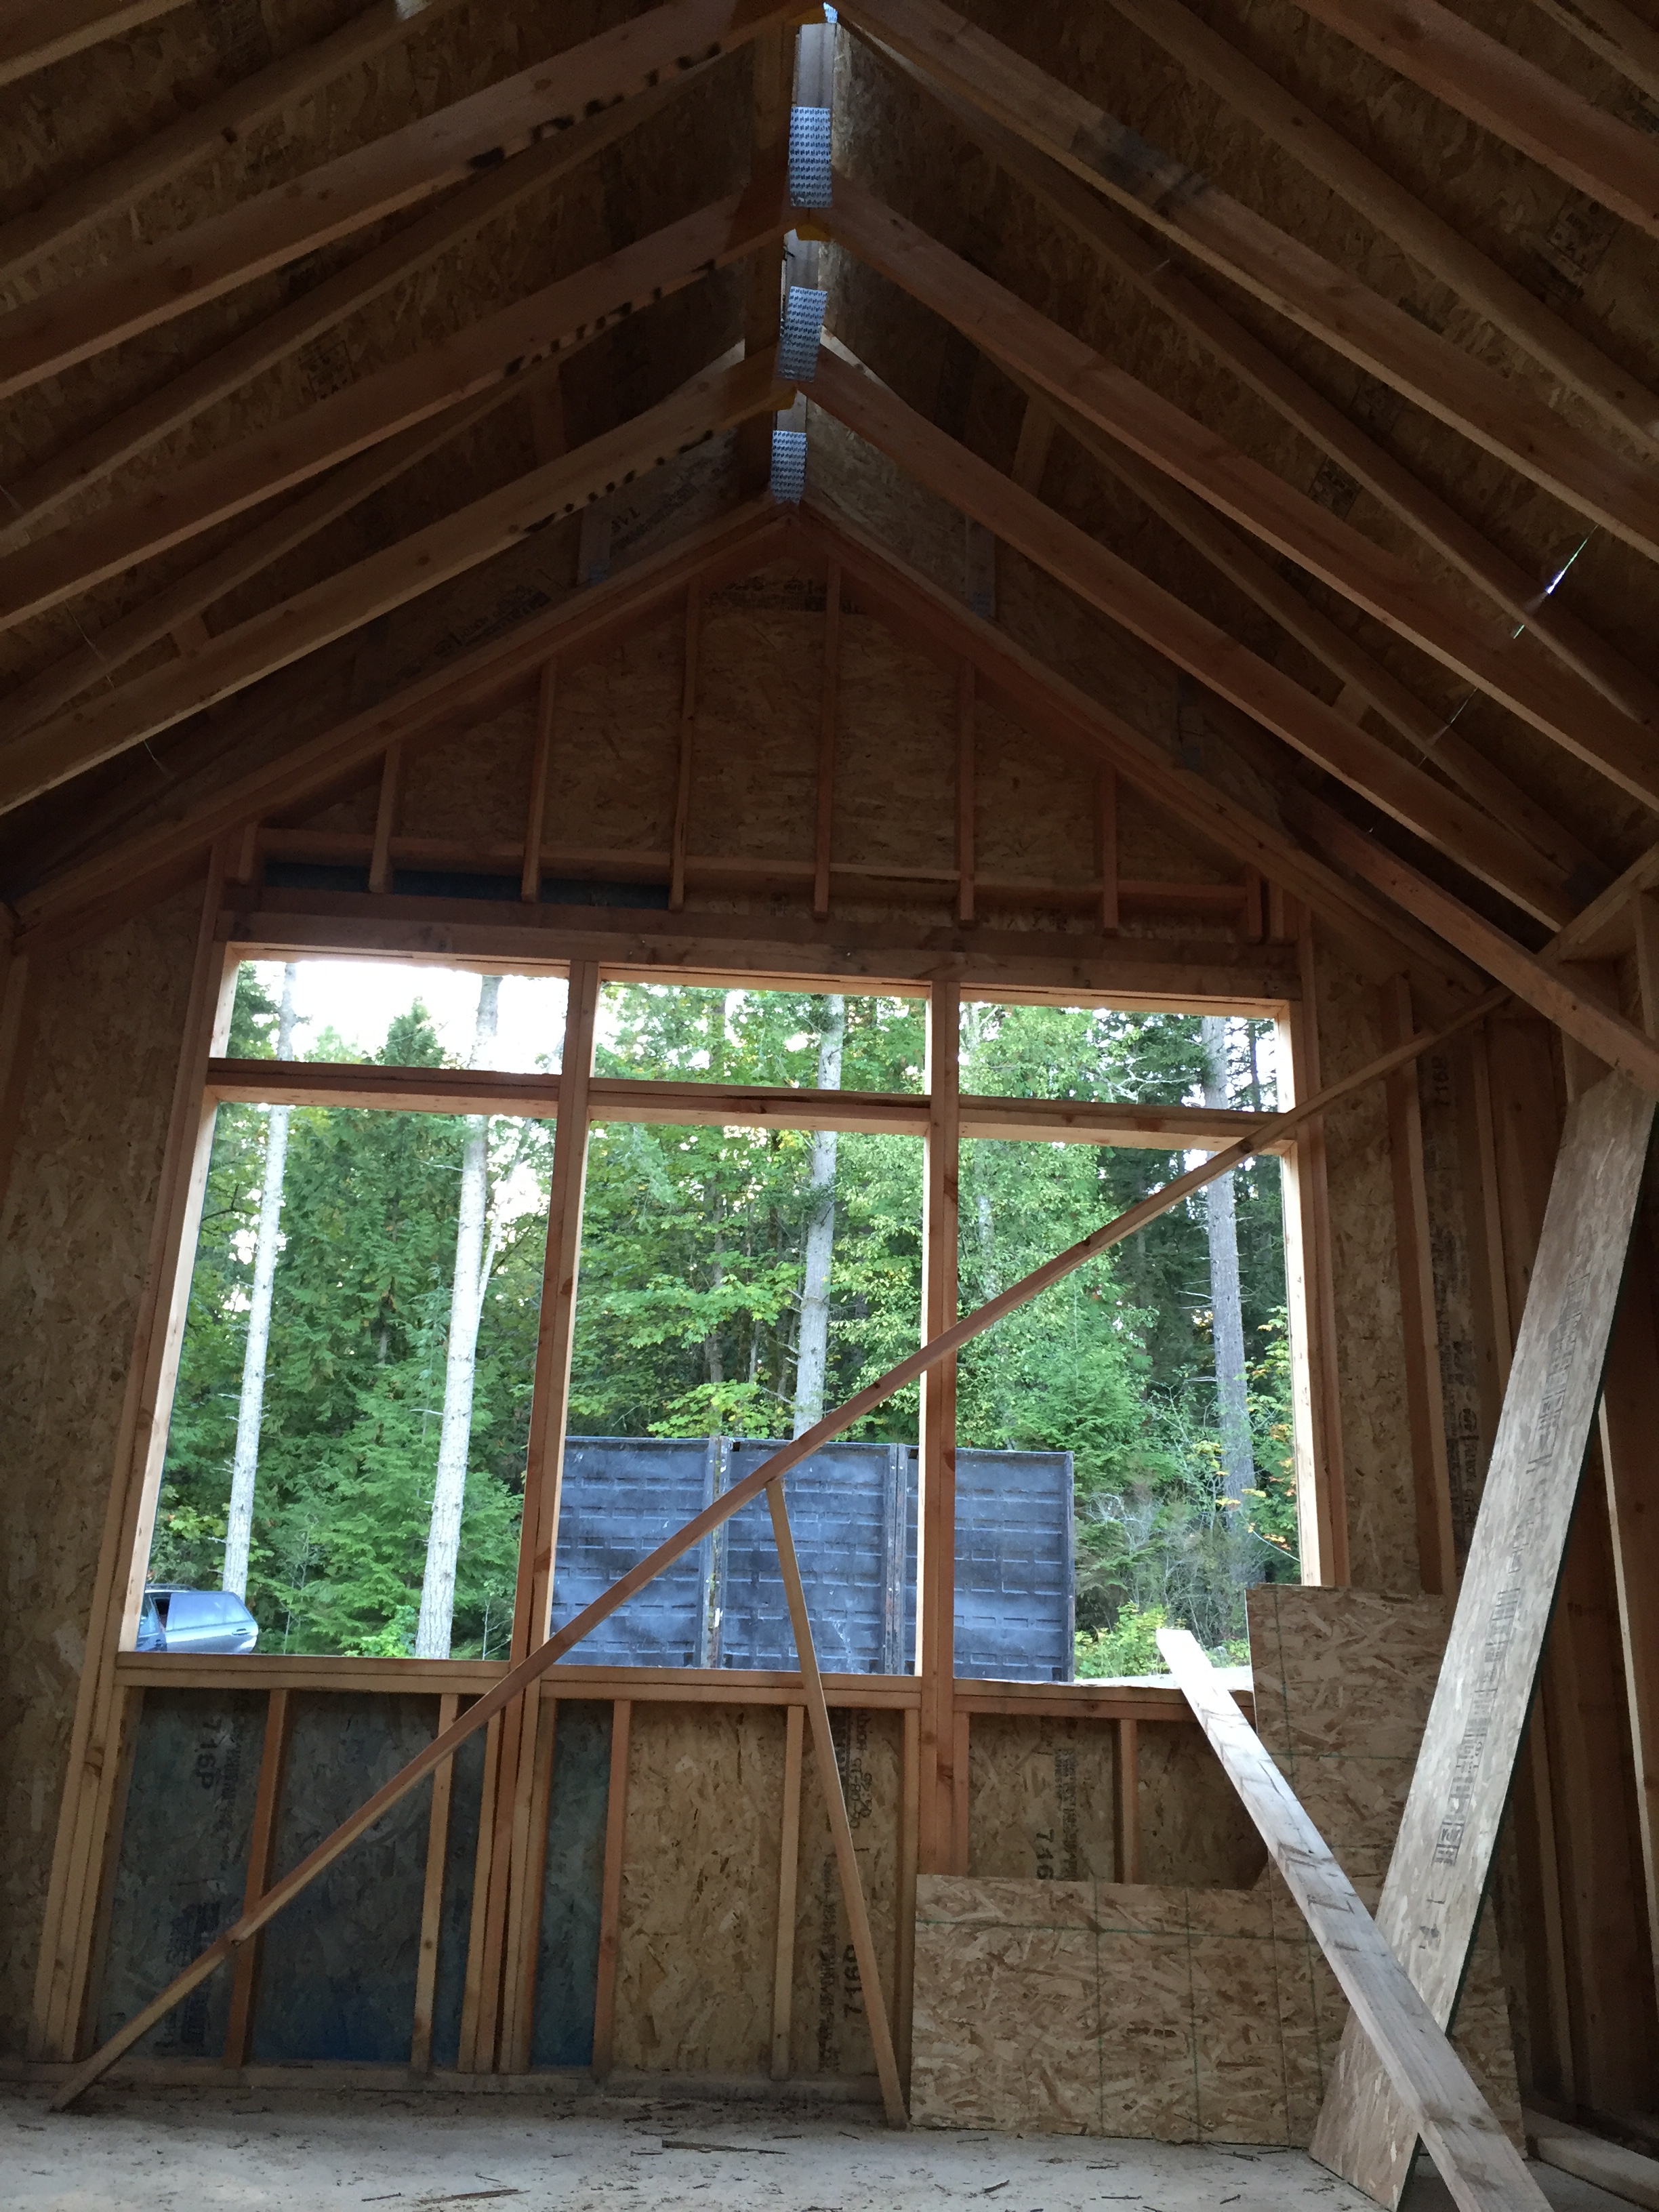
The entryway windows have been framed.

The front arches were added to the porch, entry door and dining windows this week.
The dining room window was also framed in this week. At first it was a big shock because it had been open for so long it sort of took me by surprise not to see one big giant window in that room! But it looks fantastic, and after making all the design changes to get this window and the dimensions ‘just right’ – I think it turned out fabulously.

The dining window was framed this week – It’ll have three windows that open, then transoms, then an arched window.
On the inside of the house, a few of my favorite details were built. First to finish up the dining room, the tray ceiling was completed, and the beginning of the “X” within the tray was added. Love it! And notice how the arched window will leave just enough room for trim above it…I think it’ll look great once it’s all finished.

The tray ceiling and “X” pattern on the ceiling were constructed.

The windows in the dining room look SO GOOD!
And the tray ceiling was also added in the master bedroom as well. All of the tray ceilings in the house are 18″ from the walls, and 10″ tall.

The tray ceiling in the master was added.

The fireplace framing was built this week – we’ll have a bench under the the fireplace, so it’s raised up off the floor.

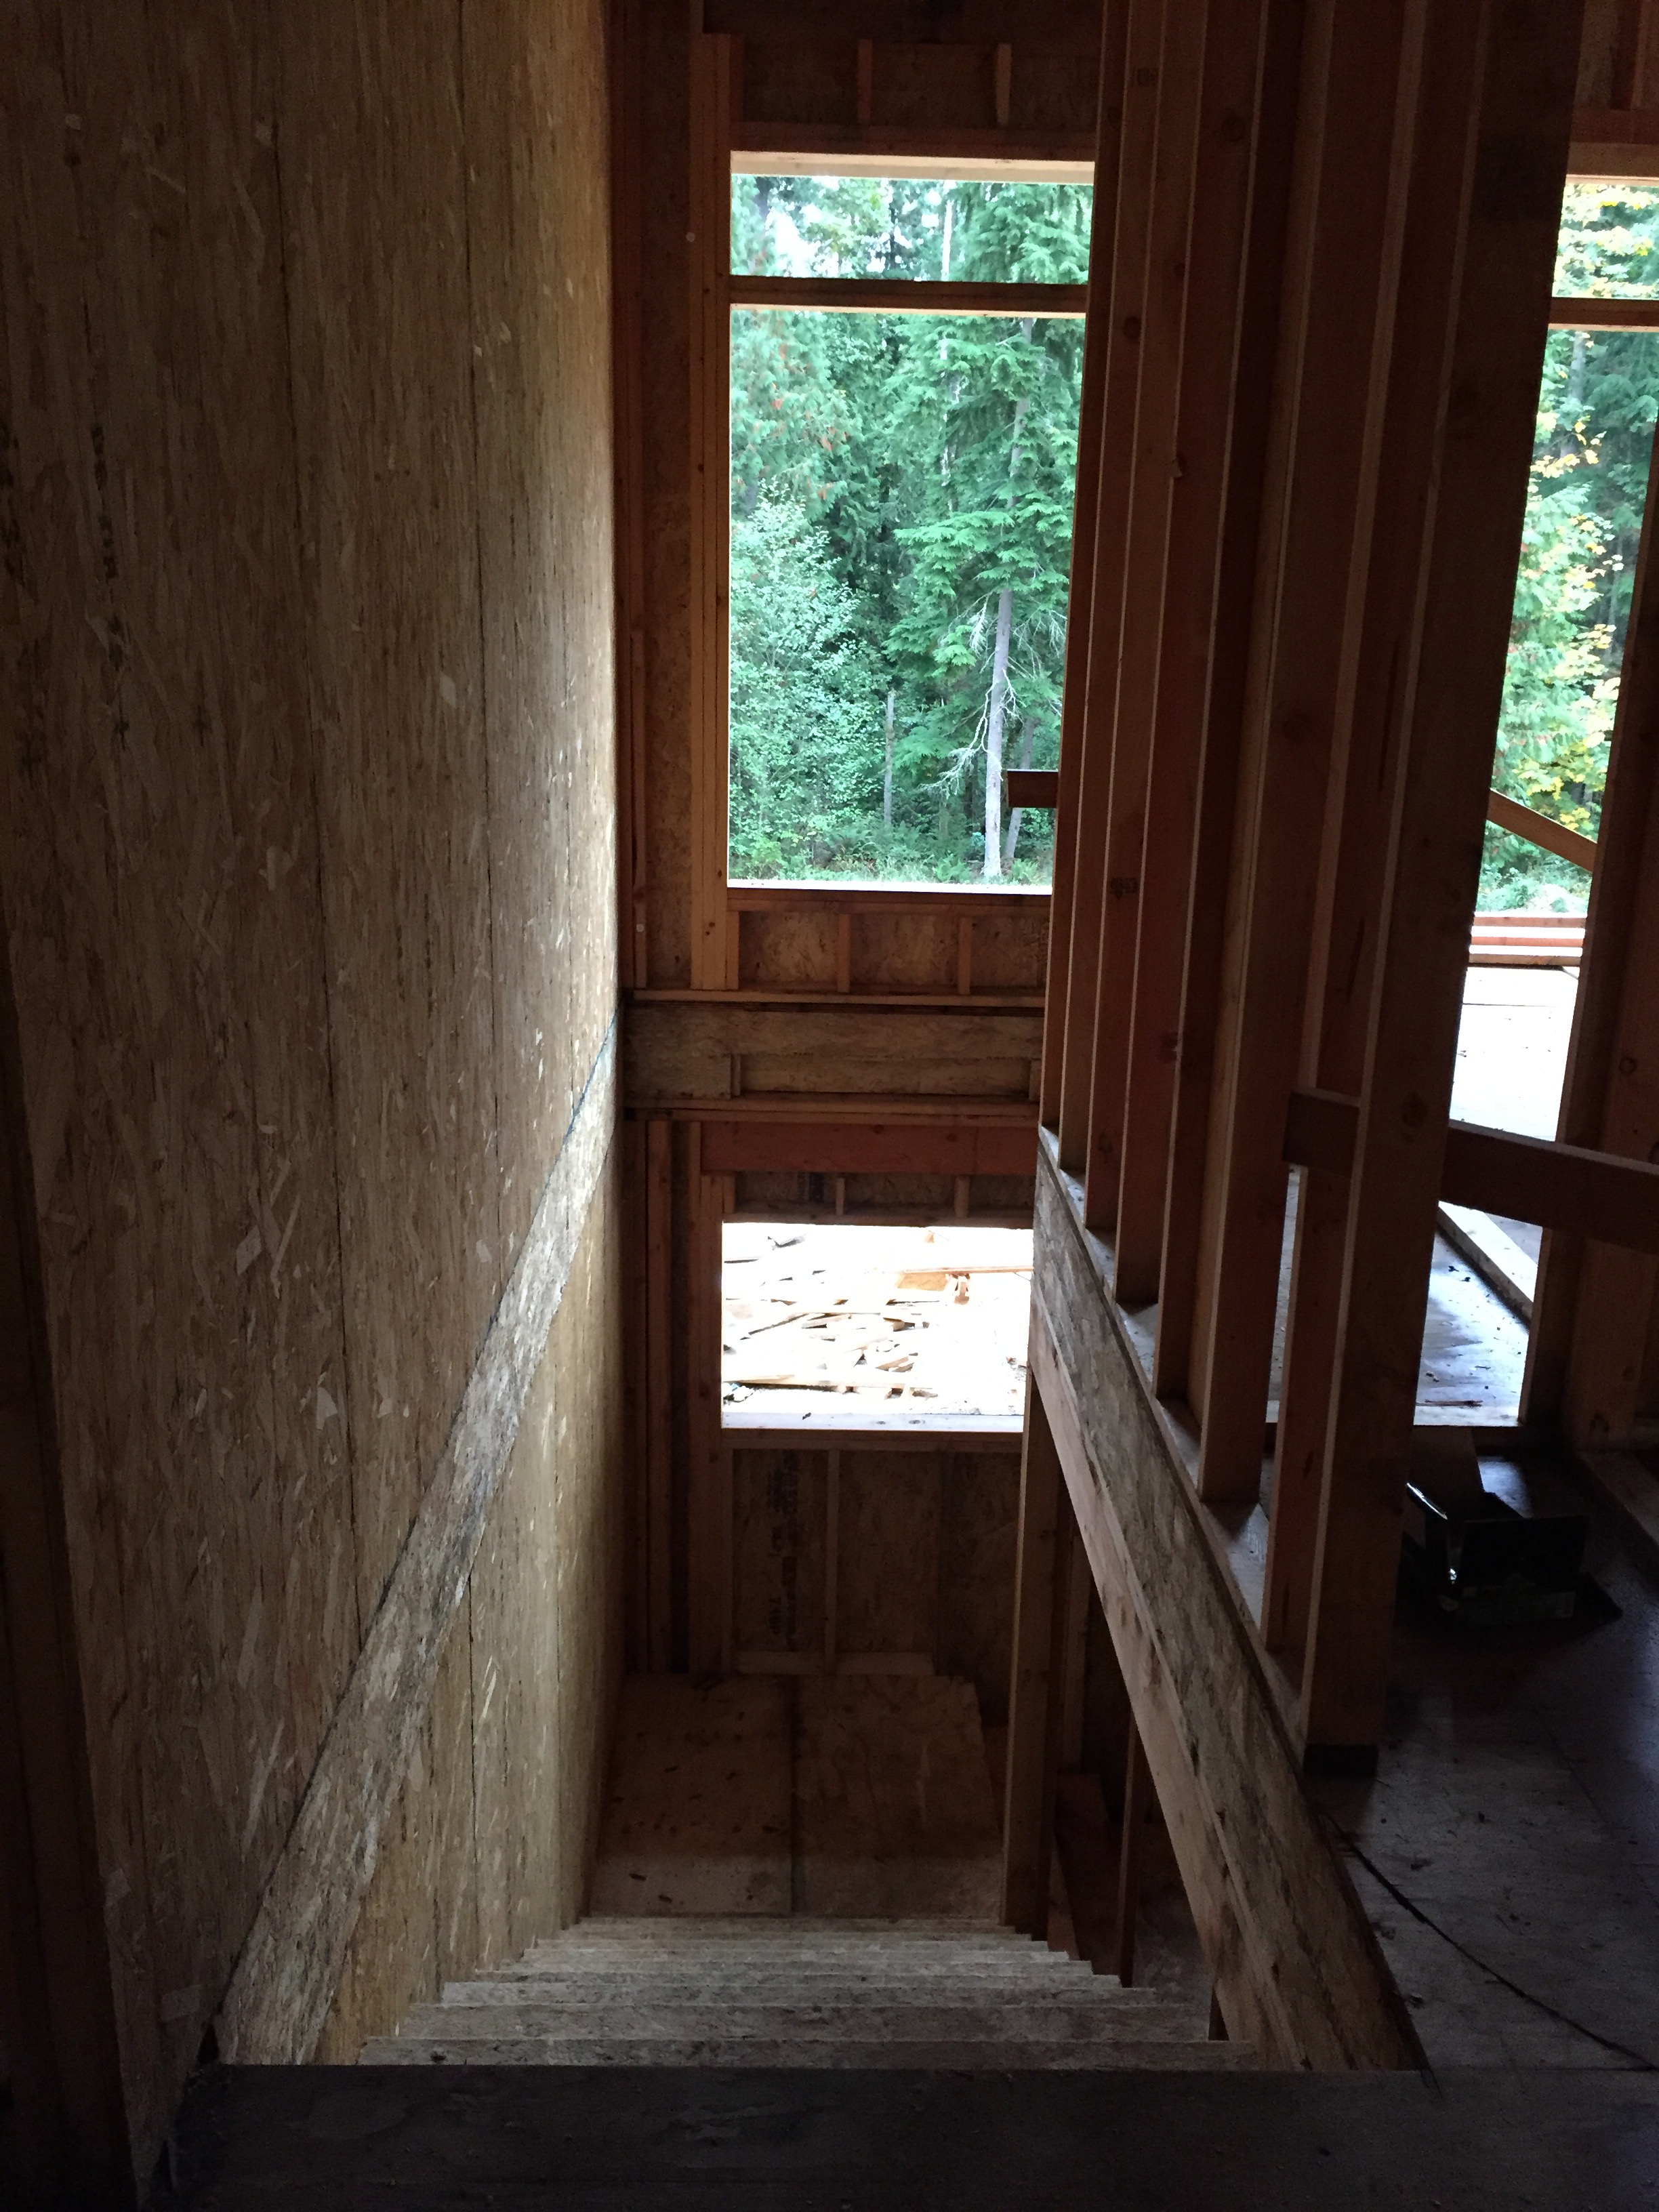
The staircase is located back behind the fireplace, and the curvature in the staircase was finished up this week.
Cameron came with me after soccer practice on Wednesday night to check out some of the progress which included some other areas in the house that he had fun seeing…

First stop was checking out he built-in bench in the office. Eventually bookshelves will line the wall to the right, and this will be such a fun spot to read with the boys – plenty deep and big enough!

Cam’s next stop was the master shower. He got such a kick that the drain hole was cut and he could see right into Spencer’s bedroom underneath. He’s waiving “hi” to Spencer in this pic!

Cam’s last stop was his bathroom. We contemplated rearranging this room, but he really liked that his vanity would be separated from Spencer’s so we decided to keep it the way it is now. He’s already pretending to brush his teeth at the sink!
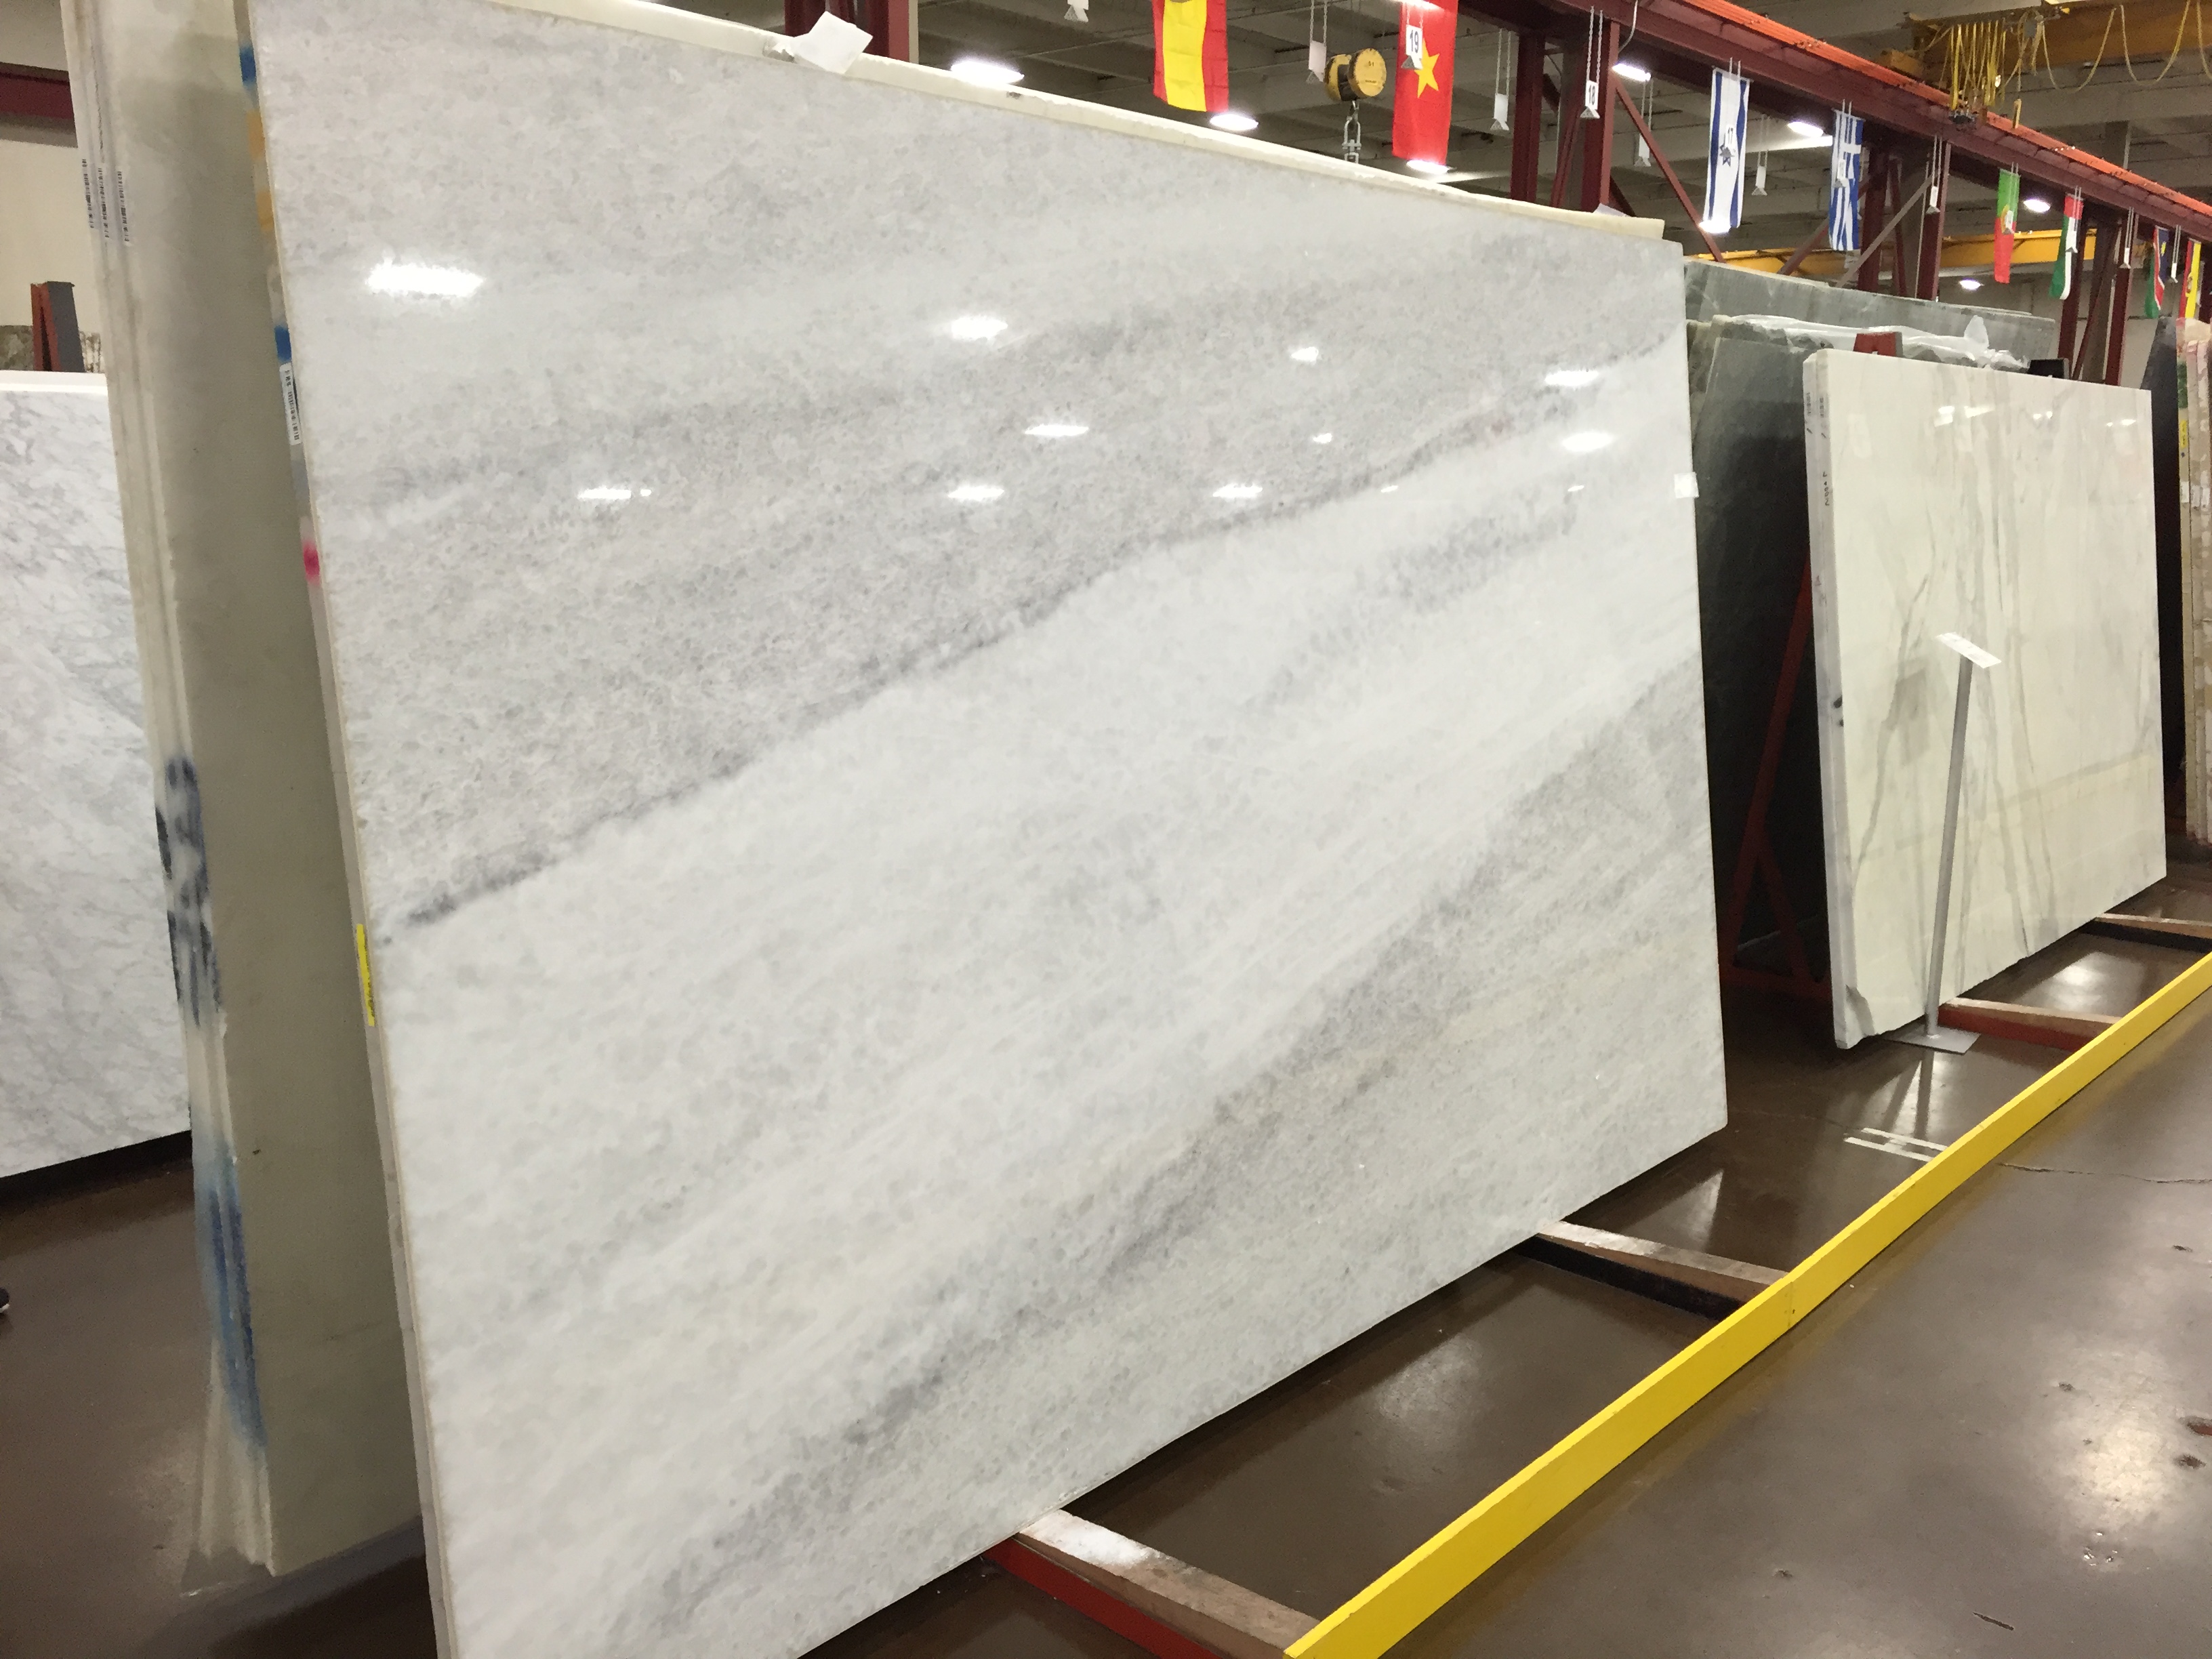
On Tuesday morning, my mom and I met with Matt and the rep from Canyon Creek Cabinets to walk through the house and discuss the different cabinet layouts. It was a lot of fun to discuss my different ideas as well as get feedback from the rep and what he thought we should do. Now he has to go back and lay things out for us to approve. That’ll be exciting to see those once they’re done.
The plumbers started this week, so we really had to nail down all of the sink locations. The only ones that were really in question were the boys’ bathroom sinks and the prep island sink. The boys’ bathroom has a pretty decent sized linen closet in there – for all of their towels, sheets, and swim gear. The design was to have the linen closet separating each of the boys’ sink vanities so that they could each have their own ‘space’. The closet takes up quite a bit of space, and I was worried that it makes the space feel a little cramped. So we discussed rearranging the room. In the end, we decided to make the closet a couple inches less deep so that it didn’t protrude into the room as far and keep the vanities separate. Cameron really liked that, and I think it’ll be nice for the boys to have really great storage solutions in there.

Plumbing started this week! Here’s a picture in the kitchen where the sink and fridge will go.
On Saturday, Joel and I went to check things out at the house and we decided to rearrange things a bit in the mudroom. We’re going to put the boys’ bench and shoe cubbies to underneath the window and get a narrower desk for where their cubbies used to be. This should give them more space to put their shoes and all of the bags they bring home from school and practices.
Back up in the first picture, you can see that roofing supplies were delivered and they’ll be starting on that next week!