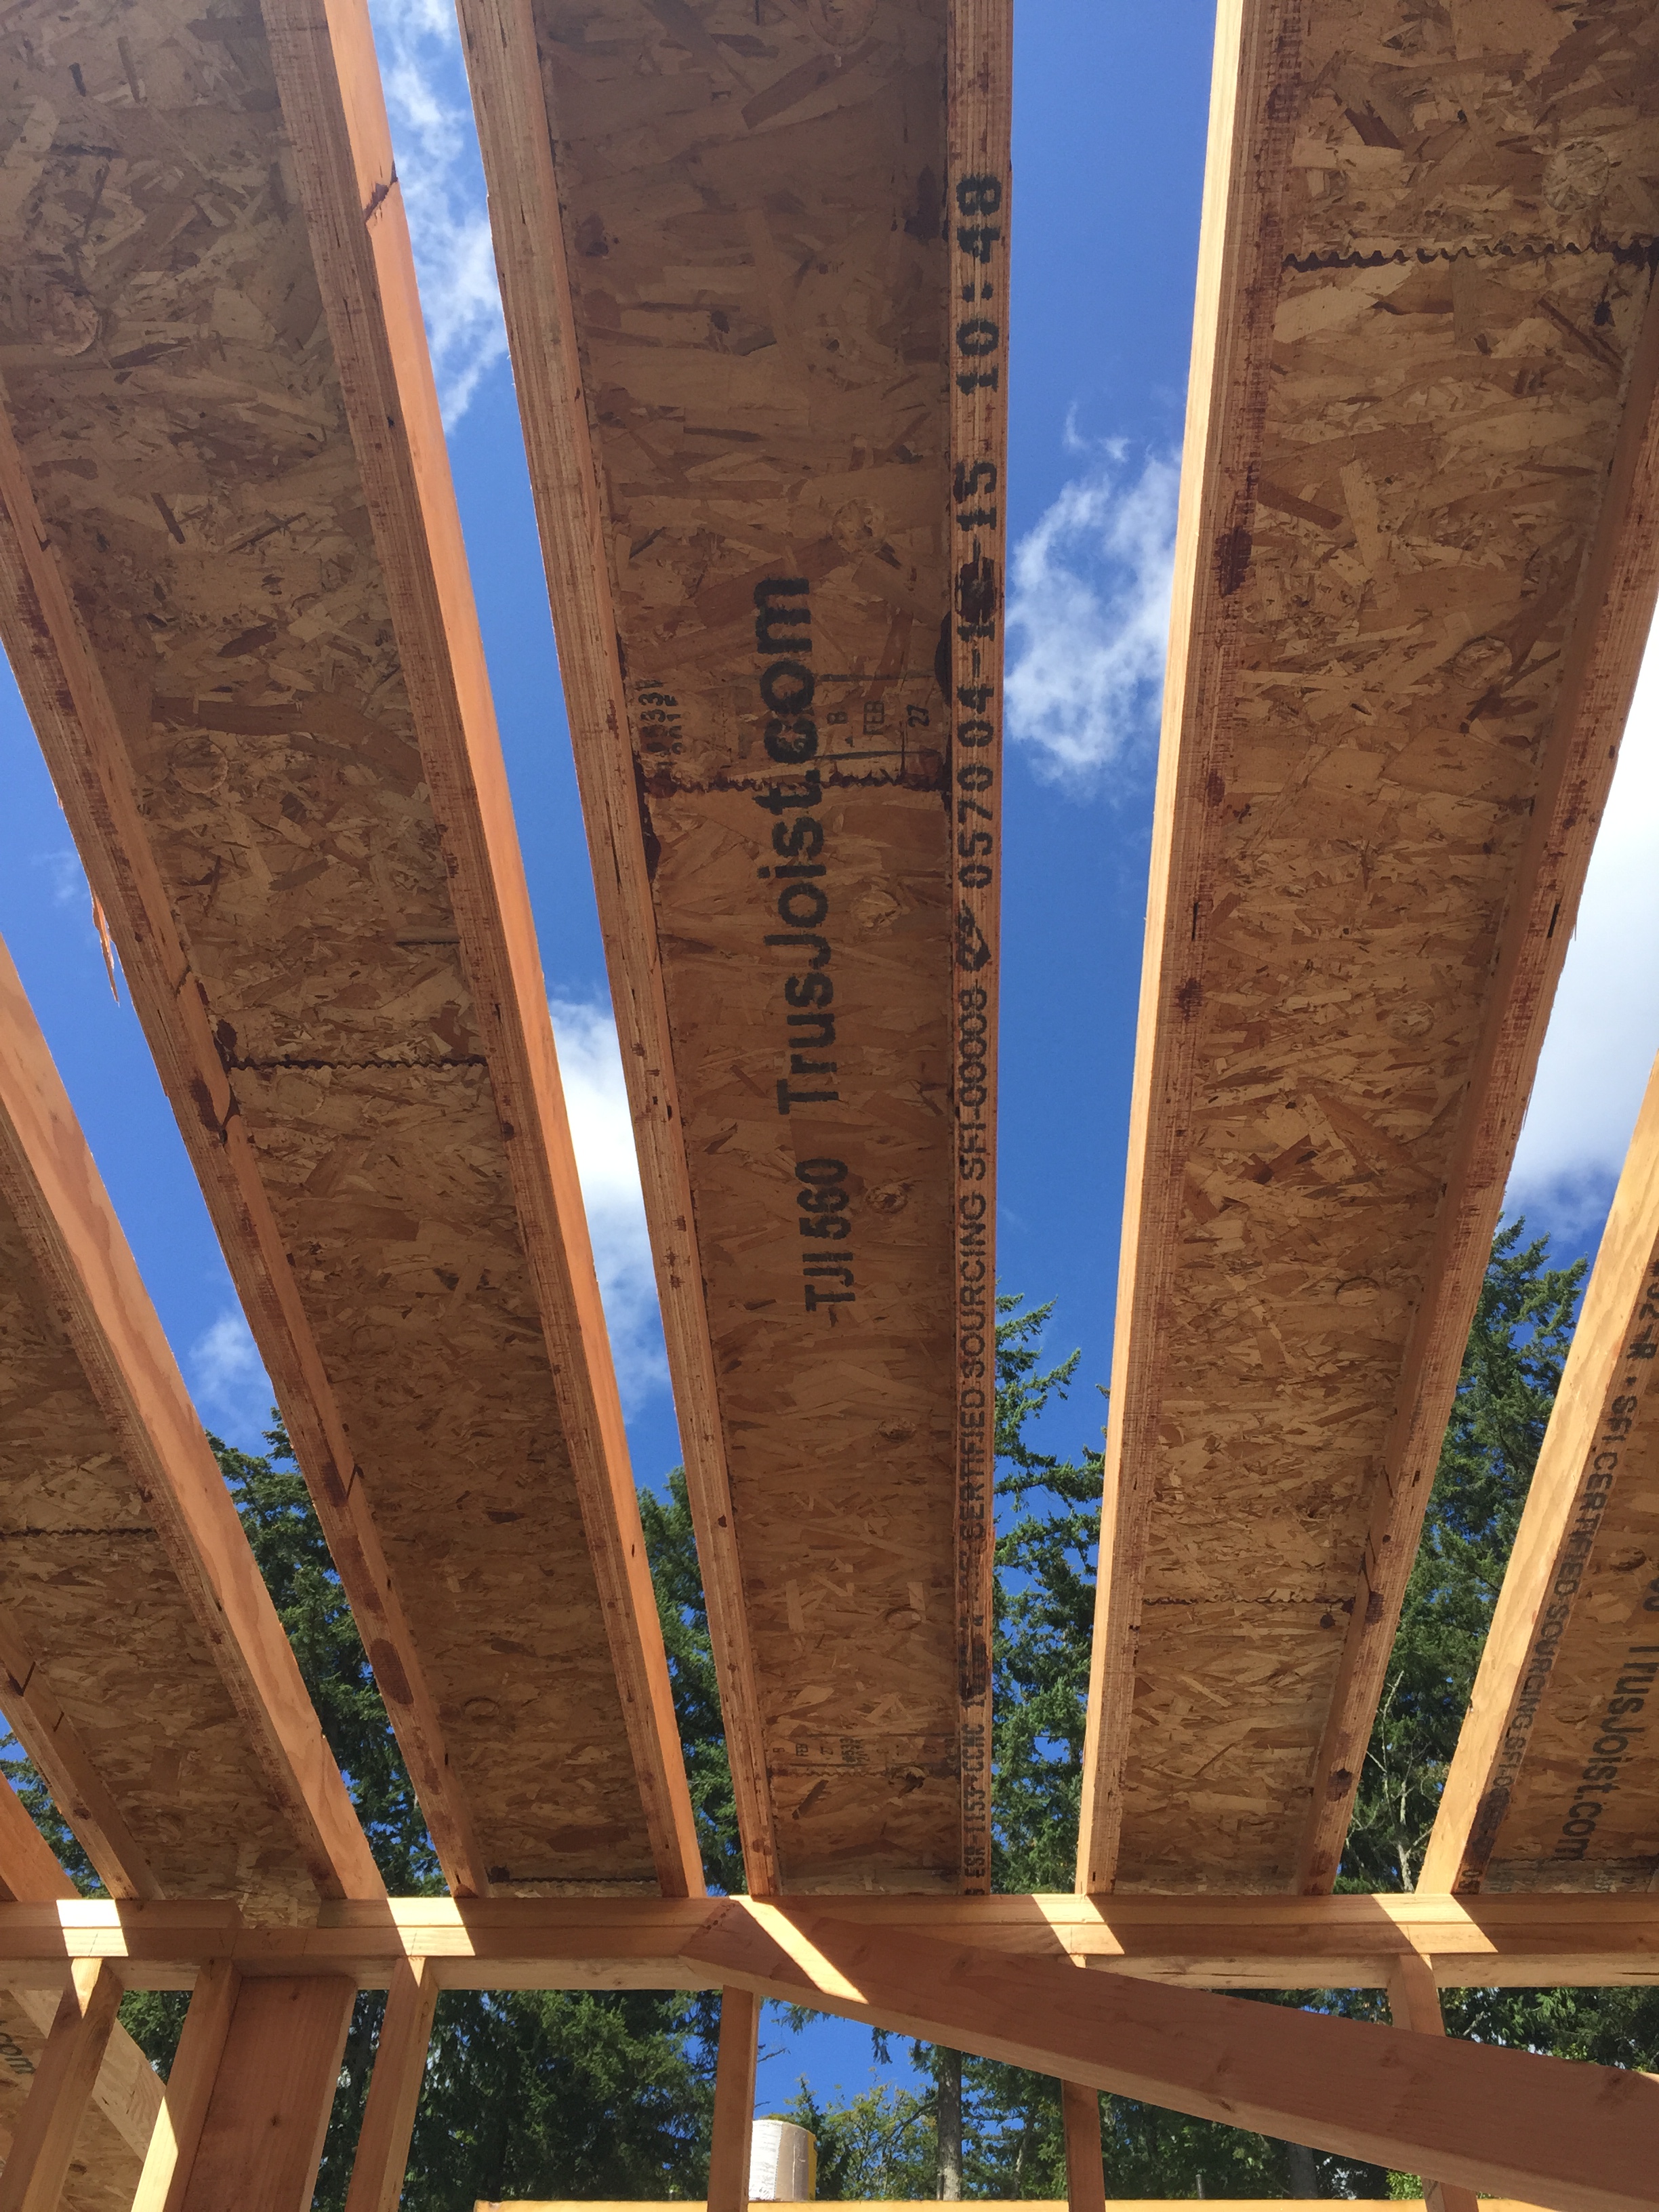
This week seemed like there wasn’t all that much progress when I look at where the house was last week compared to this week, but they actually got quite a bit done. There were random wall & ceilings that needed to be finished up (or changed…because things didn’t look quite right and I wanted little things slightly different than what was originally planned…hello change order)! In addition to these little framing things, they were really getting ready for the roof to be put on next week – which meant getting all of the plates/brackets/etc put in the right spots – something that I really don’t even notice.
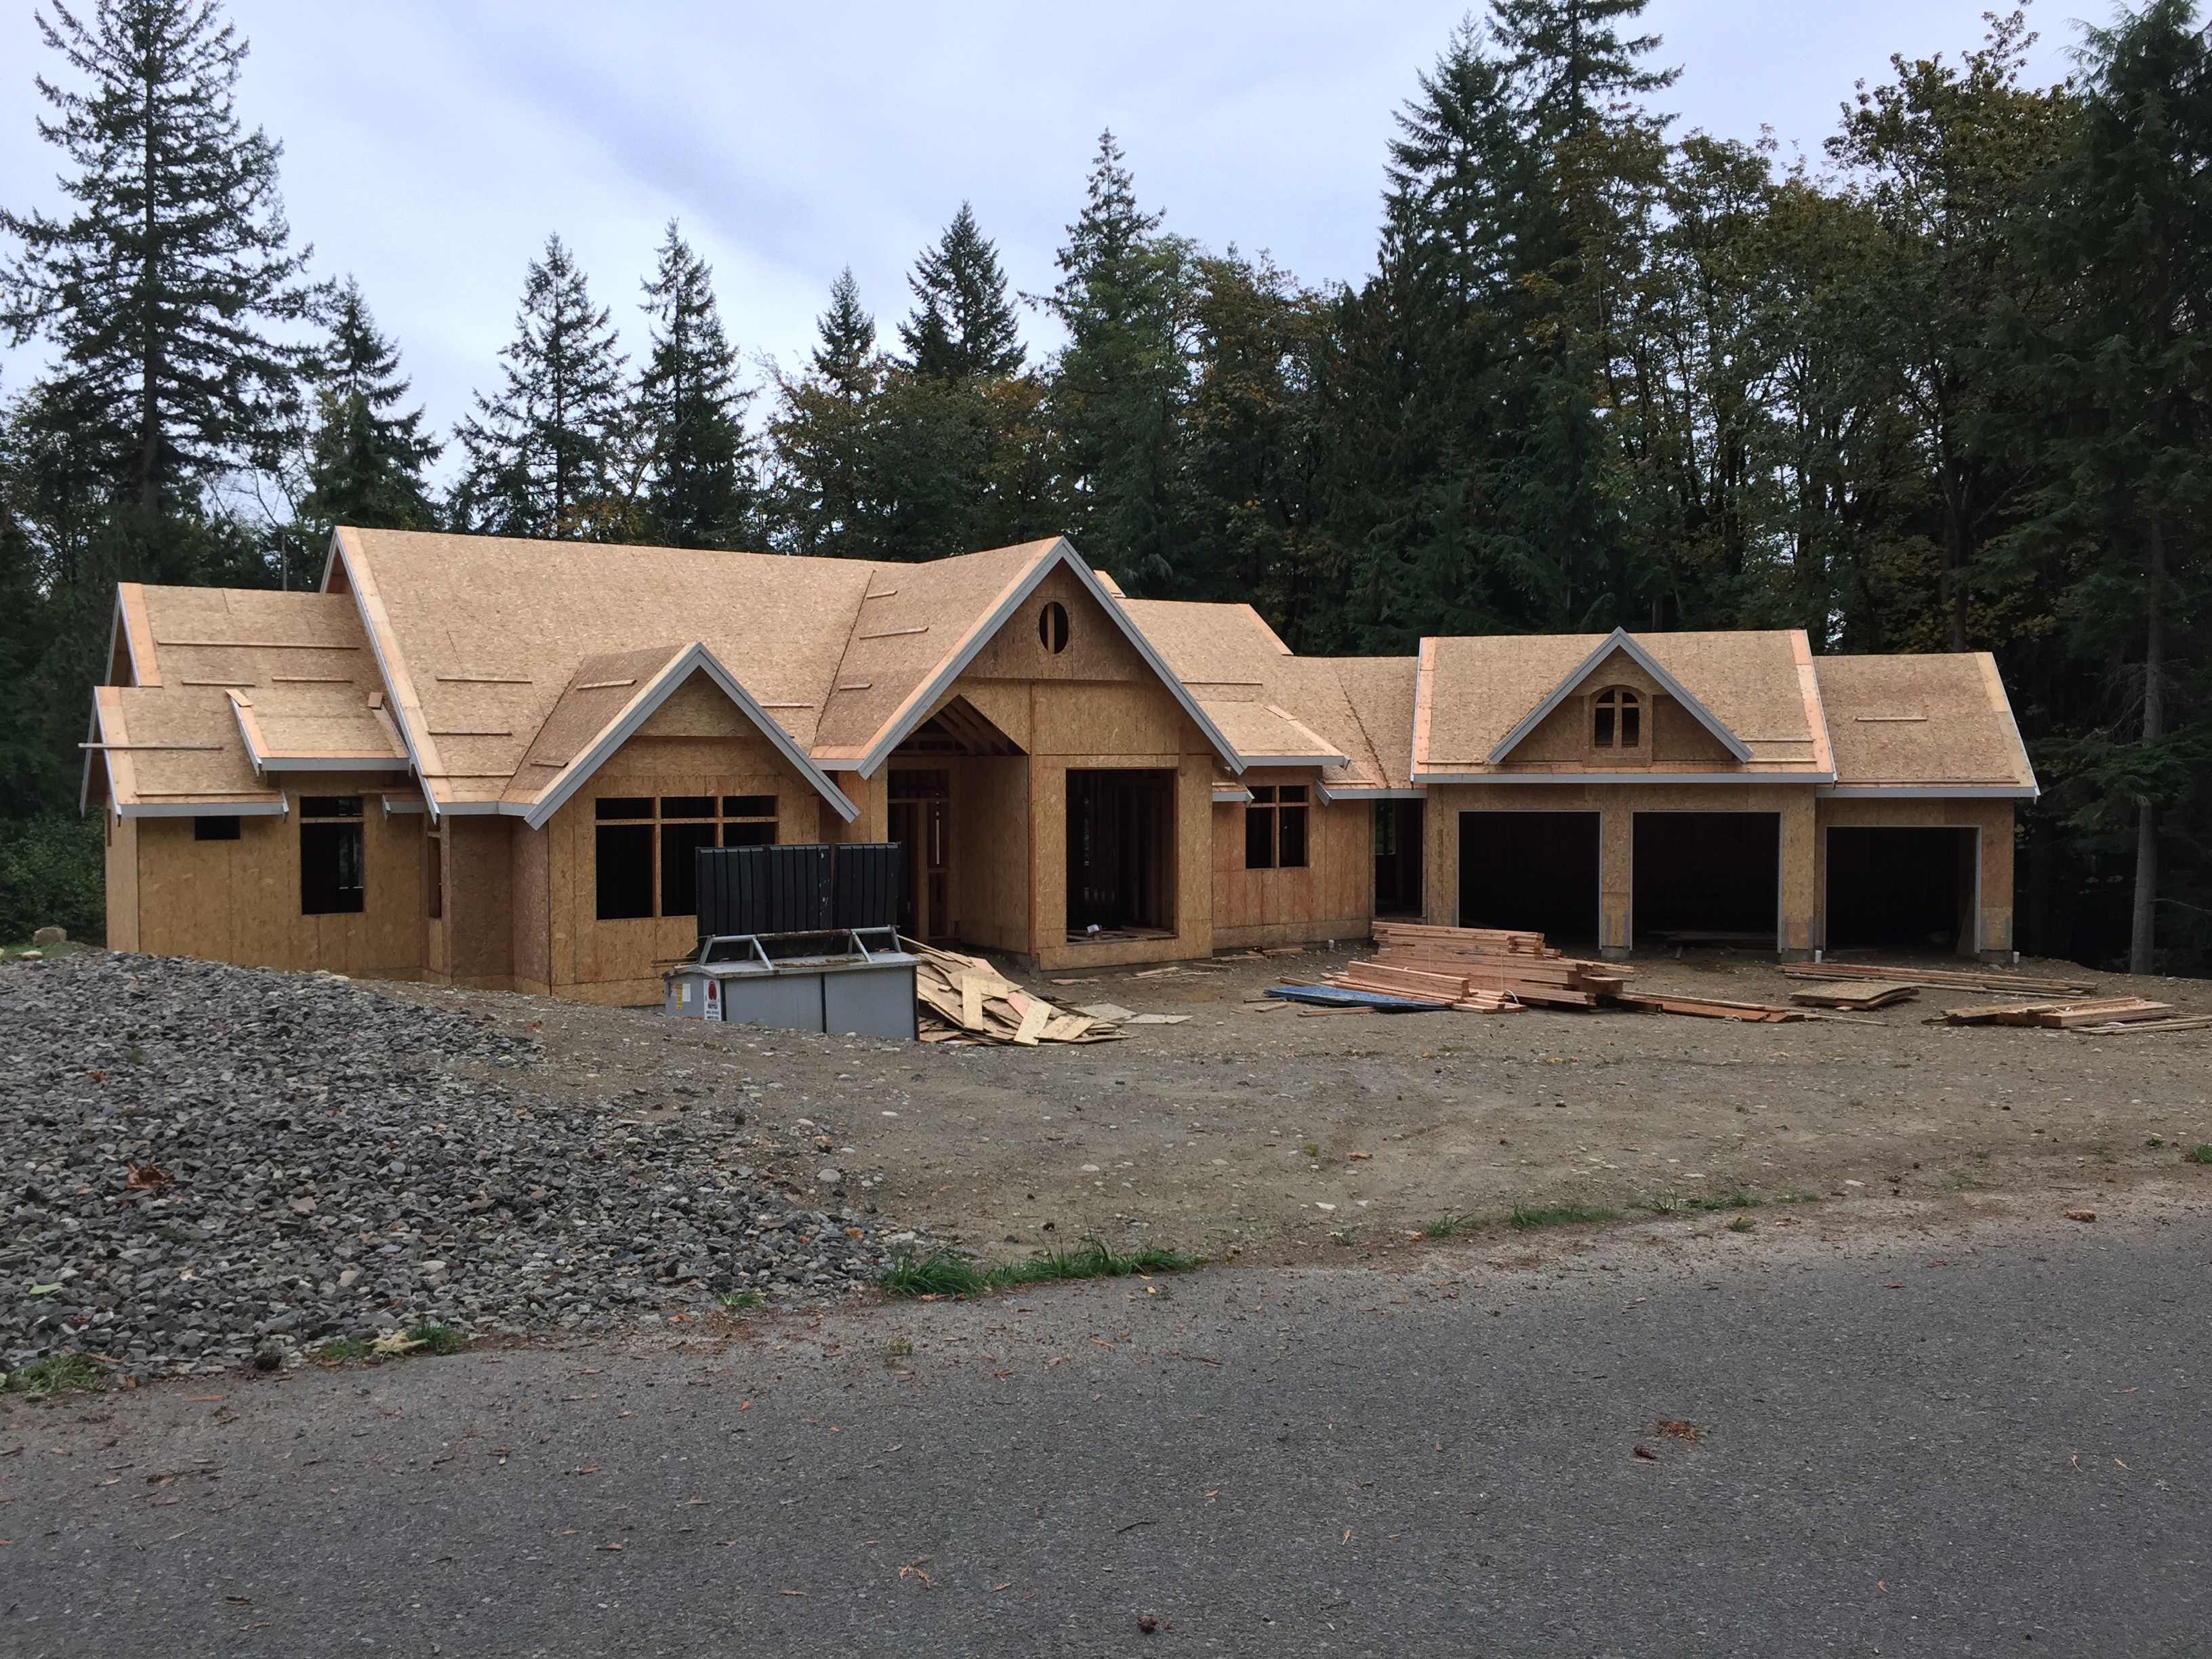
It’s coming along!!
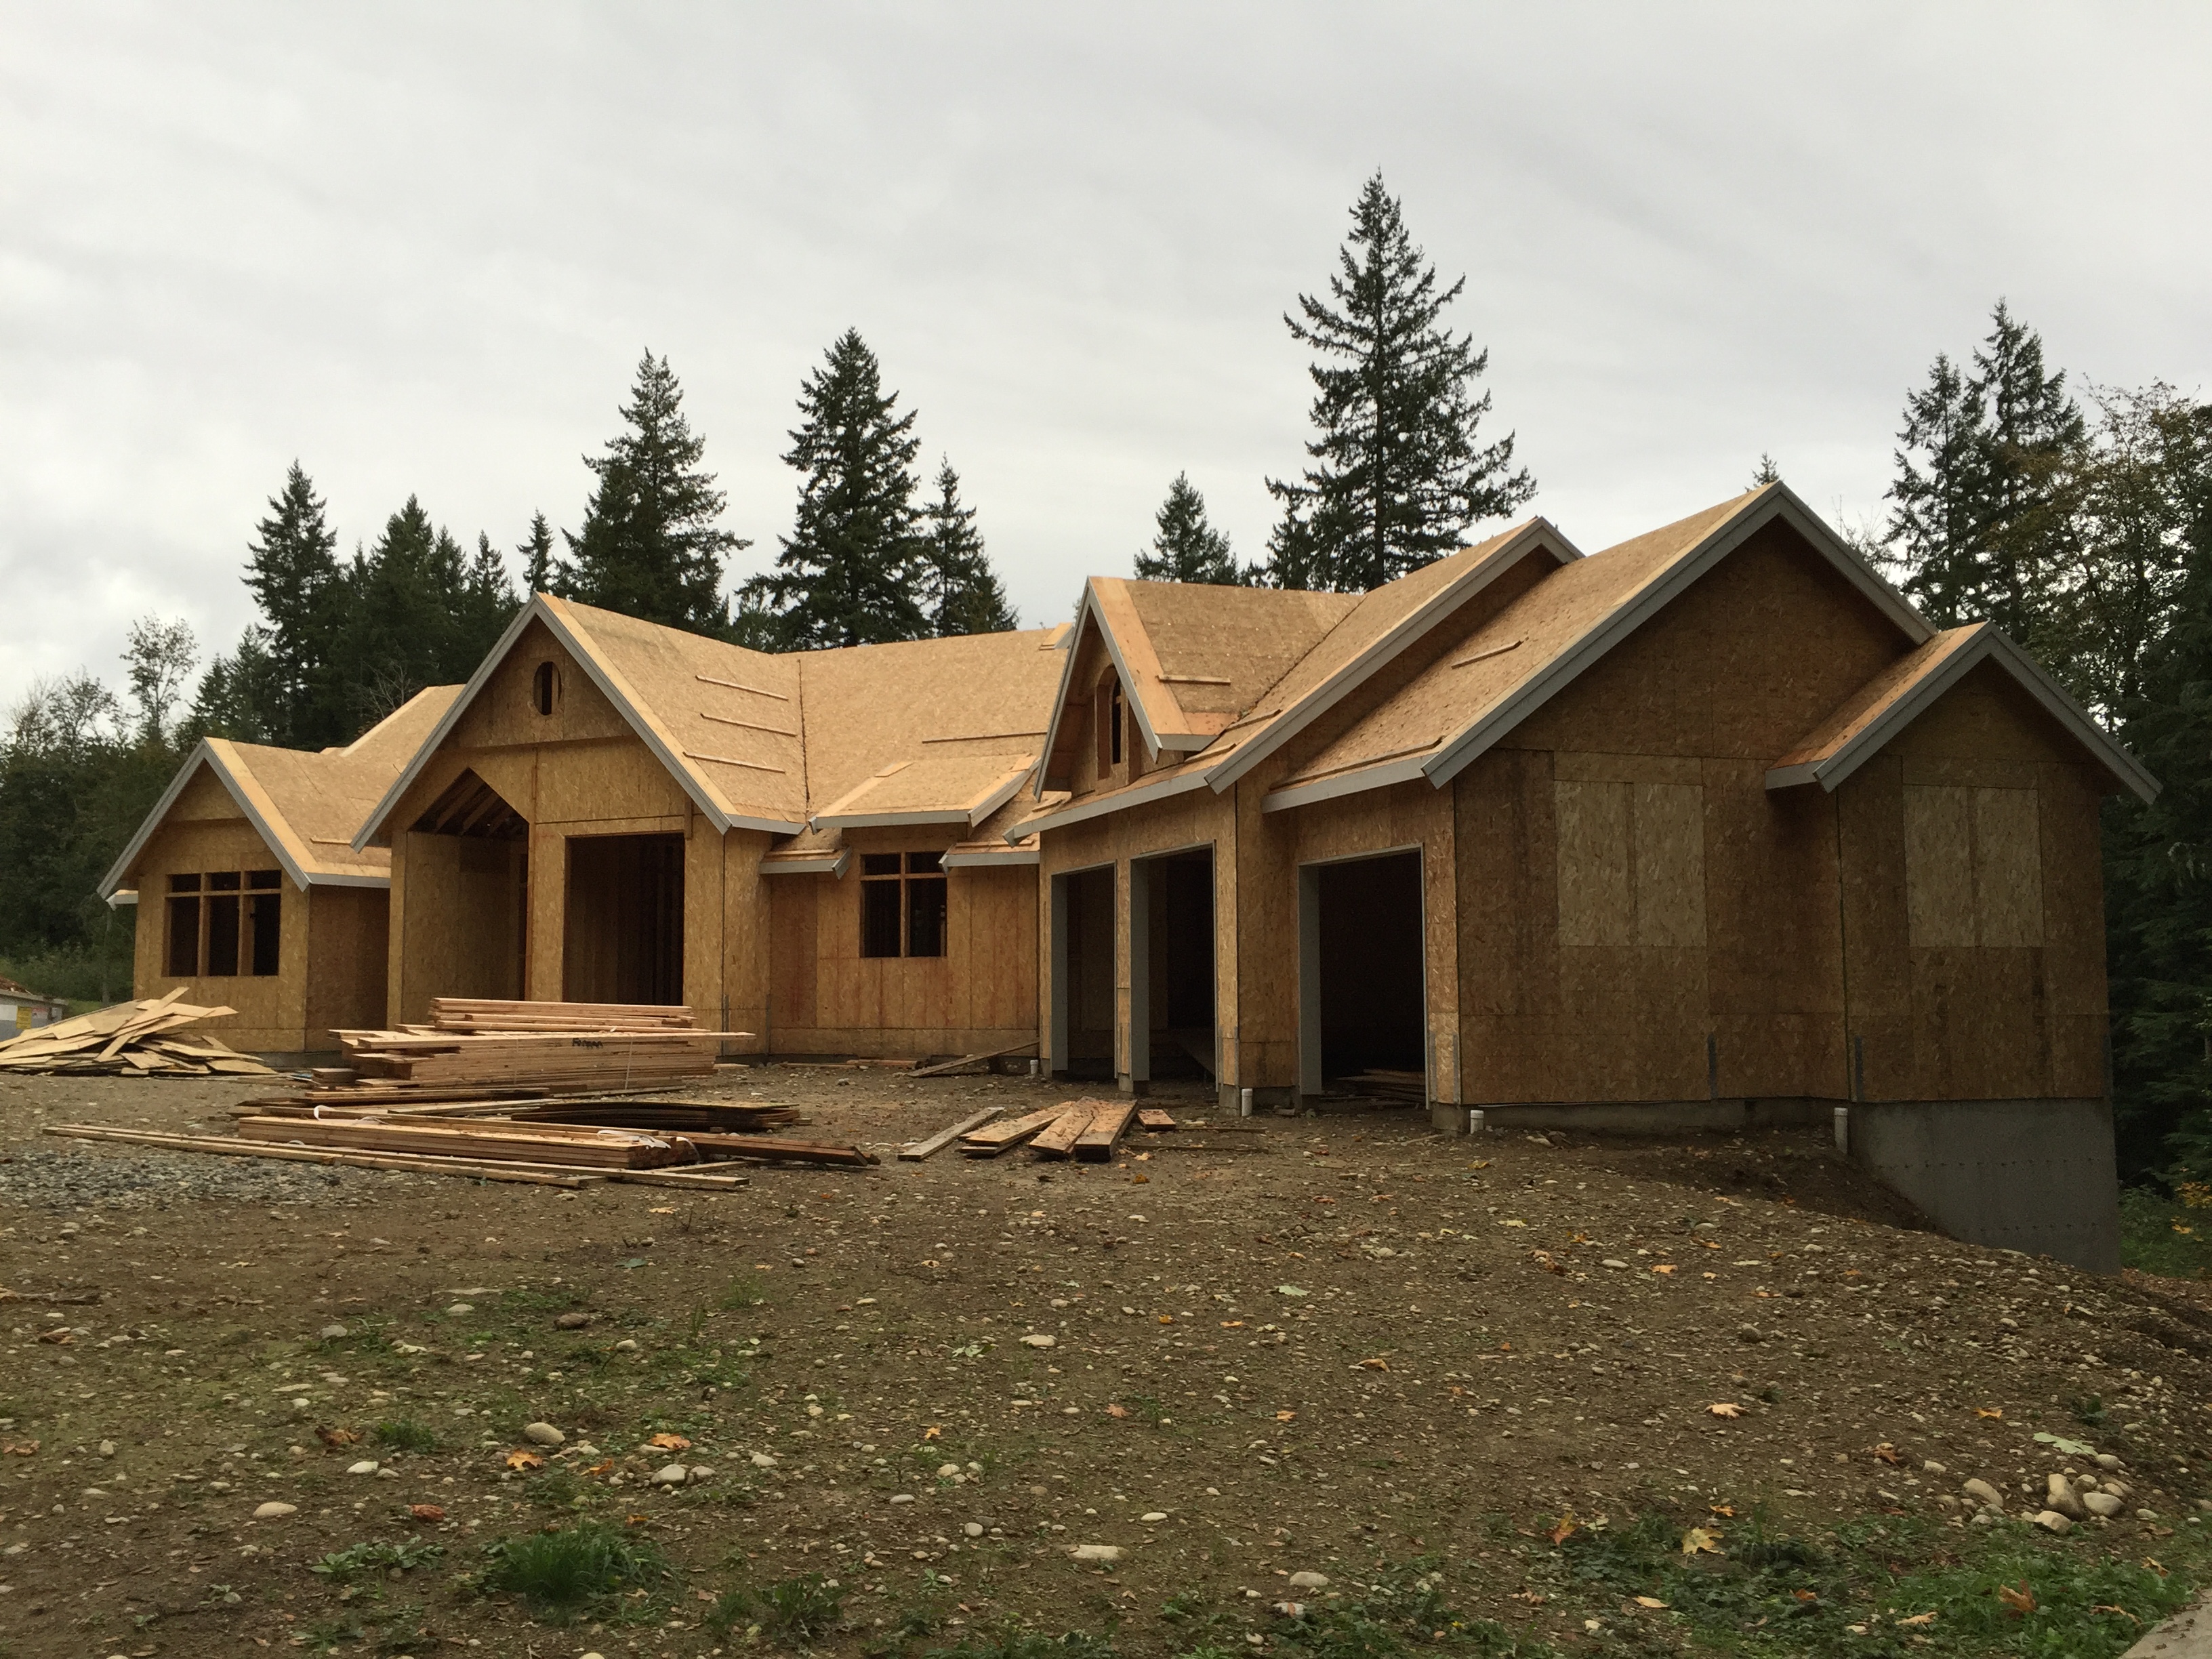
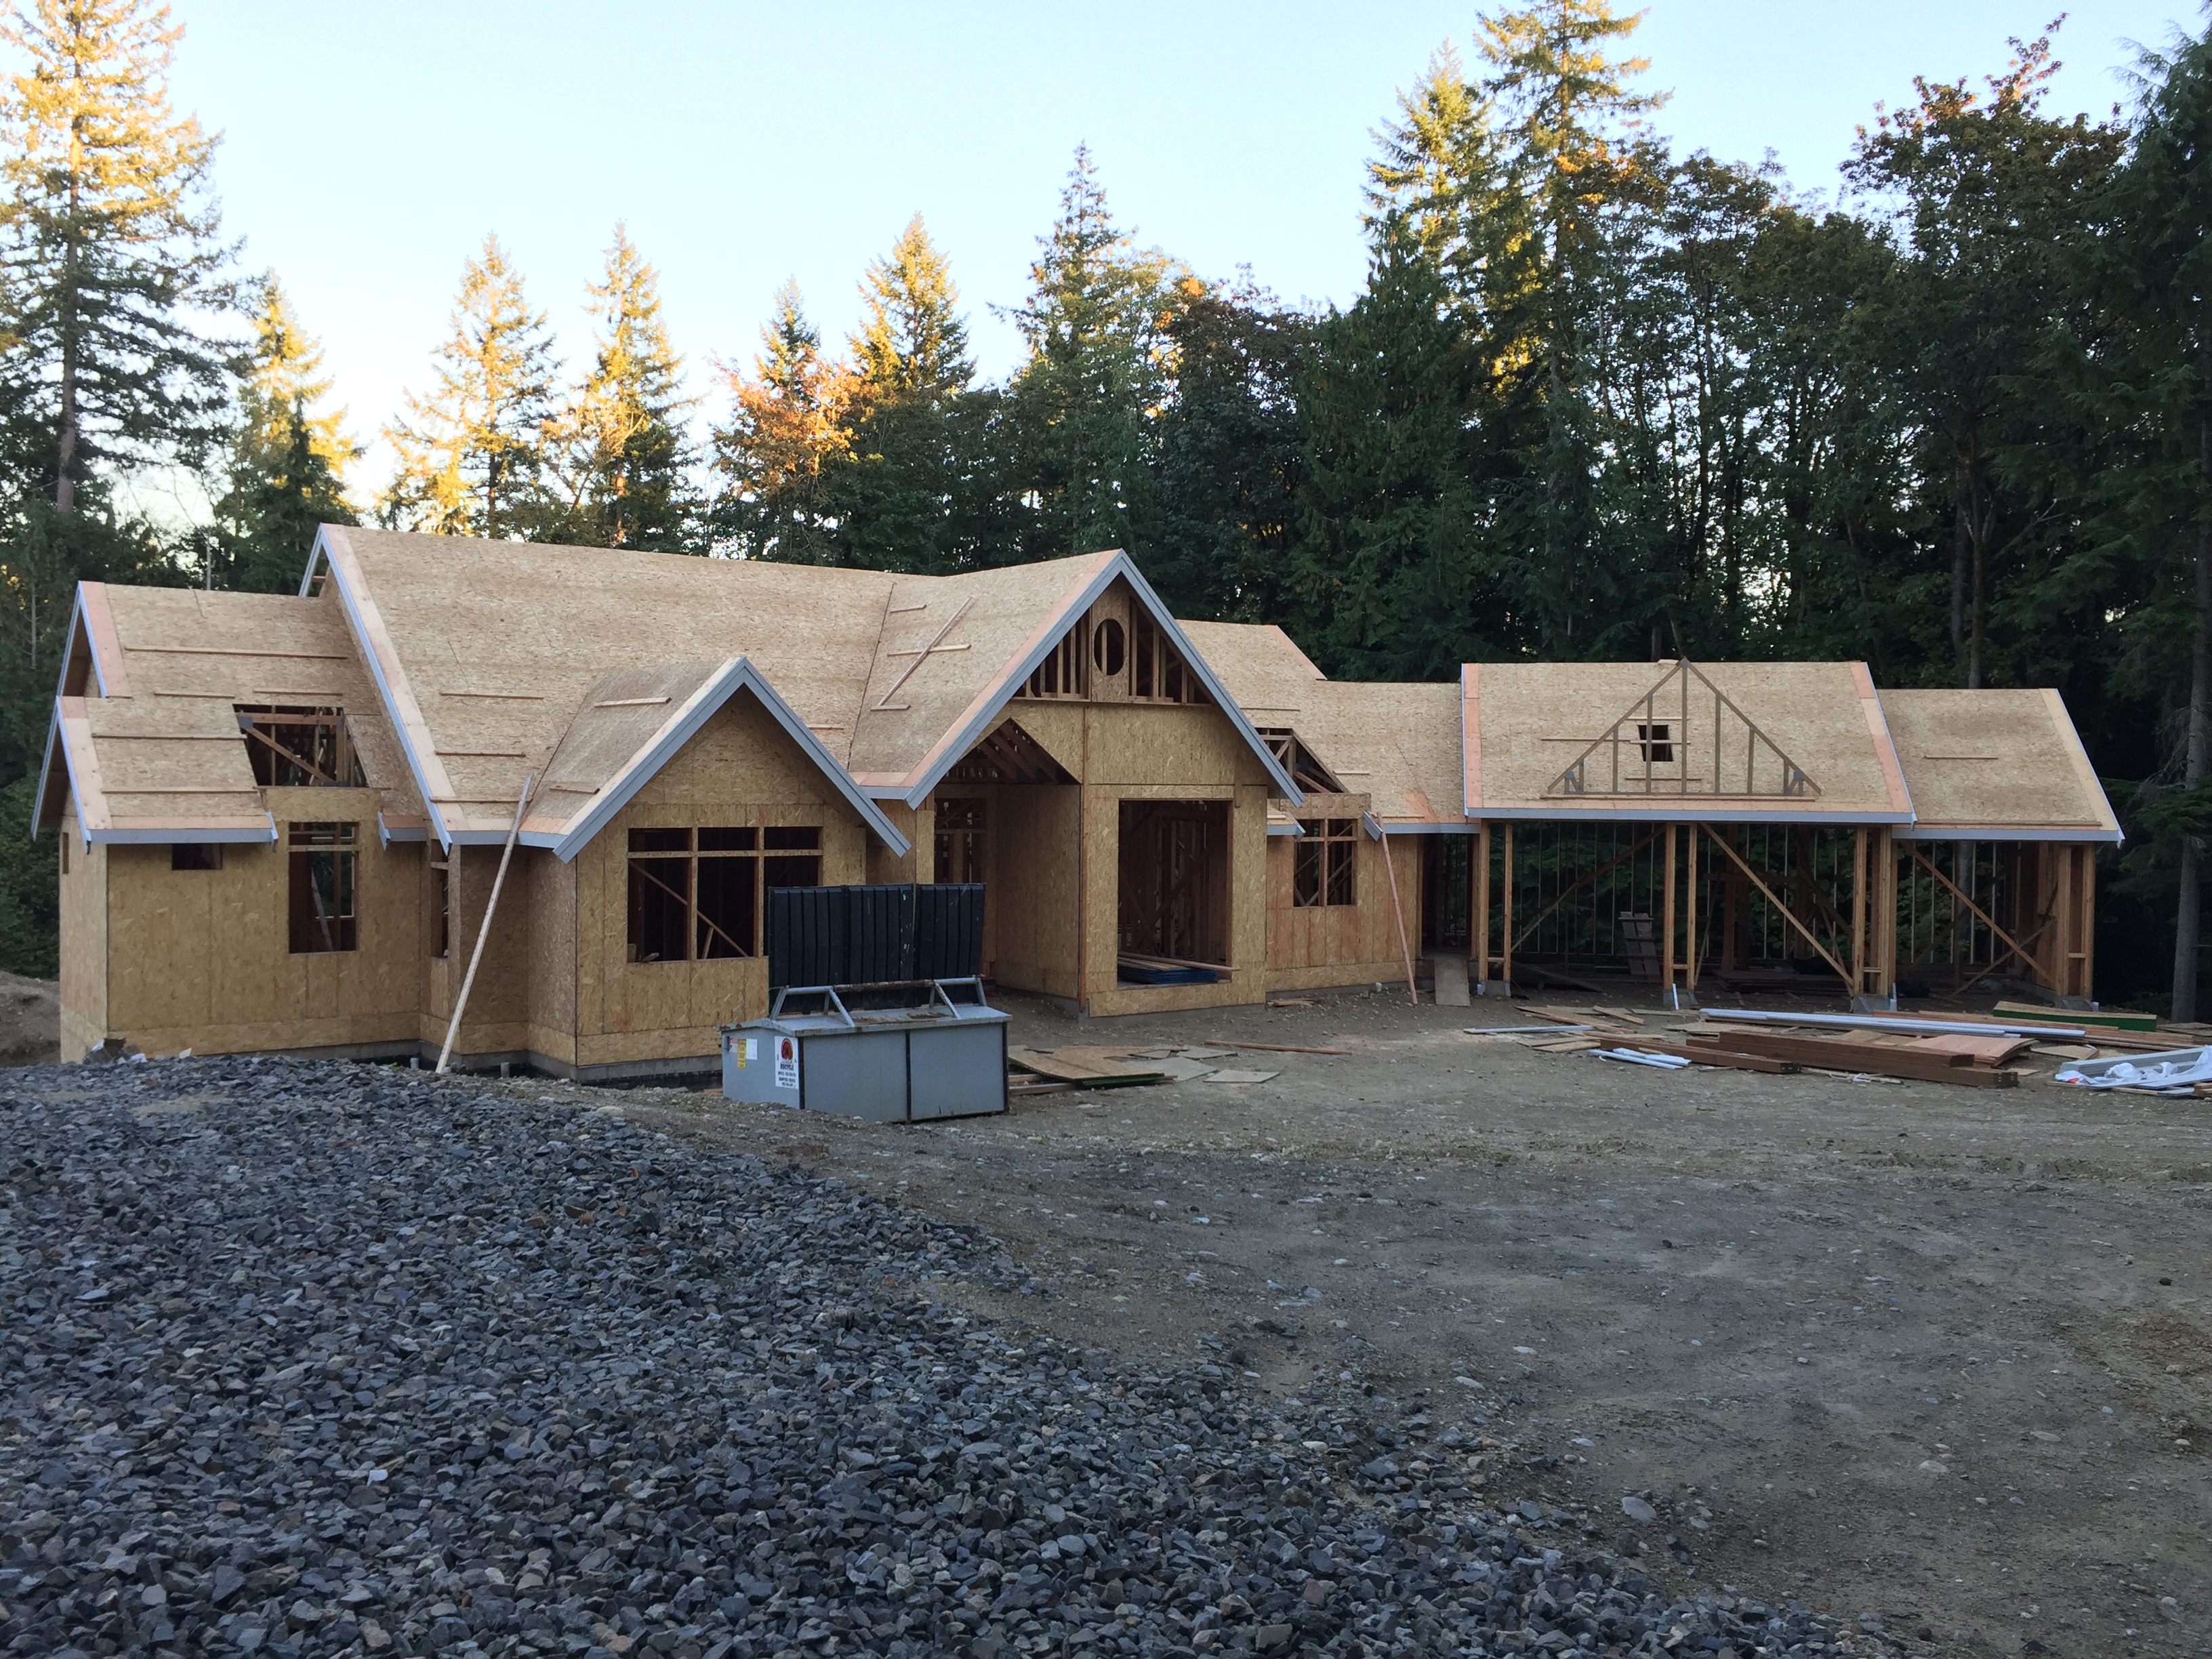
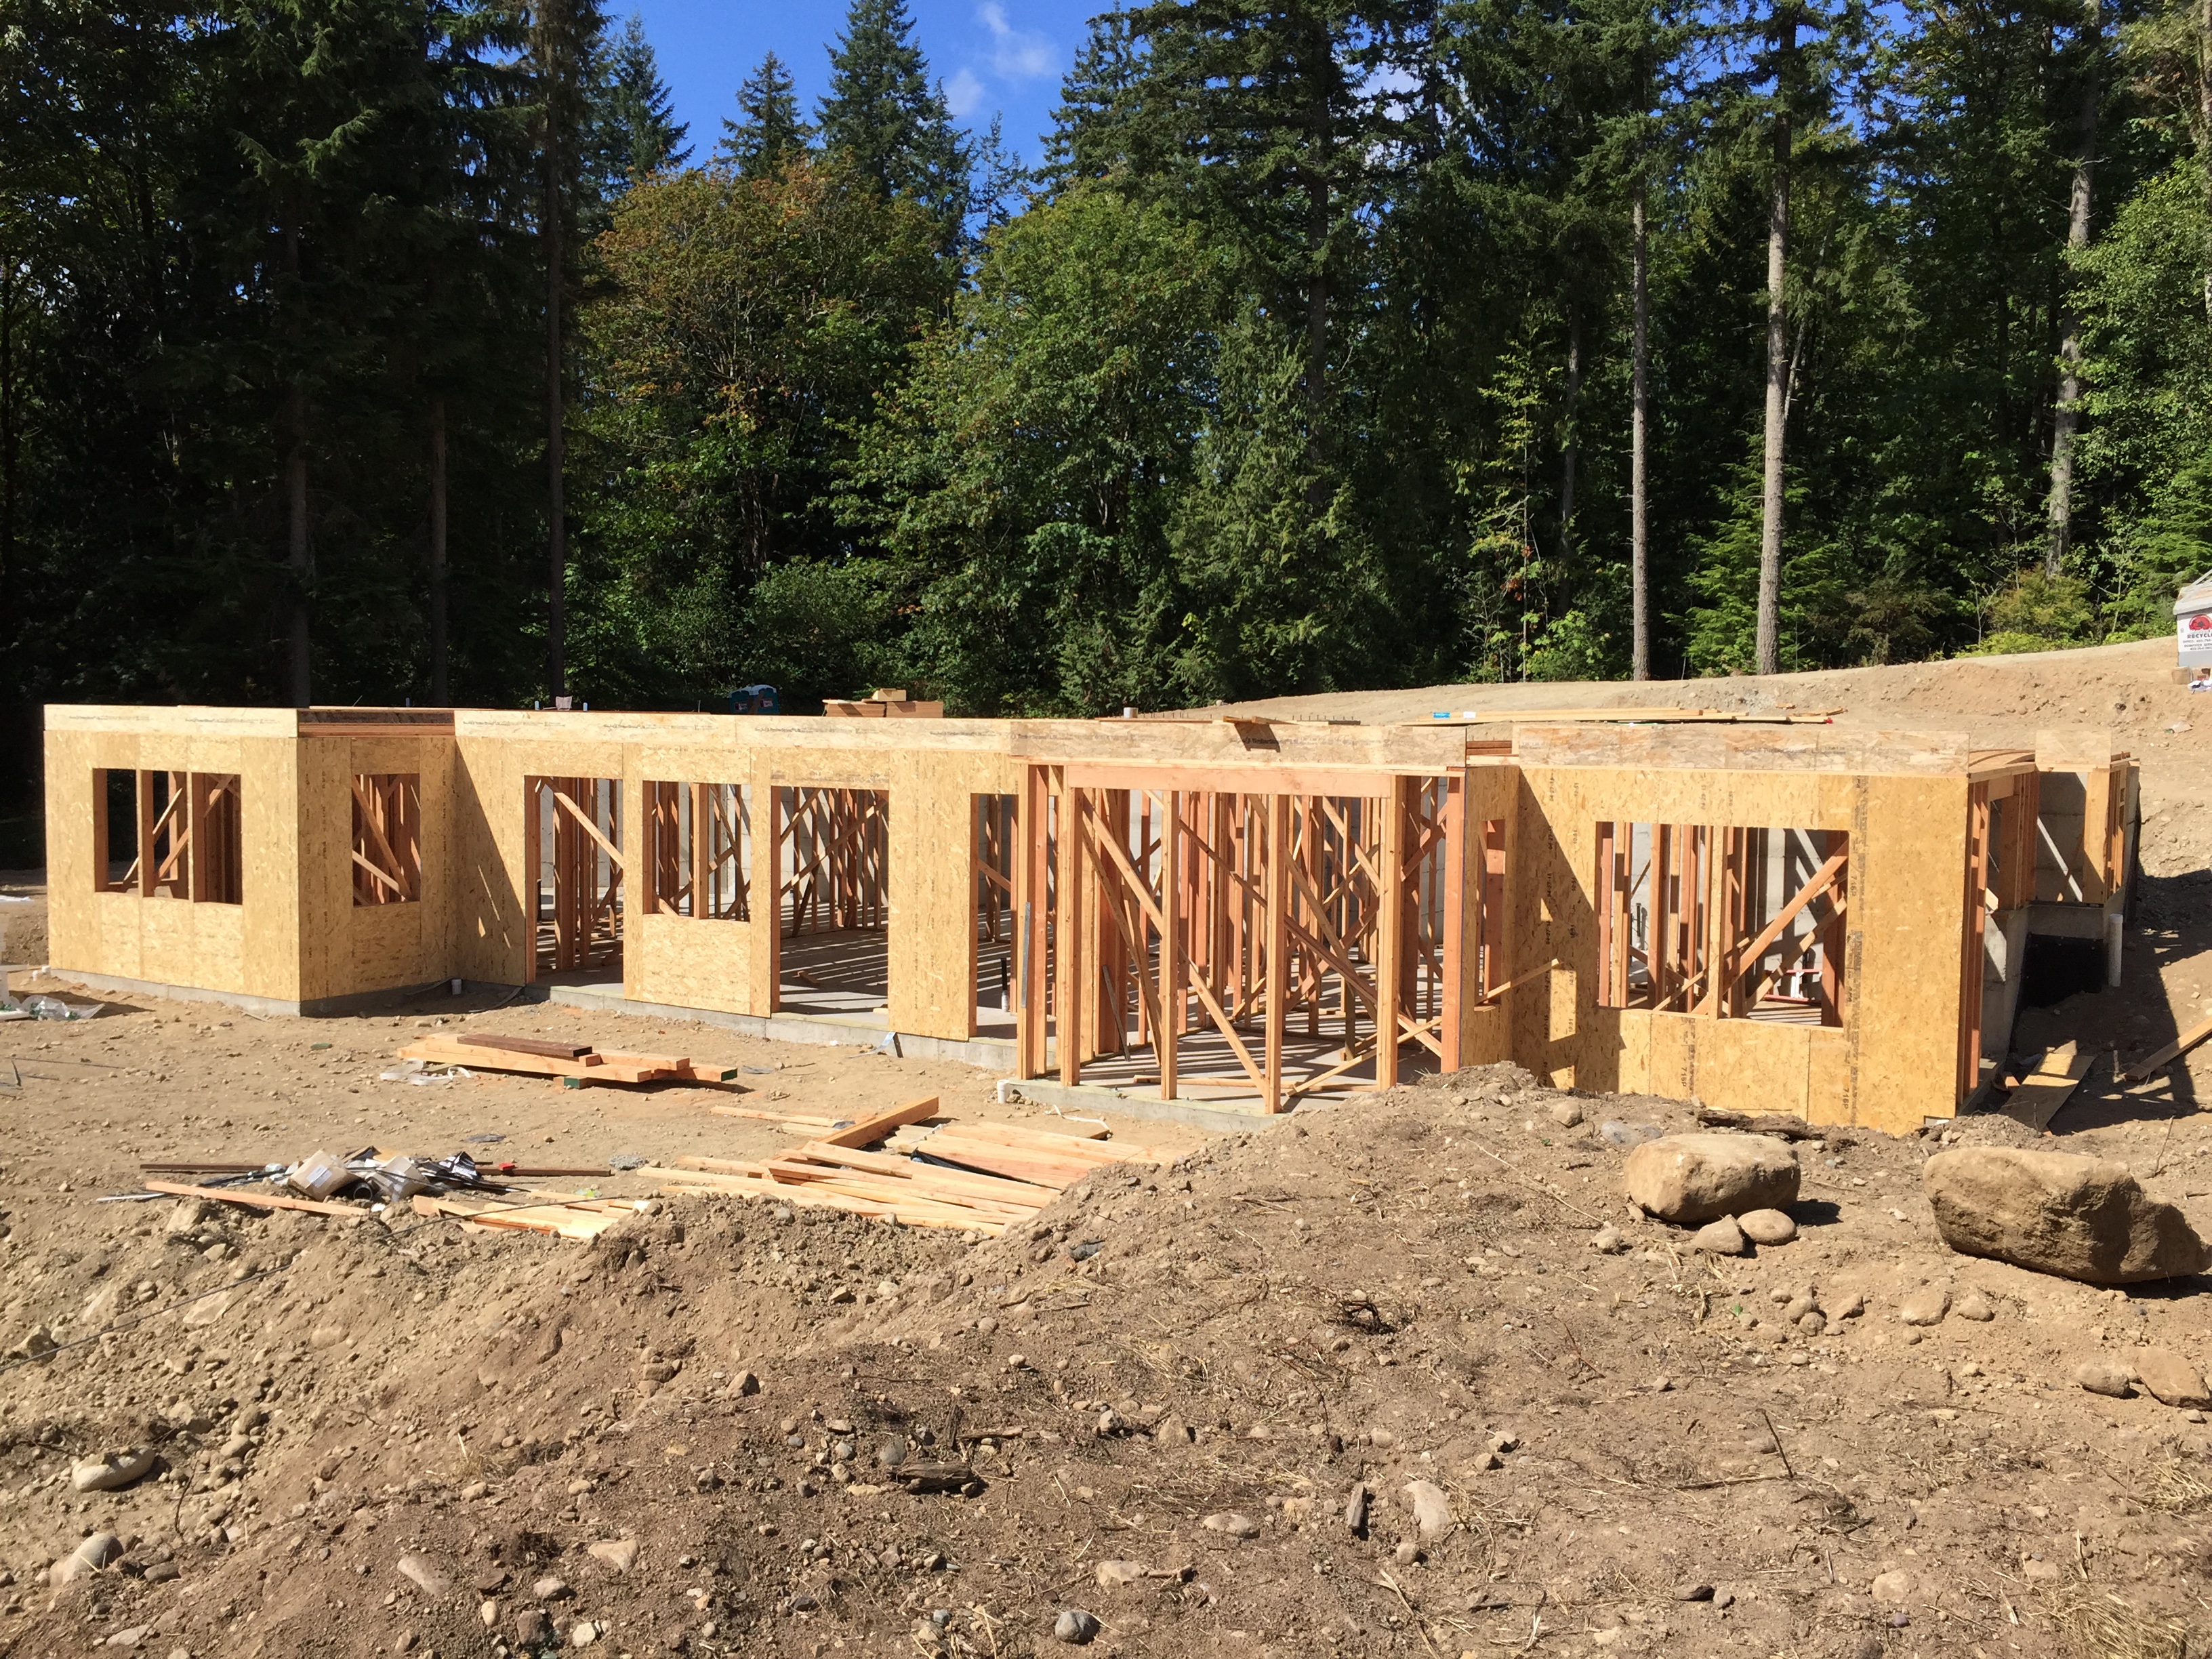
A view of the front from the other direction.

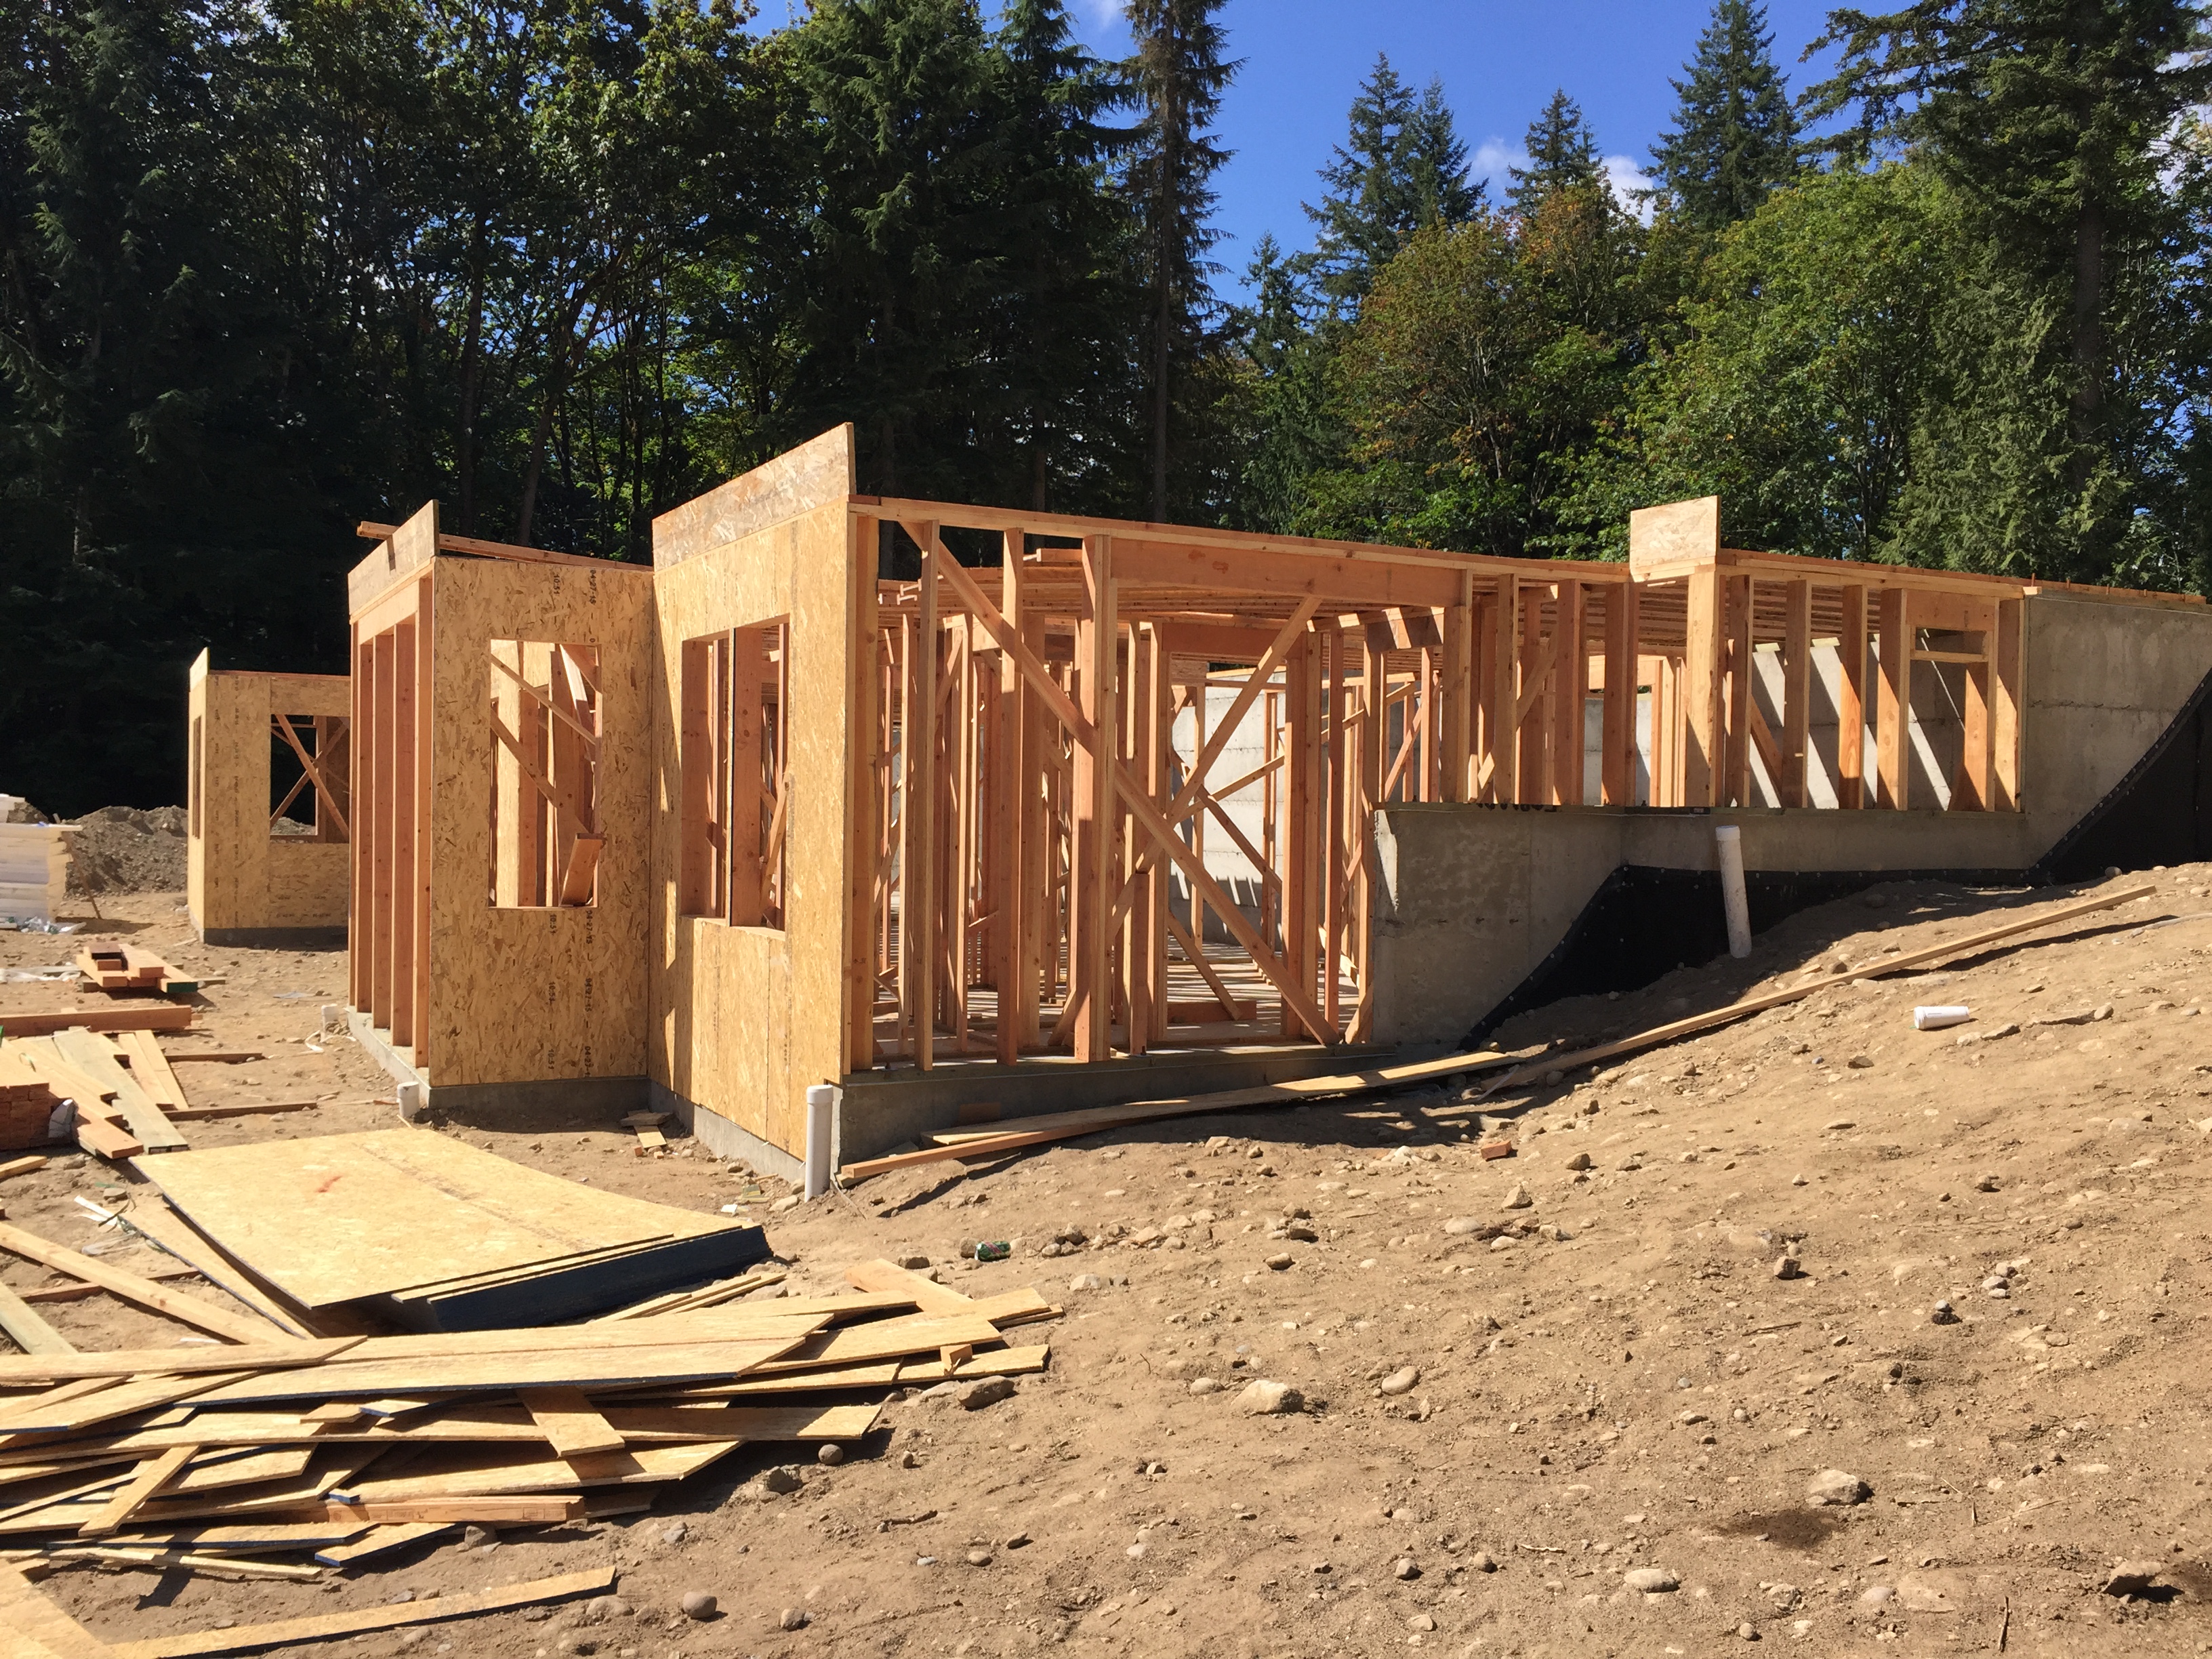
The garage doors were framed this week.
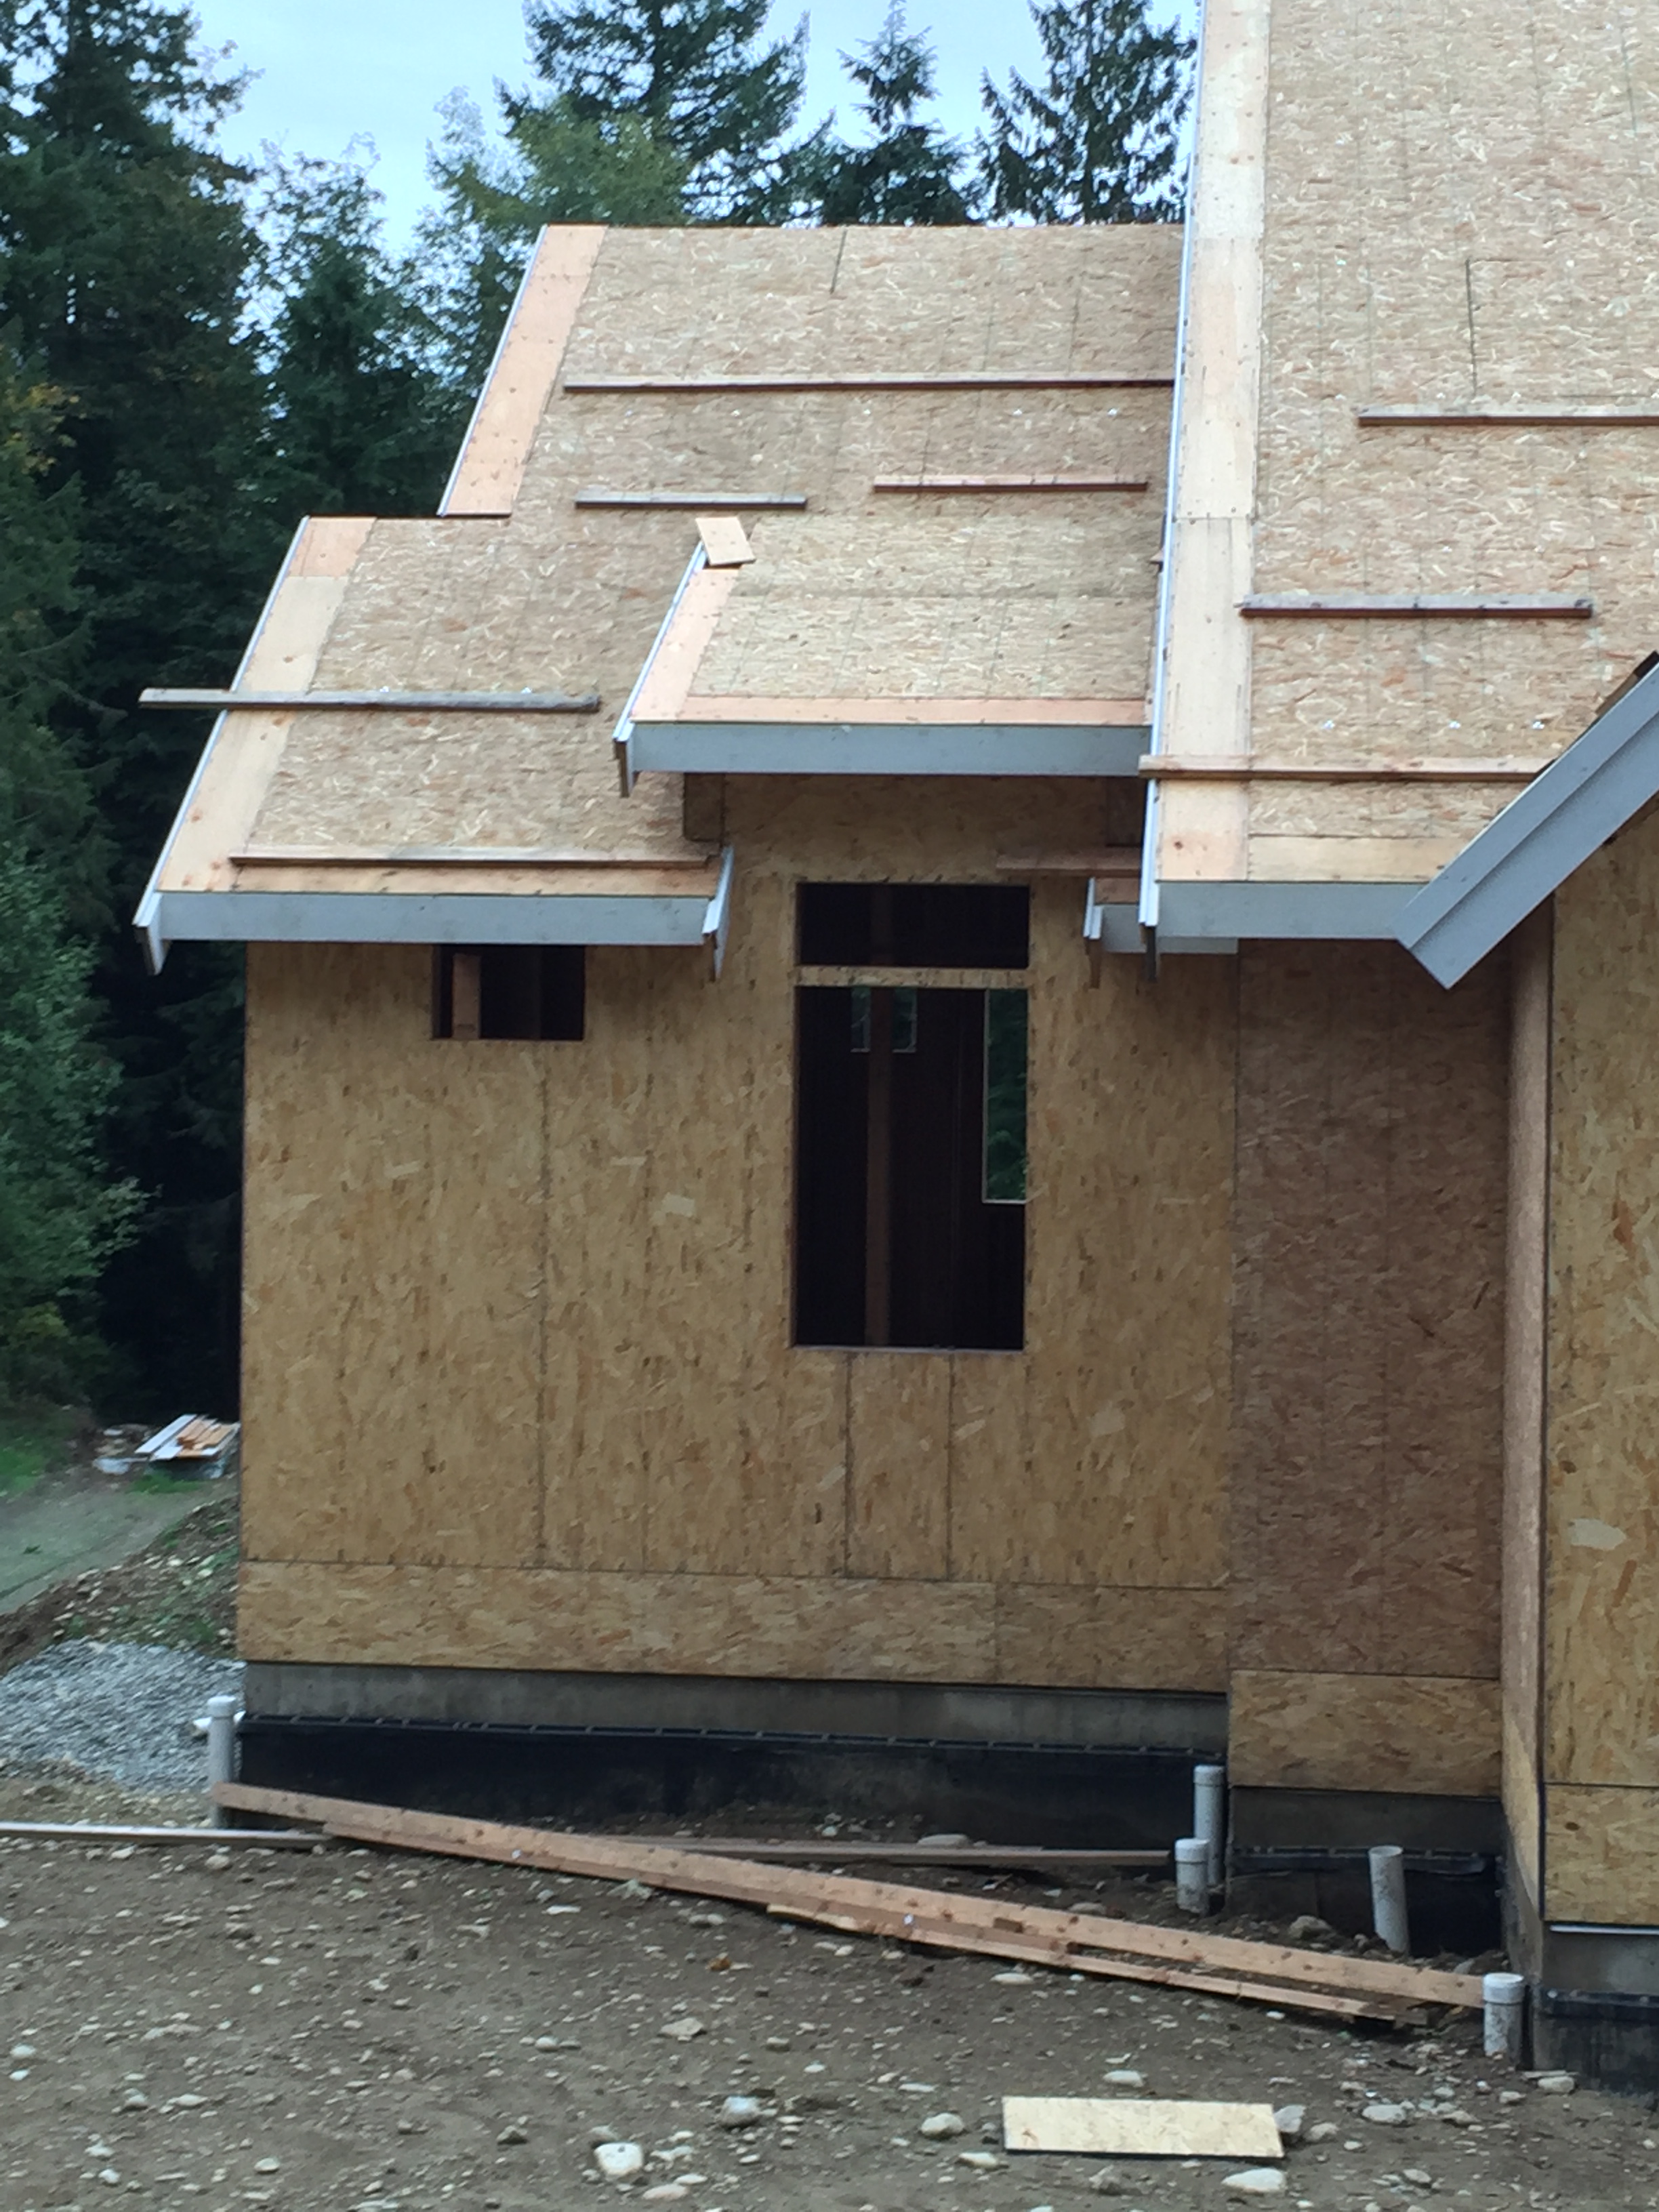
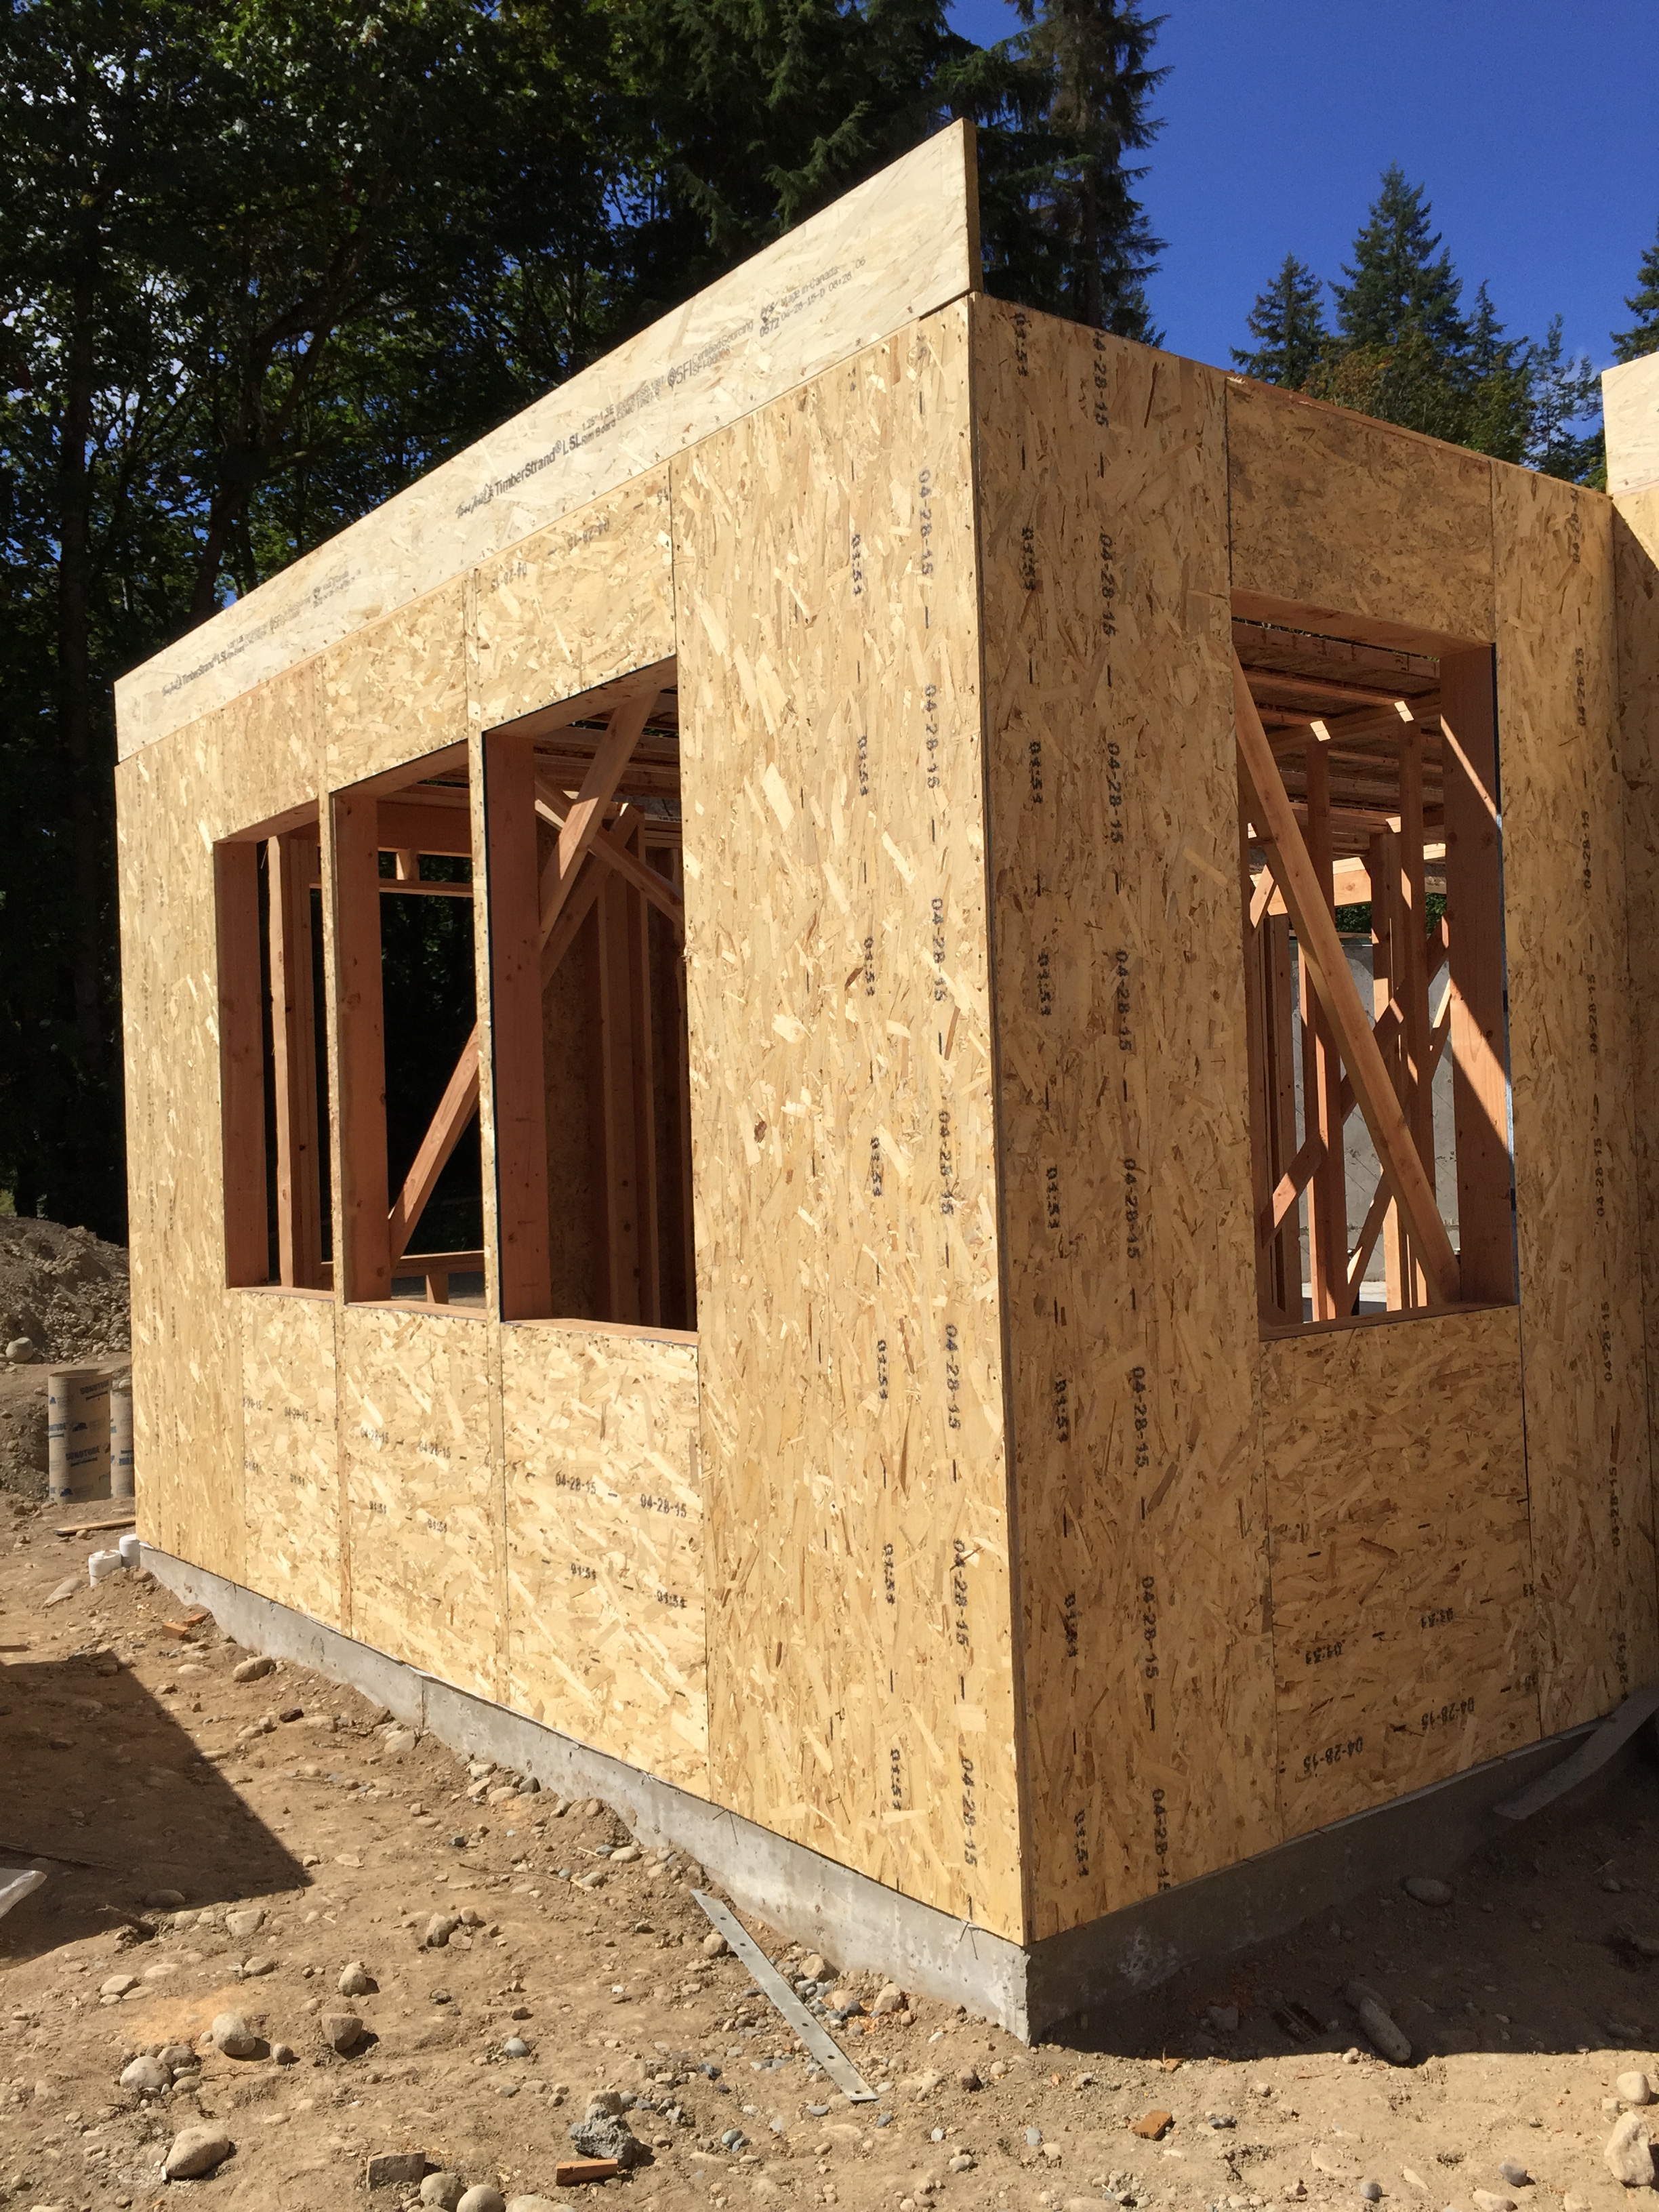
They finished the last little shed roof above the master closet this week.
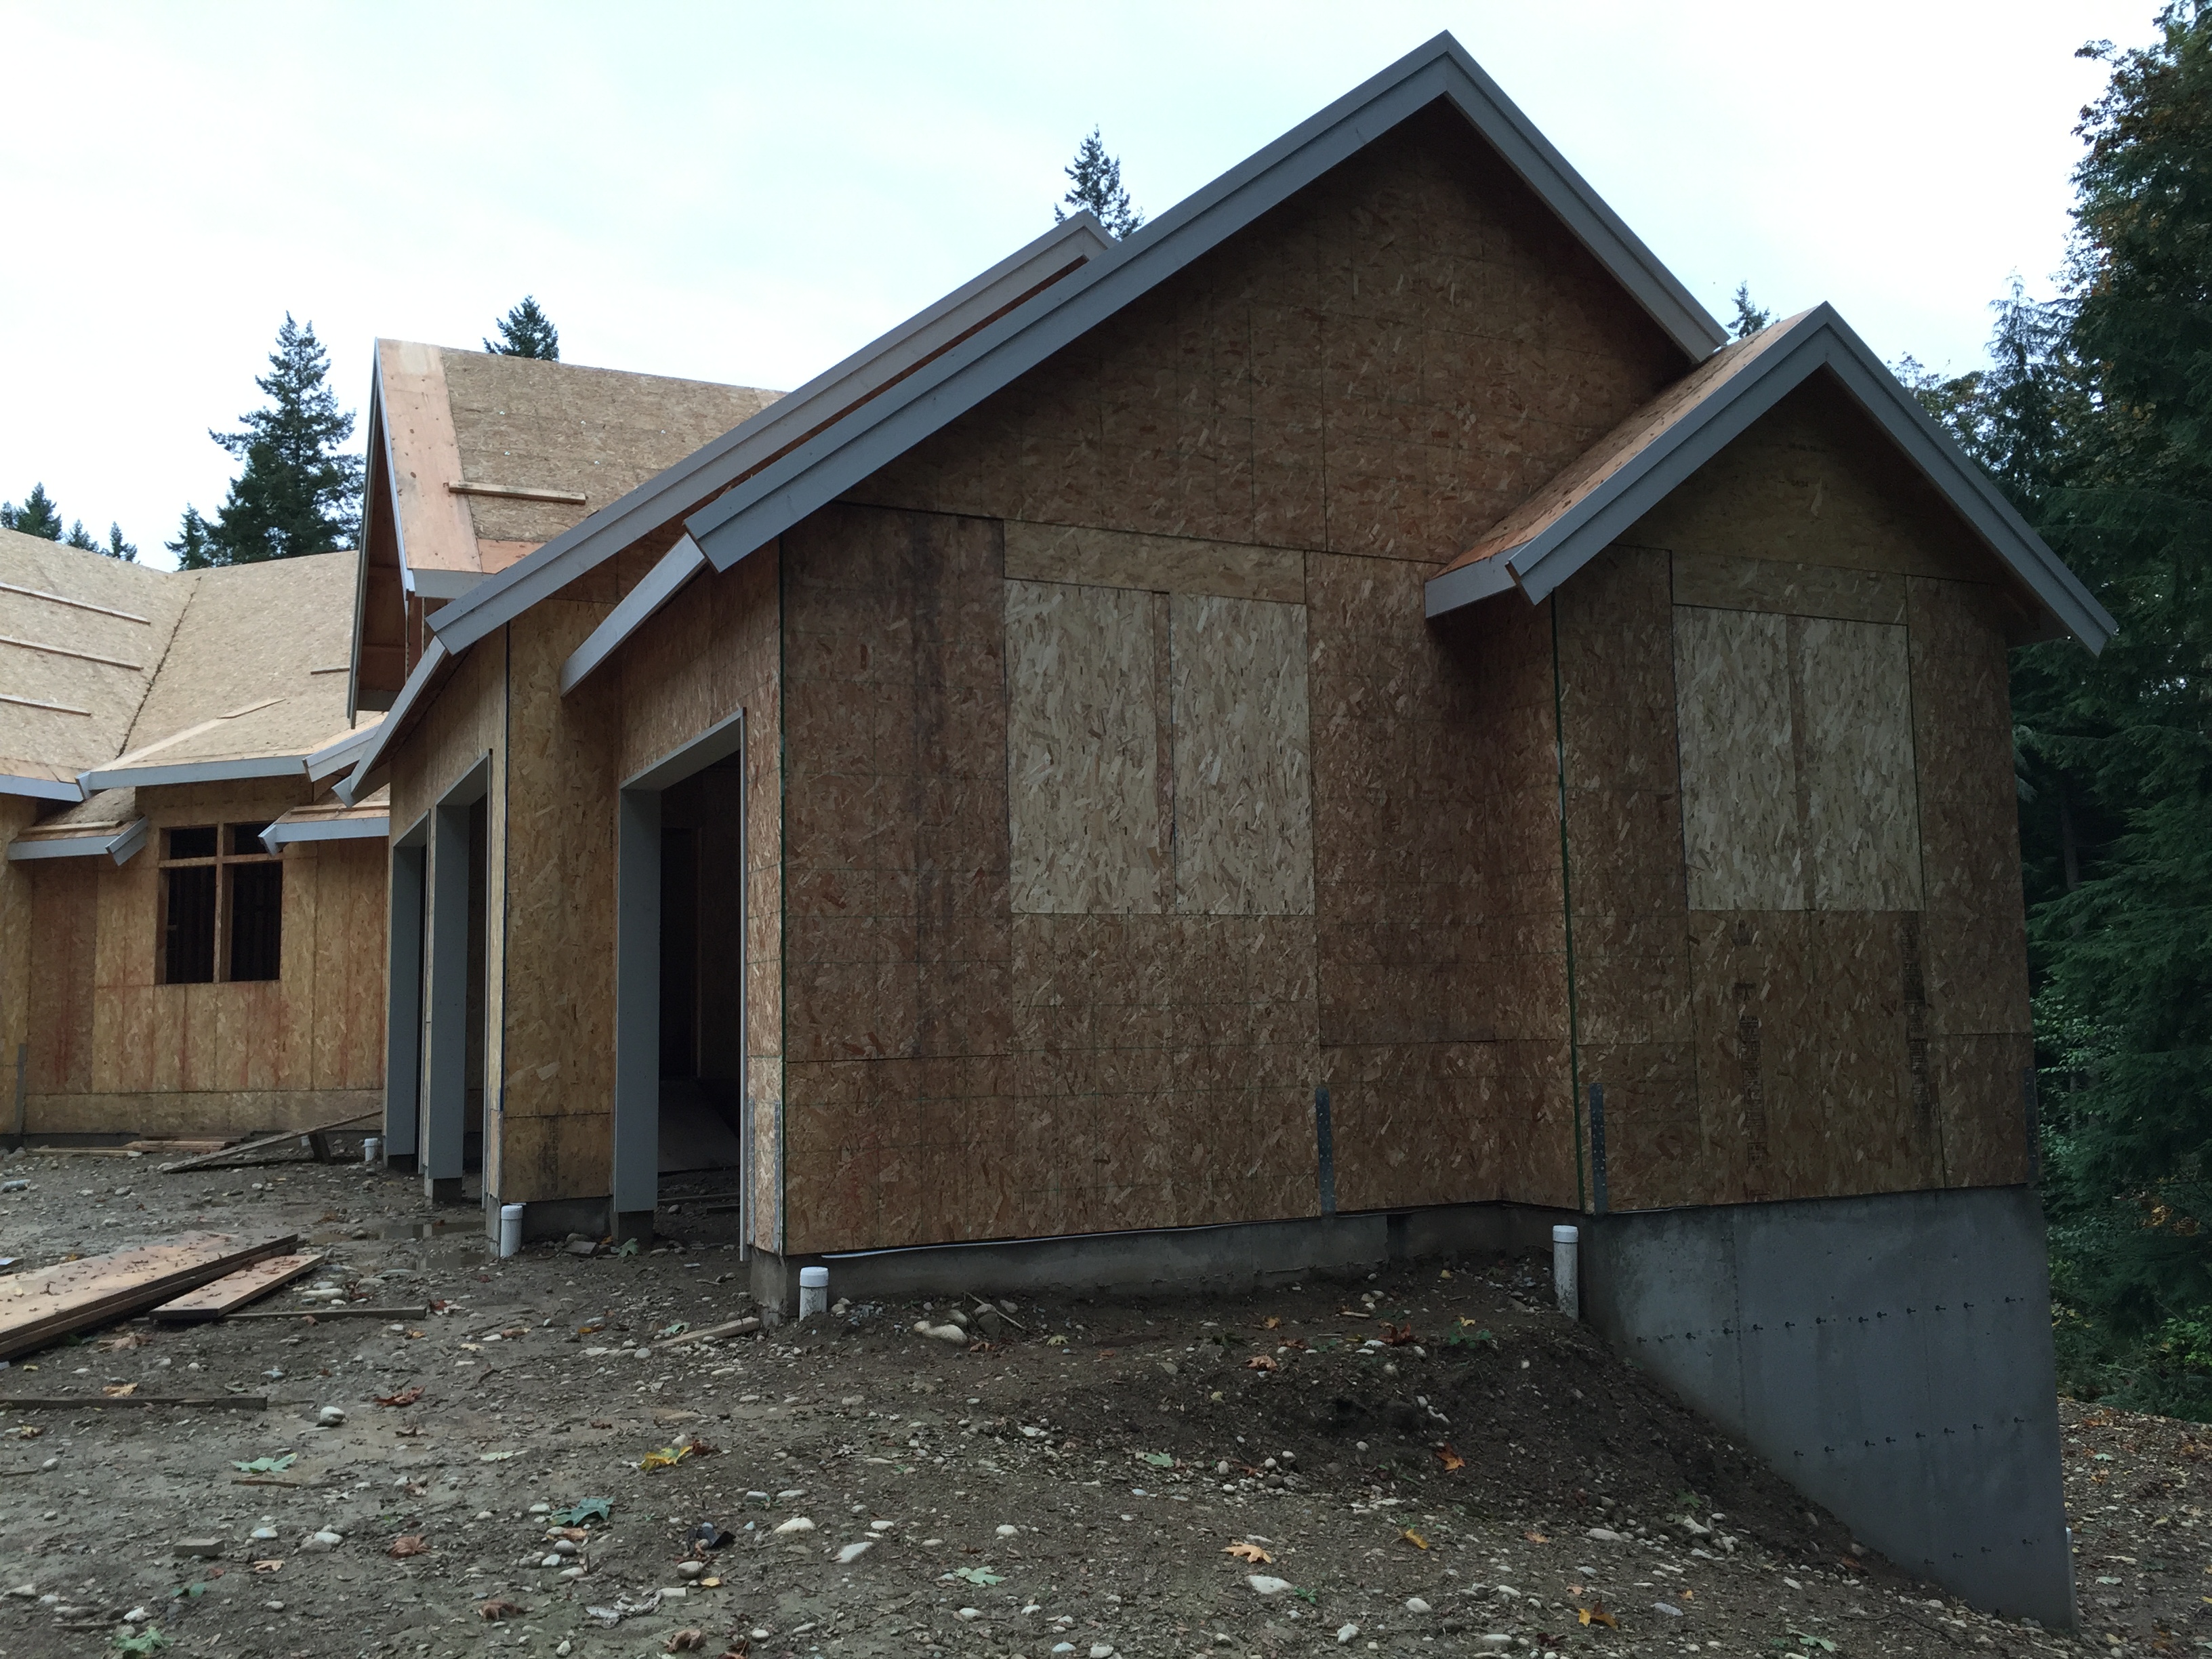
Also this week, we decided not to put the windows in the garage. My mom convinced me that there’s really no use, and all it does is let people see all the junk in the garage. And with the basketball hoop going in near the garage, maybe they’d just end up broken anyhow.
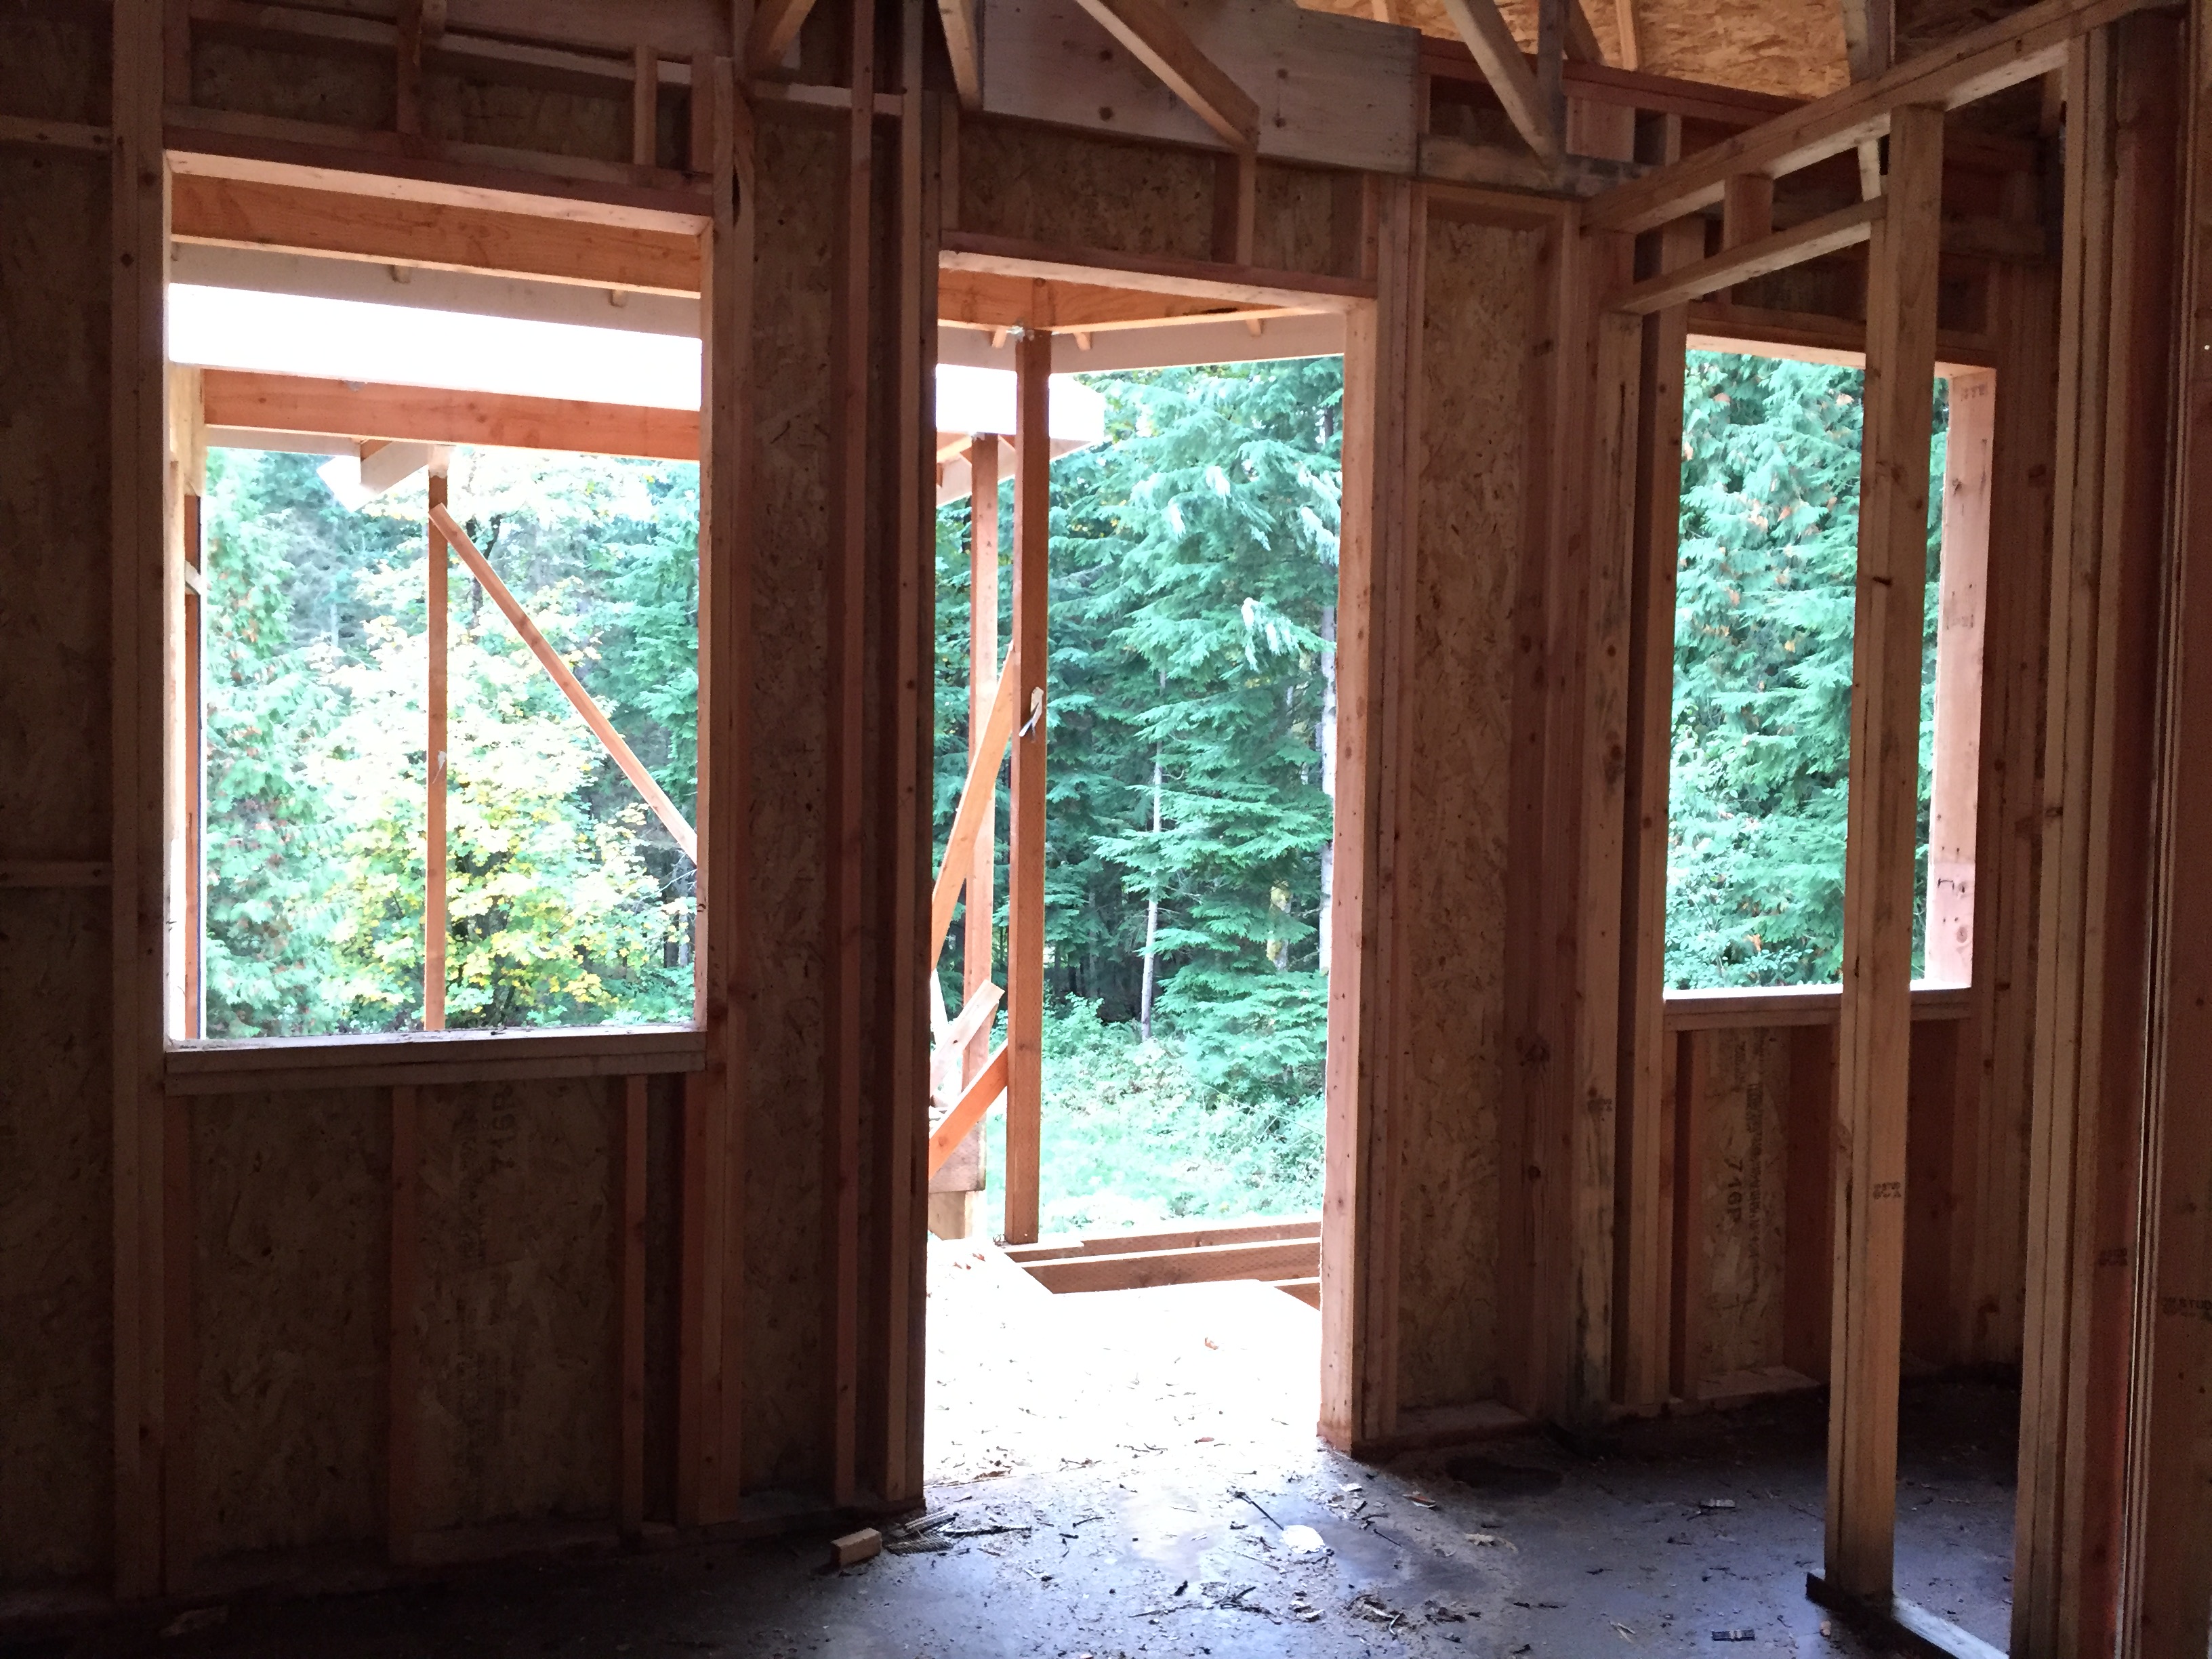
The mudroom door was FINALLY added this week. The framers made a mistake originally and forgot to put it in! On top of that, we also had them increase the size of the windows in the mudroom (left) and the mudroom bathroom (right).

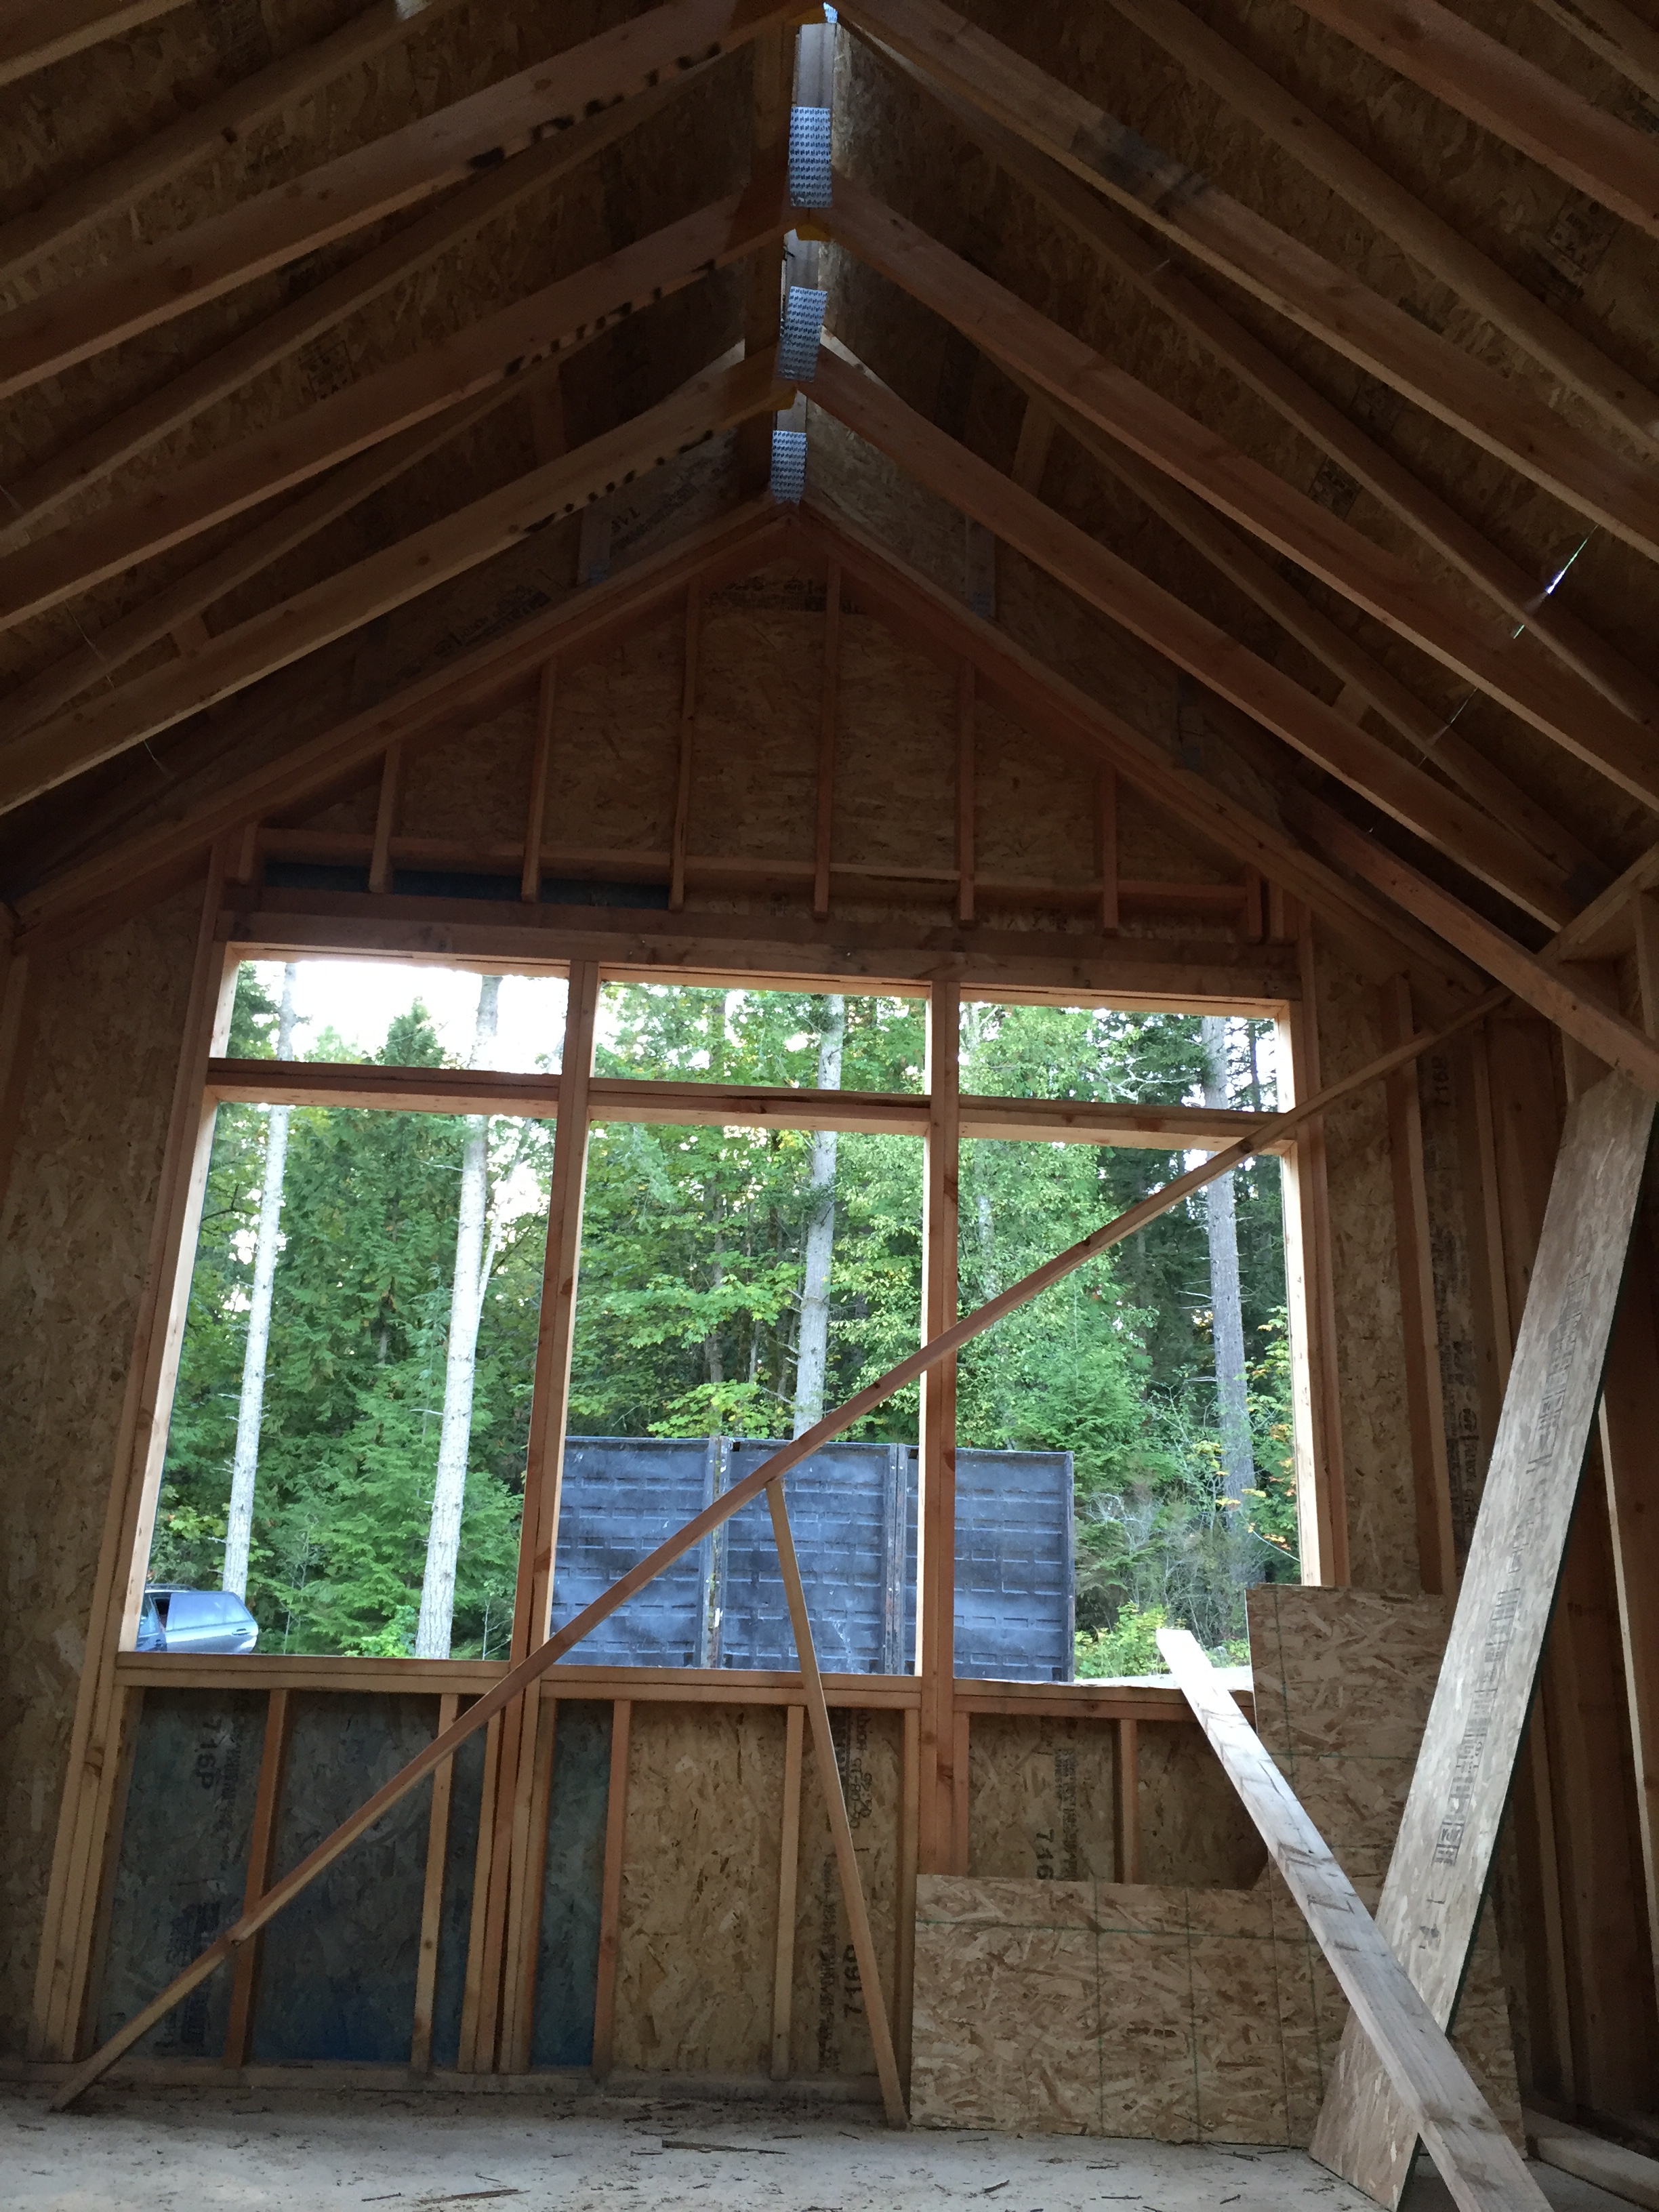
The laundry room ceiling was finished up this week – I love how the ceiling over the window is sloped and connects with the rest of the vaulted ceiling. A little hard to tell in this picture, but once it’s drywalled it’ll look amazing!
On Friday I met Matt and Andy from Grove Window Supply at the house and we measured & walked through each window and what I wanted the grids to look like. It took a little over an hour, but it was definitely worth it to be out there. A few of the windows we hadn’t quite sized or figured out how they open, and Andy had great ideas. My most favorite decision we made was the window in the staircase. Because of the stair placement, the window couldn’t be the same size as the others in the lower rec room. I was going to have it be a little odd in size, and just deal with it, but Andy came up with an awesome idea of just doing the upper 1/2 of the window so that it still aligns with the others in the room…and it looks fantastic! Such a great idea and I never would have thought of it. My favorite window is definitely the one above the bathtub in our master – we decided to switch it up as a focal point and put the grids in a diamond pattern. I think it’s going to be such a cute detail.
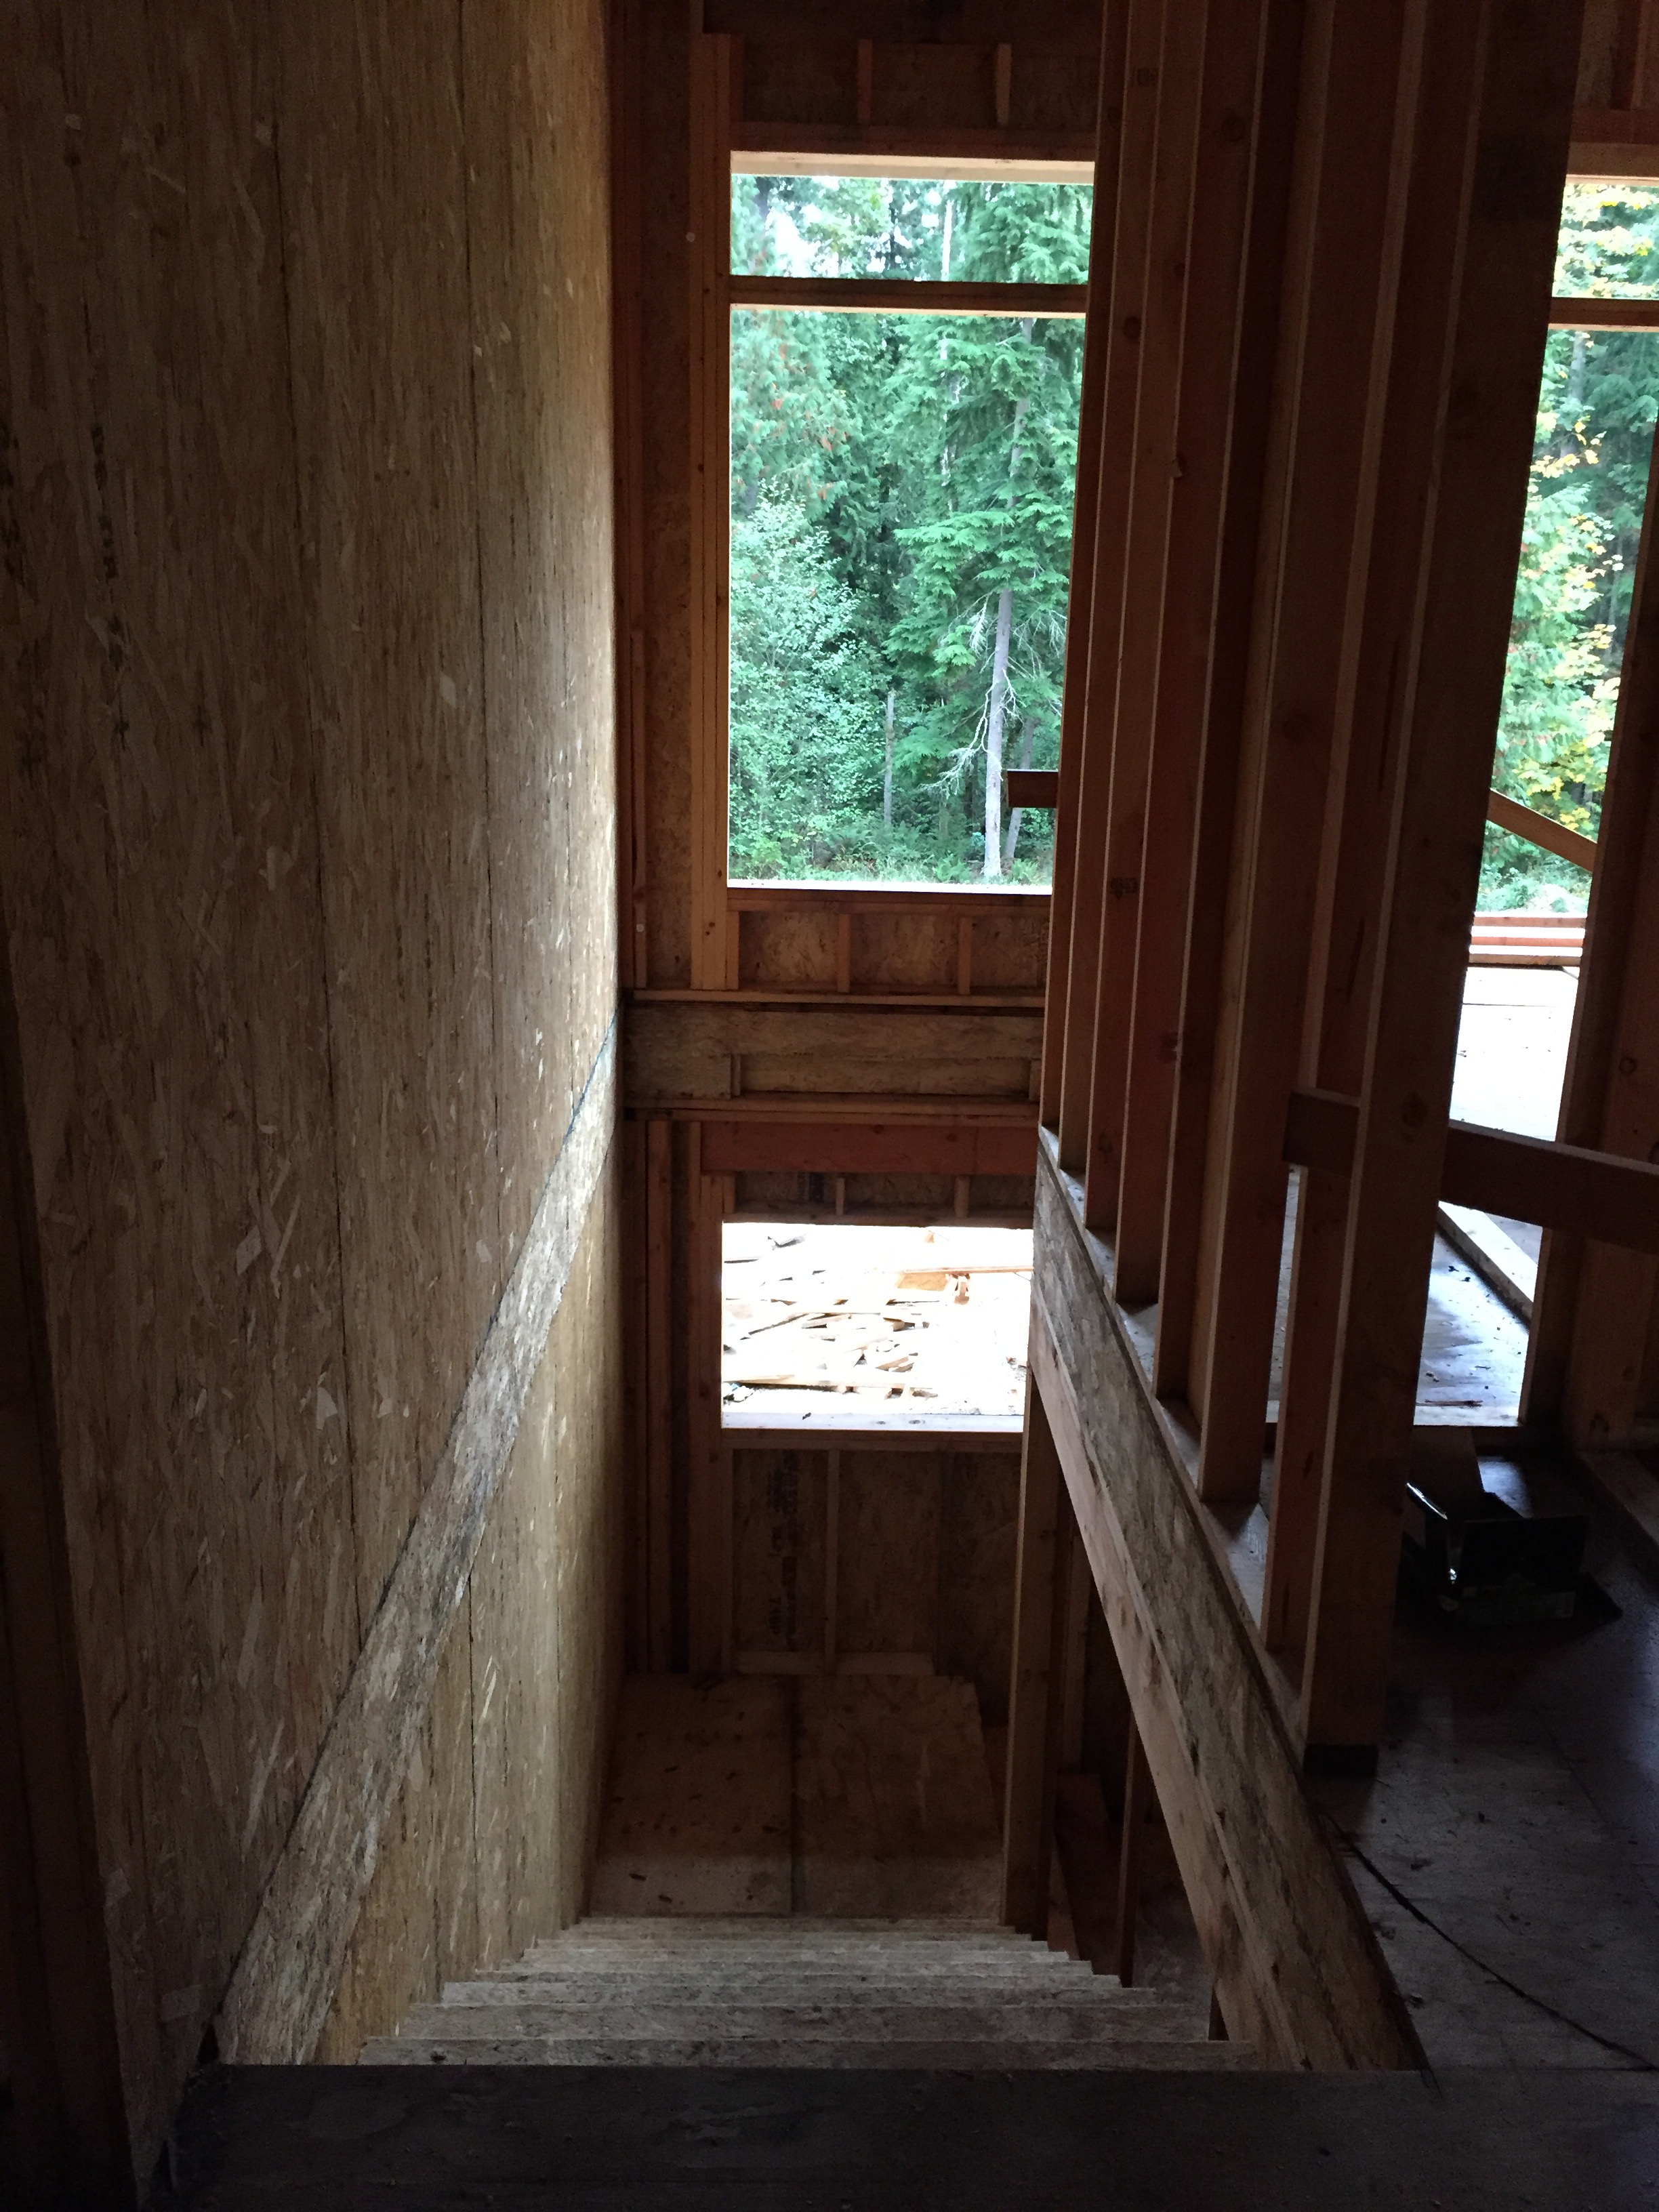
We have stairs! Now we can finally get downstairs without walking around the house! And check out the window at the bottom of the stairs.

I love the new window shape in the staircase. So simple, yet I never would have thought of it!
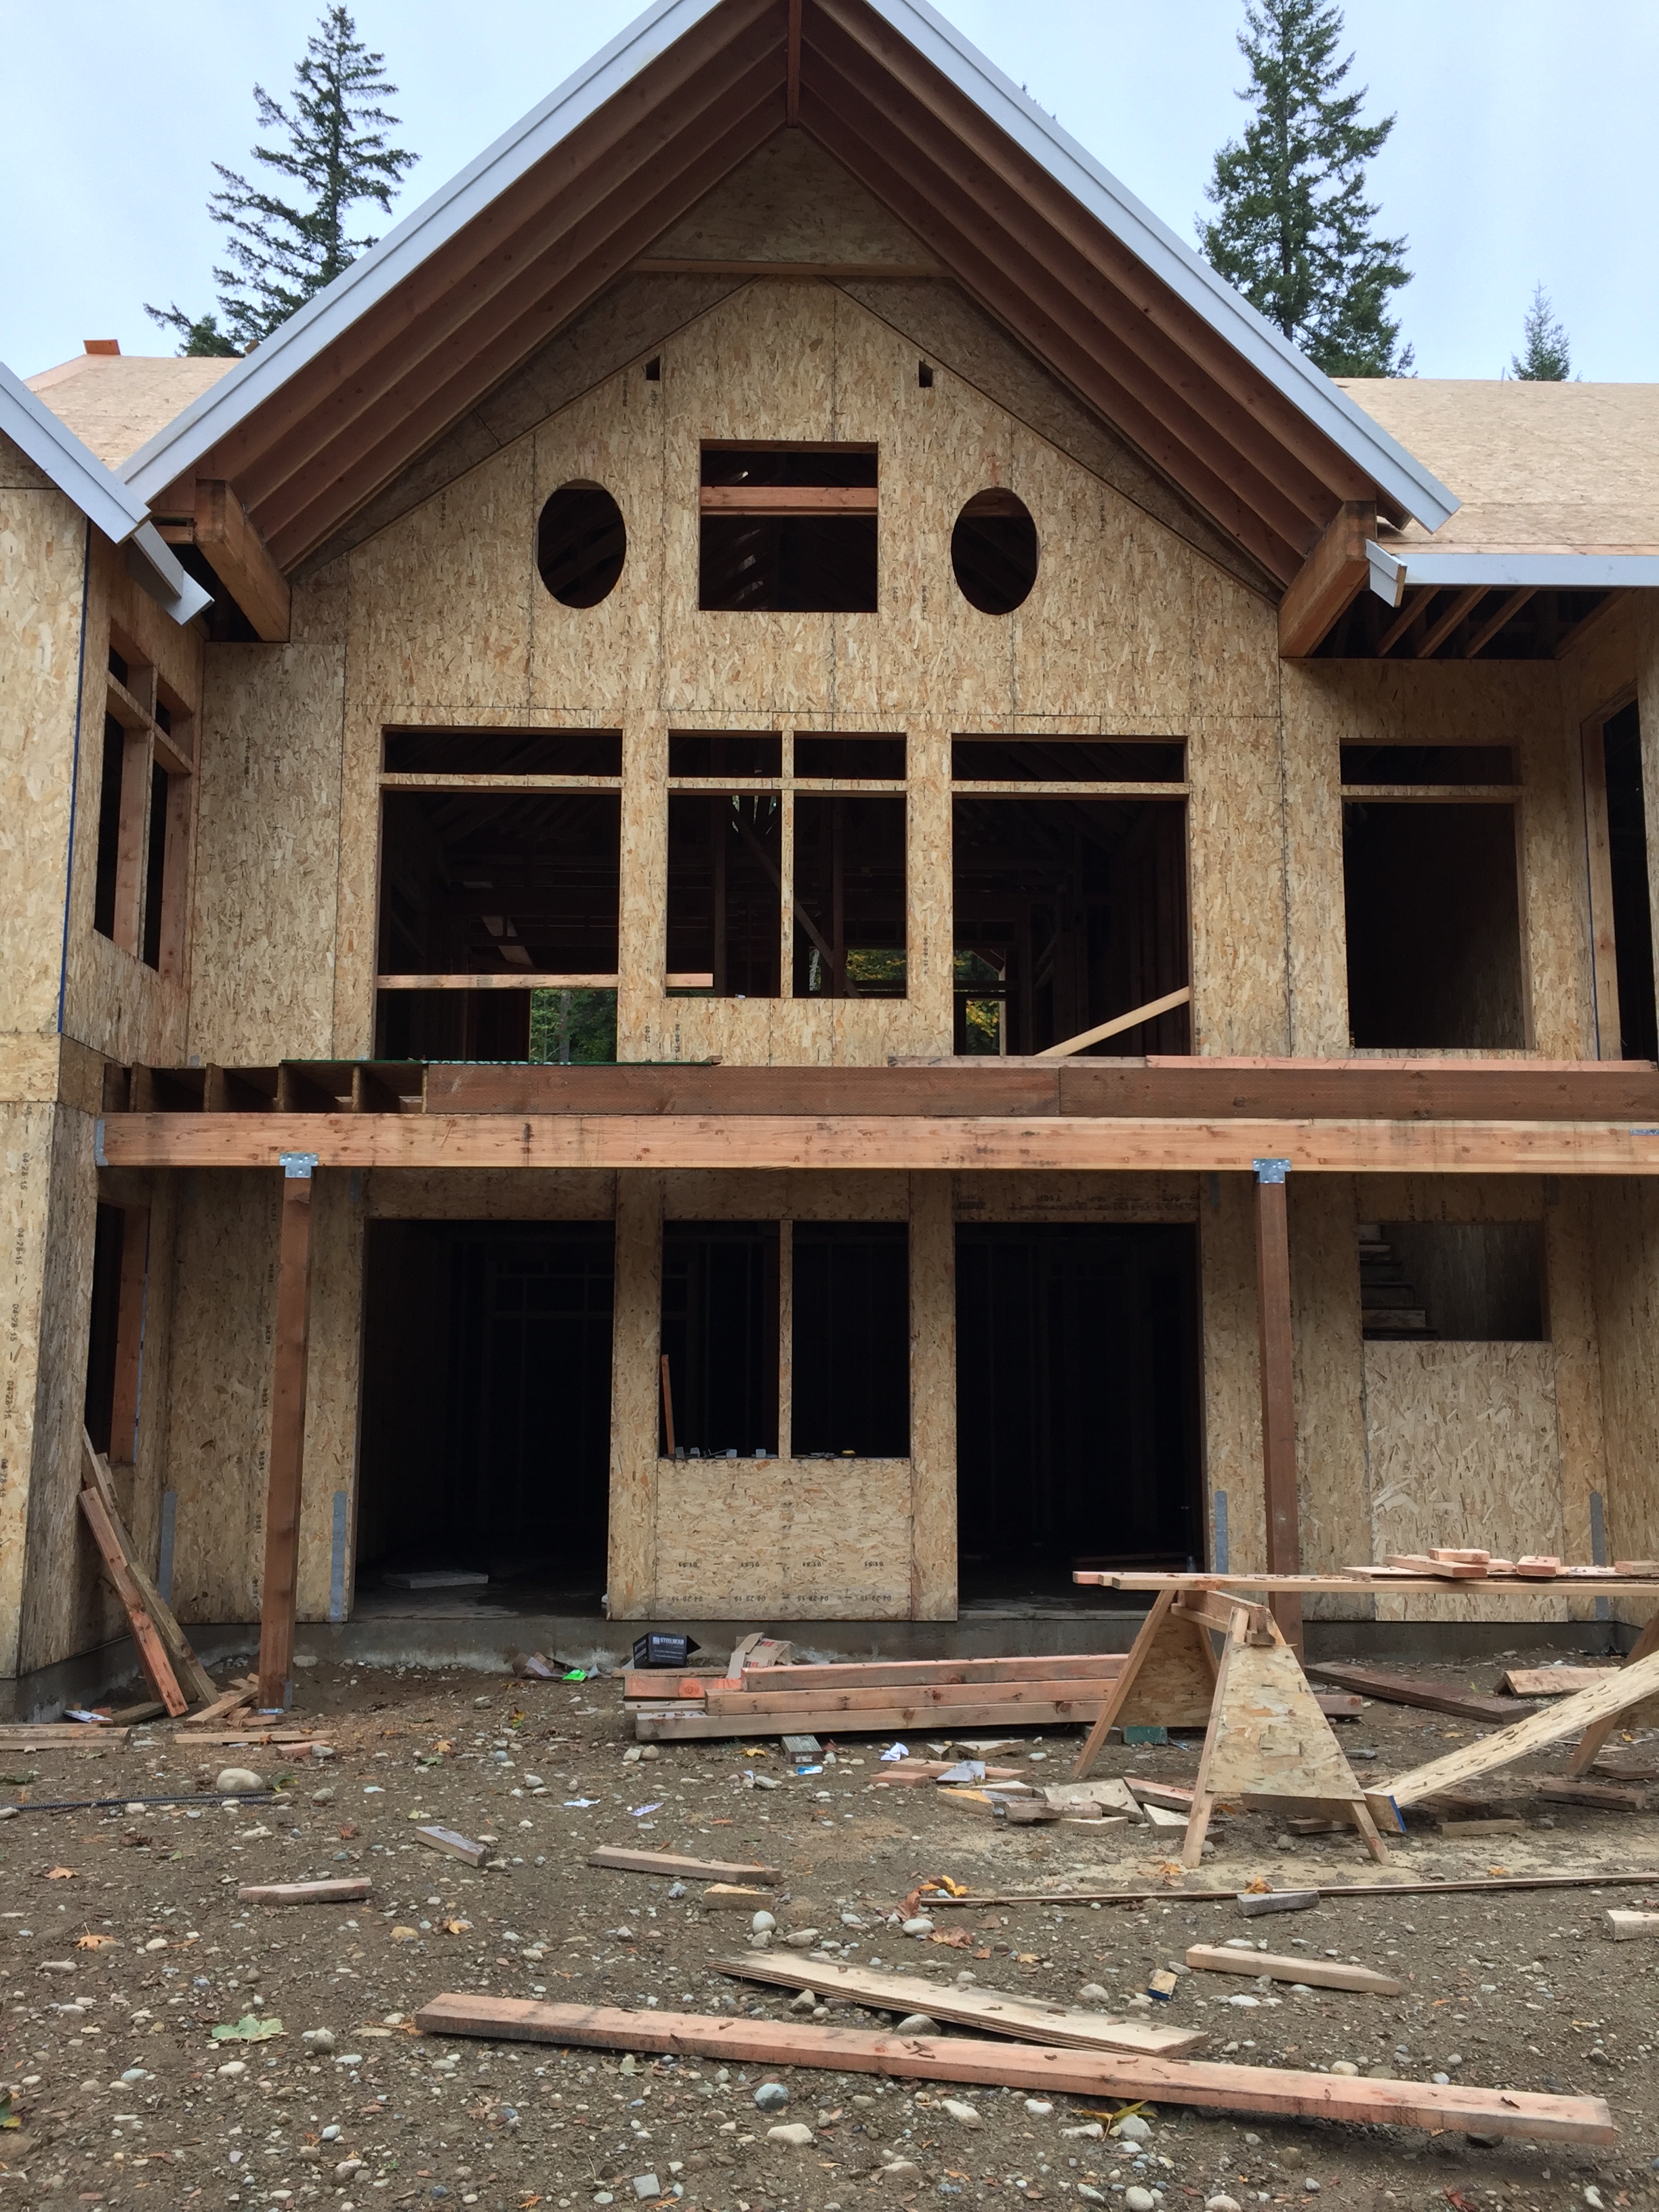
Here’s how the lower rec area looks like from the back of the house. The 1/2 window in the staircase is on the lower right.
Besides picking out Windows, my mom and I met up on Friday to pick out countertops. We had gone a couple weeks ago to look at slabs, and found absolutely white quartzite that we loved, but it was at a random fabricator’s shop and Matt had no idea of the quality they’d do. But lucky for us, we found the same slabs at MSI in Seattle! Score!! So now we can have our own (recommended) fabricators do the install and there’s nothing to worry about! We found 4 slabs, so that’ll take care of the kitchen, powder room & master bathroom.
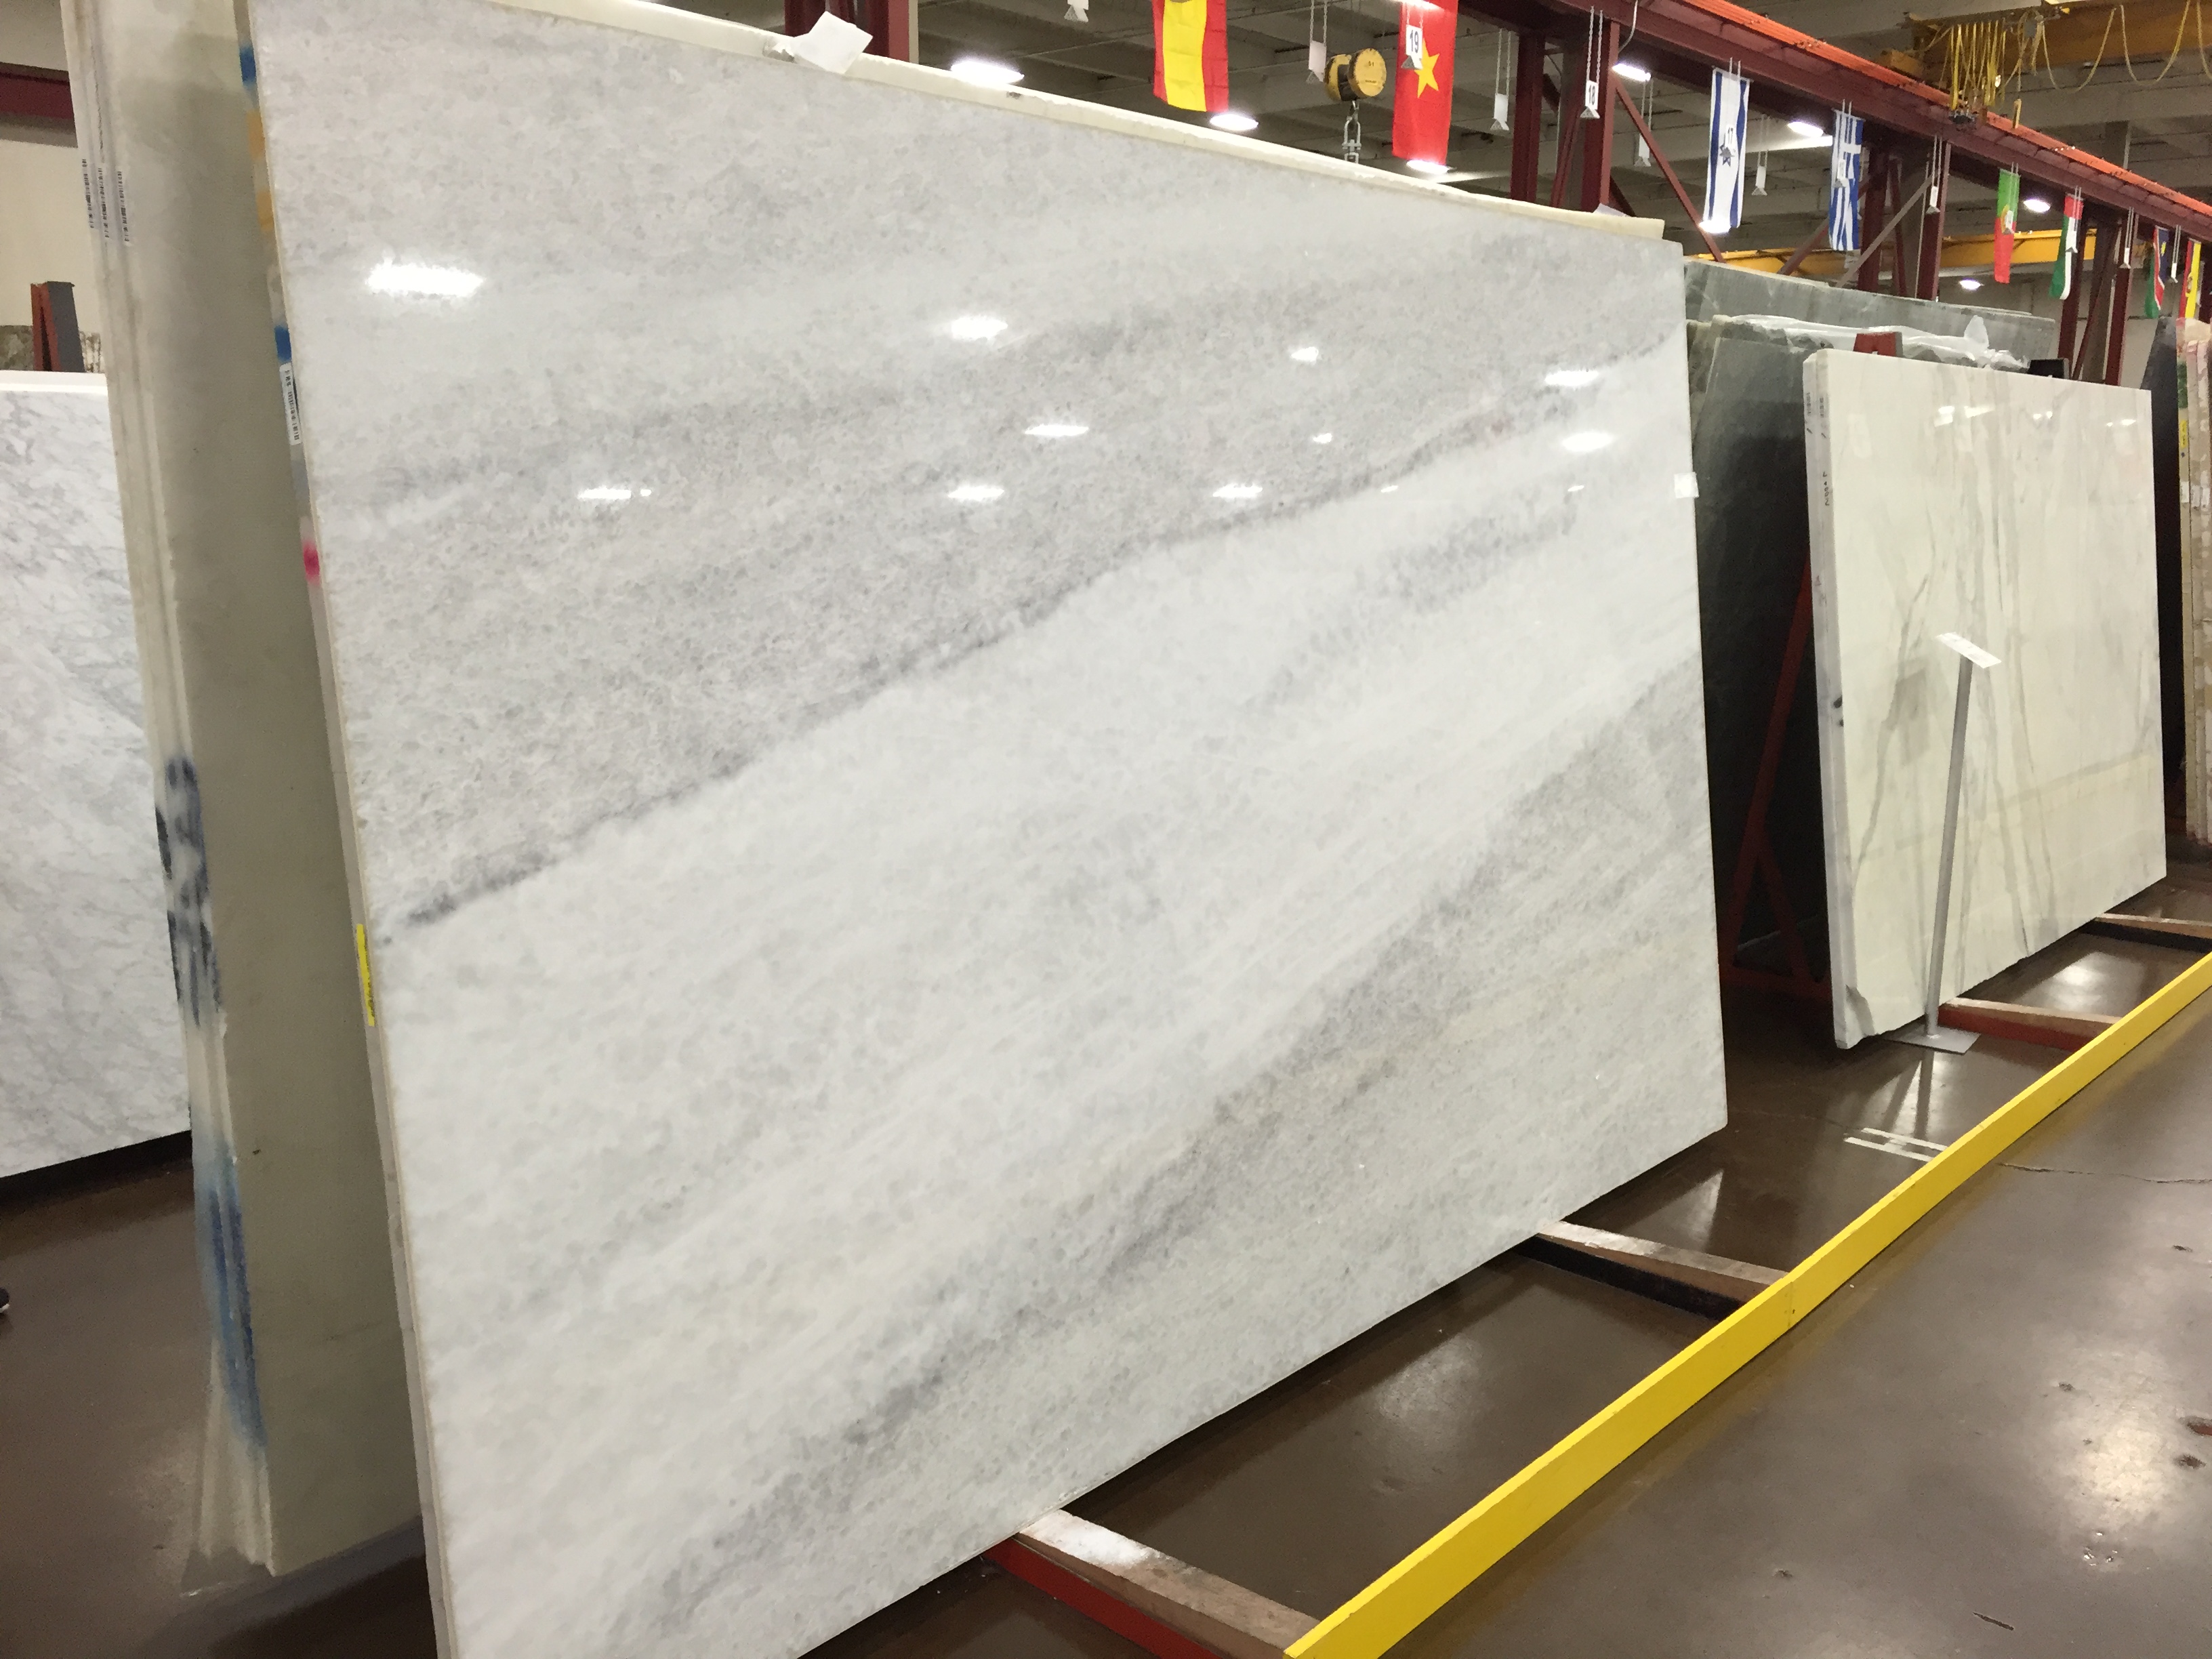
Slab #1
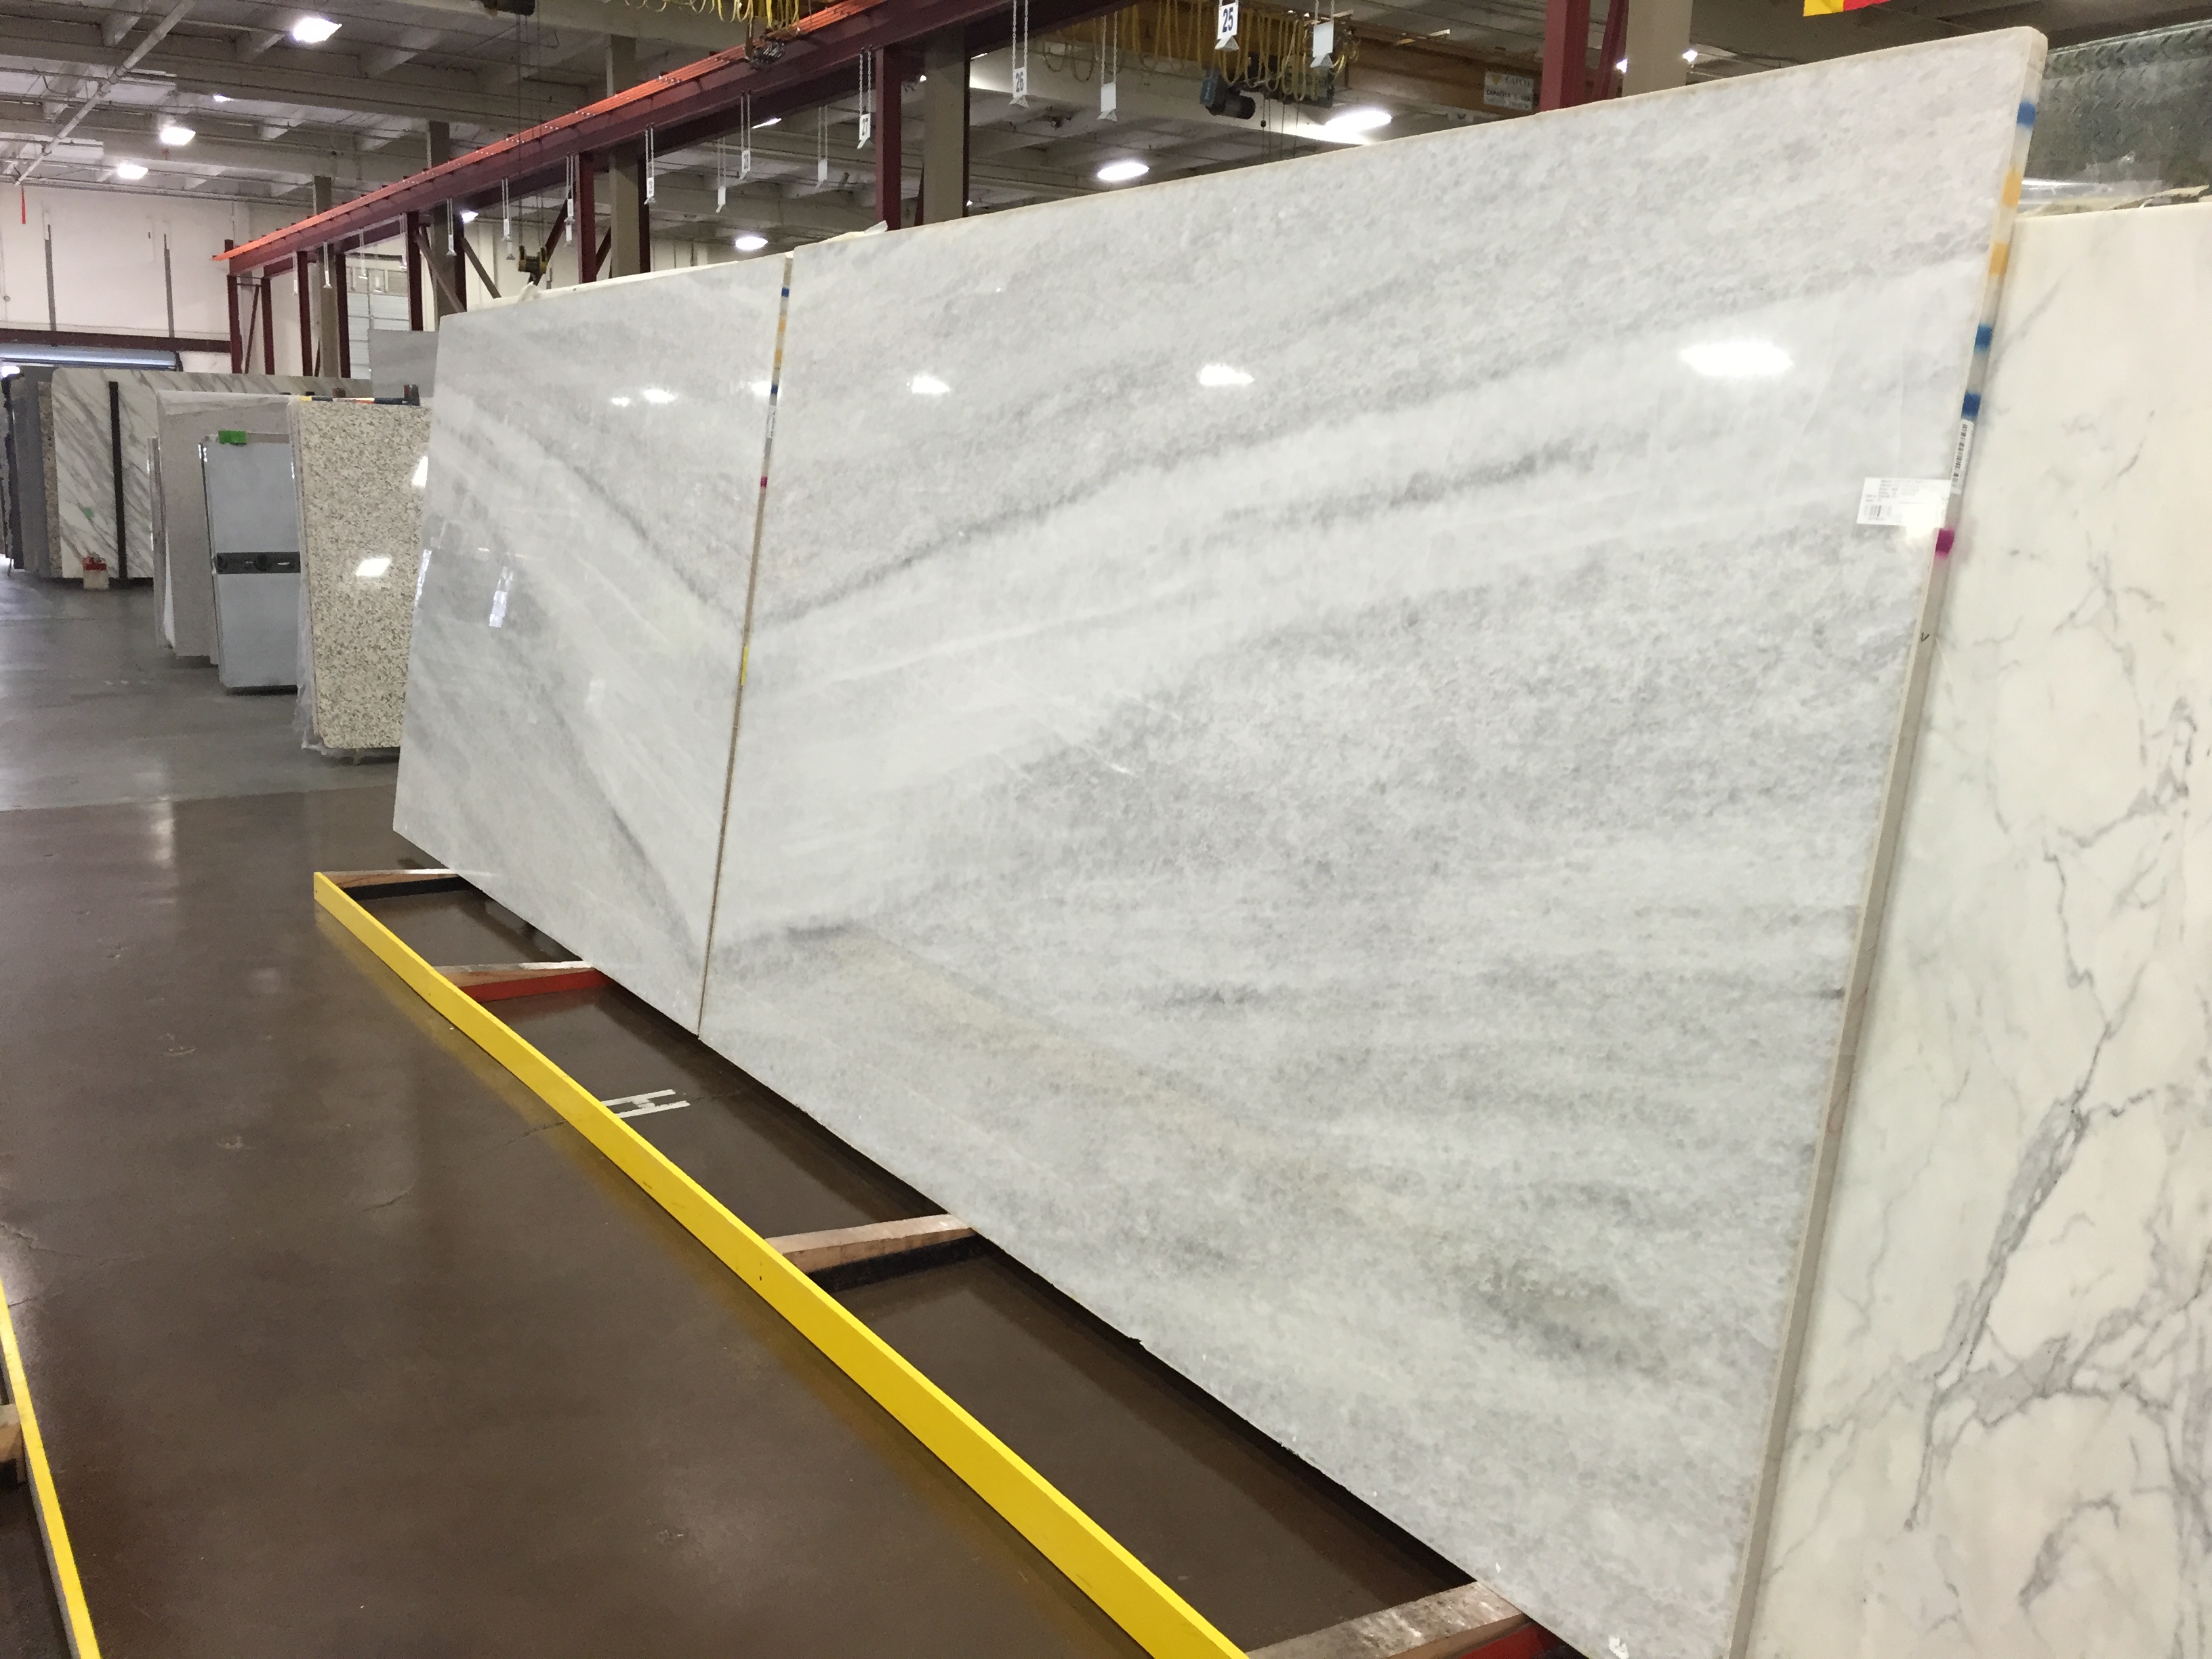
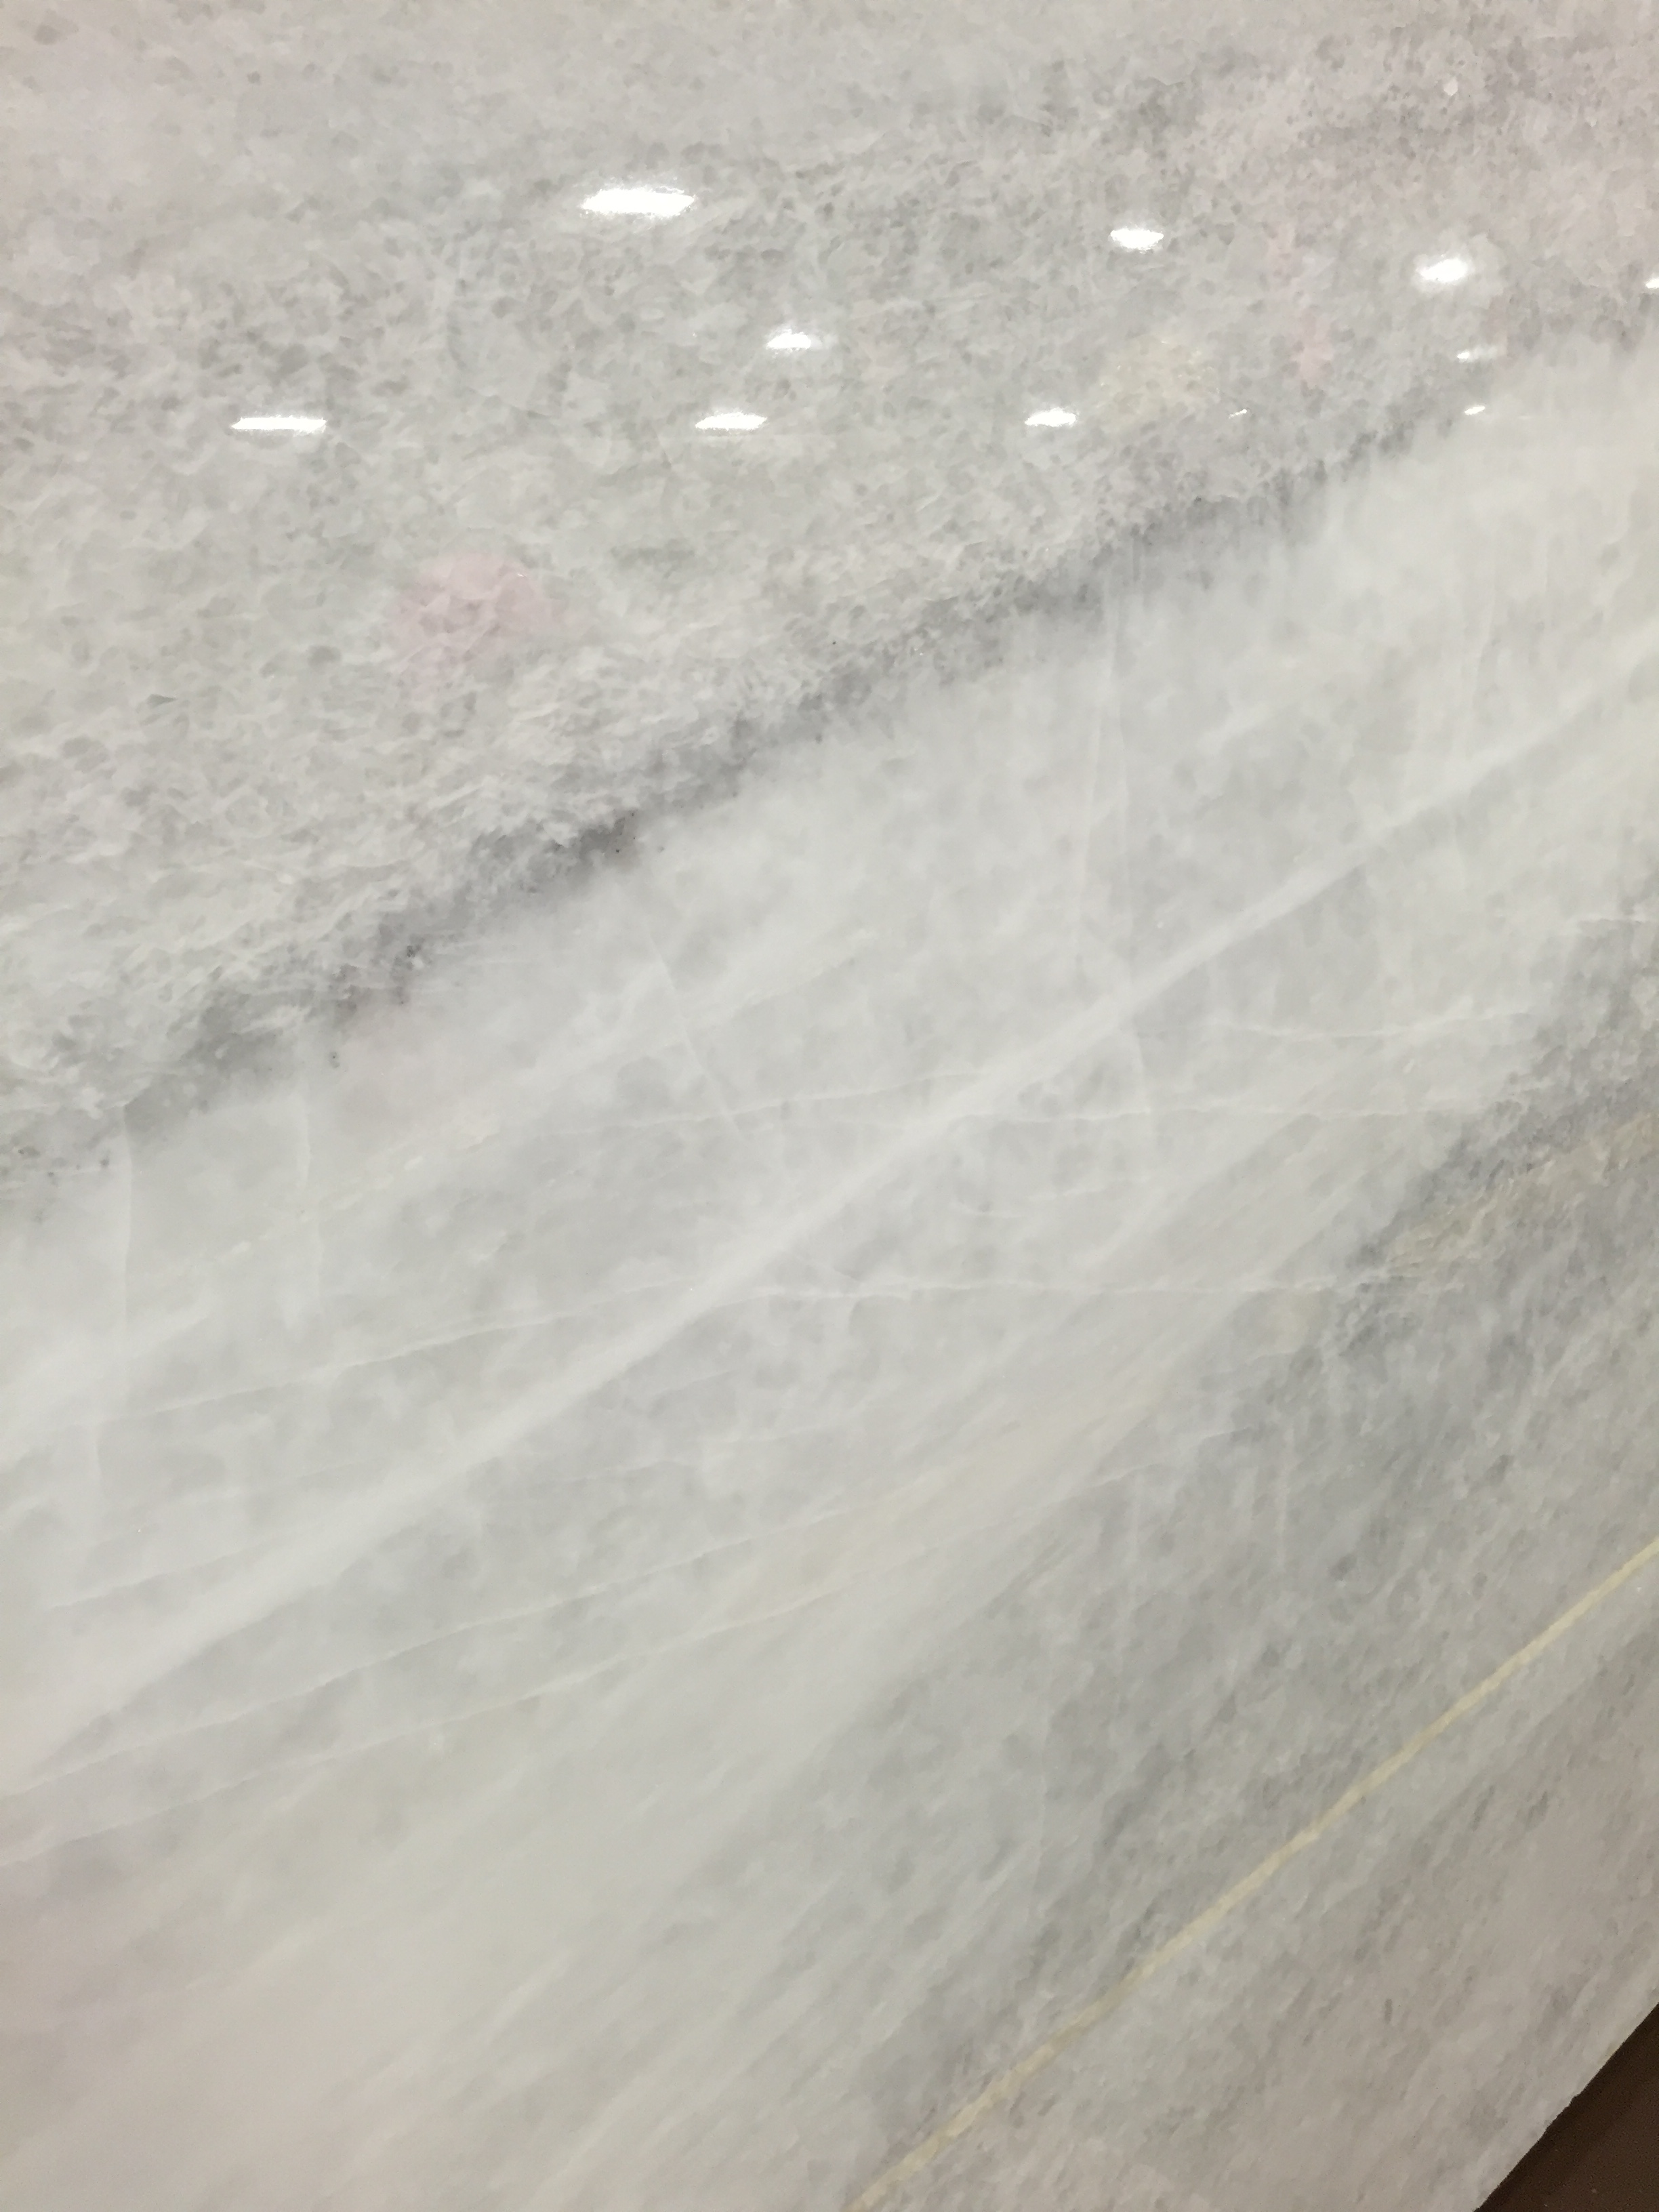
Slabs #2 & #3 are book-matched.

Another shot of slab #2.

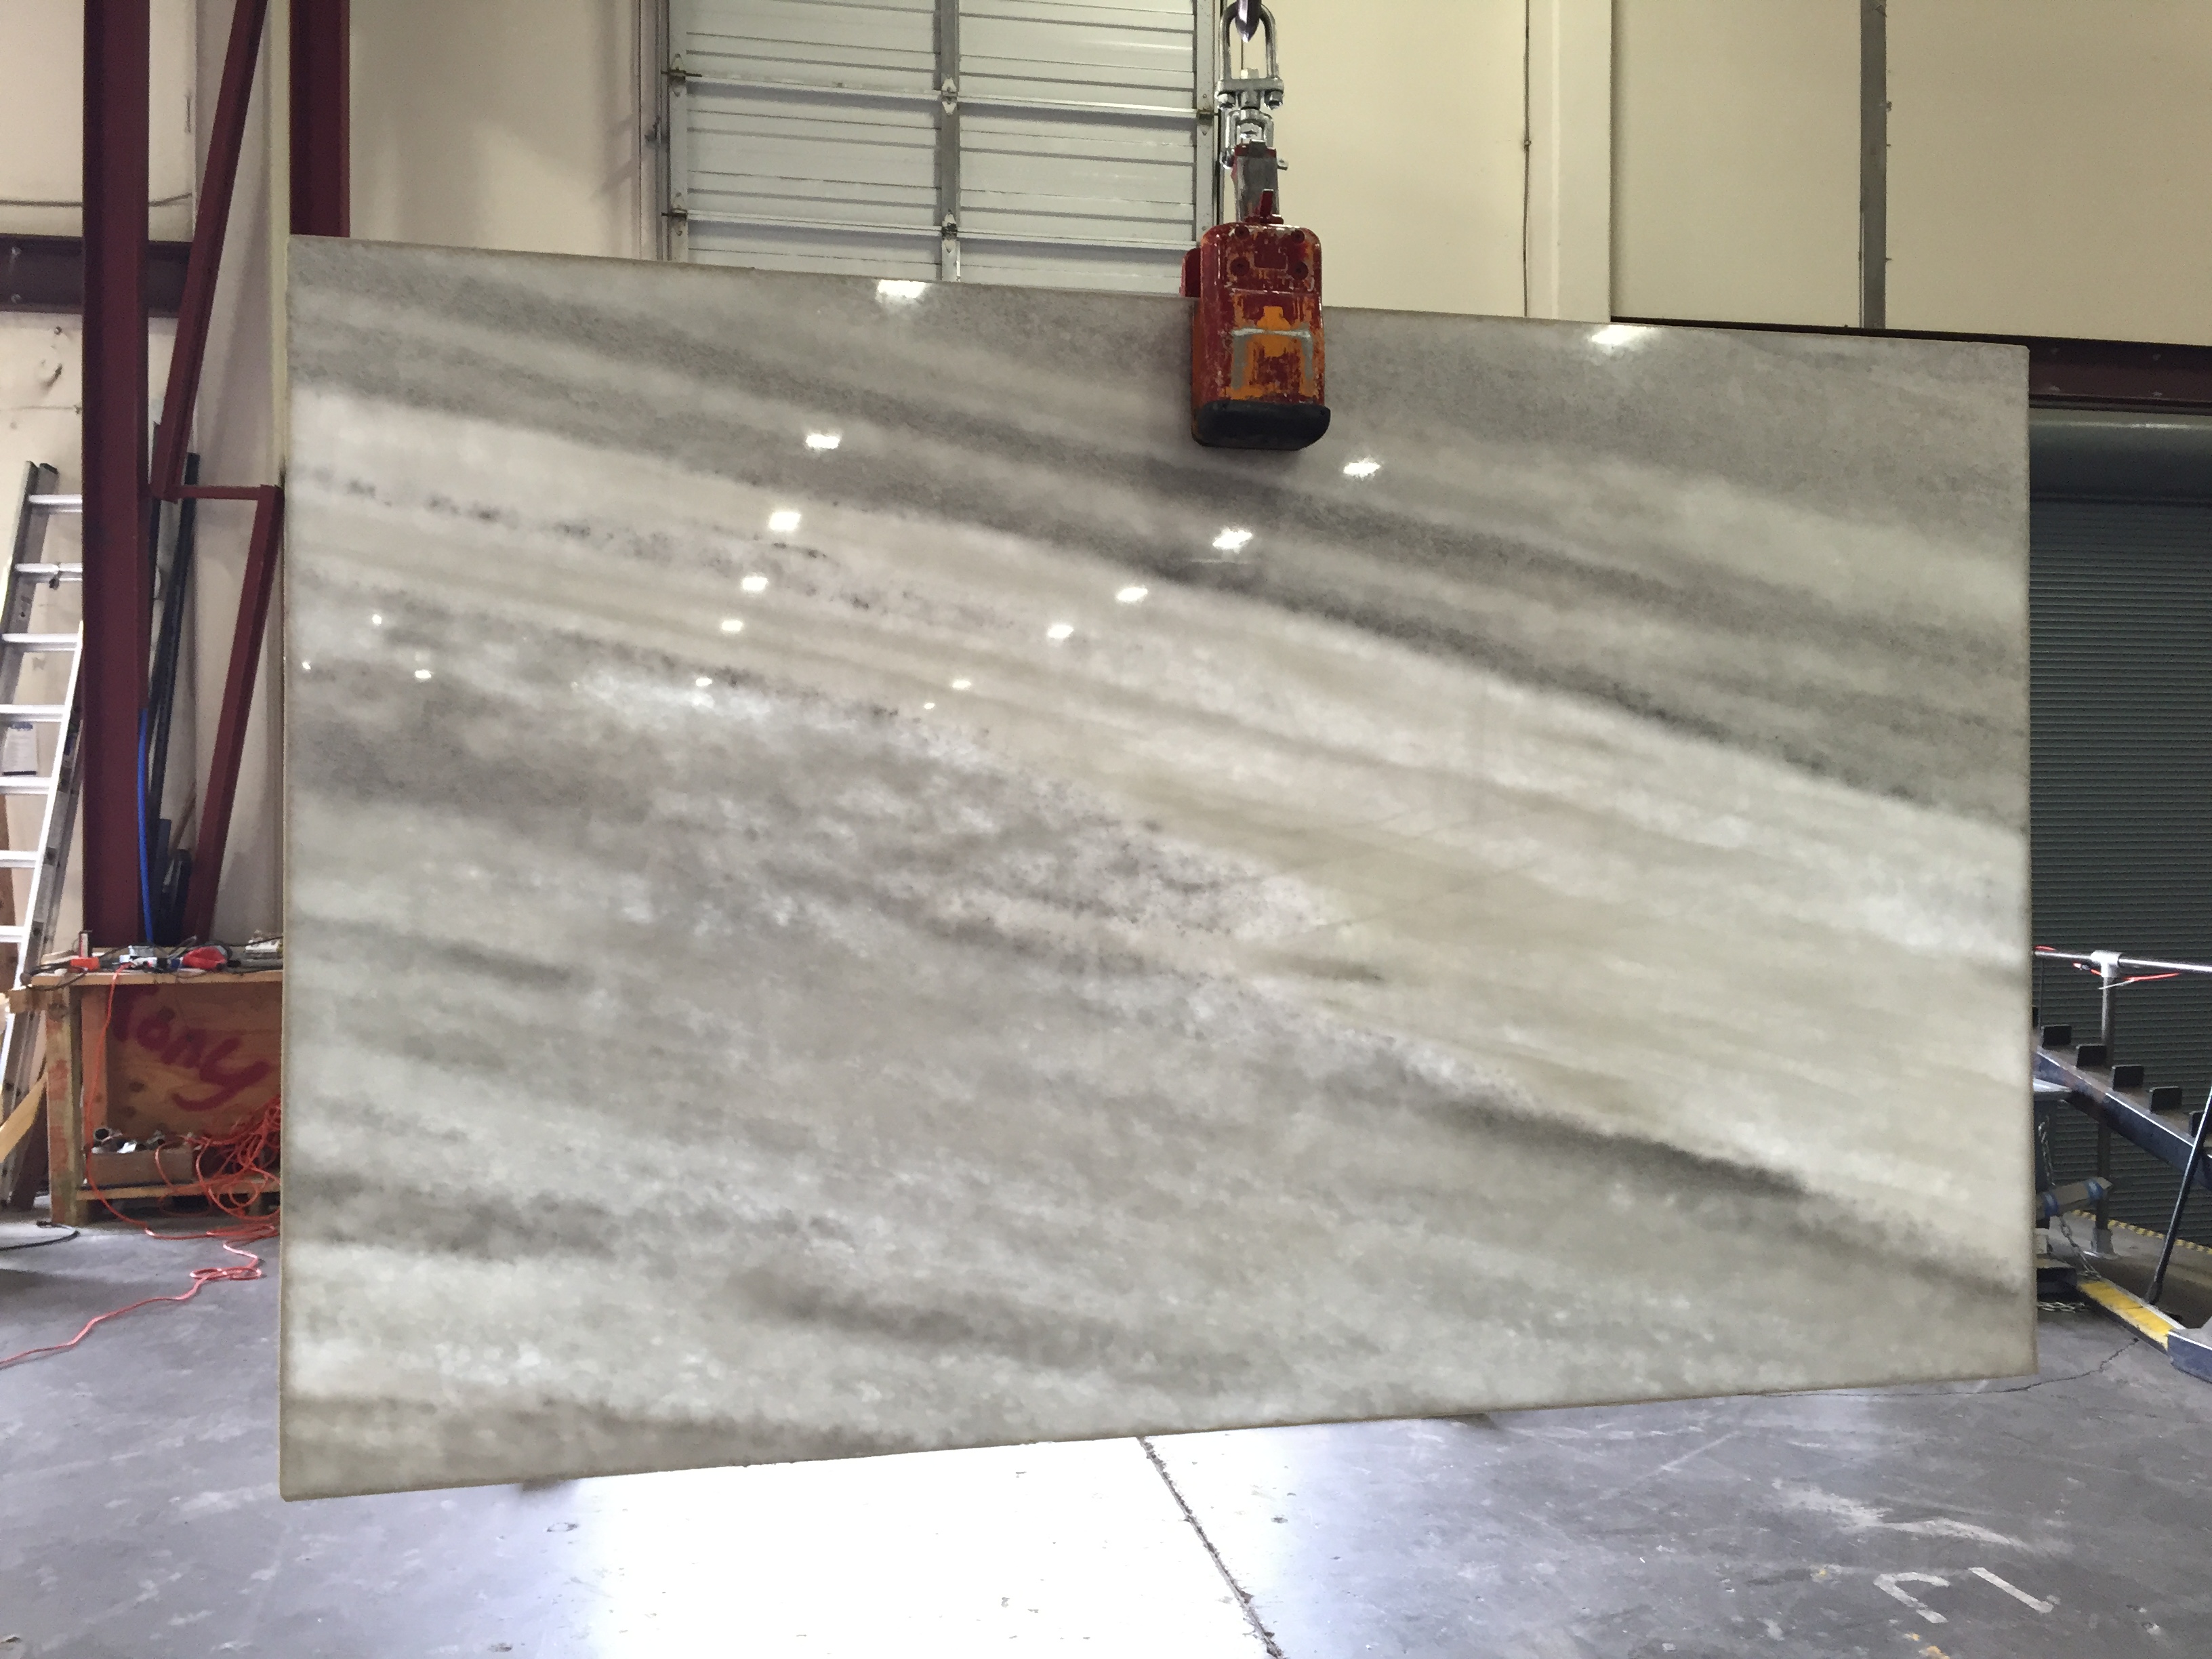
Slab #4
Quartzite is so beautiful – check out what sunlight looks like through Slab #2 when it travels through the slab. So gorgeous! Too bad we’ll never see it like that in the house.
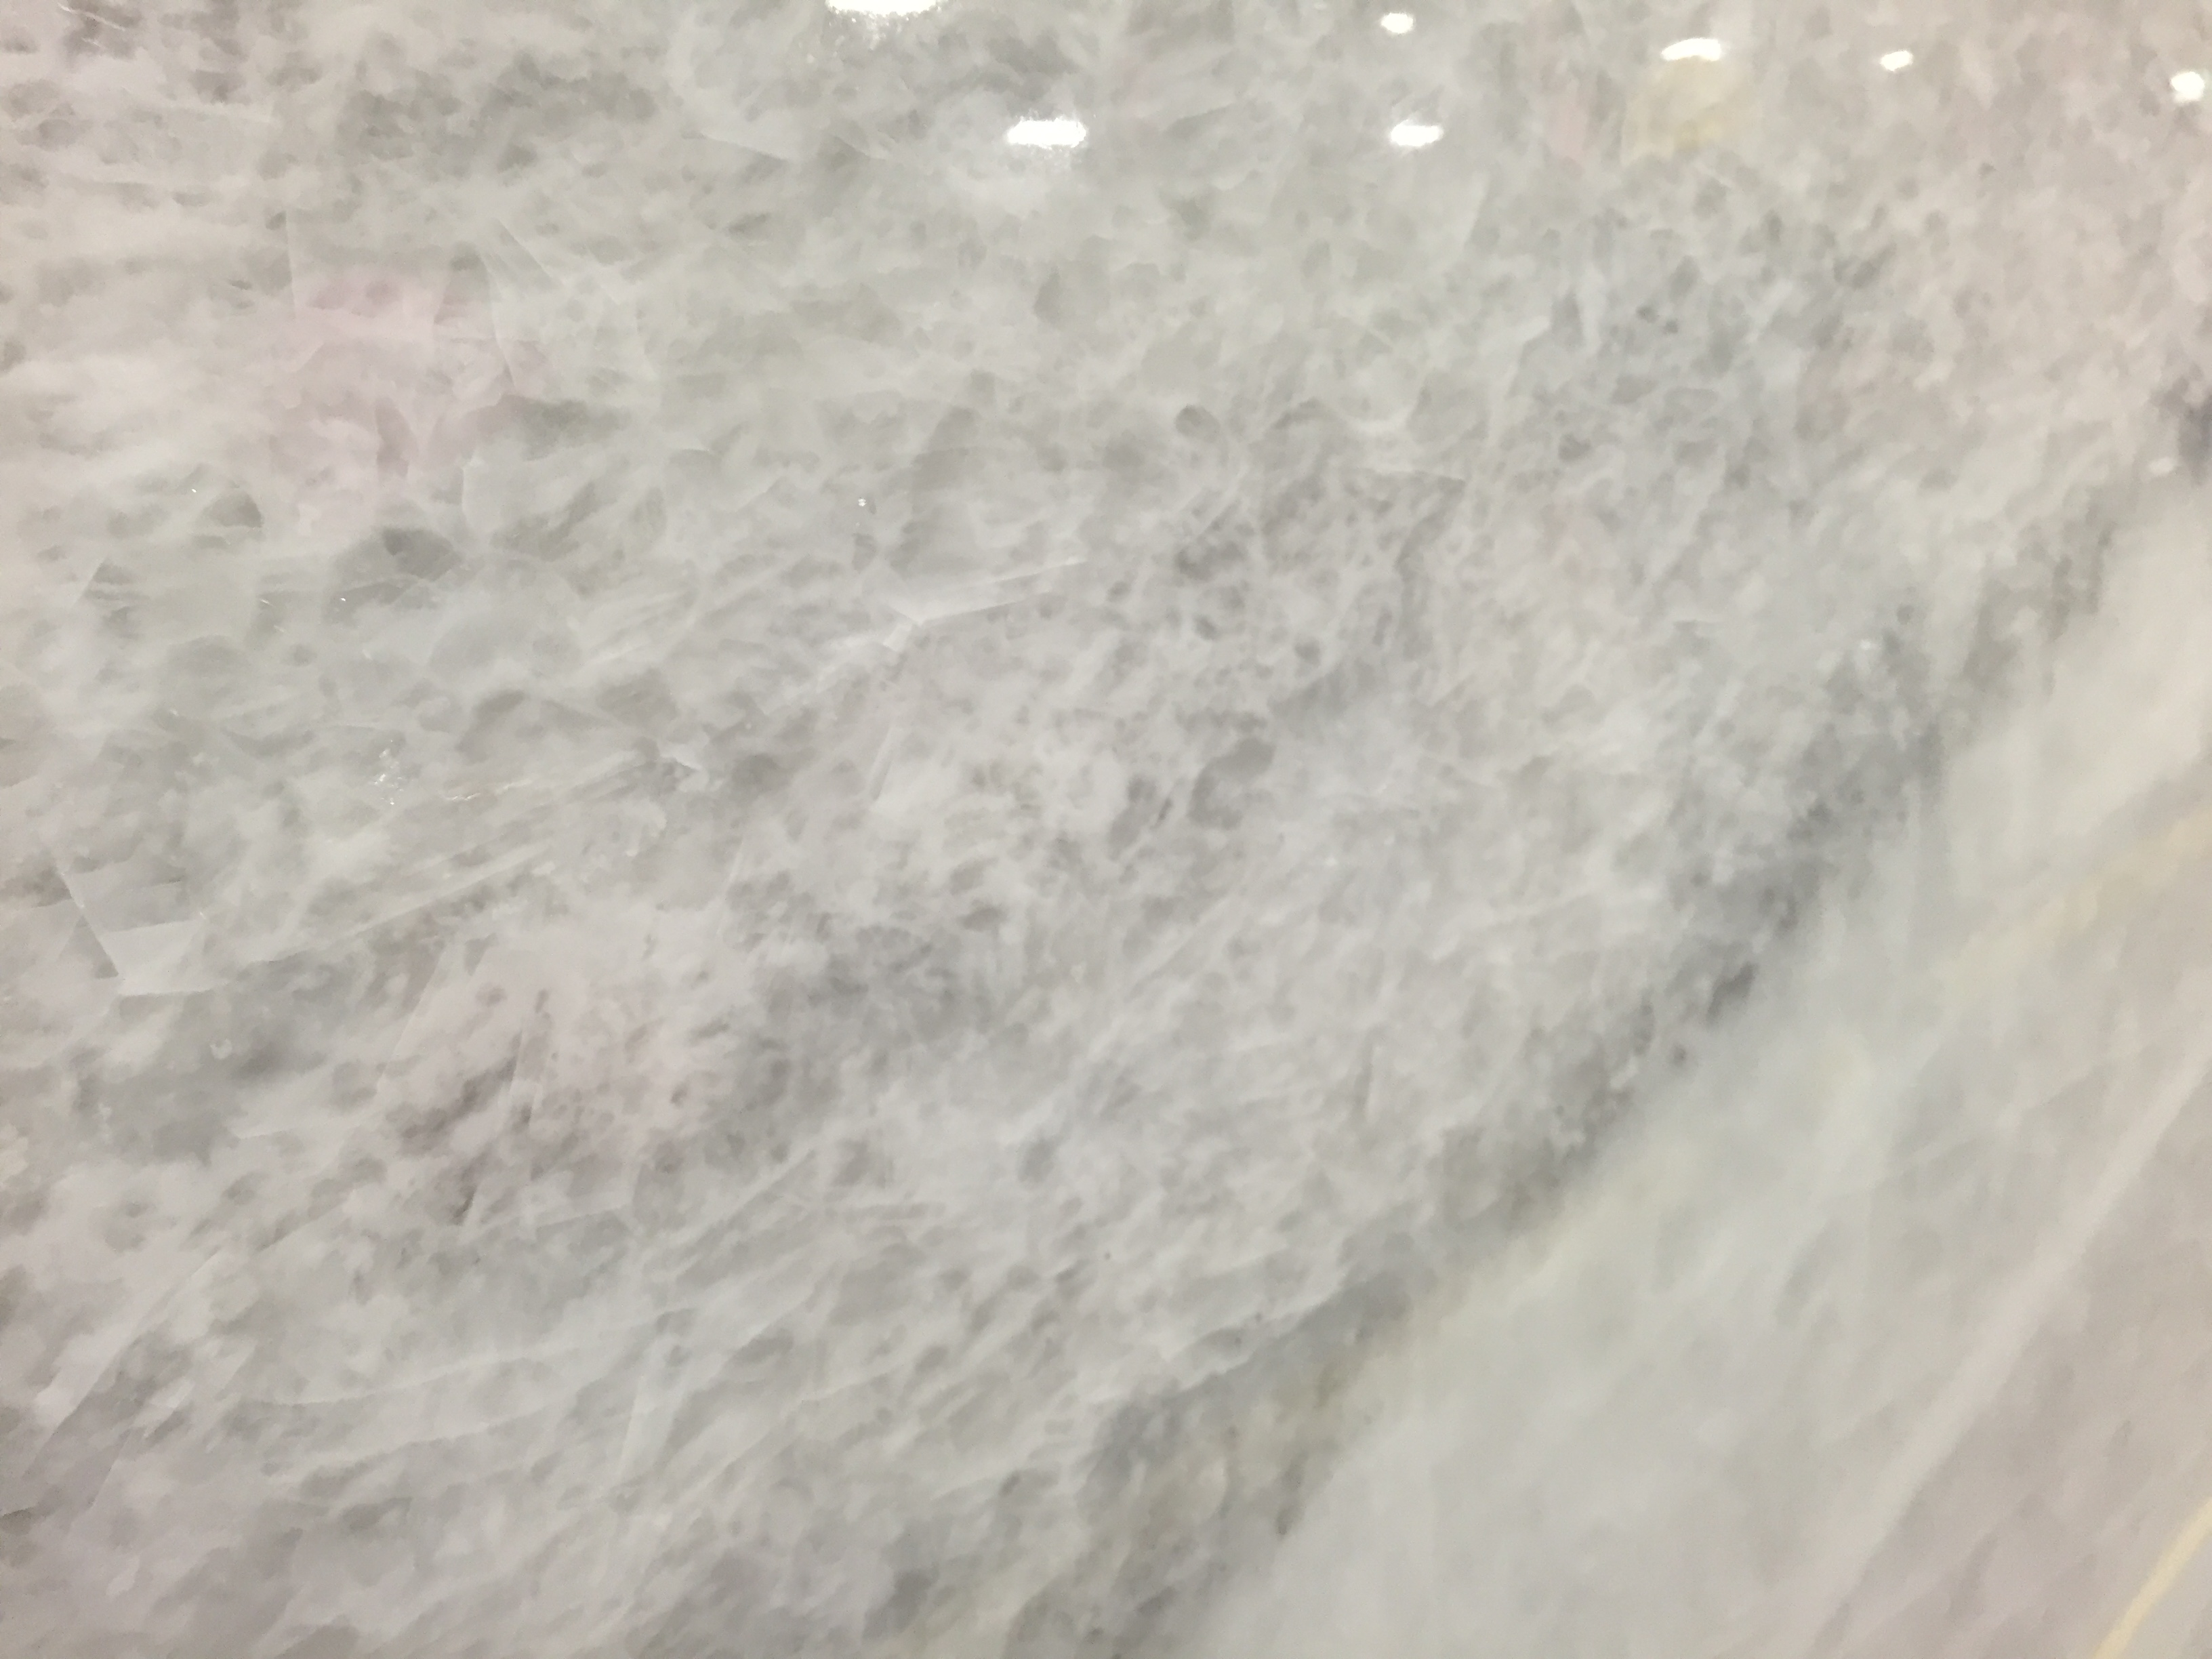
The slab is so beautiful up close – love the crystal-esque pieces in it.
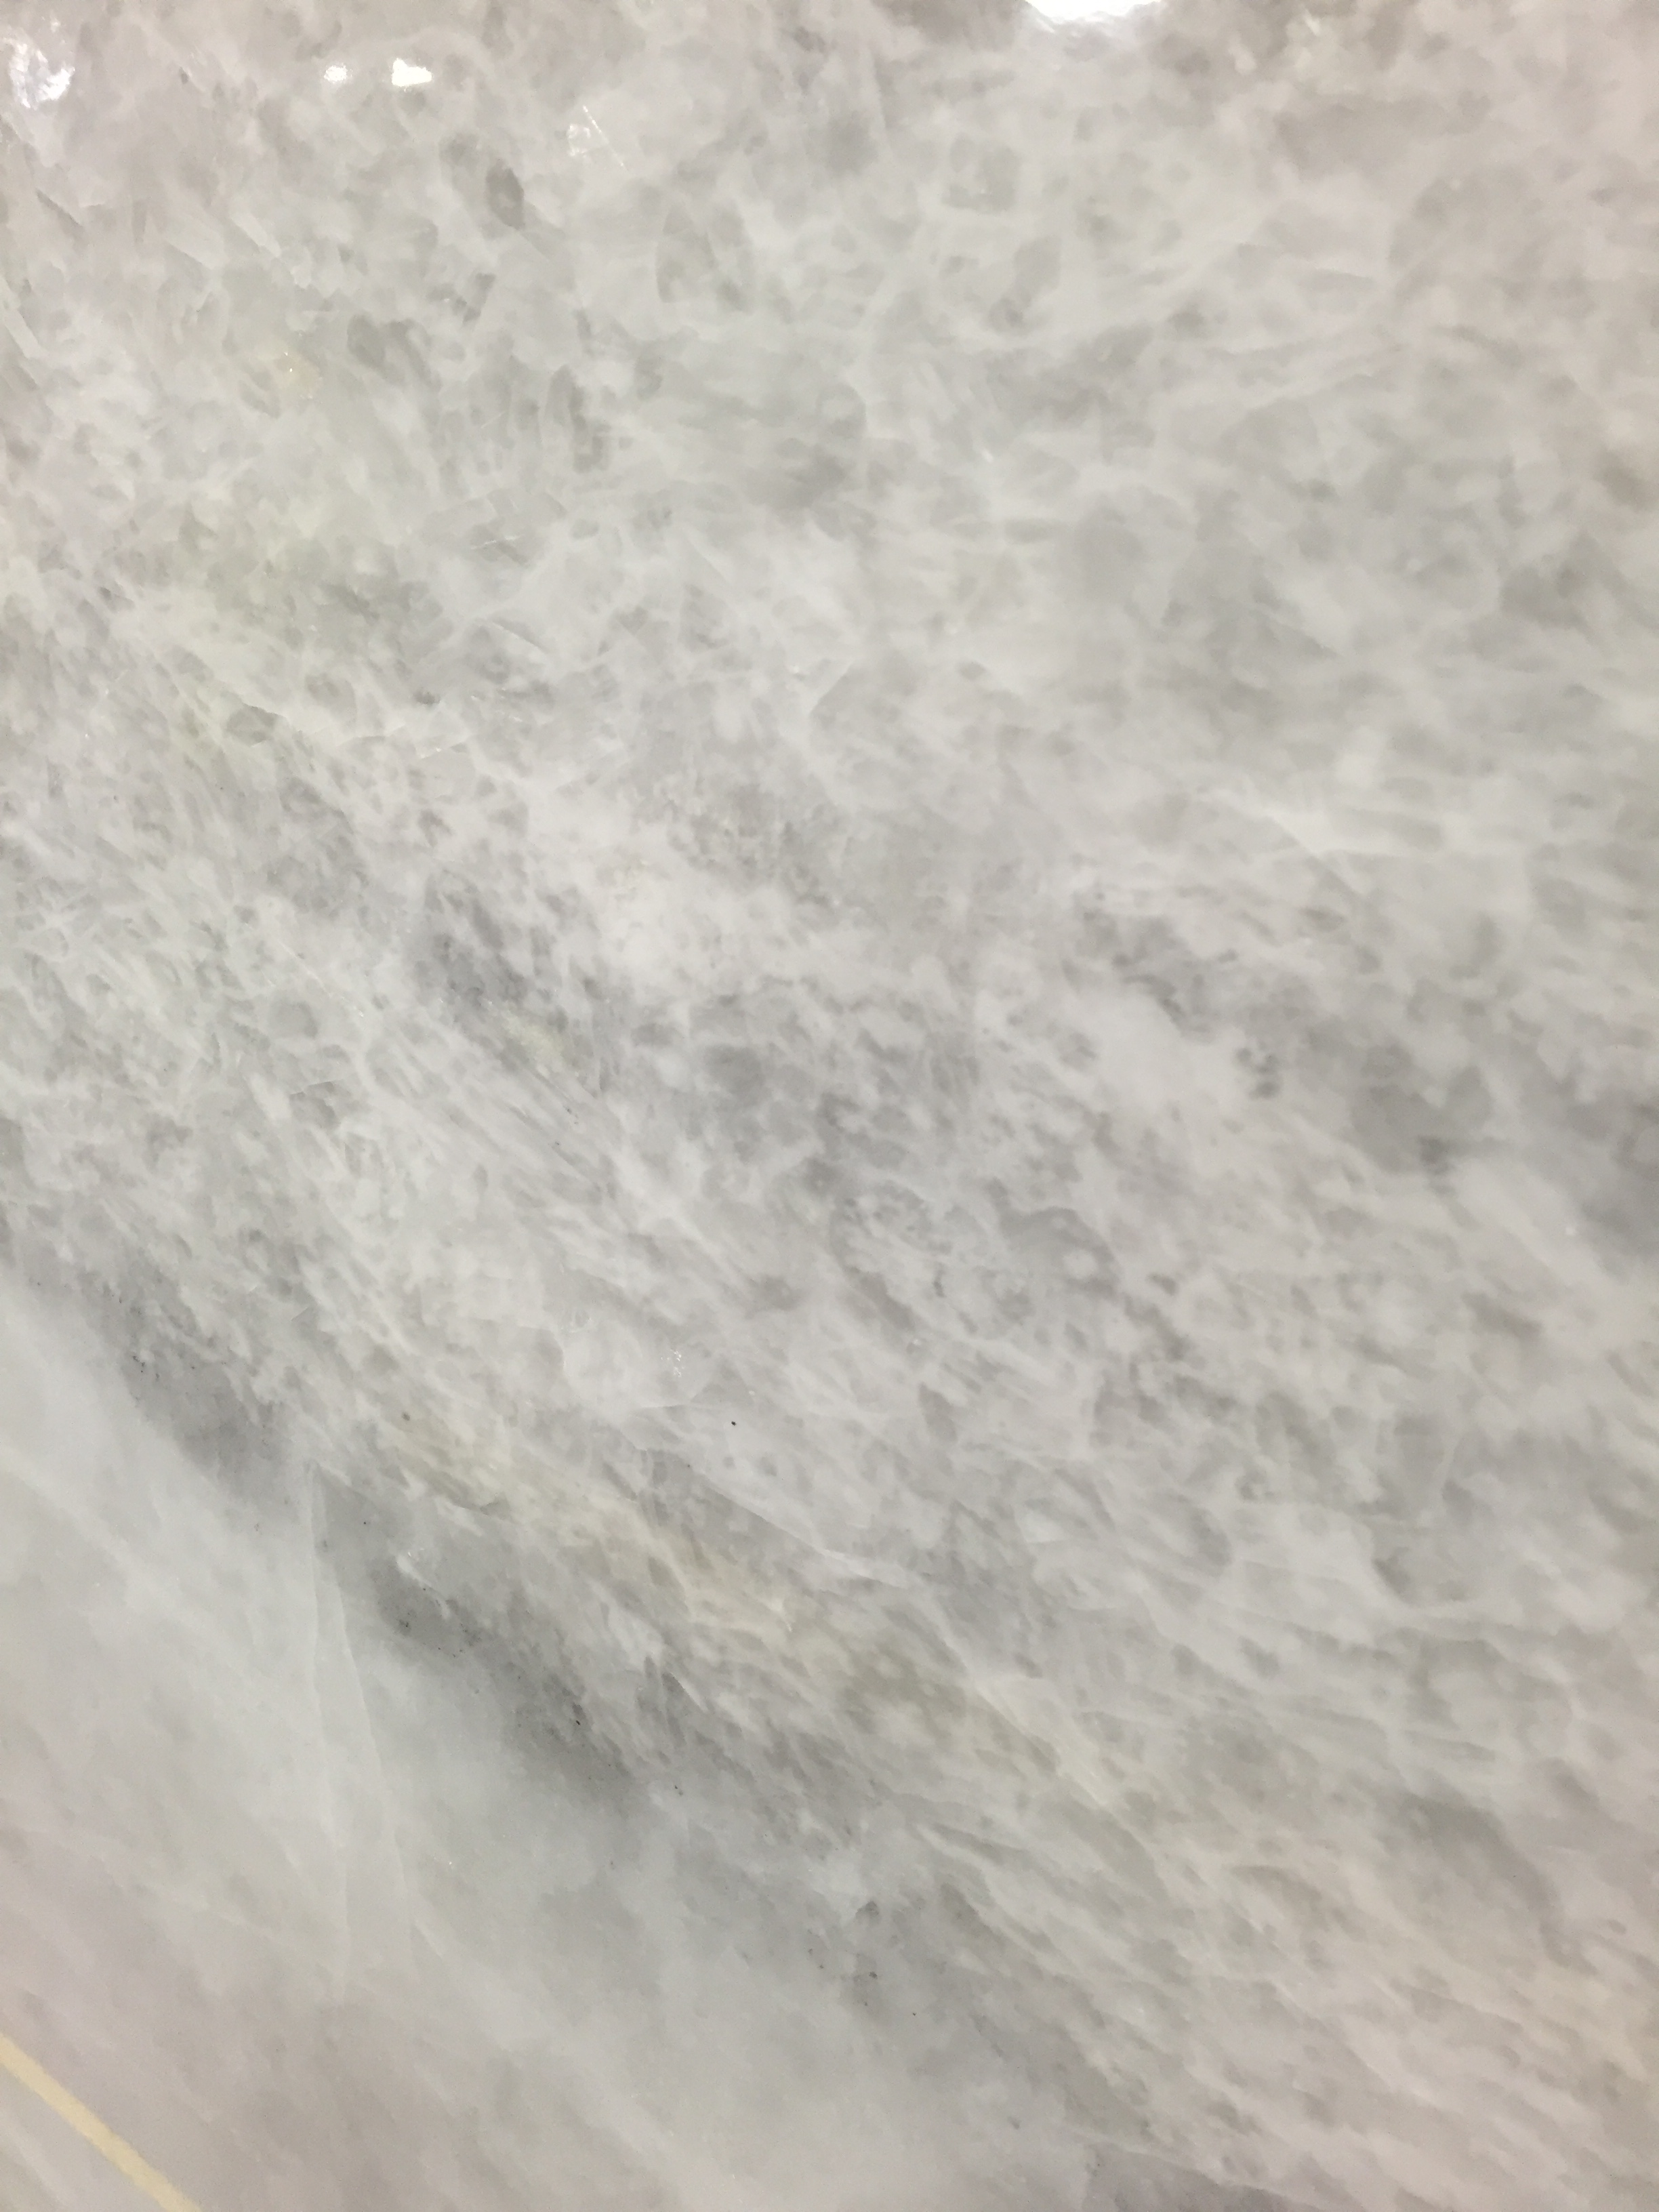
Close up of the countertop.
Another detail picture
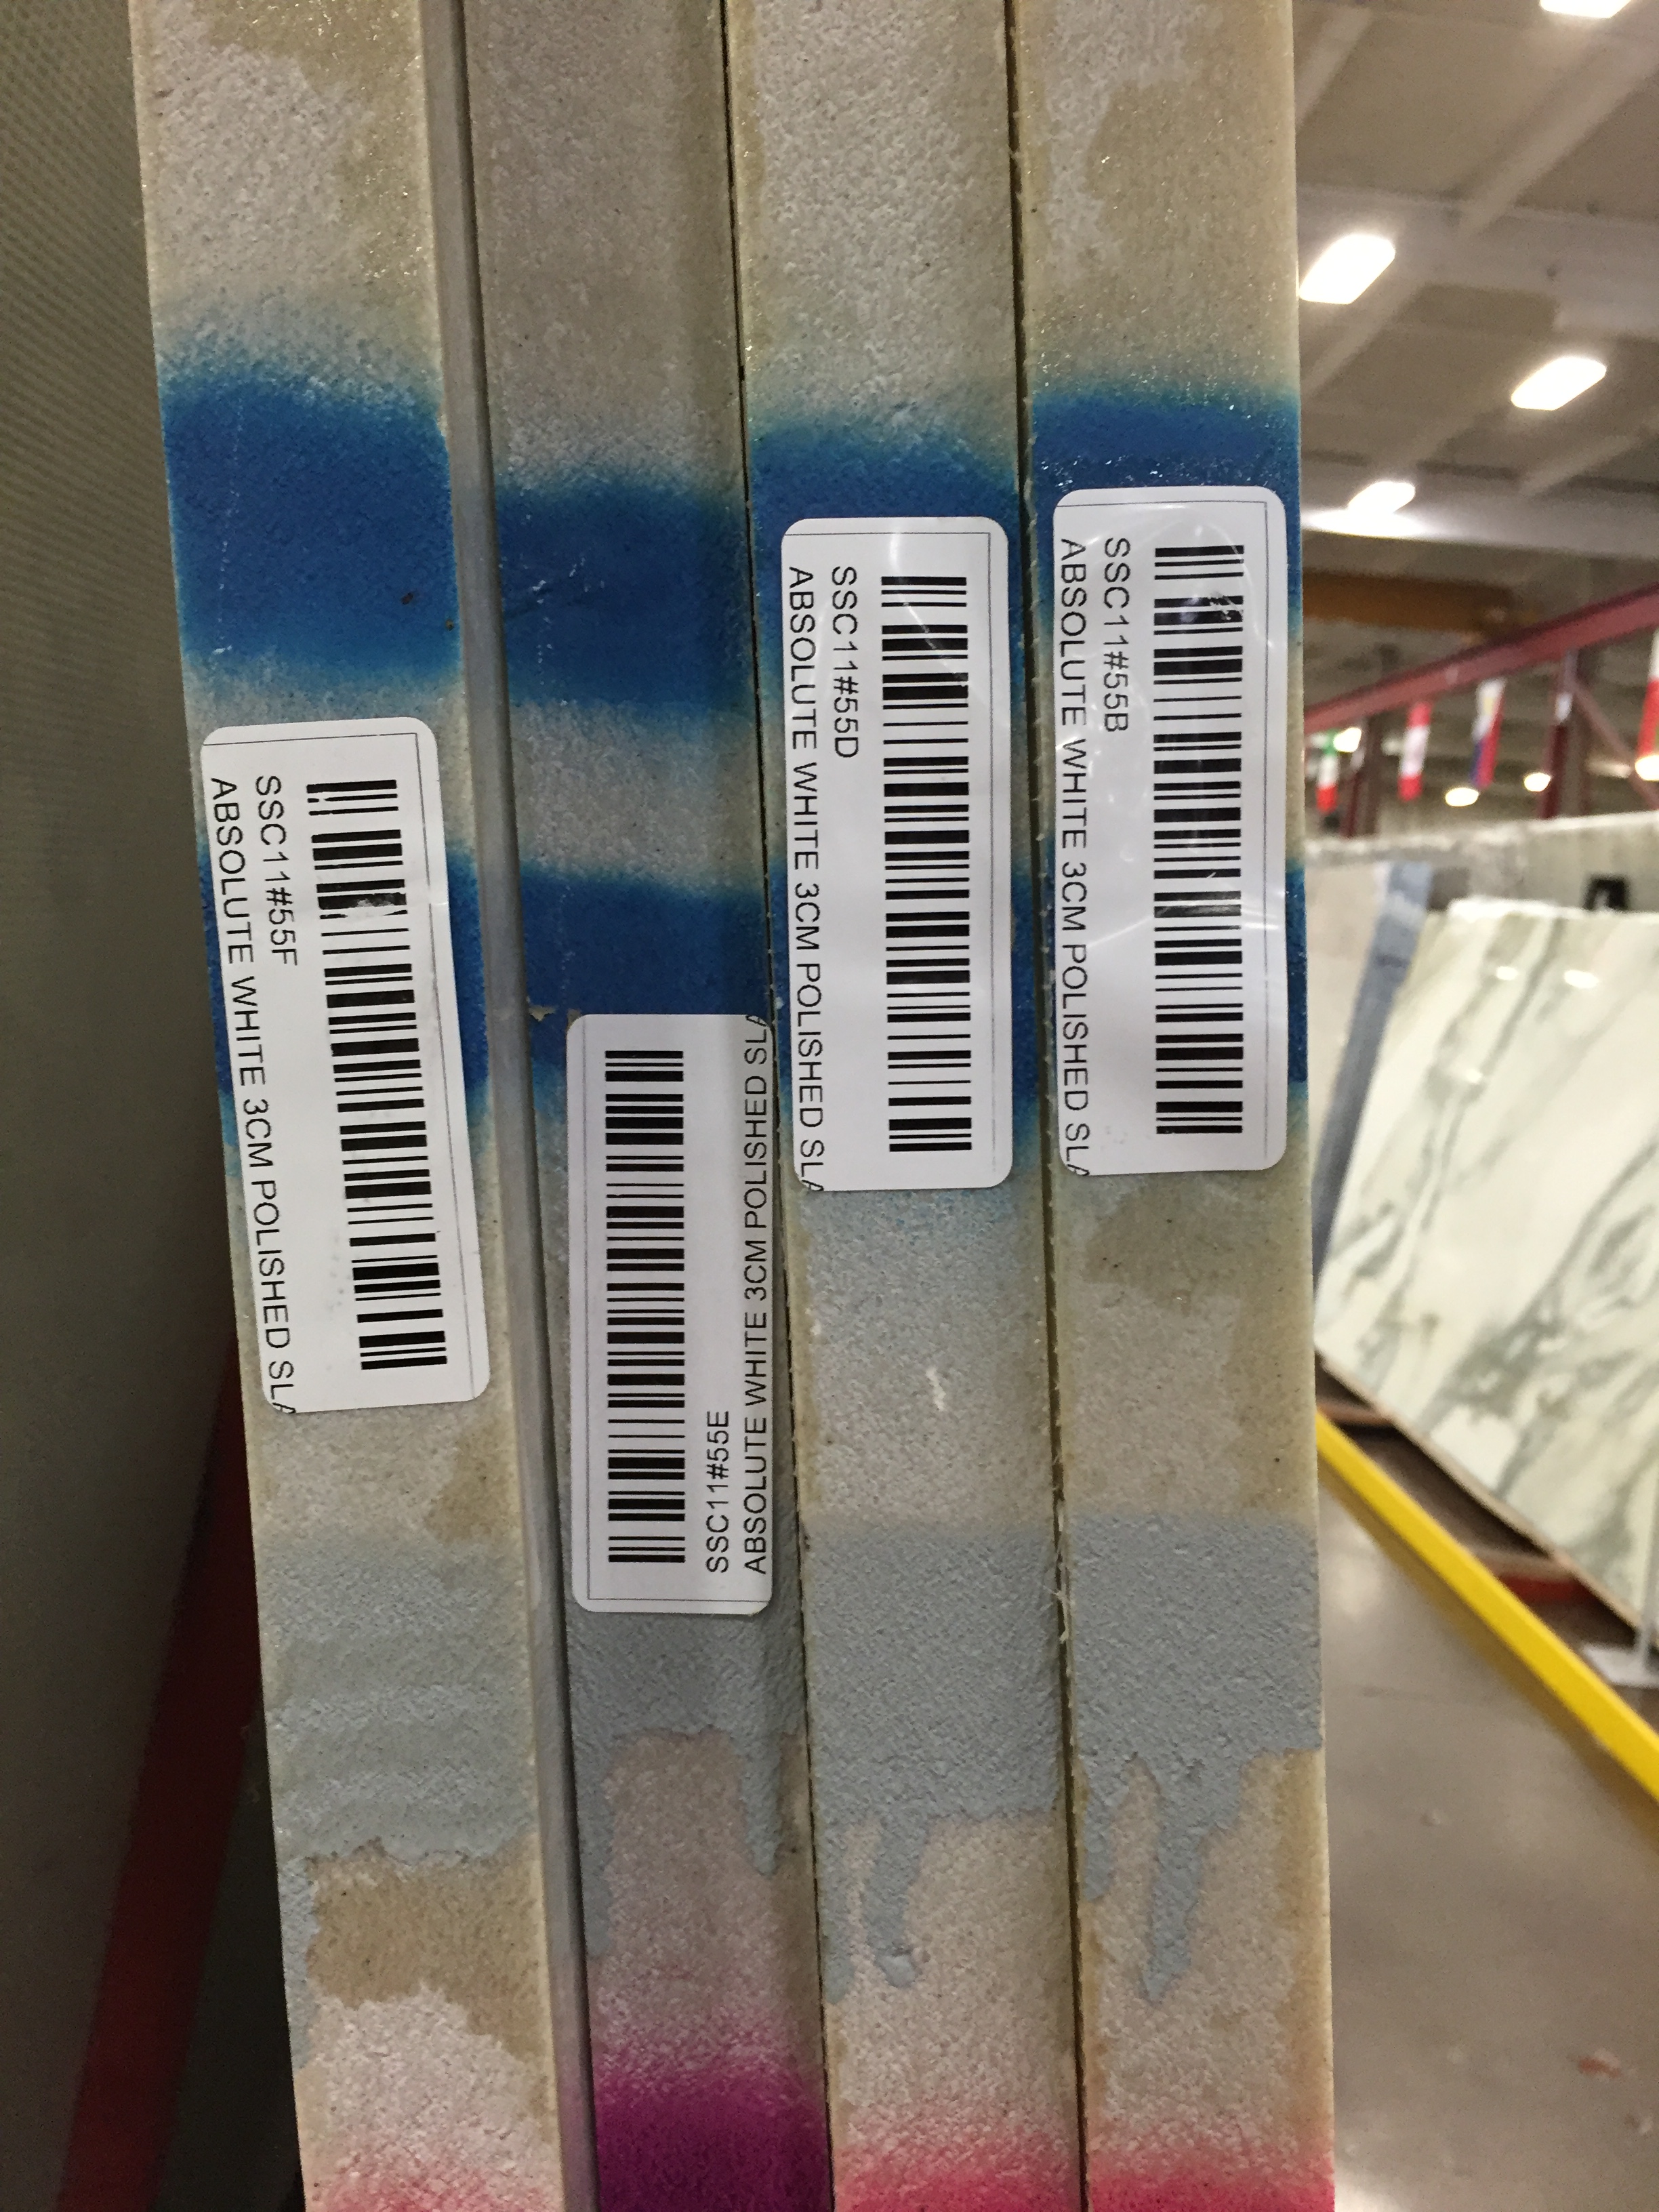
Four slabs of absolute white quartzite – yes please!
While we were at MSI, we also checked out the quartz slabs that they had. Quartz is a man made stone and it super durable, and we’re thinking of using it in the laundry room and boys’ bathroom. They had a really cute white slab of quartz with little blue-green glass and mirror pieces in it, and we found this green glass tile. We thought it might be cute for the laundry room – super clean feeling.
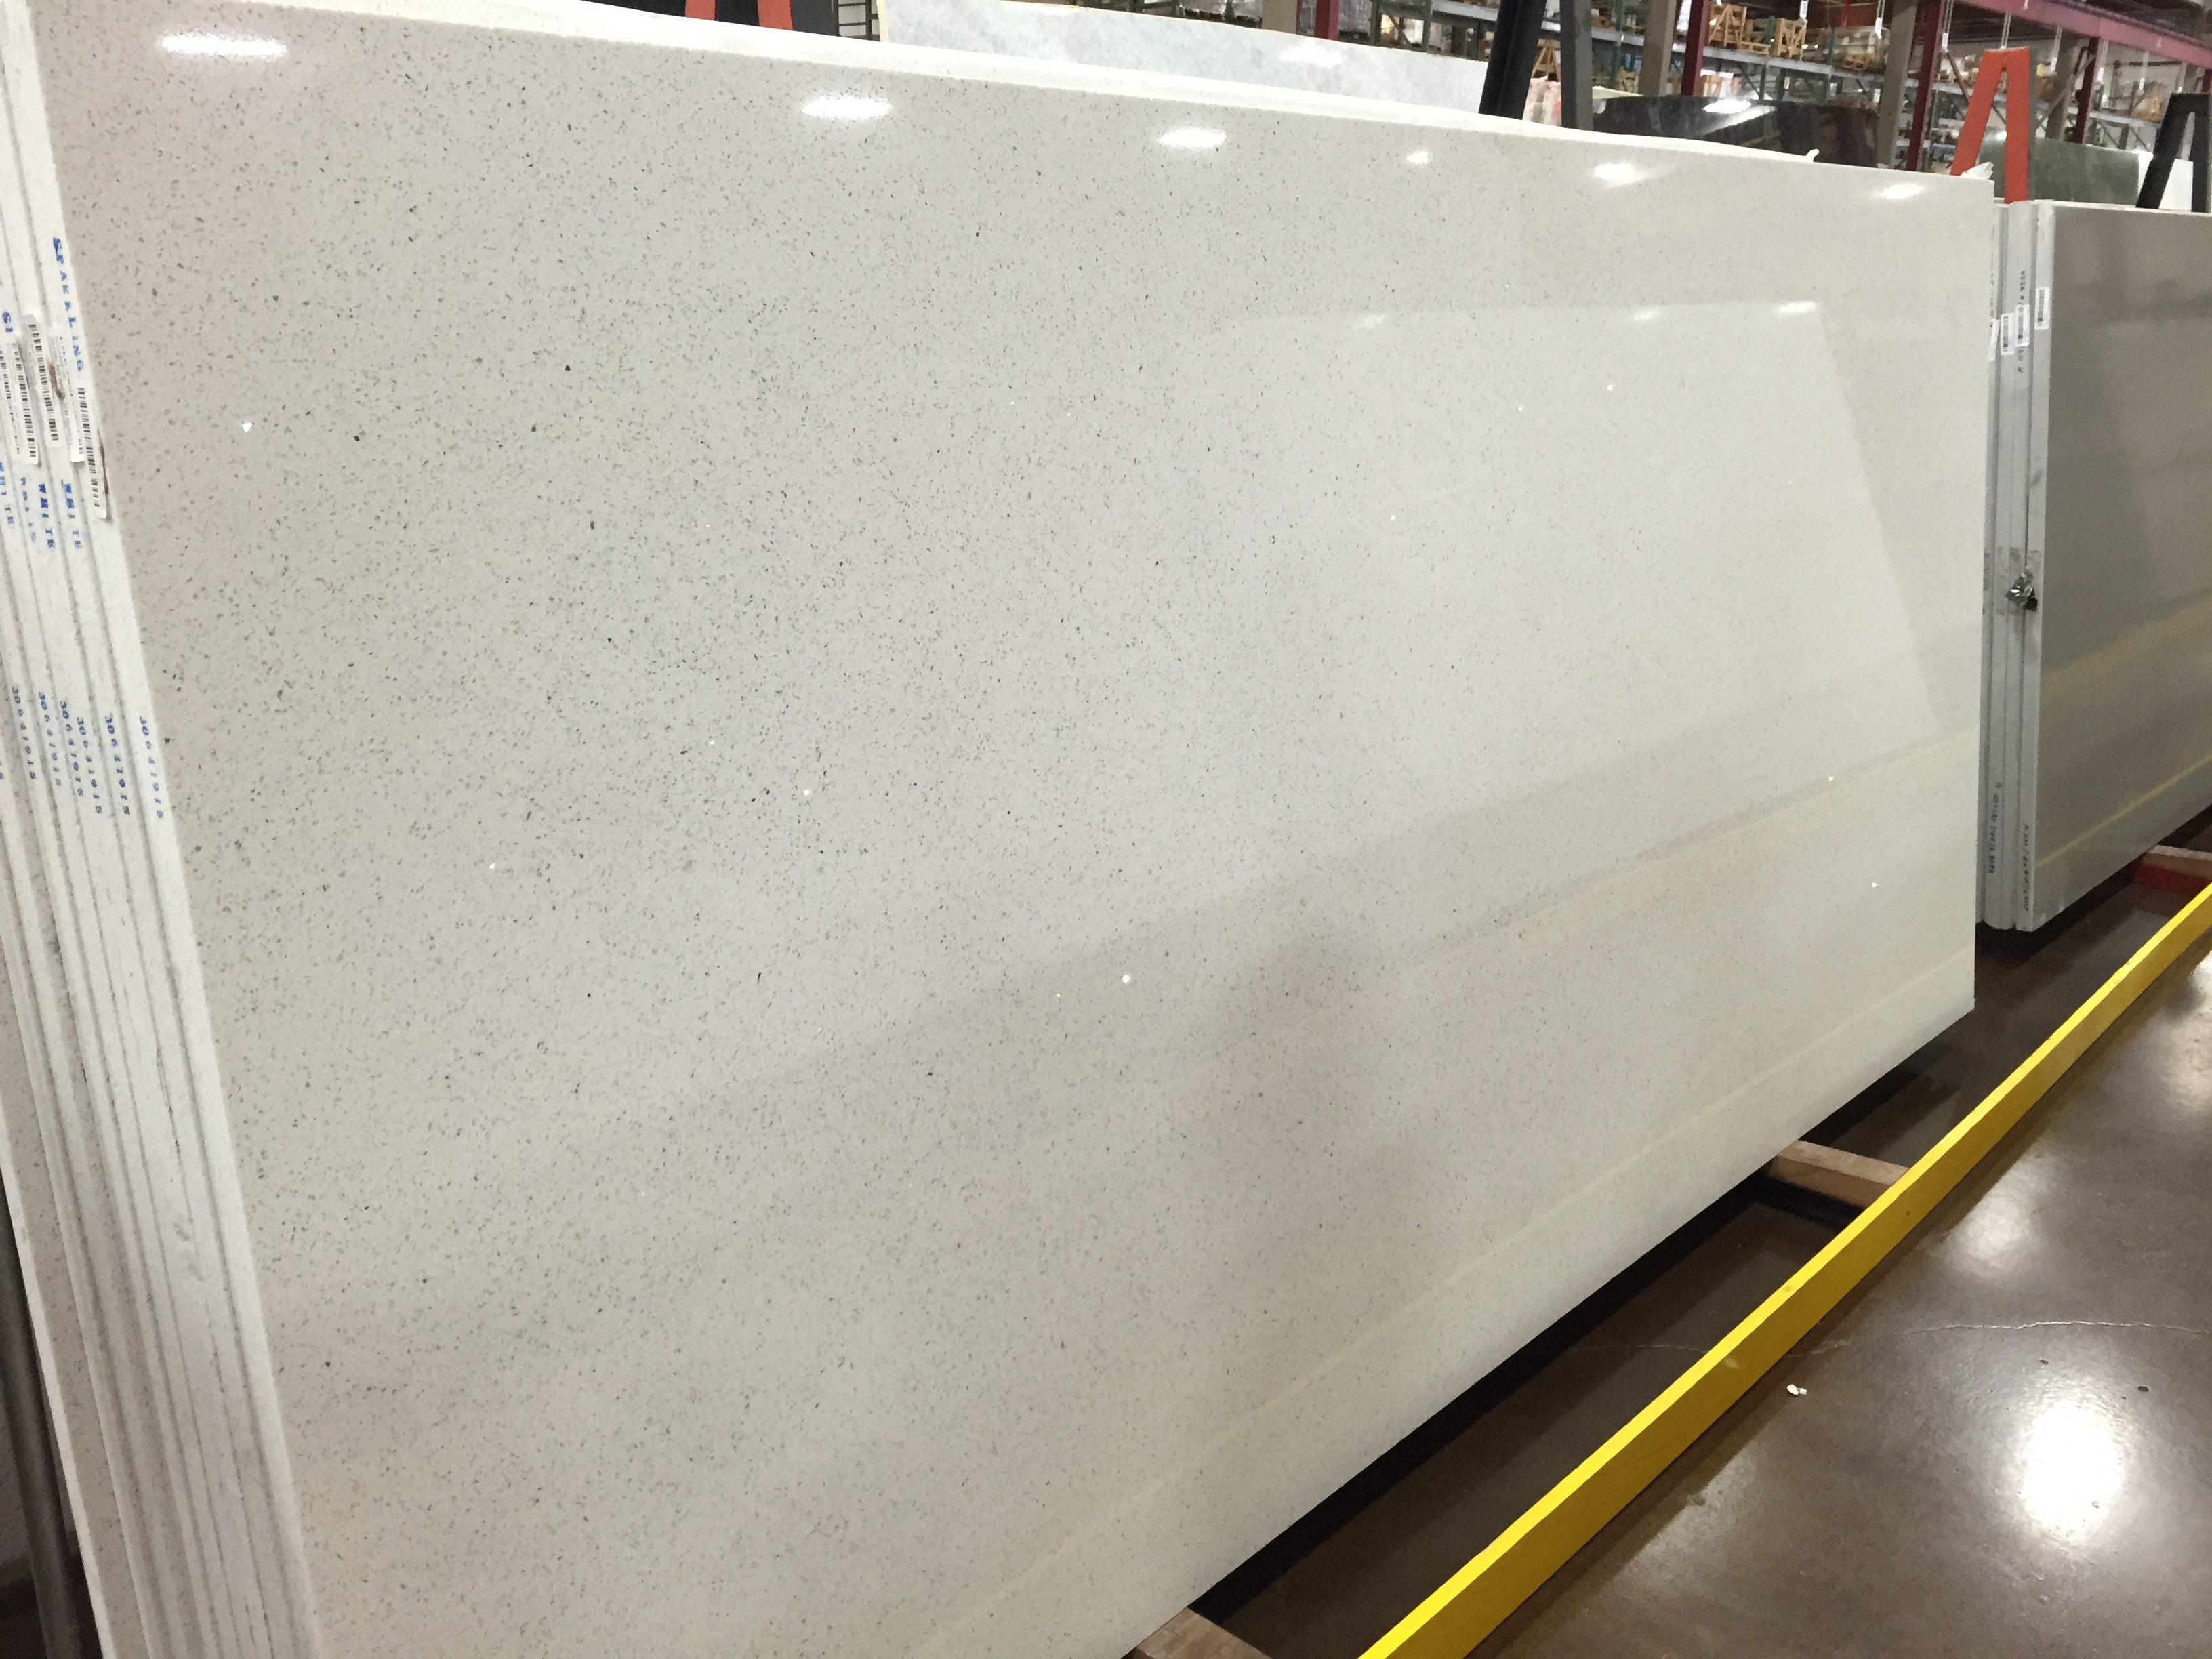
Sparkling white quartz – maybe an option for the laundry room!
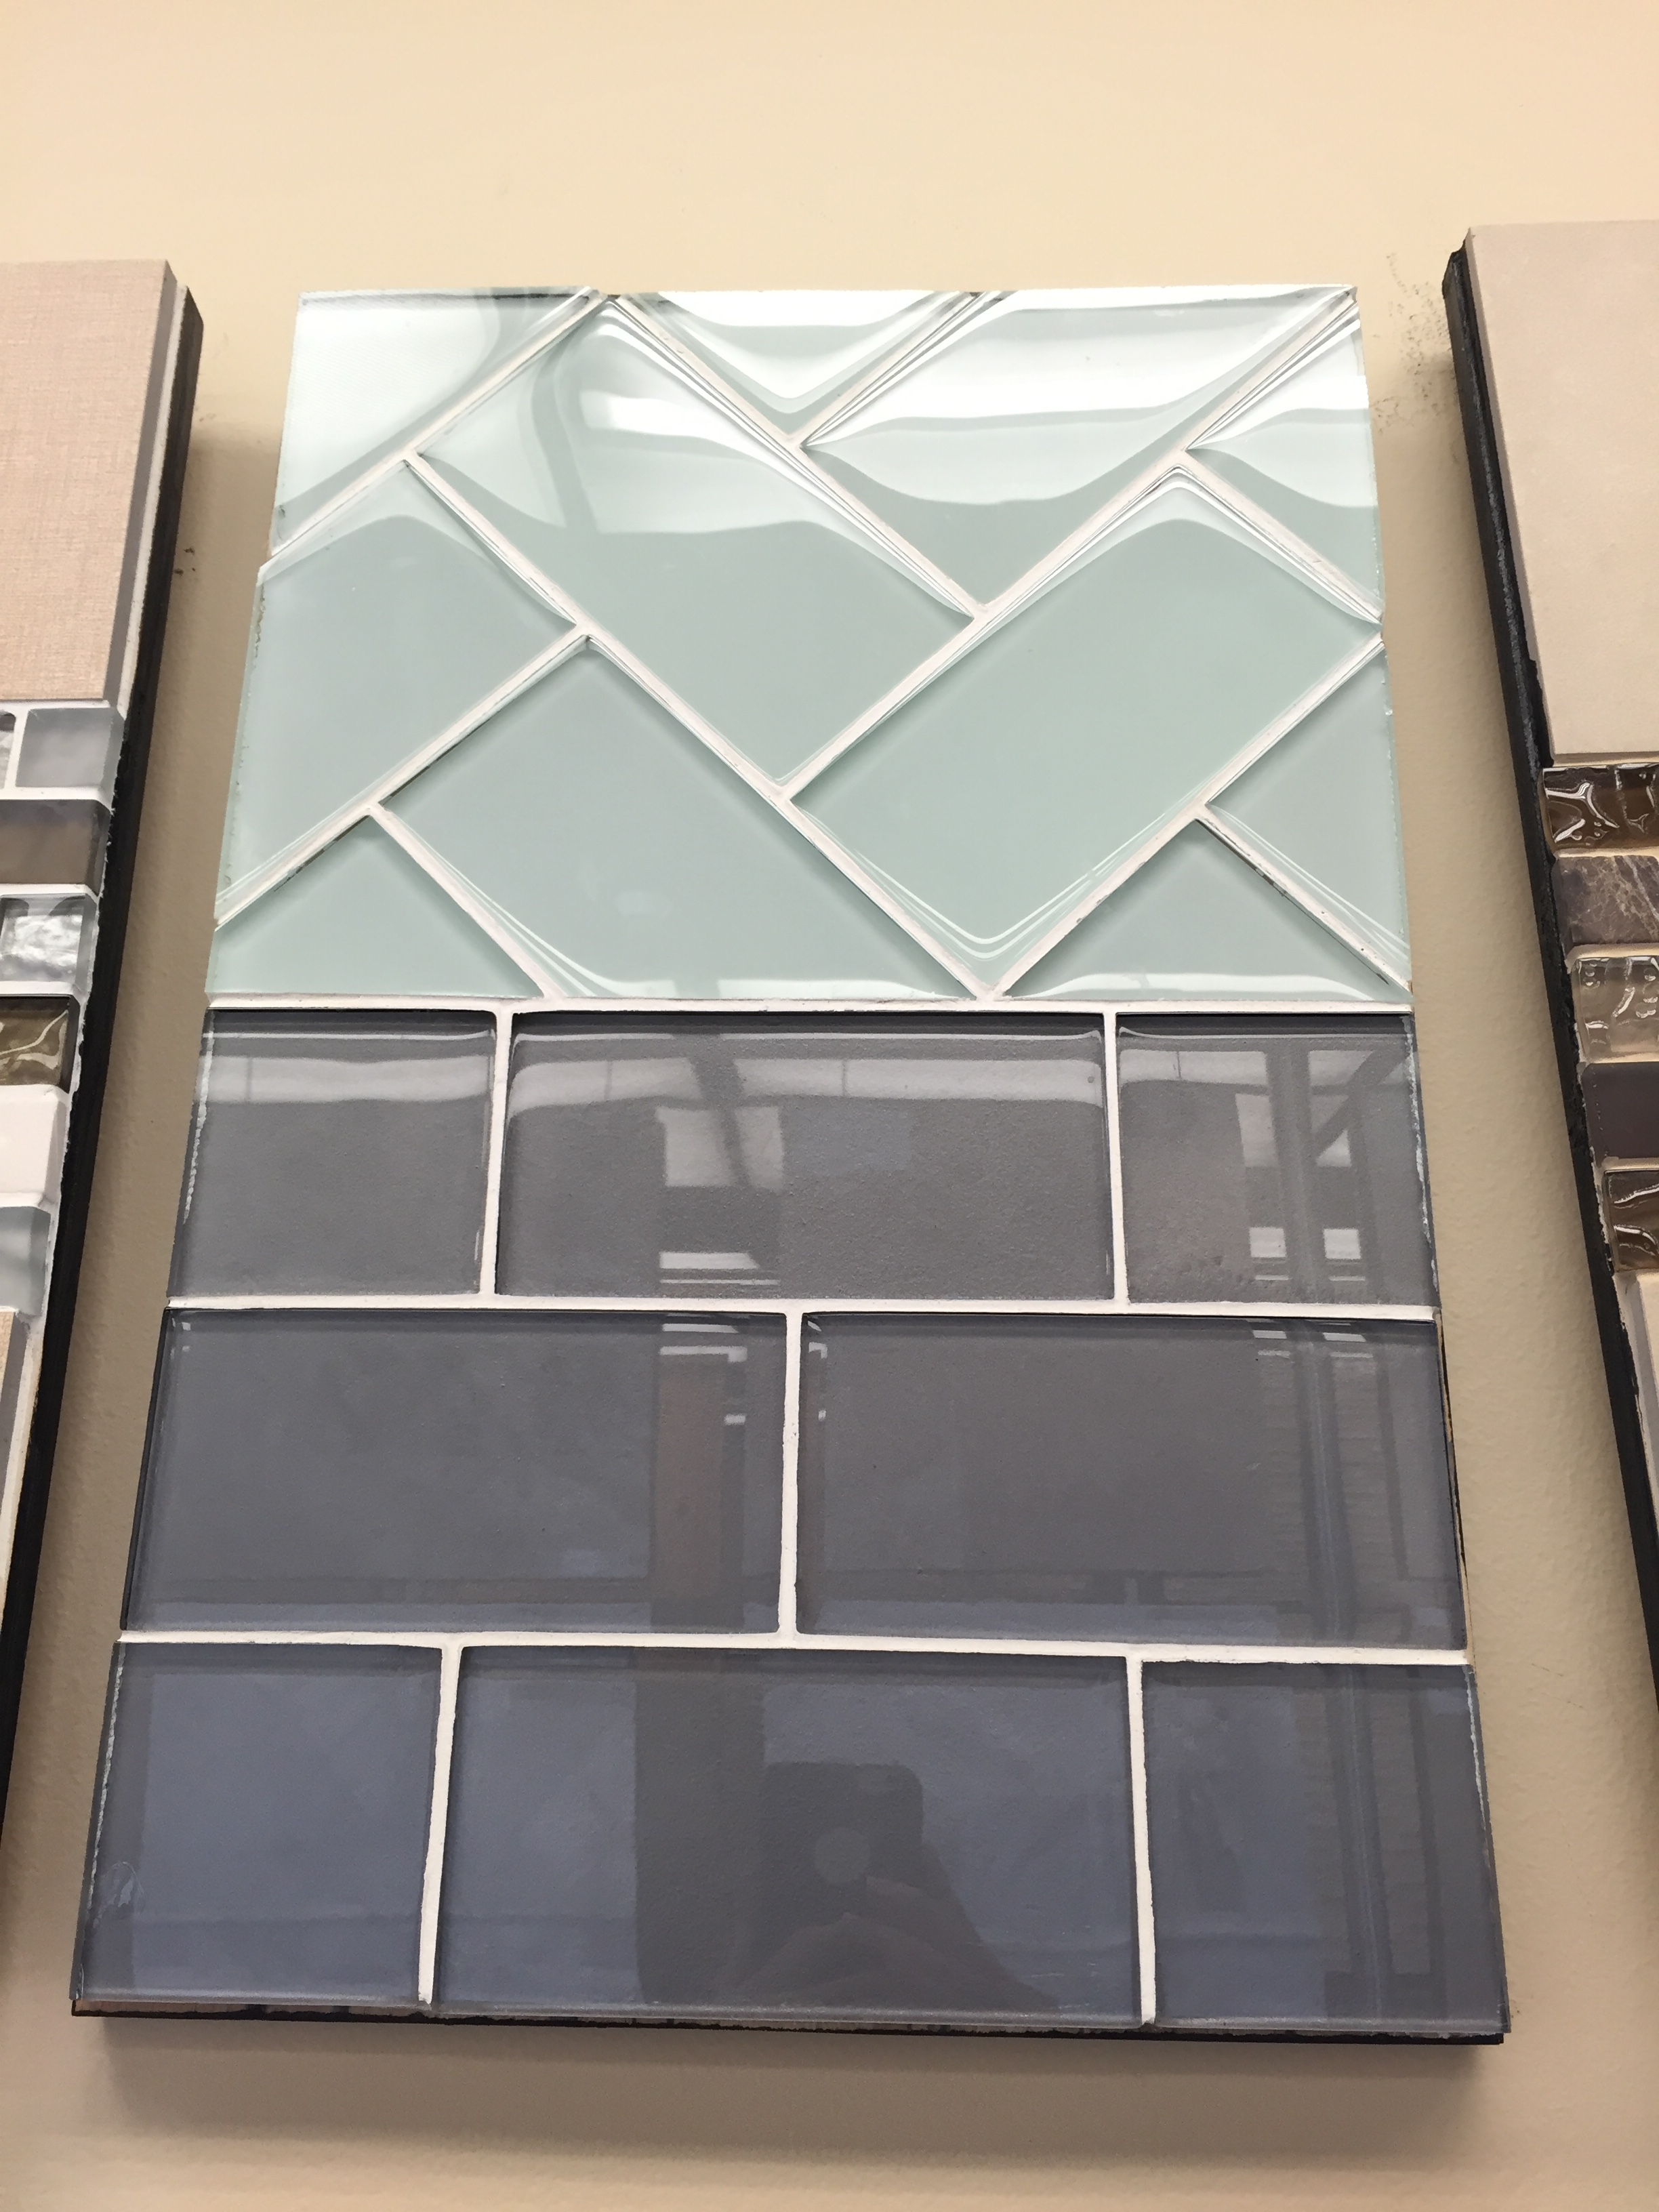
We found this arctic ice glass subway tile (the top one), that is super clean and fresh looking.
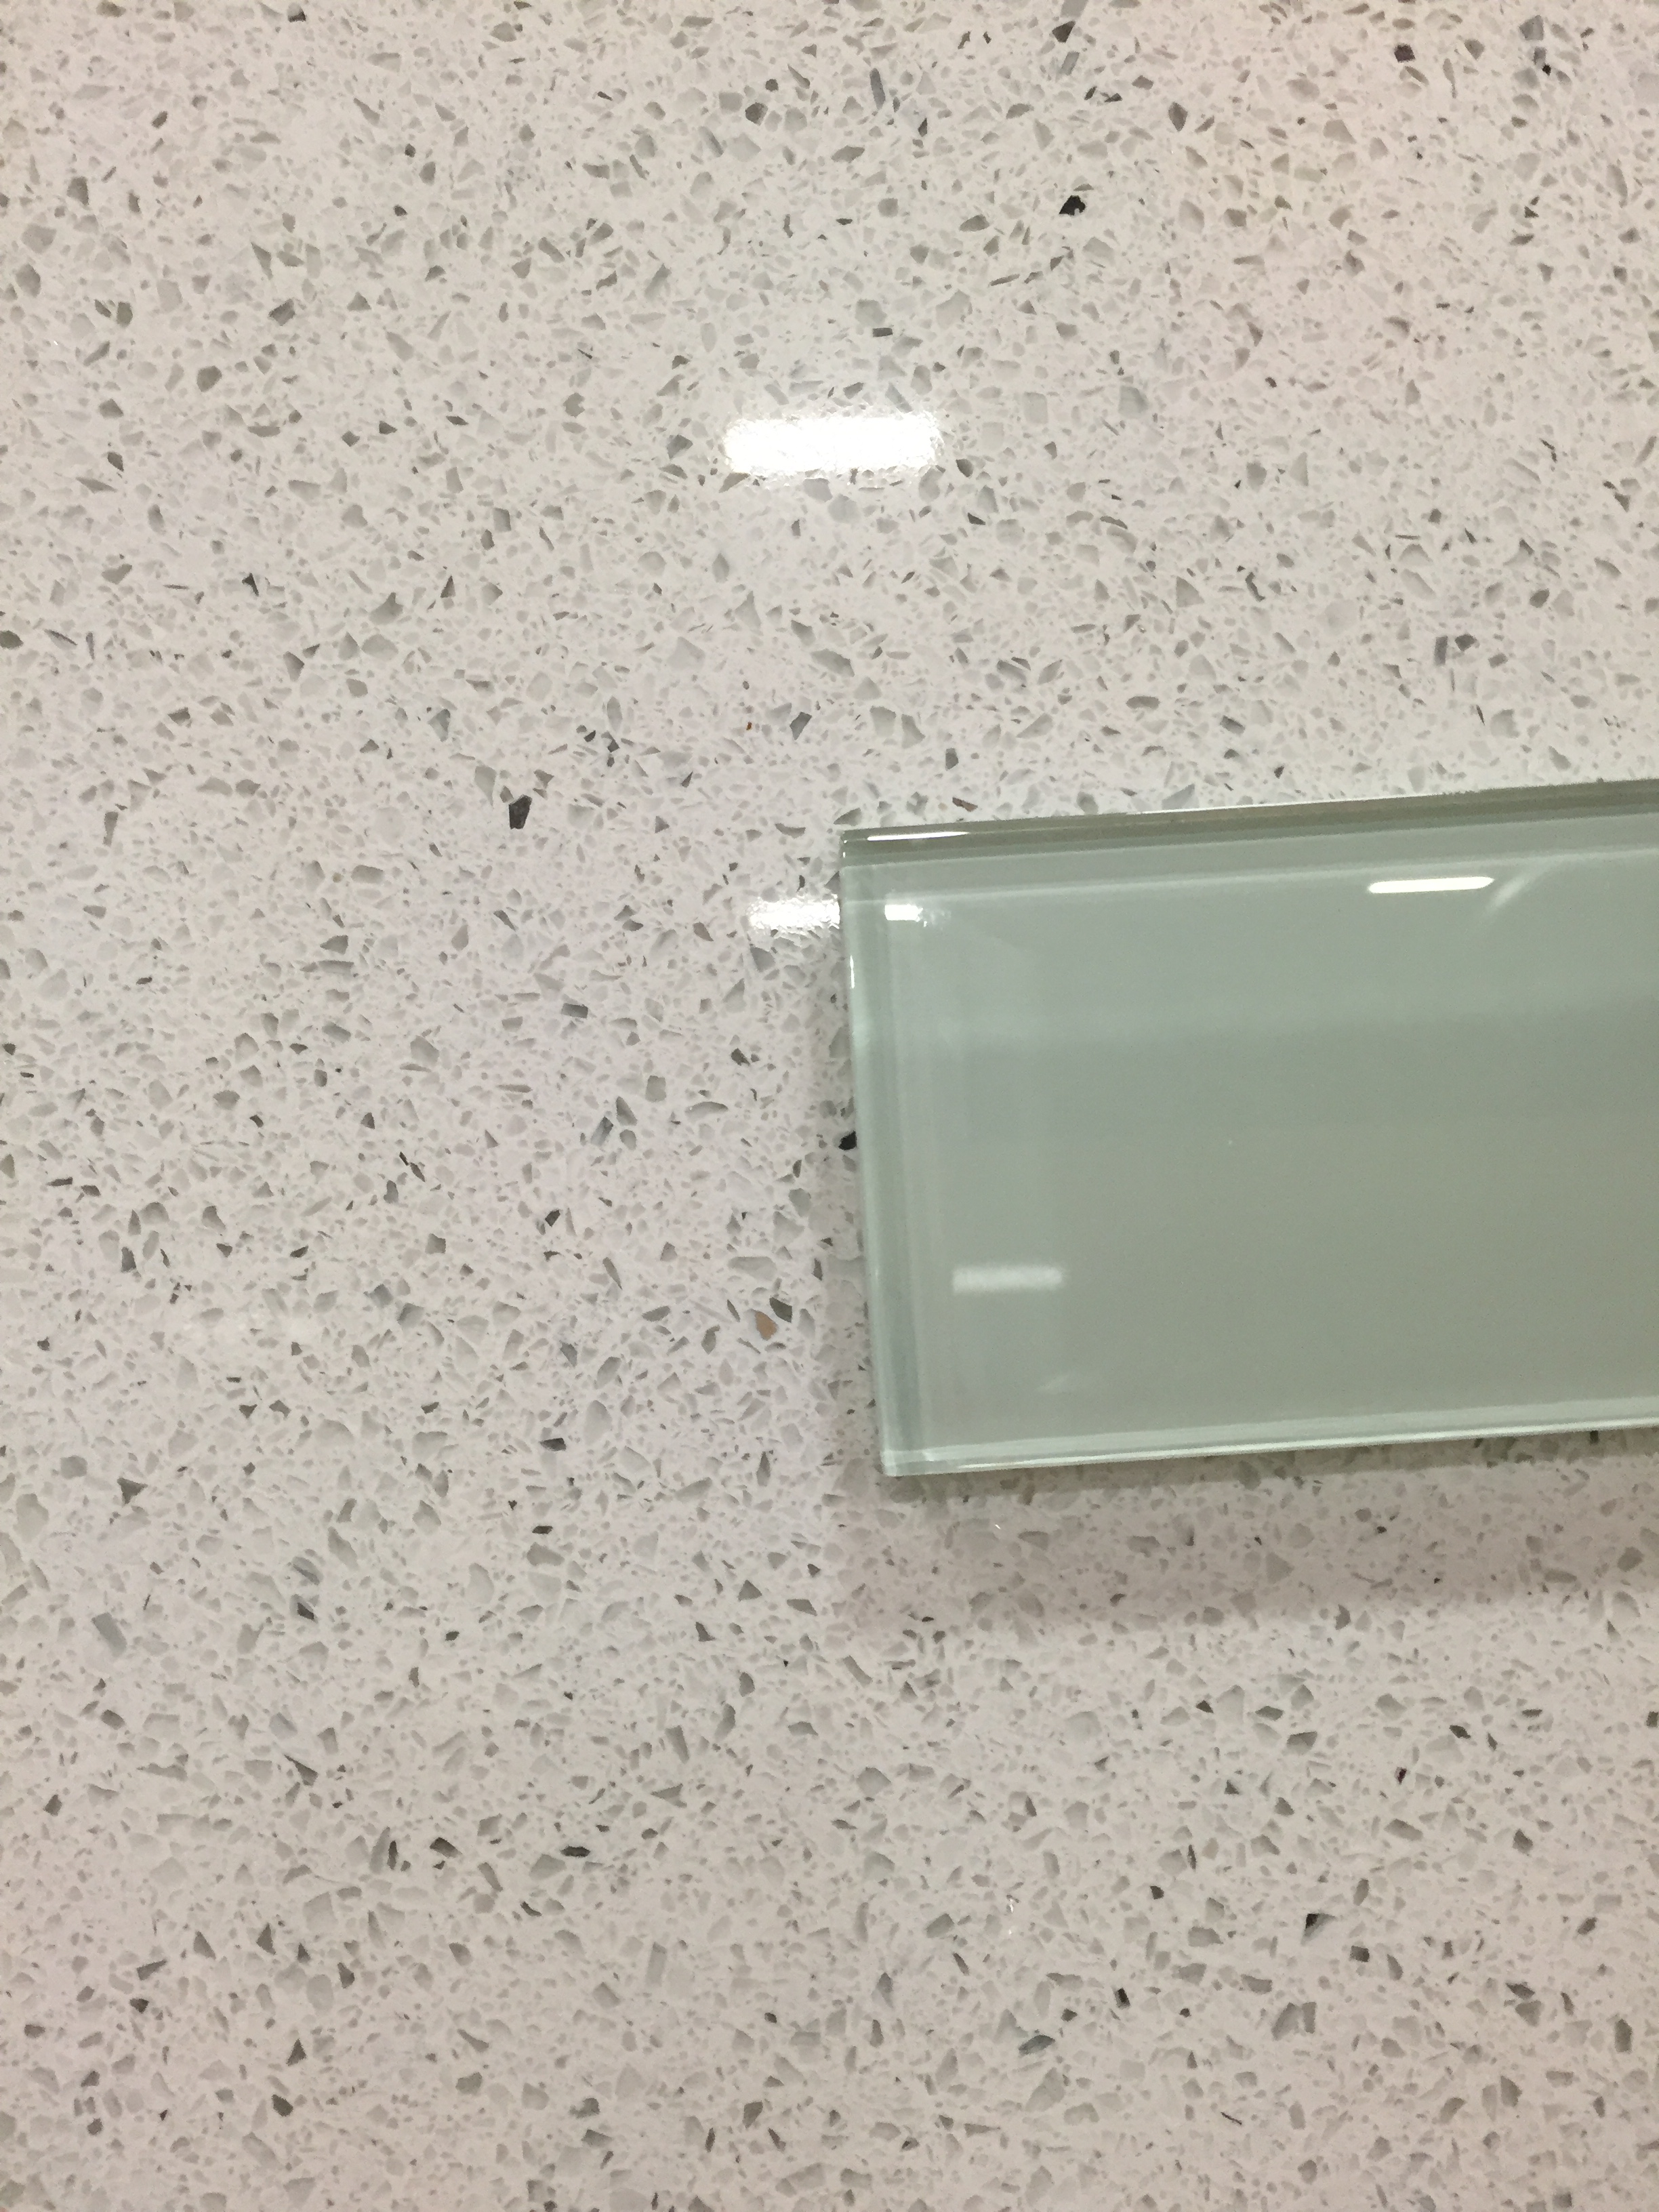
Here’s a close-up of what the slab and tile look like together. Both of these look so much prettier in person – but it gives you an idea of the look.