I think the word “milestones” is appropriate for this week. We began 2016 with some huge accomplishments…siding was finished up this week. Insulation was started and completed, and drywall began!
Let’s start with siding…or really end with siding! It’s very exciting to see the entire house completely done with siding. There’s only a couple of little things that are still missing – the corbels to add a bit of detail on the gables and the mudroom front door still need to be done. But realistically, it feels like we’re done! The top of the great room gable on the back of the house was completed this week, and the siding on the backside of the garage was finished as well too.
-

- The back of the house is completely sided now!
-
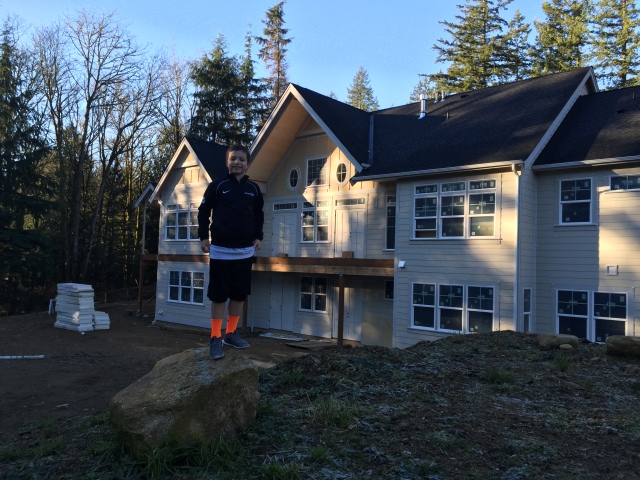
- Of course Cameron climbed on top of the stockpile with me to take some pictures!
-

- The underside of the gable was finished with tongue & groove pine.
-

- Here’s a view of the house that we won’t see after the decking is complete. The small covered area on the left is the BBQ area.
-

- The backside of the garage was finished this week. They had to install strips of wood on the lower half which is concrete in order to install the siding. The belly band hides the intersection between the upper and lower installations.
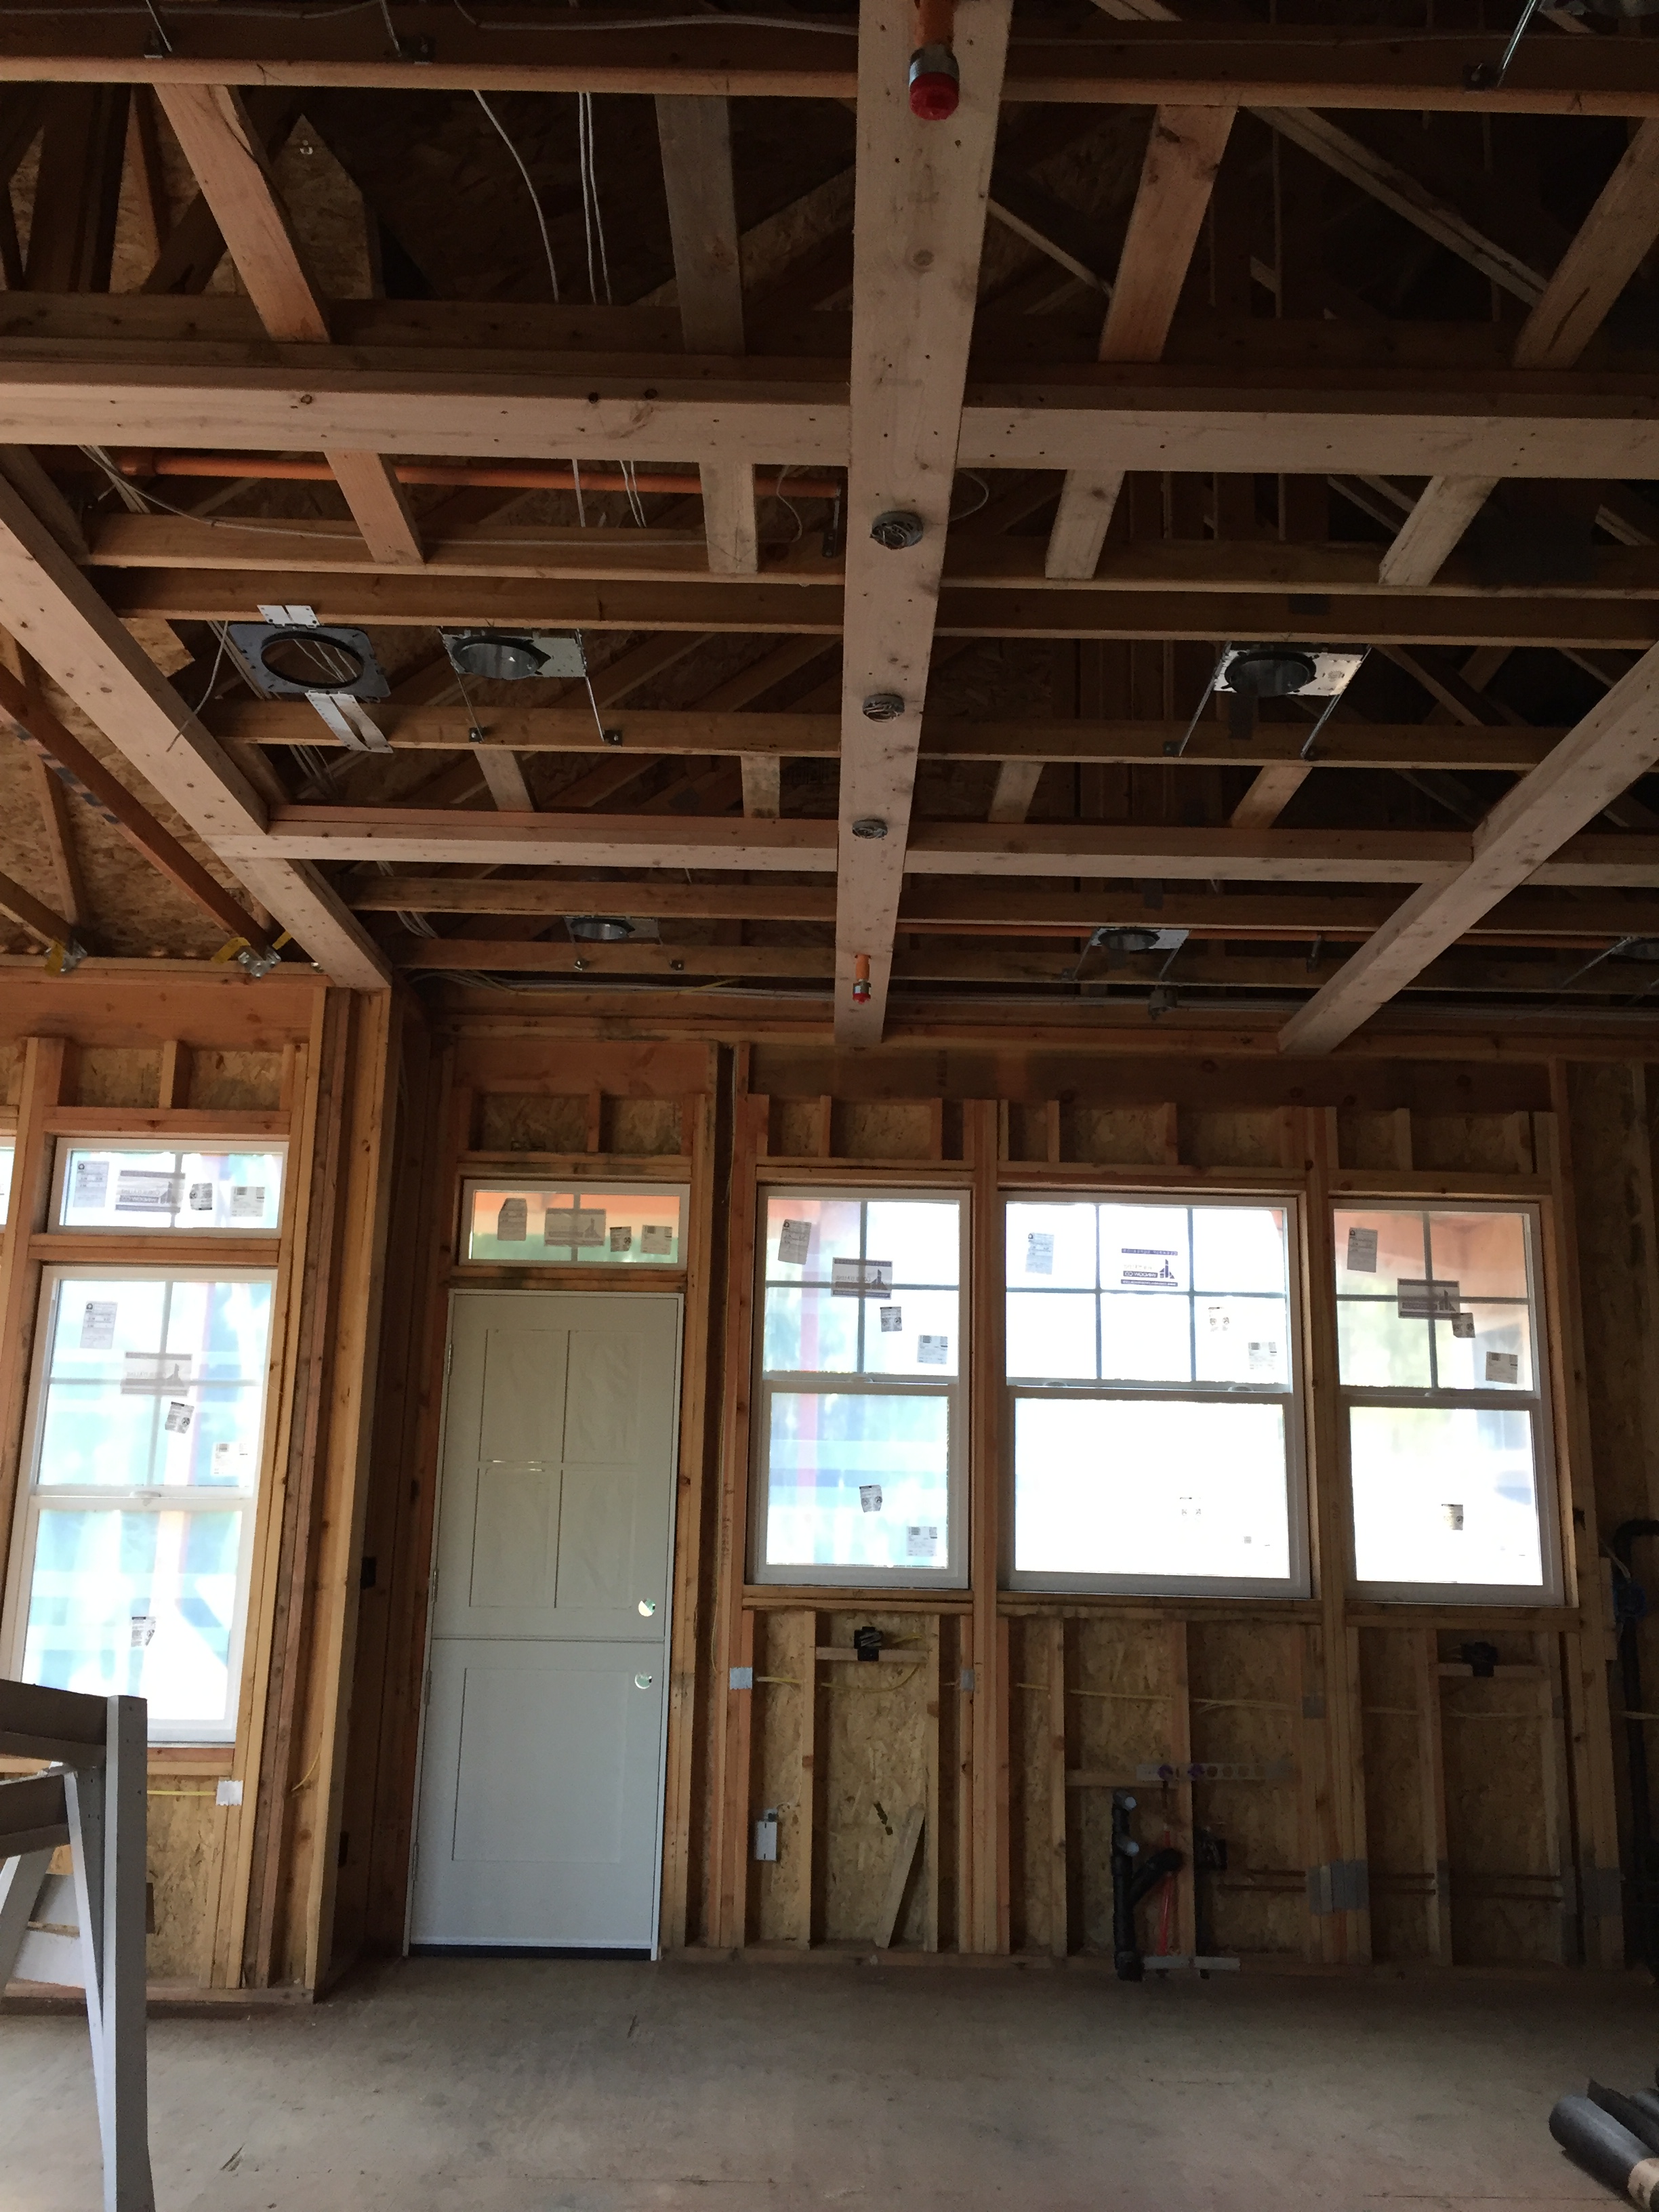
On the inside of the house, insulation was added which included insulating all of the walls – exterior and interior. I walked through the house on Wednesday and it was amazing that they were done with it – they only started on Monday! It’s pretty wild now to walk through it because it feels so much darker than it did before. Light used to penetrate into every room because it was just studs. Now the rooms without windows – like the powder room feel sooooo dark. Which is probably half because the light can’t enter the room and half because all of the insulation is brown. Once the sheetrock goes up, I’m sure those rooms will feel a bit lighter.
-

- Insulation was started and finished this week. All of the walls in the house were insulated – inside and out! Here’s a picture of our master looking into the master bath.
-

- It’s a little hard to see, but here’s the great room insulation.
-

- The sloped ceilings were insulated using the batts.
-

- I told Matt that all of the insulation on the walls felt like an insane asylum. Then I went into the storage room (which we’re not drywalling), and it totally feels like an asylum! Yikes!! Guess where the new “timeout” room is for the boys 😉
And drywall was started! On Wednesday, they loaded all the drywall into the house and they started working on it the next day. By the end of the day Thursday our entire master bedroom was completed. And by the end of the week there was so much completed! All of the ceiling are done and so are all of the walls in the boys’ area.
-

- All of the drywall was loaded into the house on Thursday. Matt took this pic of the crane loading in into the house from the truck
-

- The drywall really makes the ceiling details stand out – here’s the future coffered ceilings in the kitchen.
-

- The dining room ceiling looks fantastic!
-

- I swear, these boys think it’s so funny to pretend to go to the bathroom…where’s the toilet?!?
-

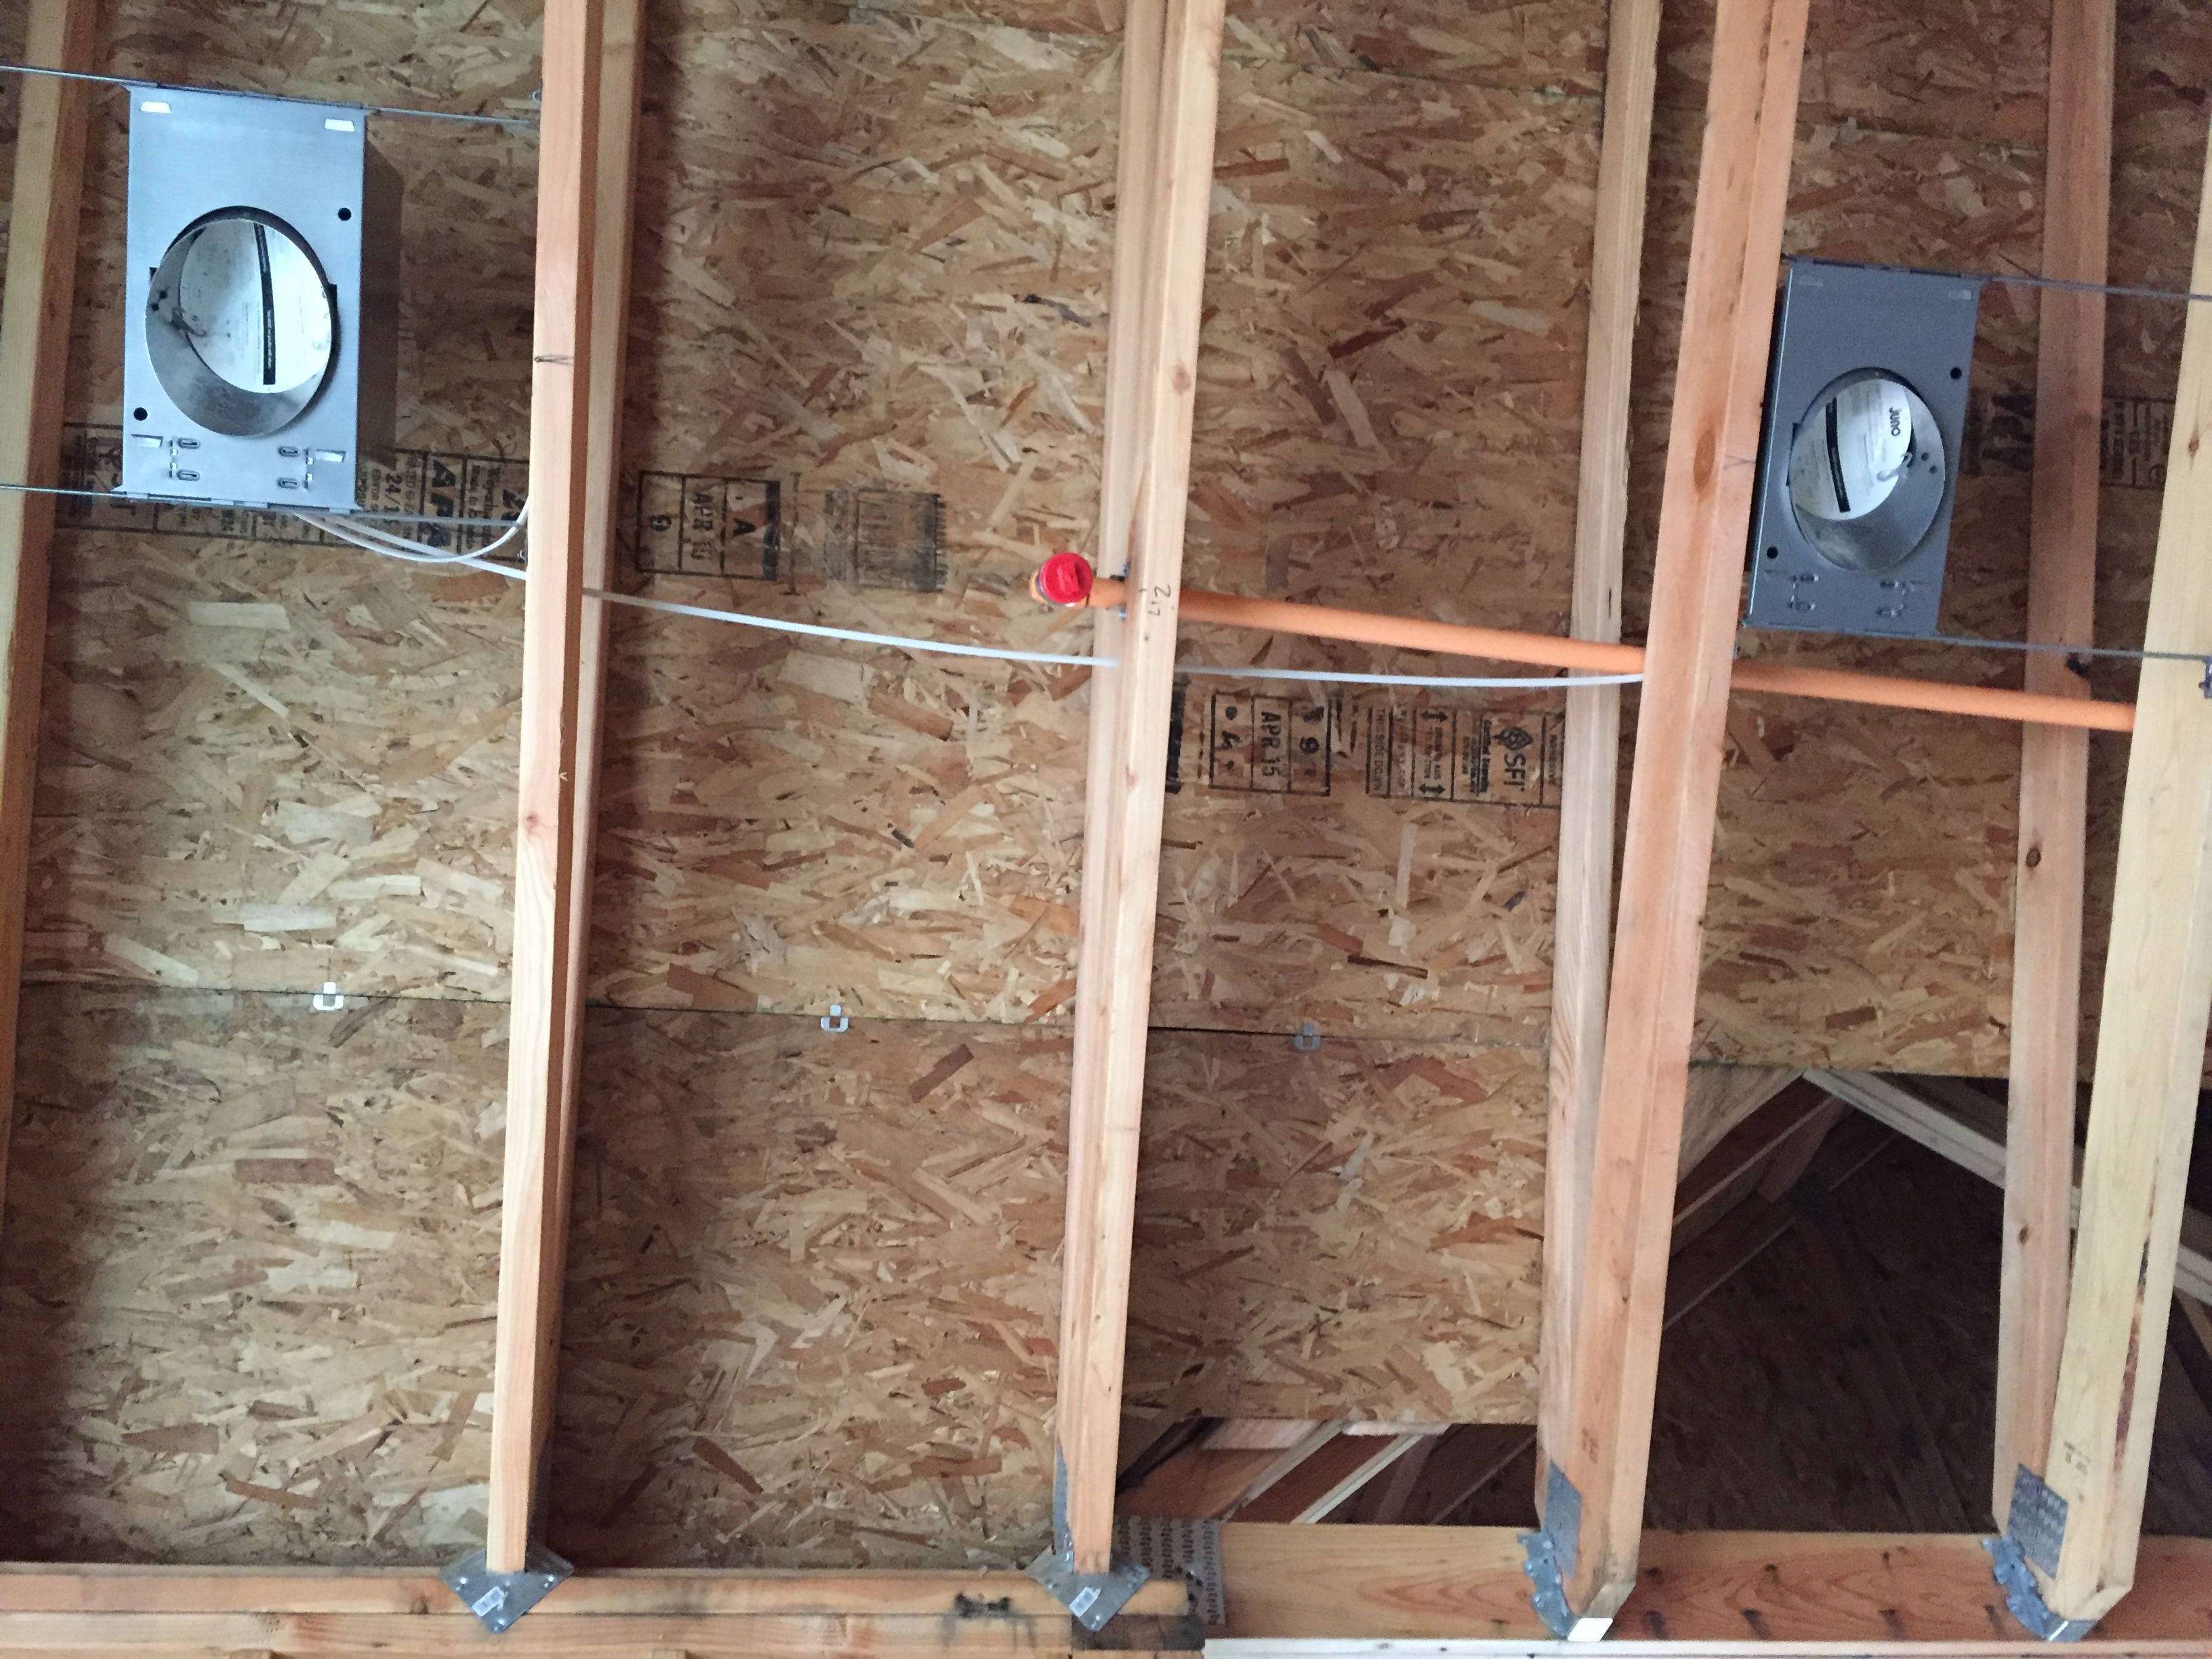
- These channels were added to the ceilings of the bedrooms and playroom downstairs for sound proofing. It won’t completely soundproof between the floors but it will help. We tested it and it does work pretty well!
-

- Cameron loves his new room and we love all of the natural light that it gets.
-

- Spencer was pretty bummed that his closet was drywalled over. Pretty sure the drywall crew has some tools (or something they don’t want stolen) in there.
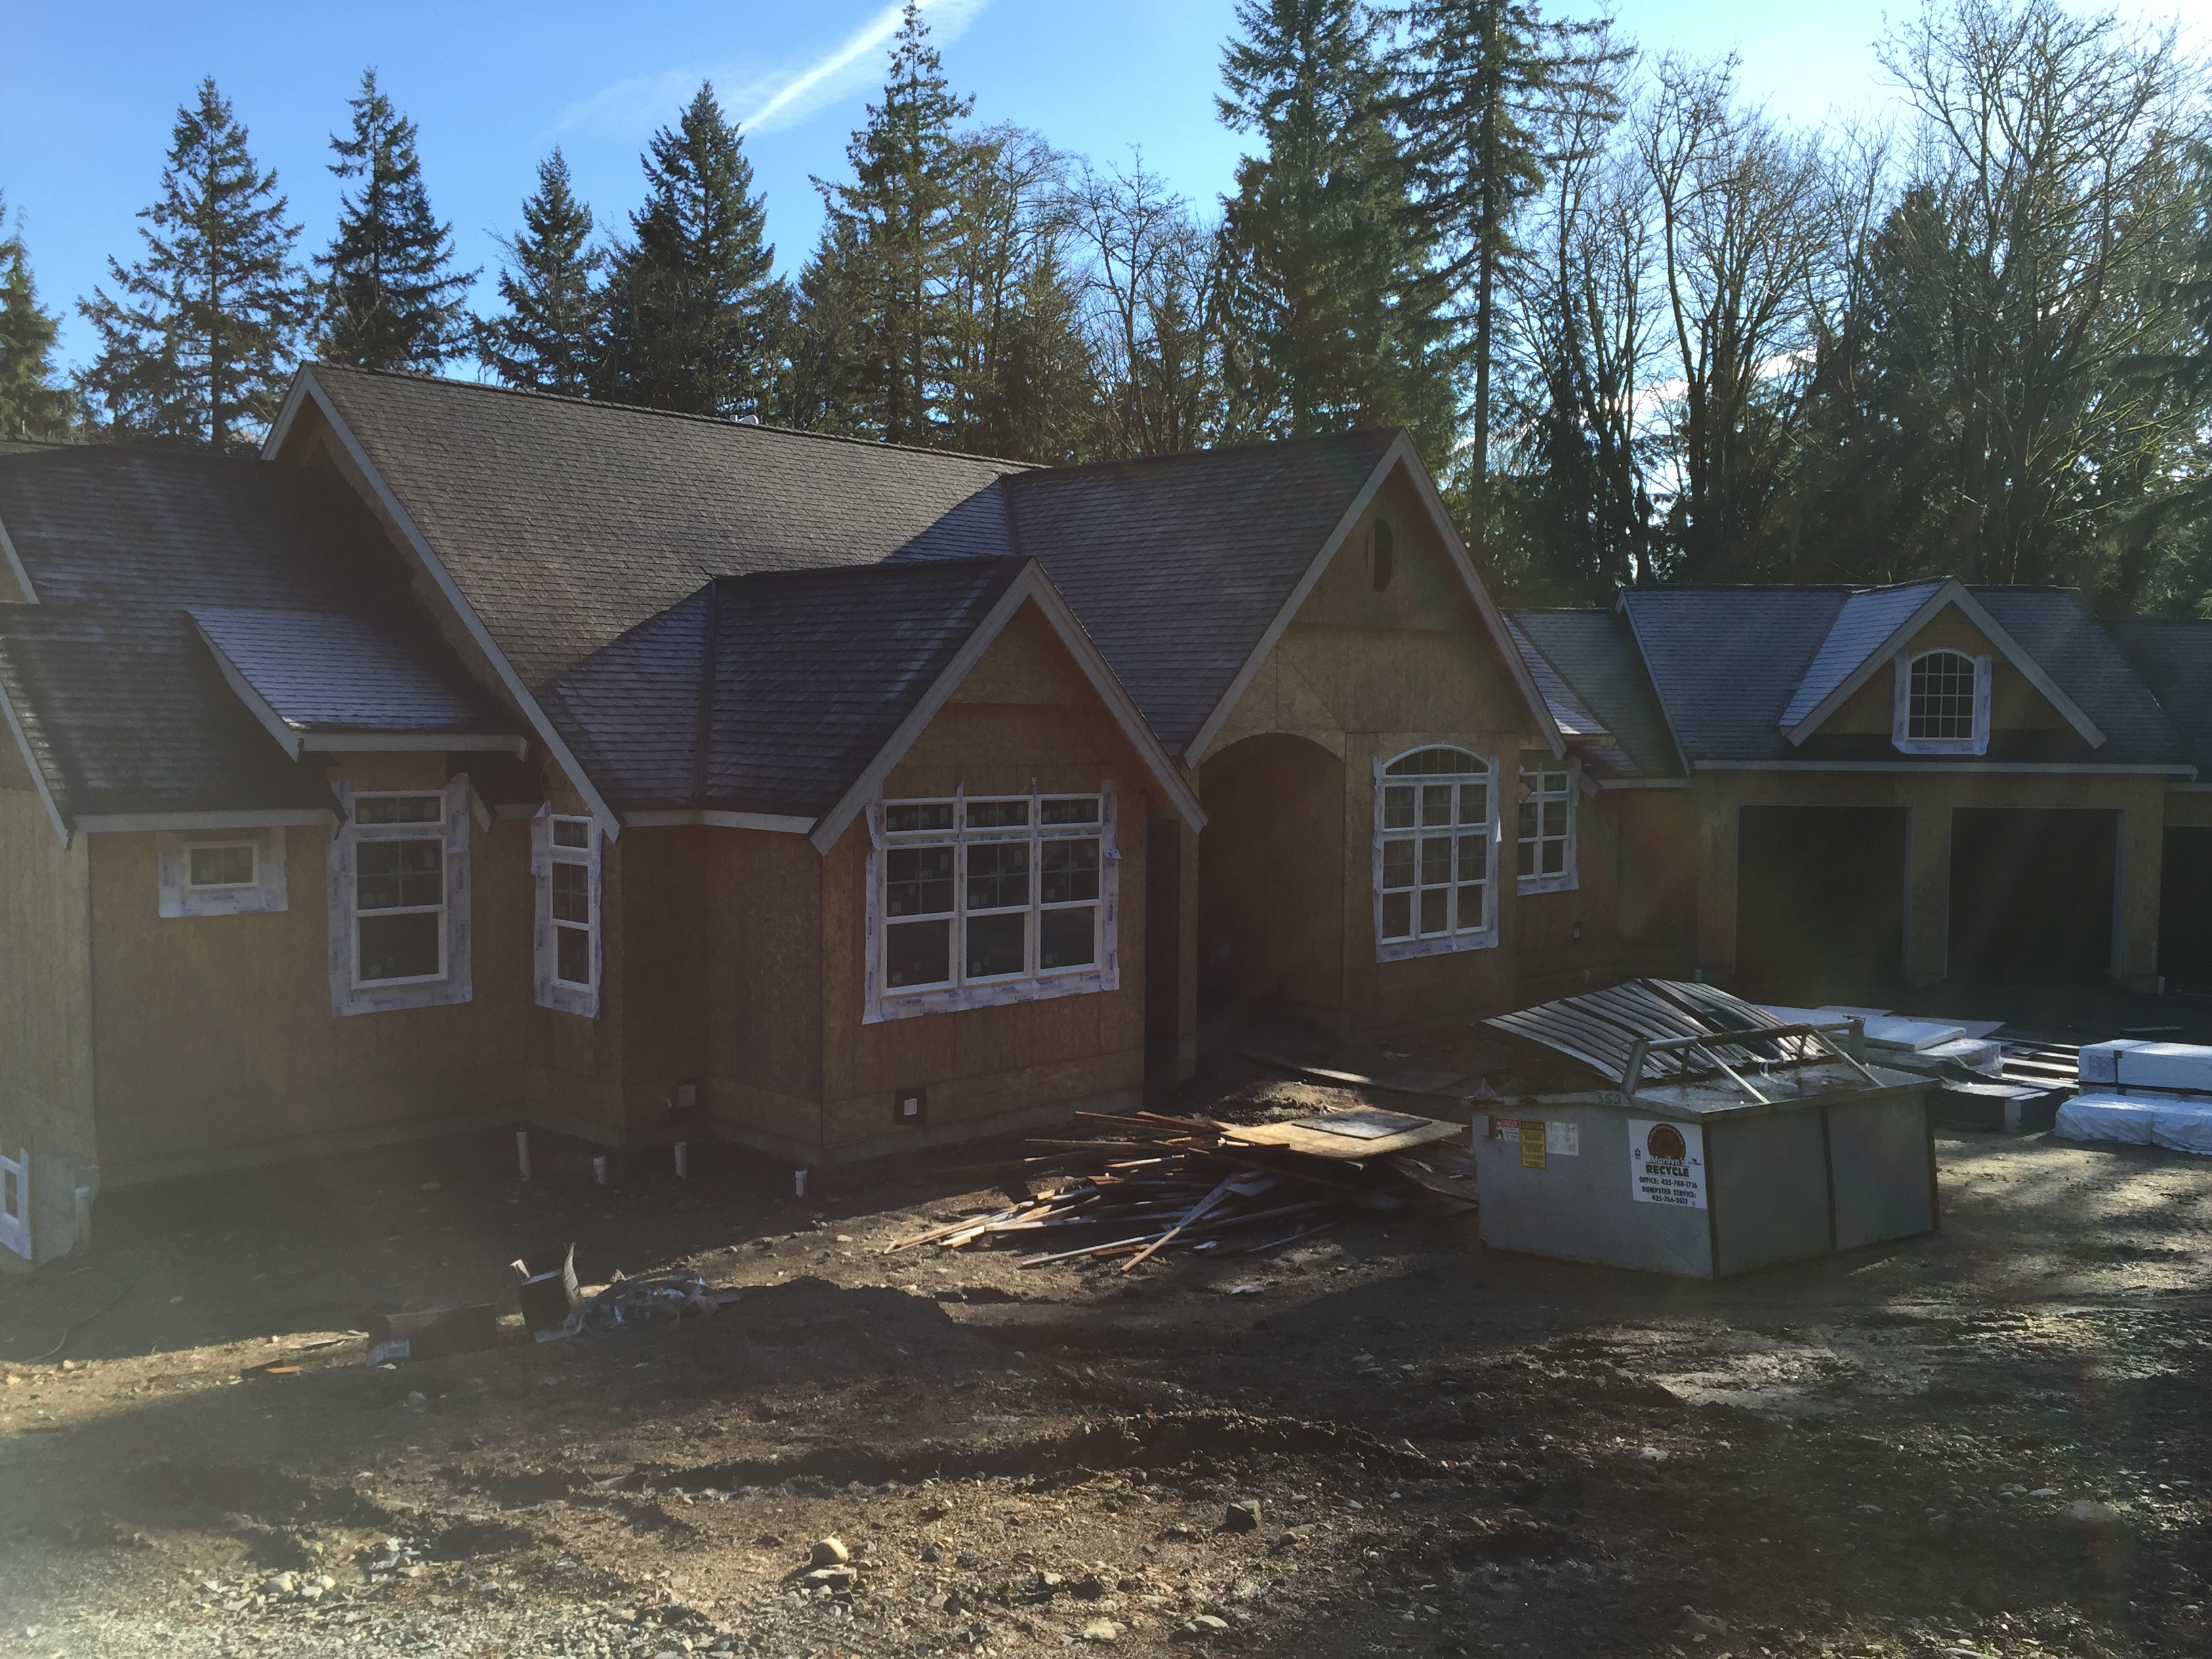
Finally, gutters were done this week too! I originally wanted the half round gutters, but apparently they hold less rain and considering the amount of pine needles and rain that we have in the northwest, I opted for the more practical solution. Regular k-style gutters it is!
-

- Every time I see it, I love how it looks!
-

- Just another view on a sunny blue sky day!
-

- Gutters were added this week – I’m happy that we won’t have mud splashing on the house when it rains any more.
-

- Just some gutters…nothing fancy!