Rental House
This week seems to have gone by so quickly! One of the major things that happened this week is that we received an email from the property manager from the house we’re renting a couple miles from the build. He said that the owners of the house want to move back into the house and we need to move out at the END OF APRIL!!! Matt was anticipating for the house to be finished at the END OF MAY!! Seriously? How does this happen to us? Our 10-month lease ended in January and since then our contract switched over to month-to-month leasing. And the contract states that we or the owner can terminate the lease with a 20 day notice. We actually met the owner about 6 months ago when they were visiting from China getting baby gear out of their garage. Back then he said that we should stay and rent the house for years! And in January when I told the property manager that we were extending our stay past the 10-month term he said to stay until August. Now they want to move back from China though? Something must have changed with his Microsoft job. Ugh. And the property manager has no idea either – this totally blindsided him as well.
So now for the first time in the entire build, schedule matters. Prior to this, Joel and I honestly didn’t care if it took longer to build, we just wanted it done right. I mean, what’s a couple extra months in the end if it turns out great? The boys have made some good friends in the neighborhood we’re renting in and it’s so close to the build, that it’s convenient to pop over and check things out. Now getting done with the build at the end of May when we need to move out at the end of April seems WAY too long though. Where are we going to live for those 4 weeks?!? So I did what any person in my situation would do. Ask our builder Matt, “what’s really going to be left to do after the last week of April?” I explained our situation and wanted to see if there was any way we could speed things up a little and maybe move in sooner than later. He took a couple days and was able to push a few things…and now we’ll be moving into the new house the first week of May! Can you believe that?!? The first week of May!!! That means that we’re only between homes for a week. A week, I can live with. Can you say, “hello mom & dad?” They live about 45 minutes away from us without traffic so the commute just to get the boys to school and us to work is going to be horrific. But the boys love staying there and it’ll be so nice just to move with only having to pack our clothes. The rest of our stuff can move into the garage of the new house until we get there a week later to unpack. Although Matt will have the inside of the house finished, we’re not expecting the outside to be completed – we’ll likely still need the deck, driveway and landscaping. The inside is good enough for me though!
For our final hail mary, we’re still trying to see if we can extend our lease another week so we can move straight from the rental into the new house, but we haven’t heard back from the owner and they’re not returning the emails that the property manager has sent (which has been 4 of them now). Cross our fingers 😉 At least mom & dad’s is a good back up plan.
New House
Besides the rental house issues, things have been moving along at the house quite well. There’s so many little details that took place in the house this week. The tile and hardwoods have been completed and that’s all of the flooring until the carpet is scheduled to be installed in the last week of April (just before we move in!). The stairs were even installed this week and they look fantastic. It took a few different tries to get the right stain color for the treads, but I think they turned out great. On Thursday evening, Cameron and I went to check out the house and Matt was there covering the stairs to protect them from all the workers’…and we ended up helping and covering them for him. Um, don’t say that I never lifted a finger to build the house, ha!
-

-
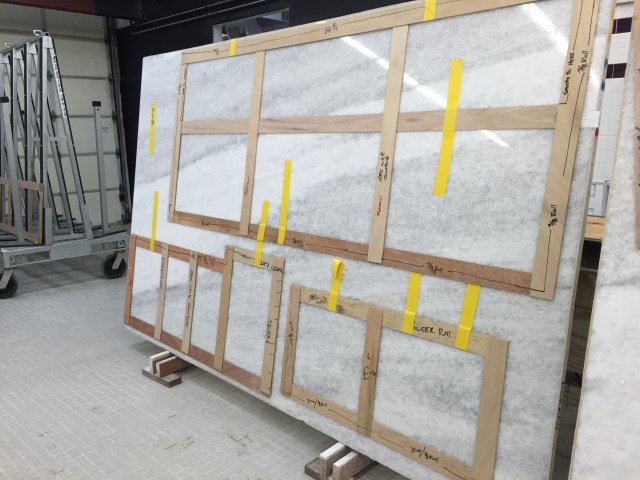
Here’s 4 out of the 5 stain colors that they showed us to select from. This was just to show us the stain colors – the stair treads we used weren’t made of the same material. And you can see our hardwoods back behind them. There’s so much variation in the hardwoods that was difficult to choose which one matched the best. Ultimately, we ended up putting this sample board next to the exact pieces that would be used on the stair landing to choose. Surprisingly enough, the 3rd one from the left was our winner!
-

-
Mid-installation progress on the stairs, the first run is done, but the landing and the couple at the bottom still need to be finished.
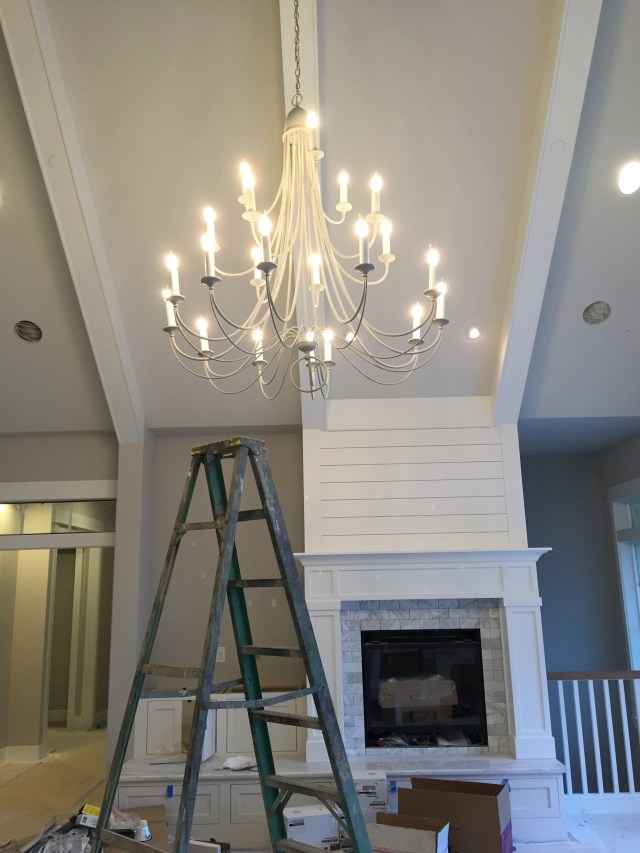
The trim sub consultant keeps on trucking – there’s so much that we’re having them do for us. Besides installing all of the door moulding and baseboards throughout the house, there were two major accomplishments this week – creating the fireplace surround and starting on the interior transom windows. First things first the fireplace looks amazing! Monday morning Matt and I walked through what I wanted the design of the fireplace to be and he made it all happen! I love how it sits on top of the bench/hearth we have, and that the mantle is so deep. In our old house there would barely be enough room for Christmas stockings, let alone any other decor. This one is sure to fit whatever I want to decorate with!
-

-
The entire fireplace area is turning into such a focal point in the great room. Now we just have to wait for paint and shelving + TV to the left and it’ll be complete!
-

-
The mantle looks fantastic! And it’ll look even better once it’s all painted white!
On Saturday, Joel and I went out to check out the progress and one of the trim guys was there working on the interior transom windows. We weren’t quite sure if we were going to order these or have them built on-site, and now that we went with the latter, I couldn’t have imagined the ordered ones turning out so well. The first side of the transoms have been installed, then they’ll need to be painted on both sides and glass added. Then the other side of the transom trim can be added. It looks so good for them finally to be filled in with moulding though! All these little details are really making the house come together.
-

-
Here’s a view that I don’t take a picture of very often – it’s taken from the dining room looking back into the great room/kitchen. And the doorway on the right leads into the butler’s pantry. Love the transoms!!
-

-
The interior transoms are turning out so great! They really keep the space feeling more cozy with the smaller doorway height but allow for all the light to come through still.
And did you notice that the oval windows in the great room in the last picture now have trim as well? These were measured for and custom made by a different company and then installed this week. The same goes true for the arched windows in the dining room and in the entry.
-

-
Both of the oval windows in the great room were trimmed with wood they turned out really well.
-
-
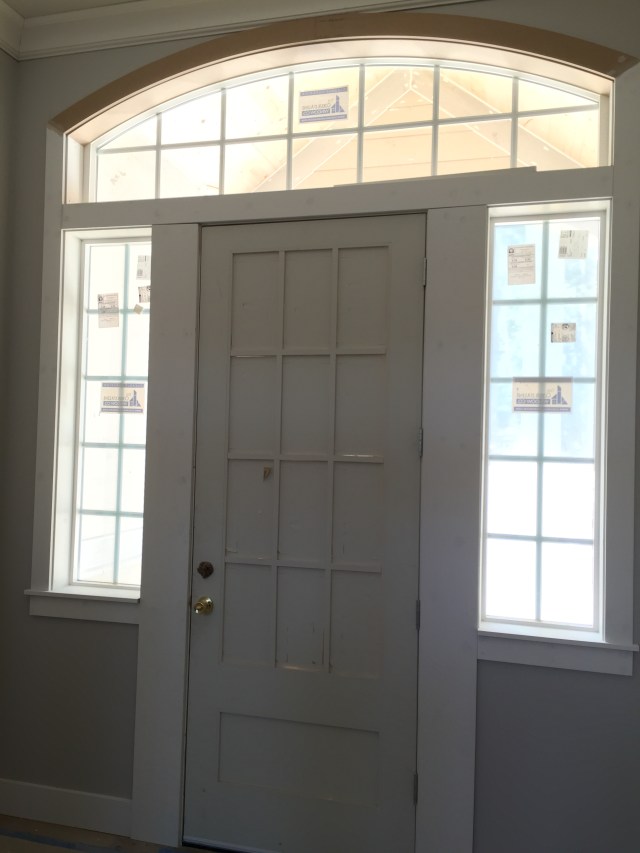
The arch was added above the entry door window as well.
-

-
The dining room trimwork is finally complete – just some sanding and painting and that room will be done with everything but electrical fixtures. Isn’t that wild?
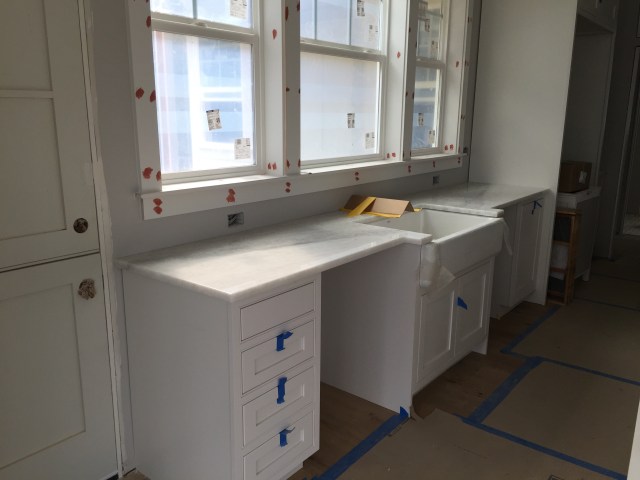
Besides all of the trimwork, they also added some more detail on the cabinetry. Matt pointed out that if we added crown all the way around the kitchen hood (like I wanted) that the crown would basically touch the other pieces of crown in the coiffured ceiling. So that’s out of the question…so that’s a bummer. But I still think it looks good as is without it – definitely my favorite feature in the kitchen, and it’s pretty fun that I got to design it! Feet were also added to a few cabinets throughout the house – which I also had custom designed based on some pictures of kitchens that I liked on Houzz.
-

-
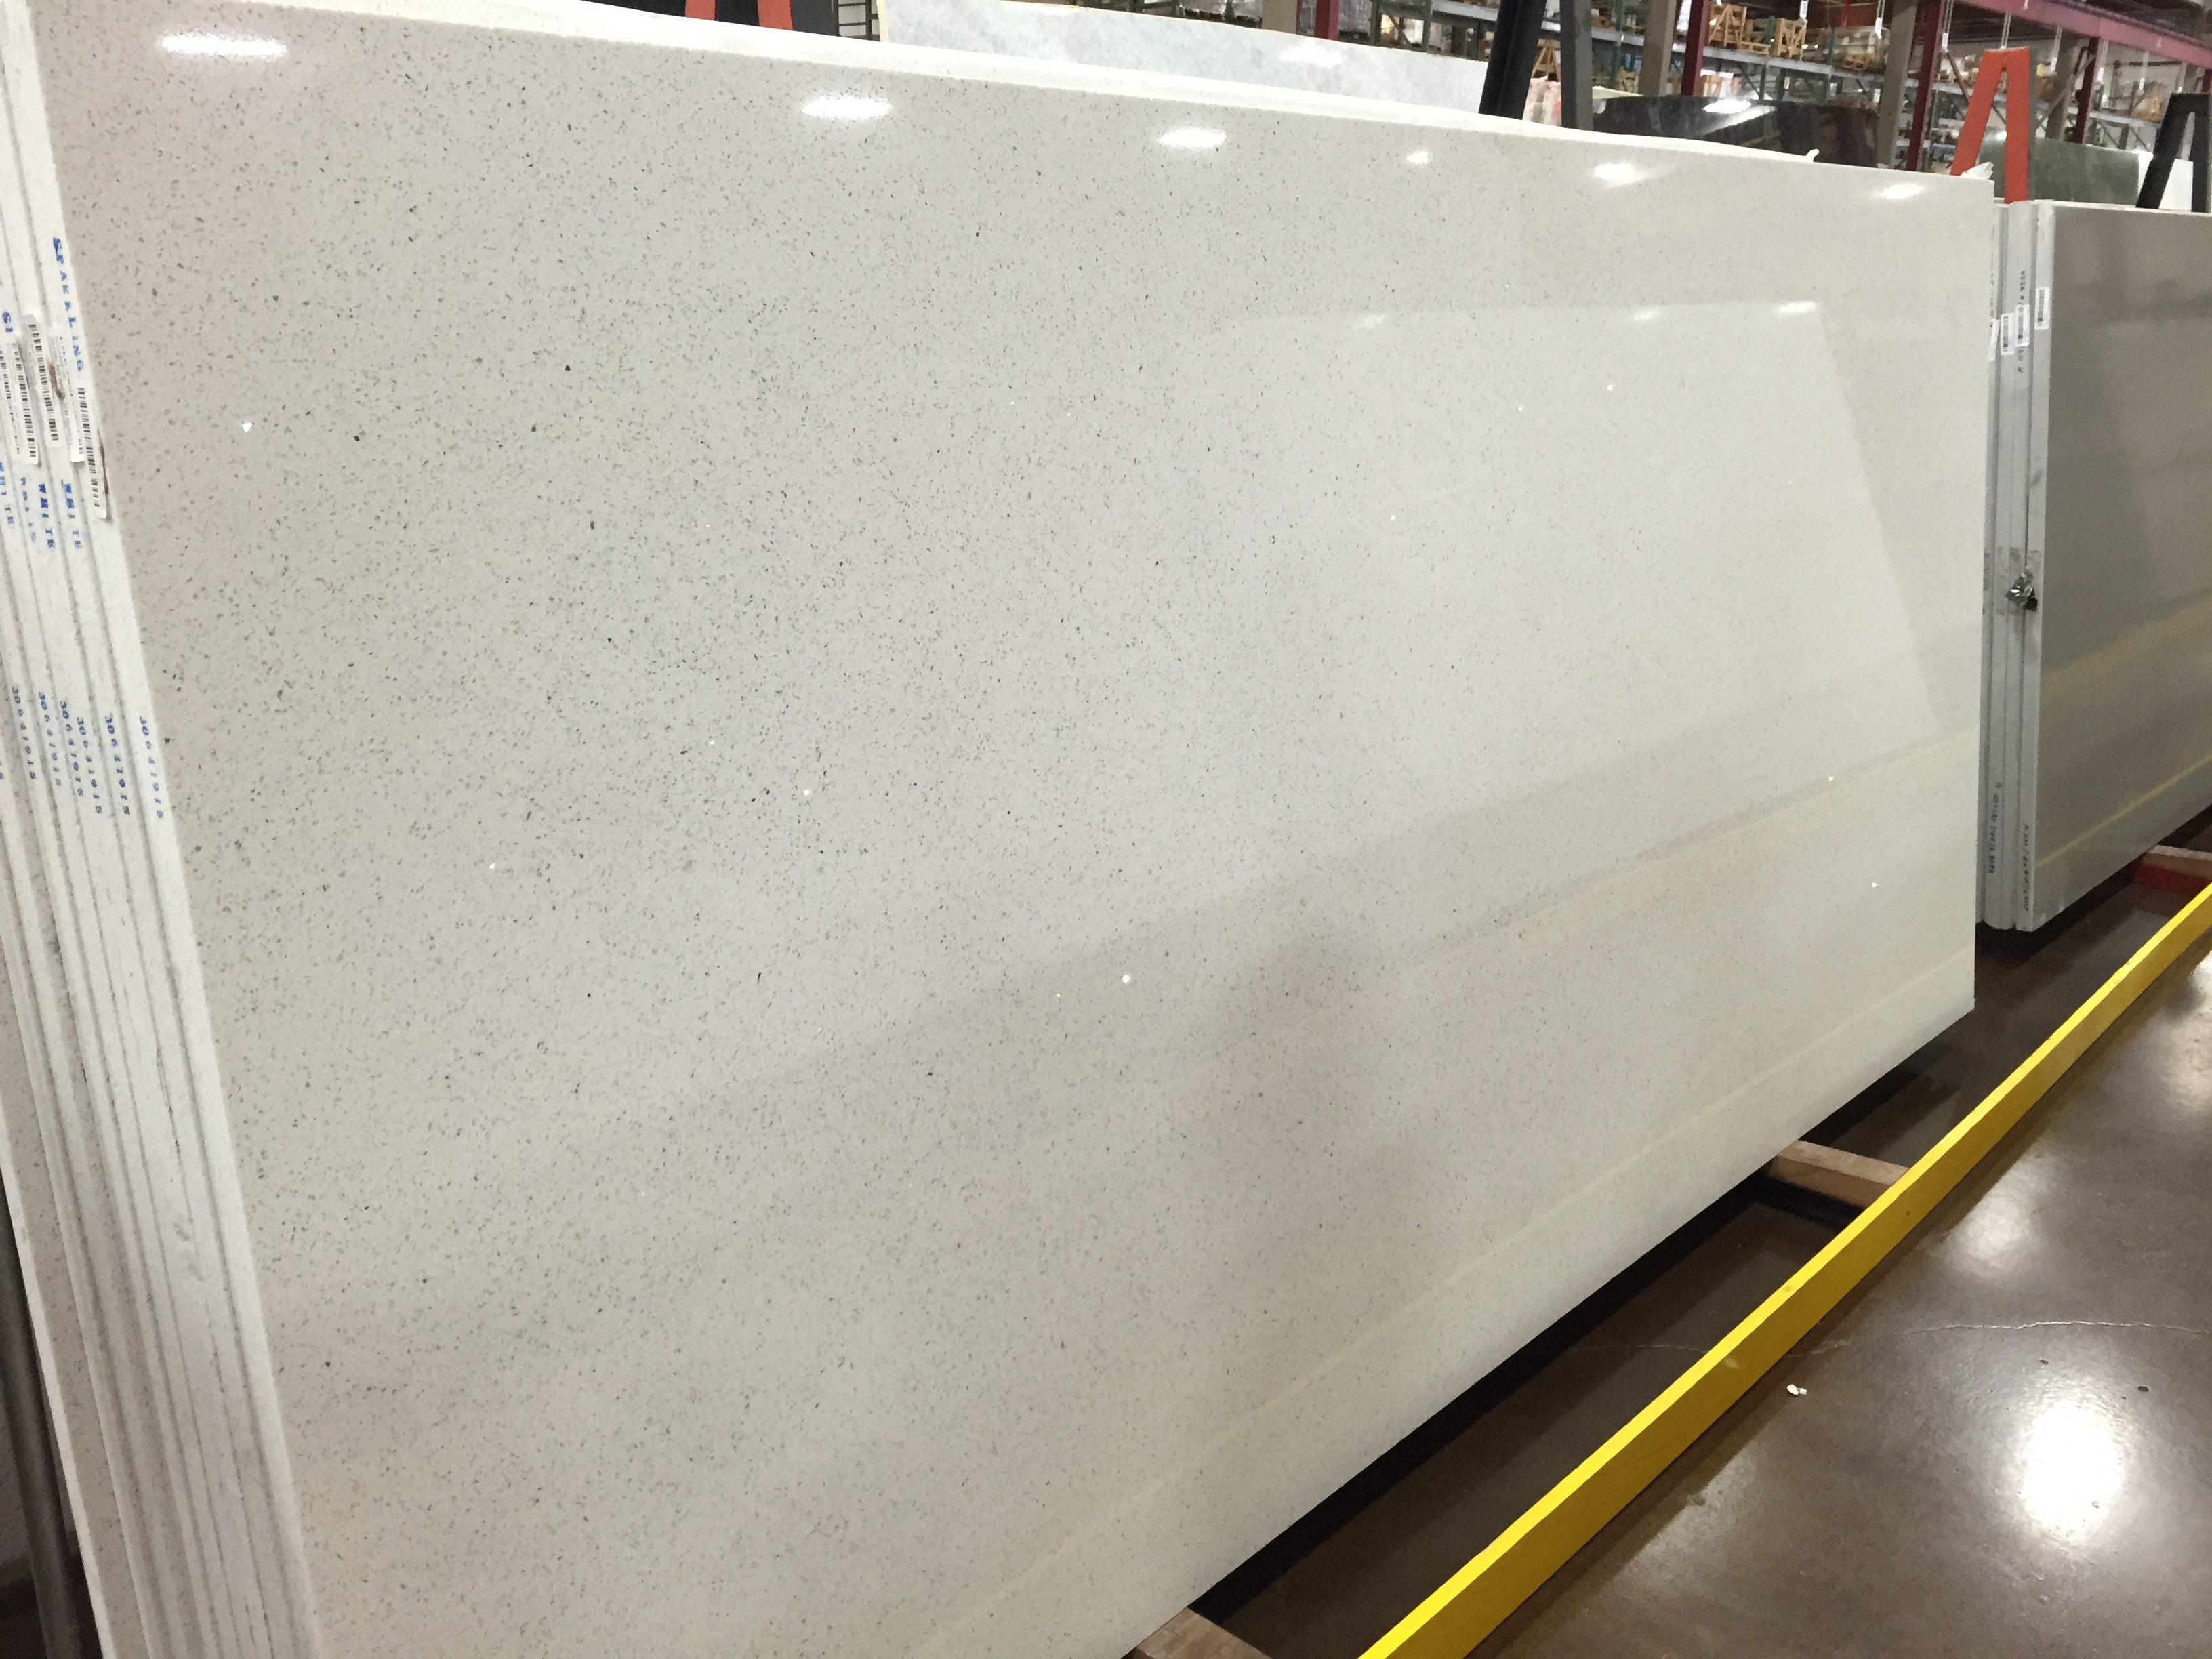
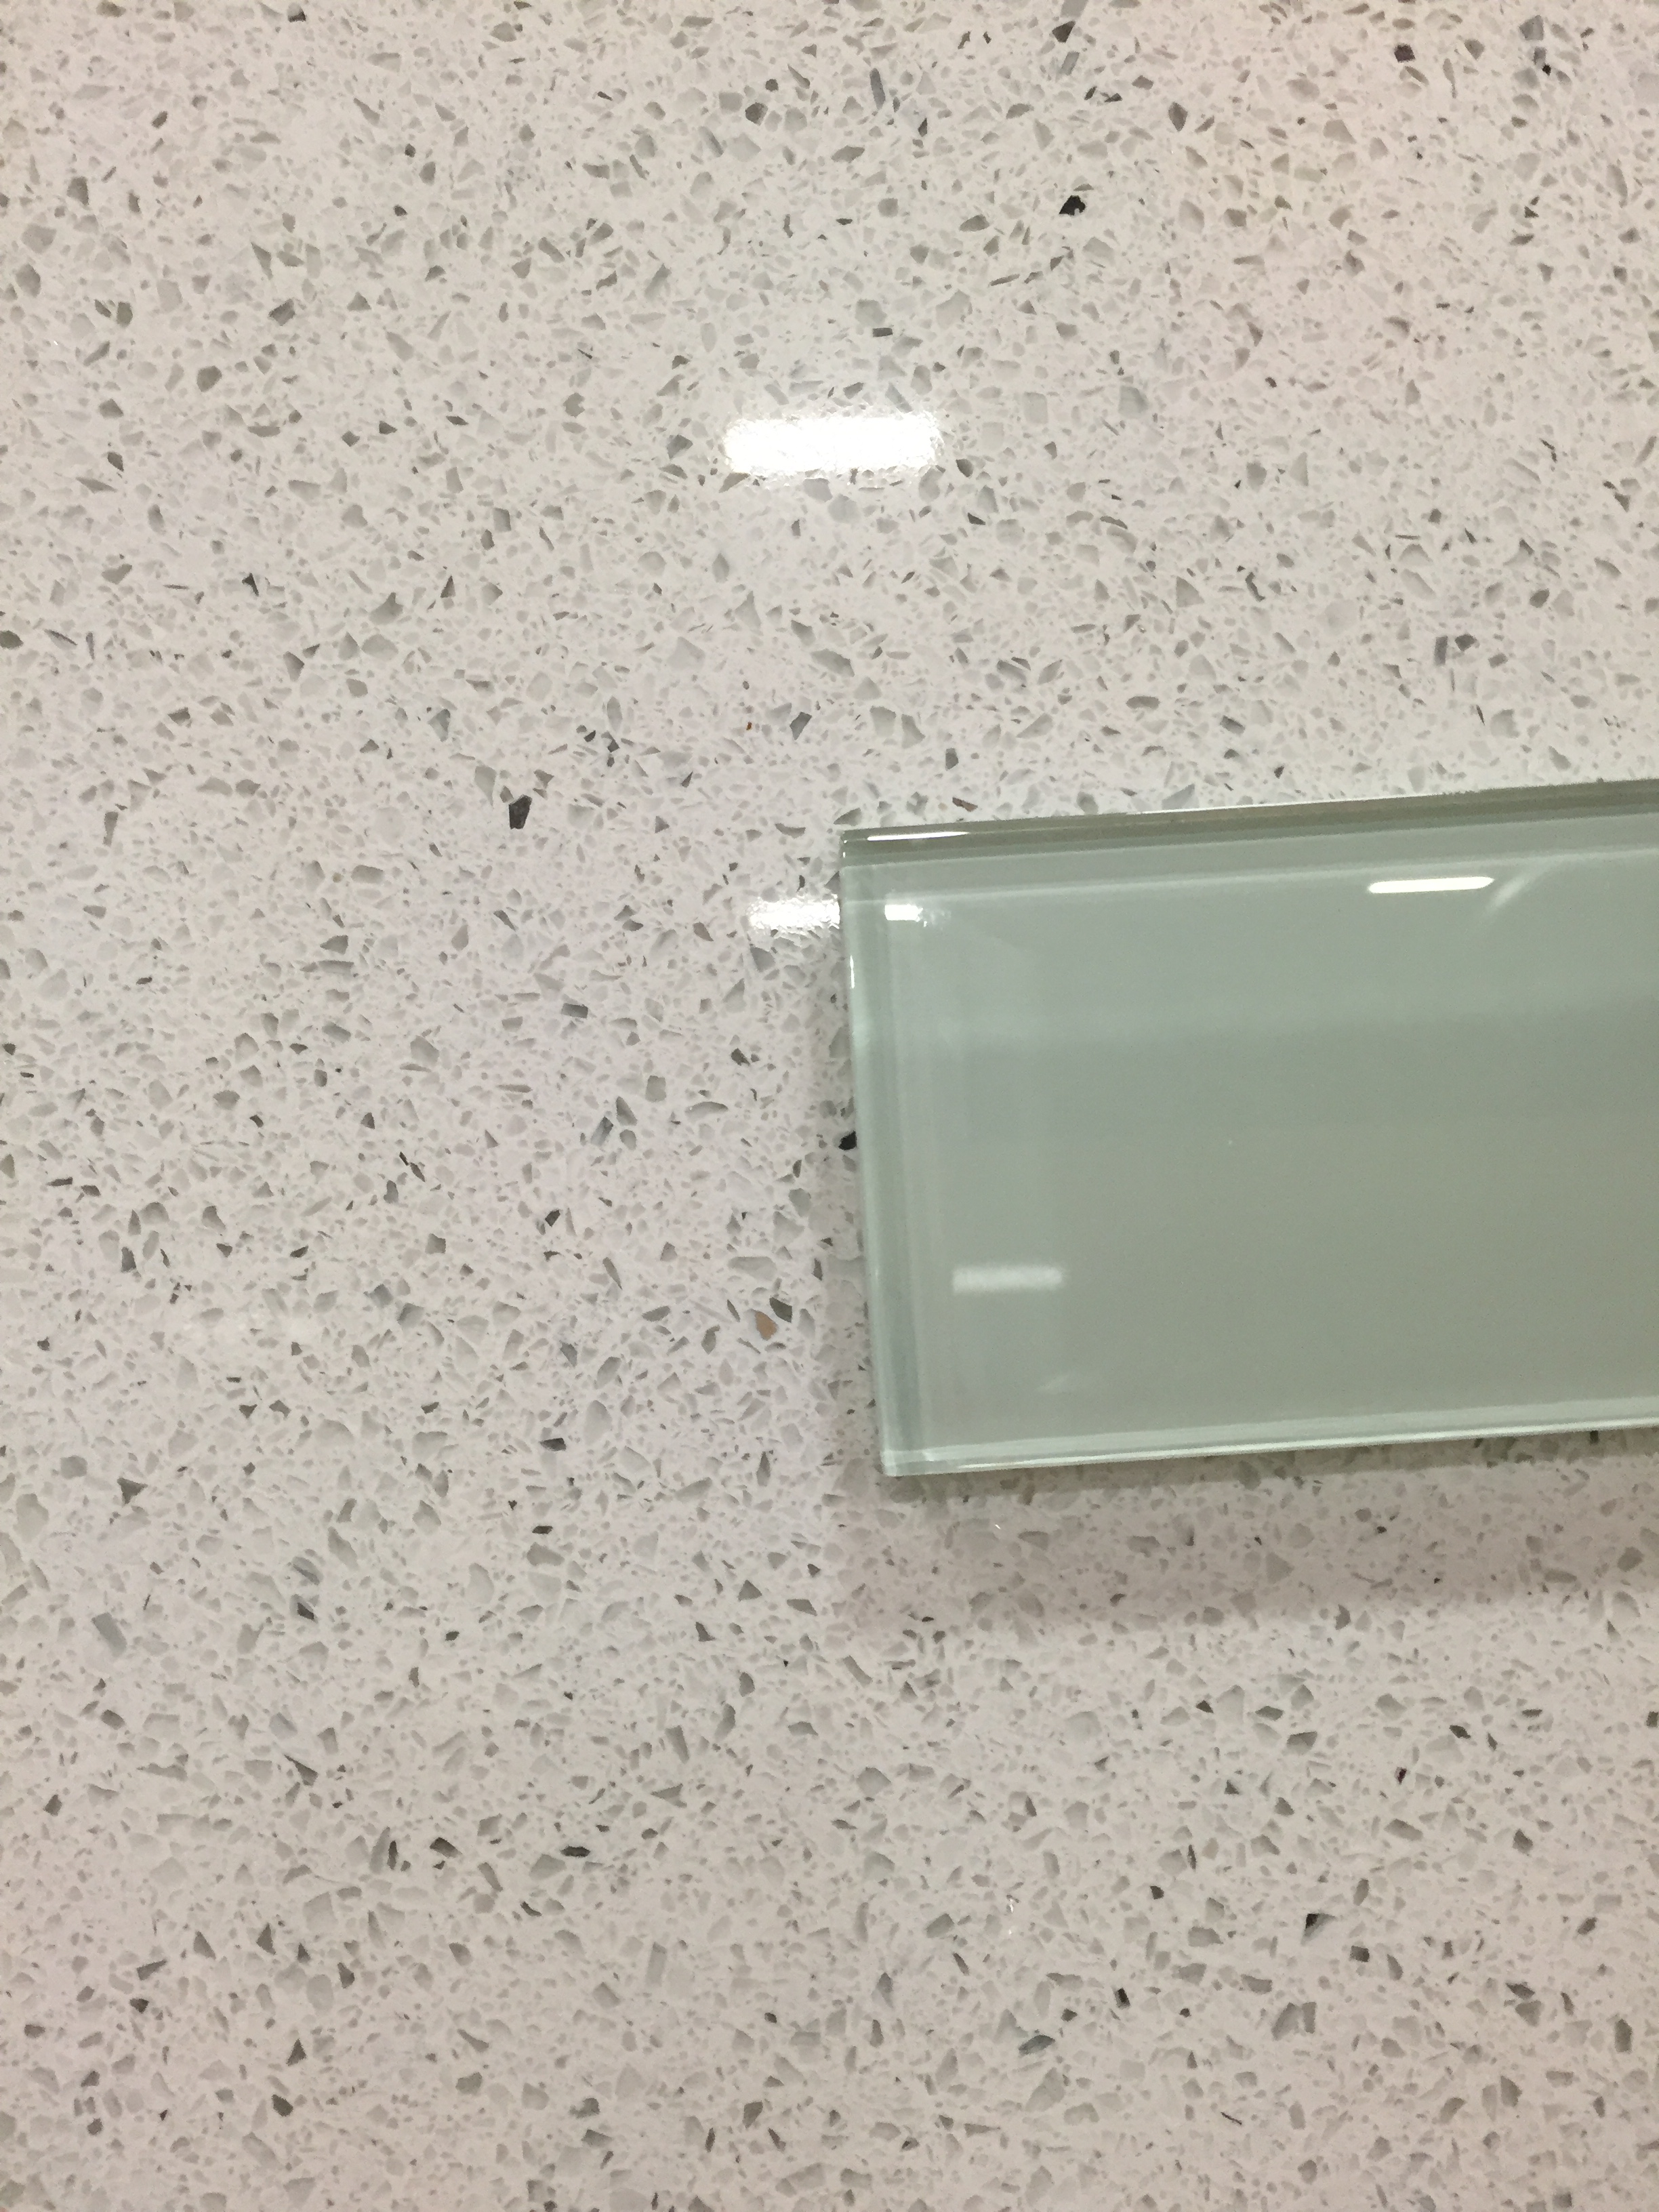
Custom feet were added to the base of a few cabinets in the house – including the powder room. Here I was also trying to select backsplash tile. Of the two samples – clear glass or white glass from Oceanside, I chose the clear.
-

-
The crown moulding has been adjusted to end at each side of the hood instead of wrapping around it.
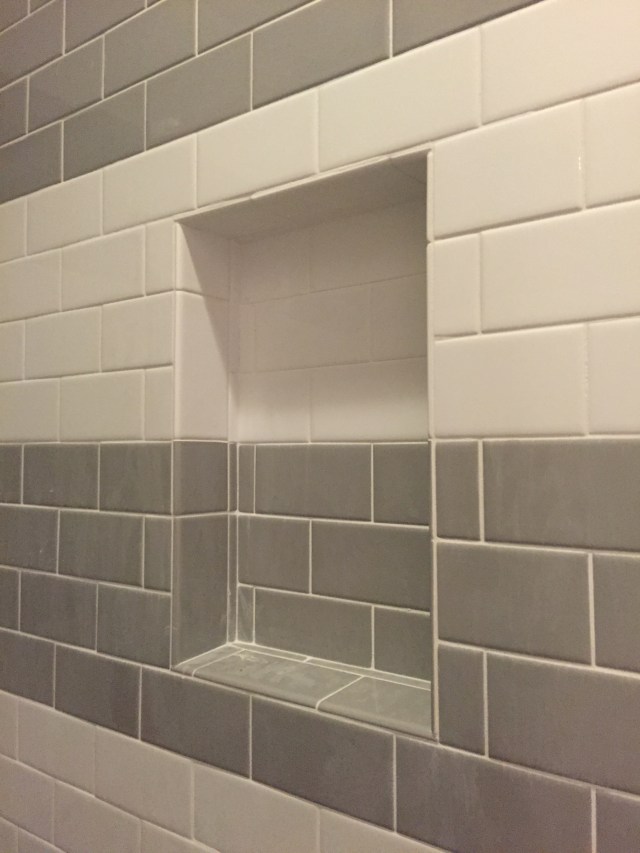
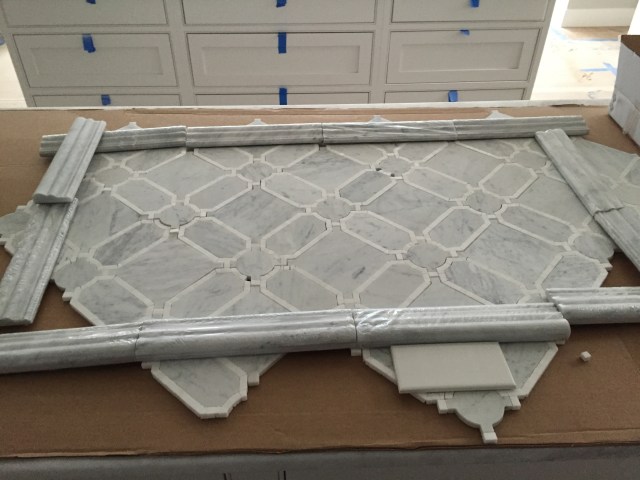
Tile work also continued this week. Although choosing and shopping for tile was my absolute least favorite thing to do for the entire build, I love seeing it all installed. Most of our selections were pretty basic, but even seeing white subway tile instead of drywall is fun. On top of that, the tile my mom and I chose for the backsplash behind the range arrived and I brought that out to the house. On Wednesday, I met the tiling sub onsite to go through the layout with him. Originally, we were going to have a different border that had a dark gray bardglio marble liner and then a white chair rail that matches the subway tile backsplash. Unfortunately though, the bardiglio came in and looked too blue to really coordinate with the beautiful mosaic tile. So we ended up using a carrara marble chair rail. We needed it this week though so there wasn’t any time to special order in the profile of the moulding that I wanted. Luckily, good ol’ Home Depot carries one that will work perfectly. Not so perfectly is that you have to find the marble in gray and white. And when you see them at the stores, about 80% of them look white with brown veining. Ick. I’m not kidding you – to find the 12 pieces that we needed to frame the backsplash, my mom and I went to 6 different Home Depot stores! Unreal. But now that we have them, I love them and totally worth the drive time to find them. Plus at $6 each, they were about 7 times cheaper than the ones that I wanted to order in! Score!!! I hope it gets installed back behind the range soon – I can’t wait to see it on the wall!
-
-
This tile is absolutely my favorite in the entire house. It’s so graphic, and not feminine like most mosaic tile patterns. Even if he doesn’t say it now, I know Joel’s going to love it!
-

-
Joel and I both love the colors in the mudroom tile. Hides dirt? Check. Looks great with the wall color? Check. Durable and easy to clean? Check. Winner!!!
-

-
The subway tile in the butler’s pantry was also started this week. Pretty simple, but the X’s are really the focal point, right? And after my mom is done decorating this space (because she’s already been buying things) it’s going to look fantastic.
-

-
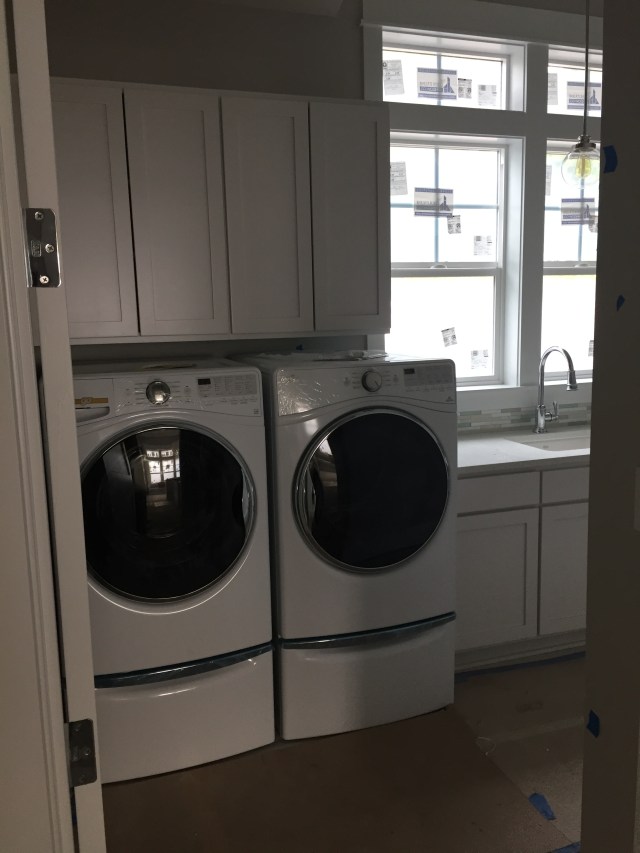
The glass backsplash was also added in the laundry room. Six rows of the Oceanside glass mosaic tile fit perfectly between the window sill and the counter.
The painters were also in the house this week. They’ve set up a Dexter kill room, er, um, a “spray booth” in the downstairs storage room . That room was ALWAYS creepy with the concrete floors and unfinished walls and ceilings but this tops it. I can’t wait for electrical finishes to finally put some lights in this space. It’s beyond creepy and way too dark in there now.

The painters have set up a spray booth in the storage room downstairs where they can paint doors and whatever else they have. I’m steering clear of this space though until they take down all of the plastic. A little too Dexter-esque for my liking.
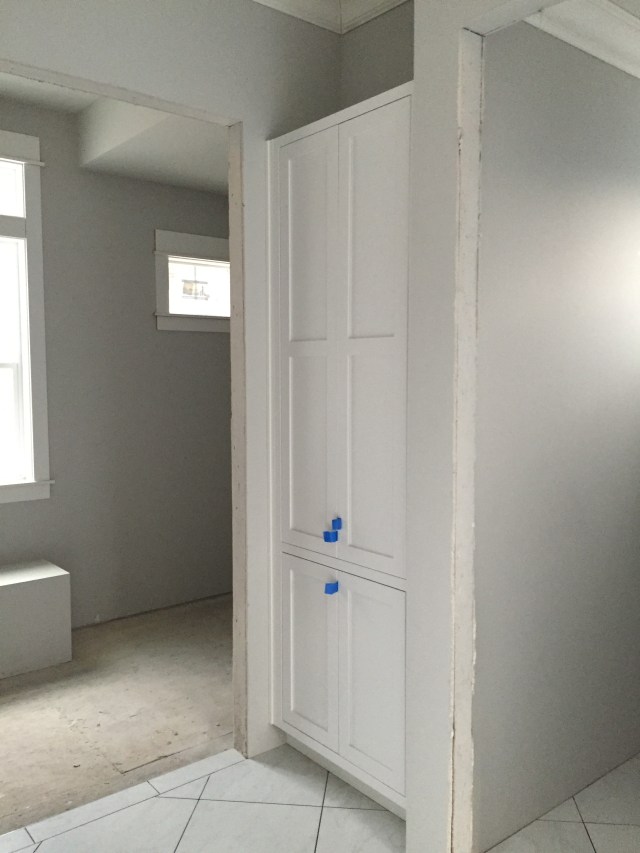
And one of my favorite doors was also installed this week! We have a dutch pocket door between the mudroom and the hallway. This way we can just pull out the bottom half of the door to keep our dog Bella in the mudroom during the day. No baby gates needed here! Isn’t it fantastic? It’ll be so nice instead of shutting the entire door on her while we’re gone during the day – I hate doing that now in our rental house.
-

-
Matt had never installed a dutch pocket door before, but with a track on the bottom, one in between the two pieces and a track on top – presto we have one!
-

-
We’ll likely only shut the bottom half of the door most days to keep Bella in the mudroom while we’re at work and the boys are at school. So much better than having a baby gate!
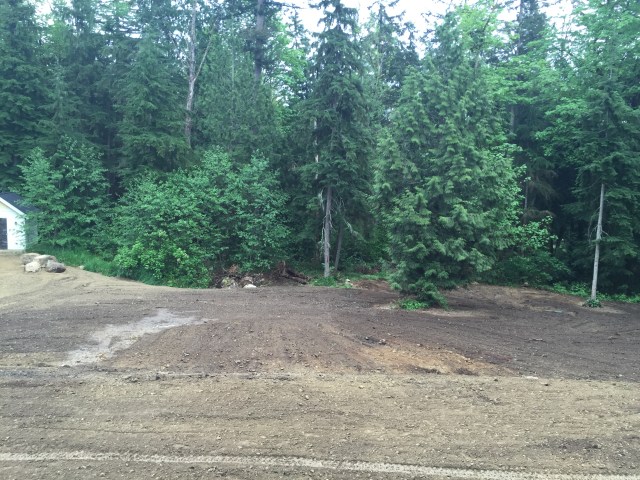
Also, the septic installation began this week. After getting the septic notice on the title recorded with King County and submitted to the health department, the septic stub-out was released and they were ready to do the install right away. By Saturday, they had the tank set in the ground. While Joel and I checked out the progress inside the house, we laid out a blanket and the boys ate their Subway lunch by having a picnic on top of the rock pile. Little do they know that that’ll eventually be part of the septic drainfield!
-

-
The septic tank was set this week. Next week…drainfield!
-

-
Here’s the boys basking in the sun while eating their sandwiches on top of the rock pile.
-

-
Sort of fun to see heavy equipment back on site!