Siding
We’ve had some crazy weather this week including a windstorm on early Tuesday morning which took out a Puget Sound Energy major transmission line at 3am. That meant we lost power until about mid-day on Wednesday. Amidst all of the weather craziness, the siding subcontractor did get quite a bit more work done on the front of the house. Matt said that the work they’re doing on the entry is the most time consuming since it’s a lot more detail work and the type/style of siding changes.

Almost all of the entry siding has been finished this week. Just a bit more above the arches and it’ll be complete!

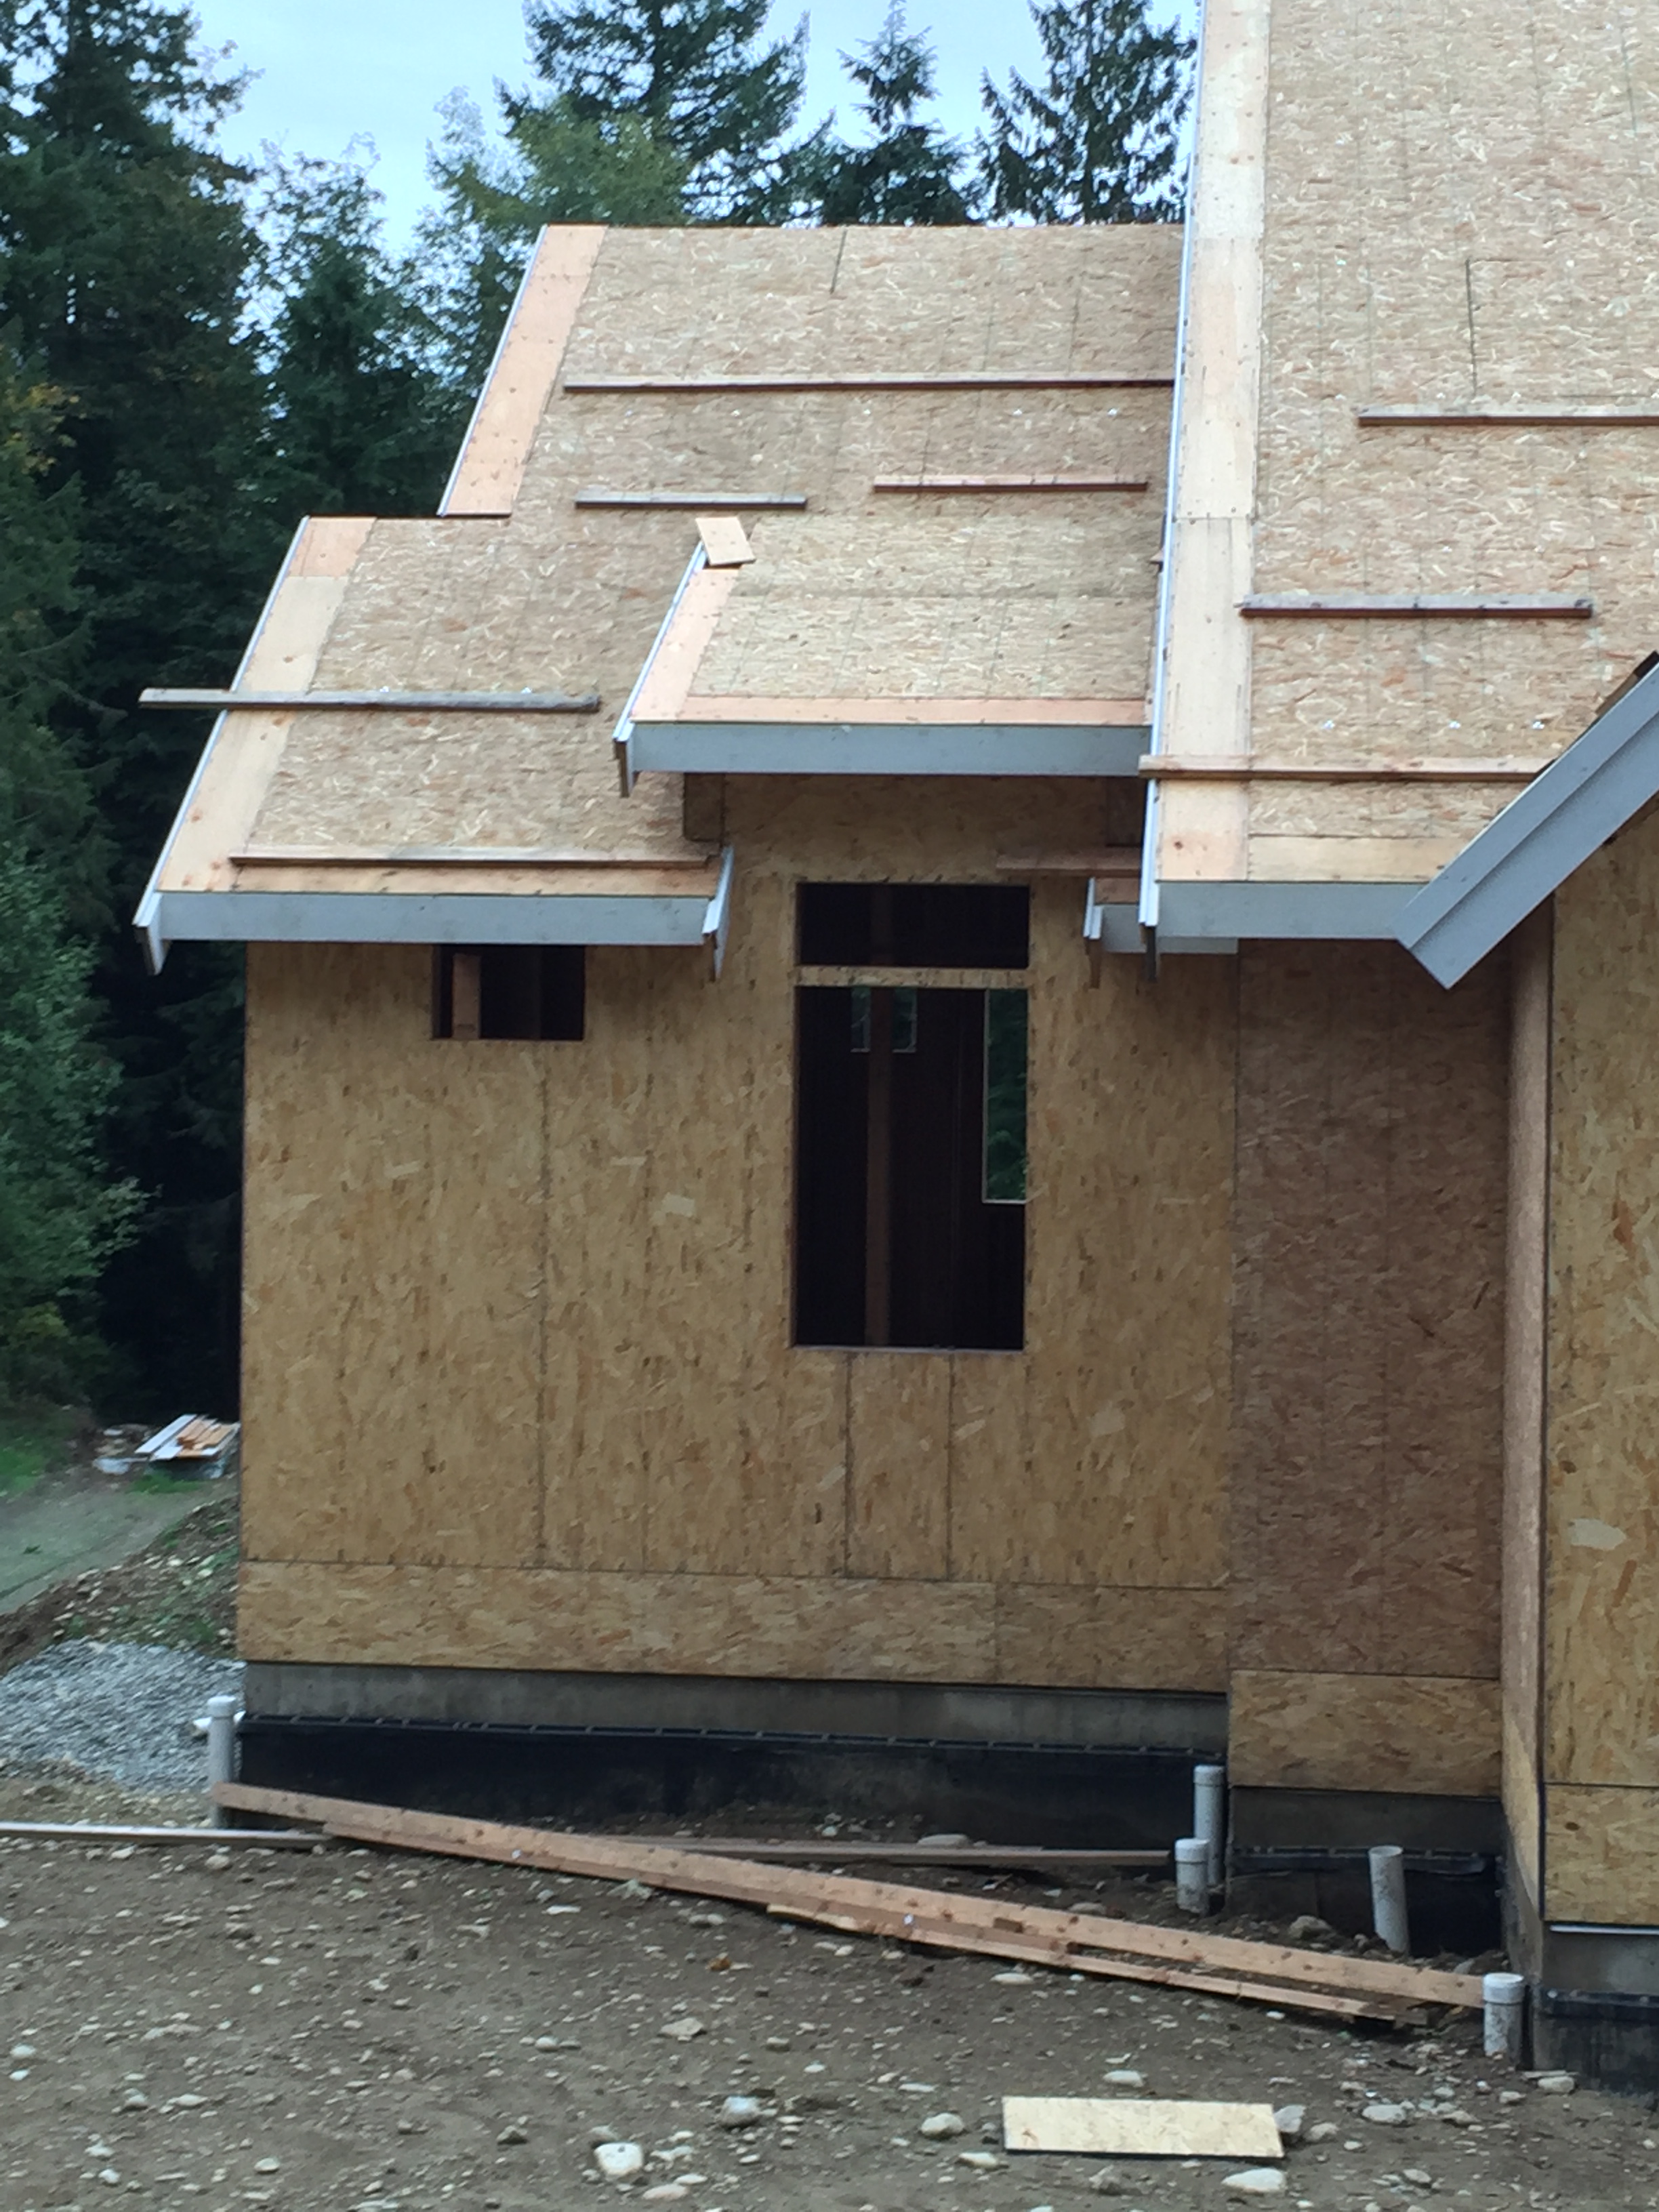
The gable above the office was completed this week. I love the mix of board and batten and the “mini” siding in the very top. And doesn’t the frieze boards look good? I know…it’s hard to see at this angle, but they’re there!

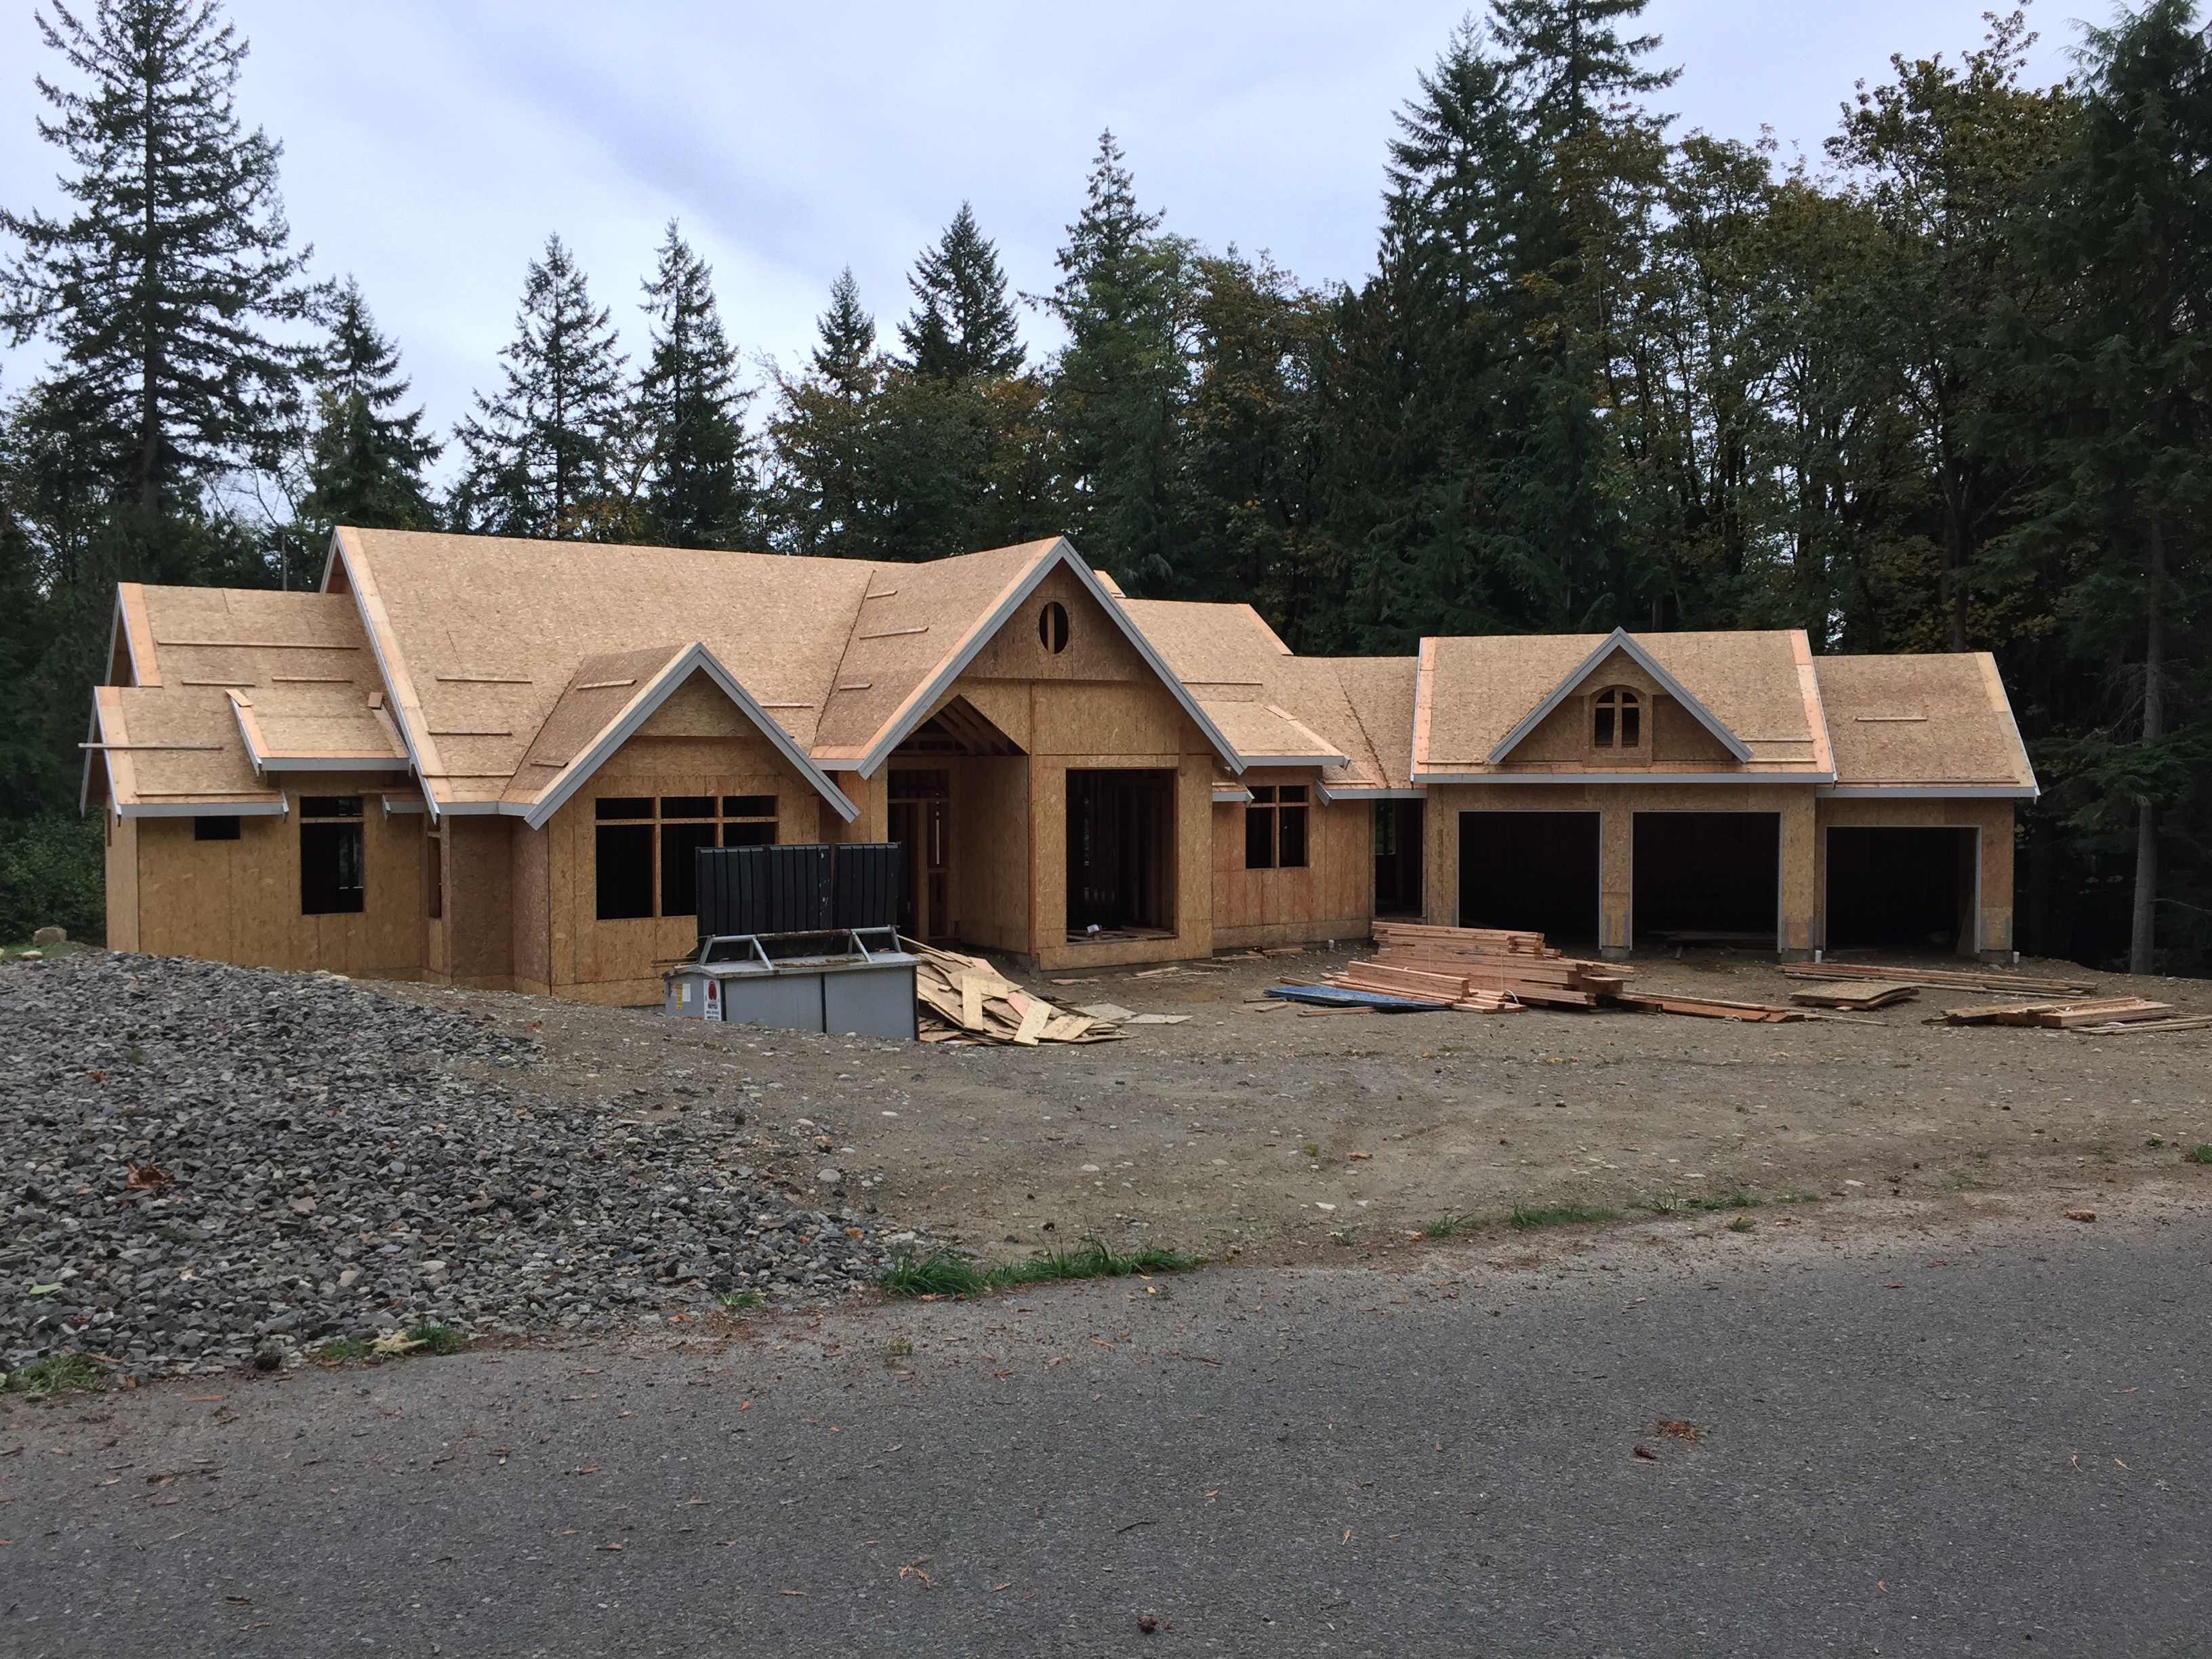
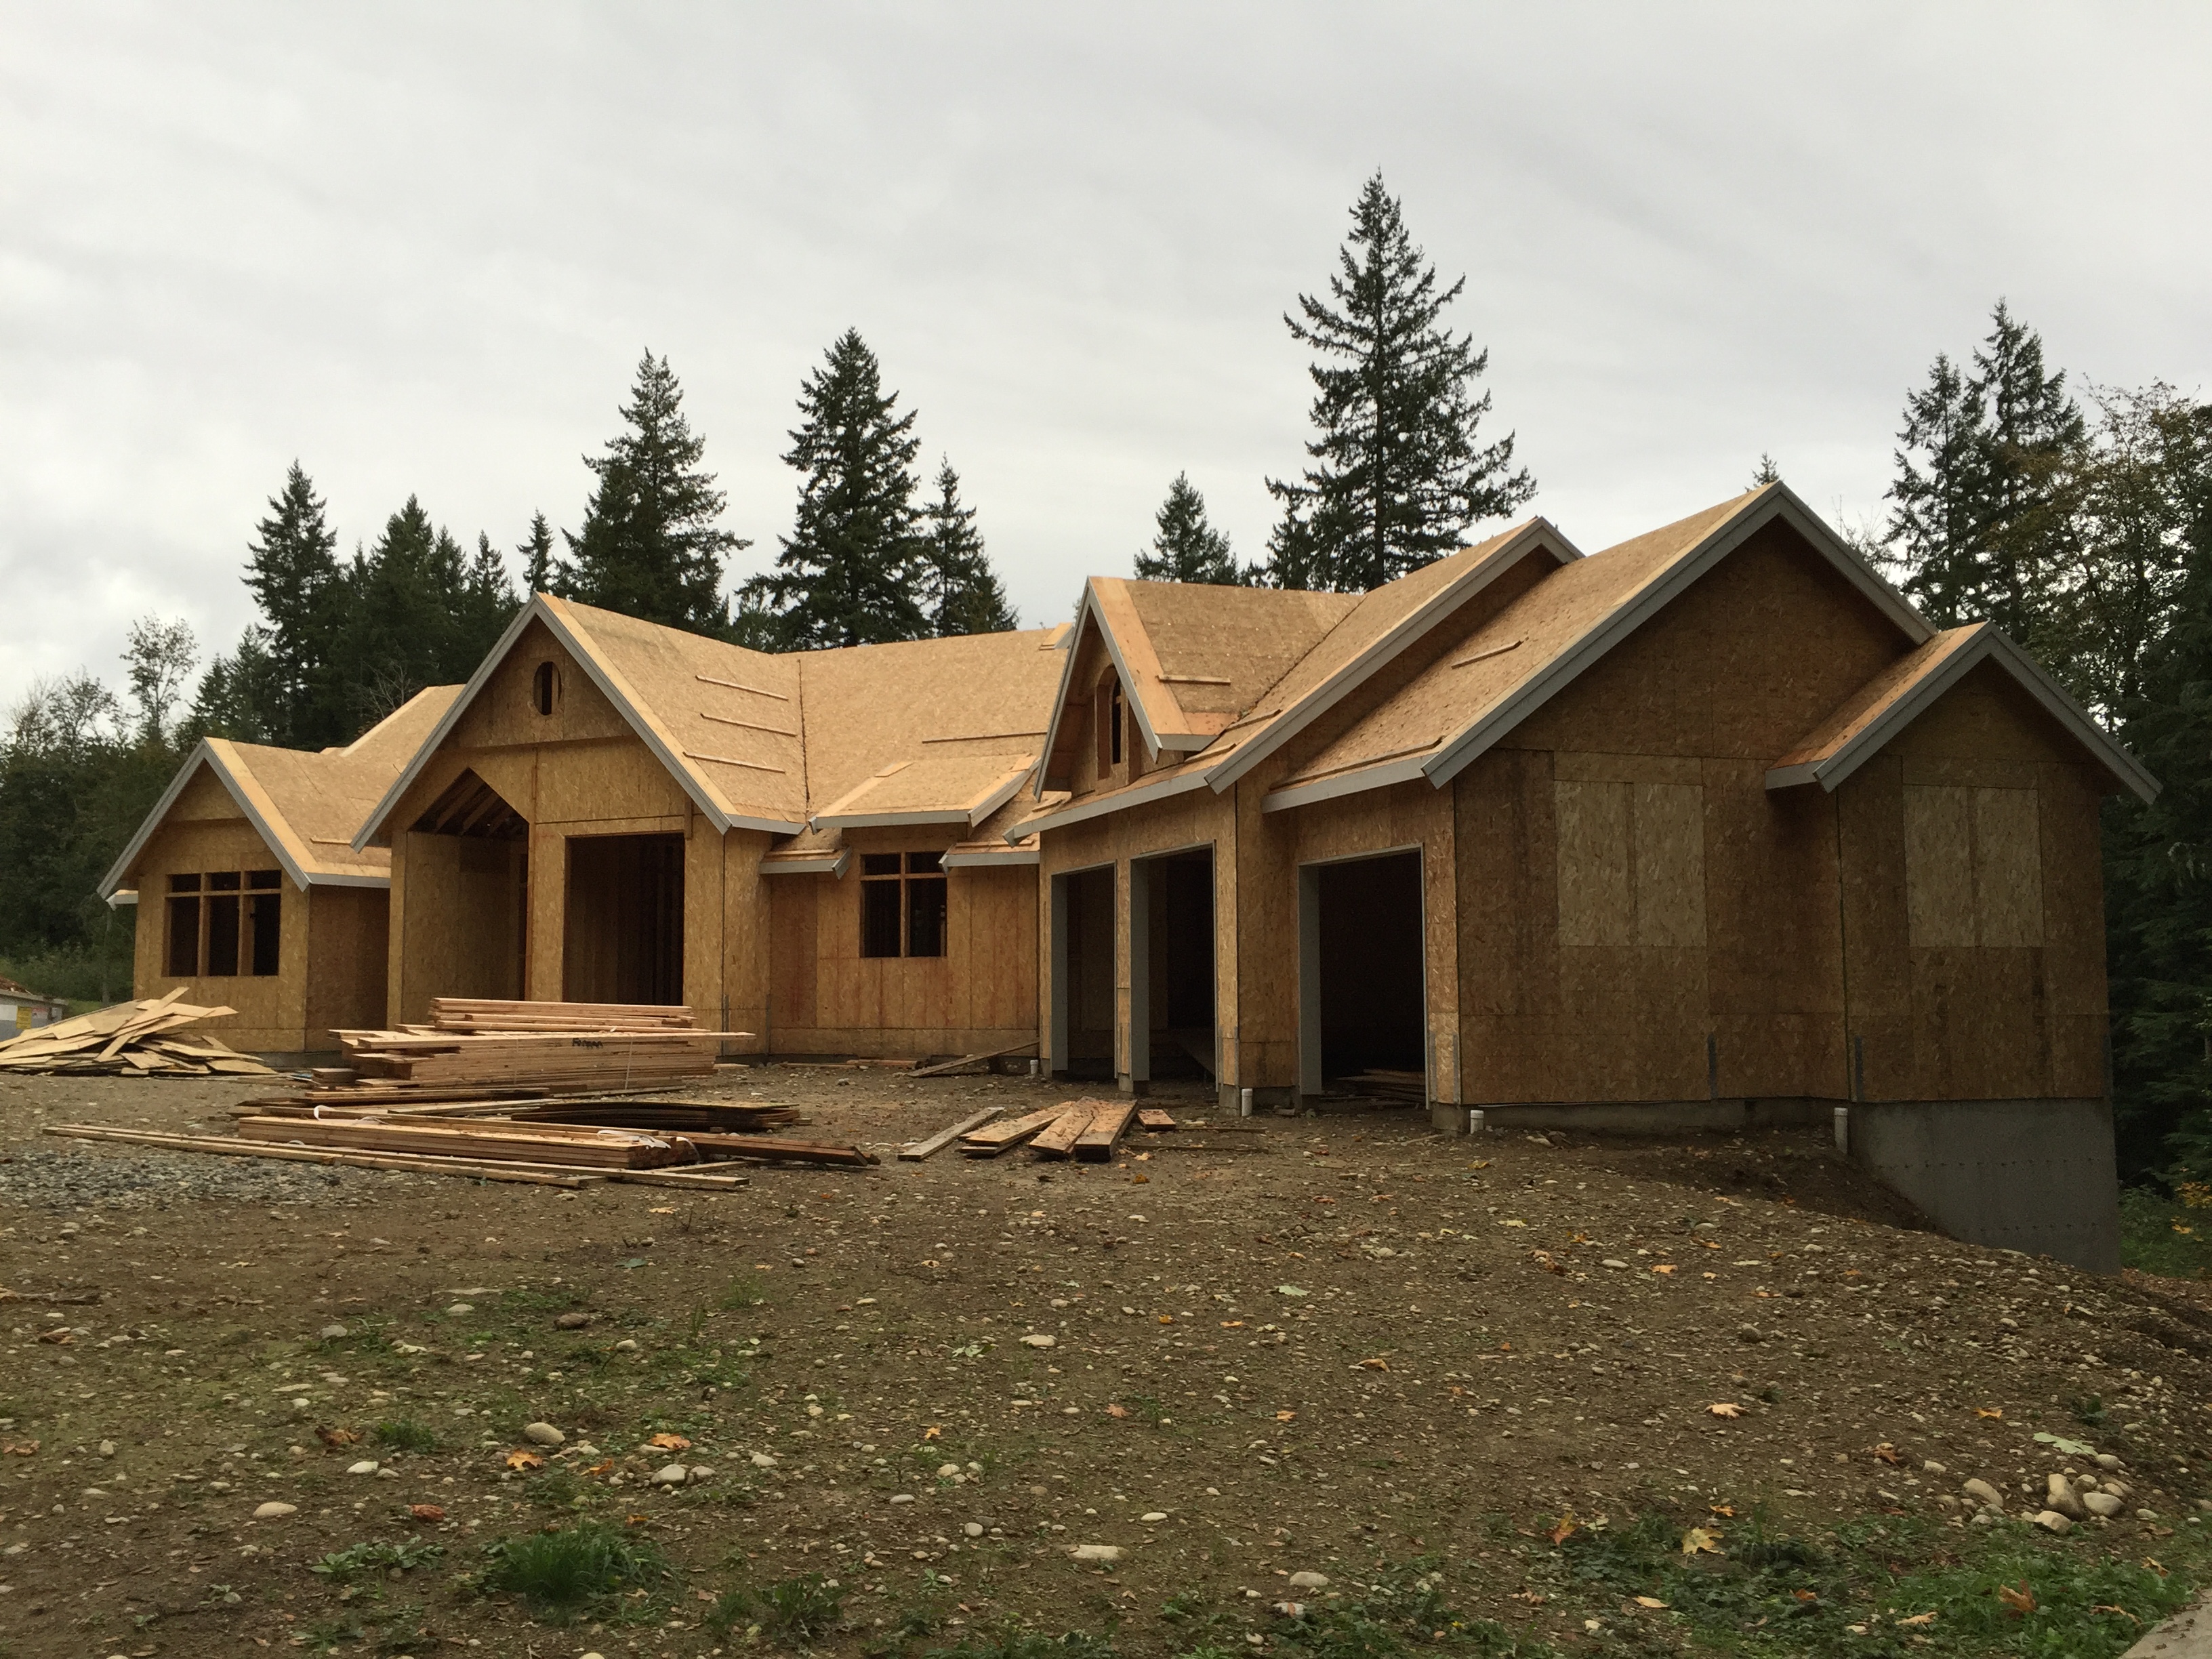
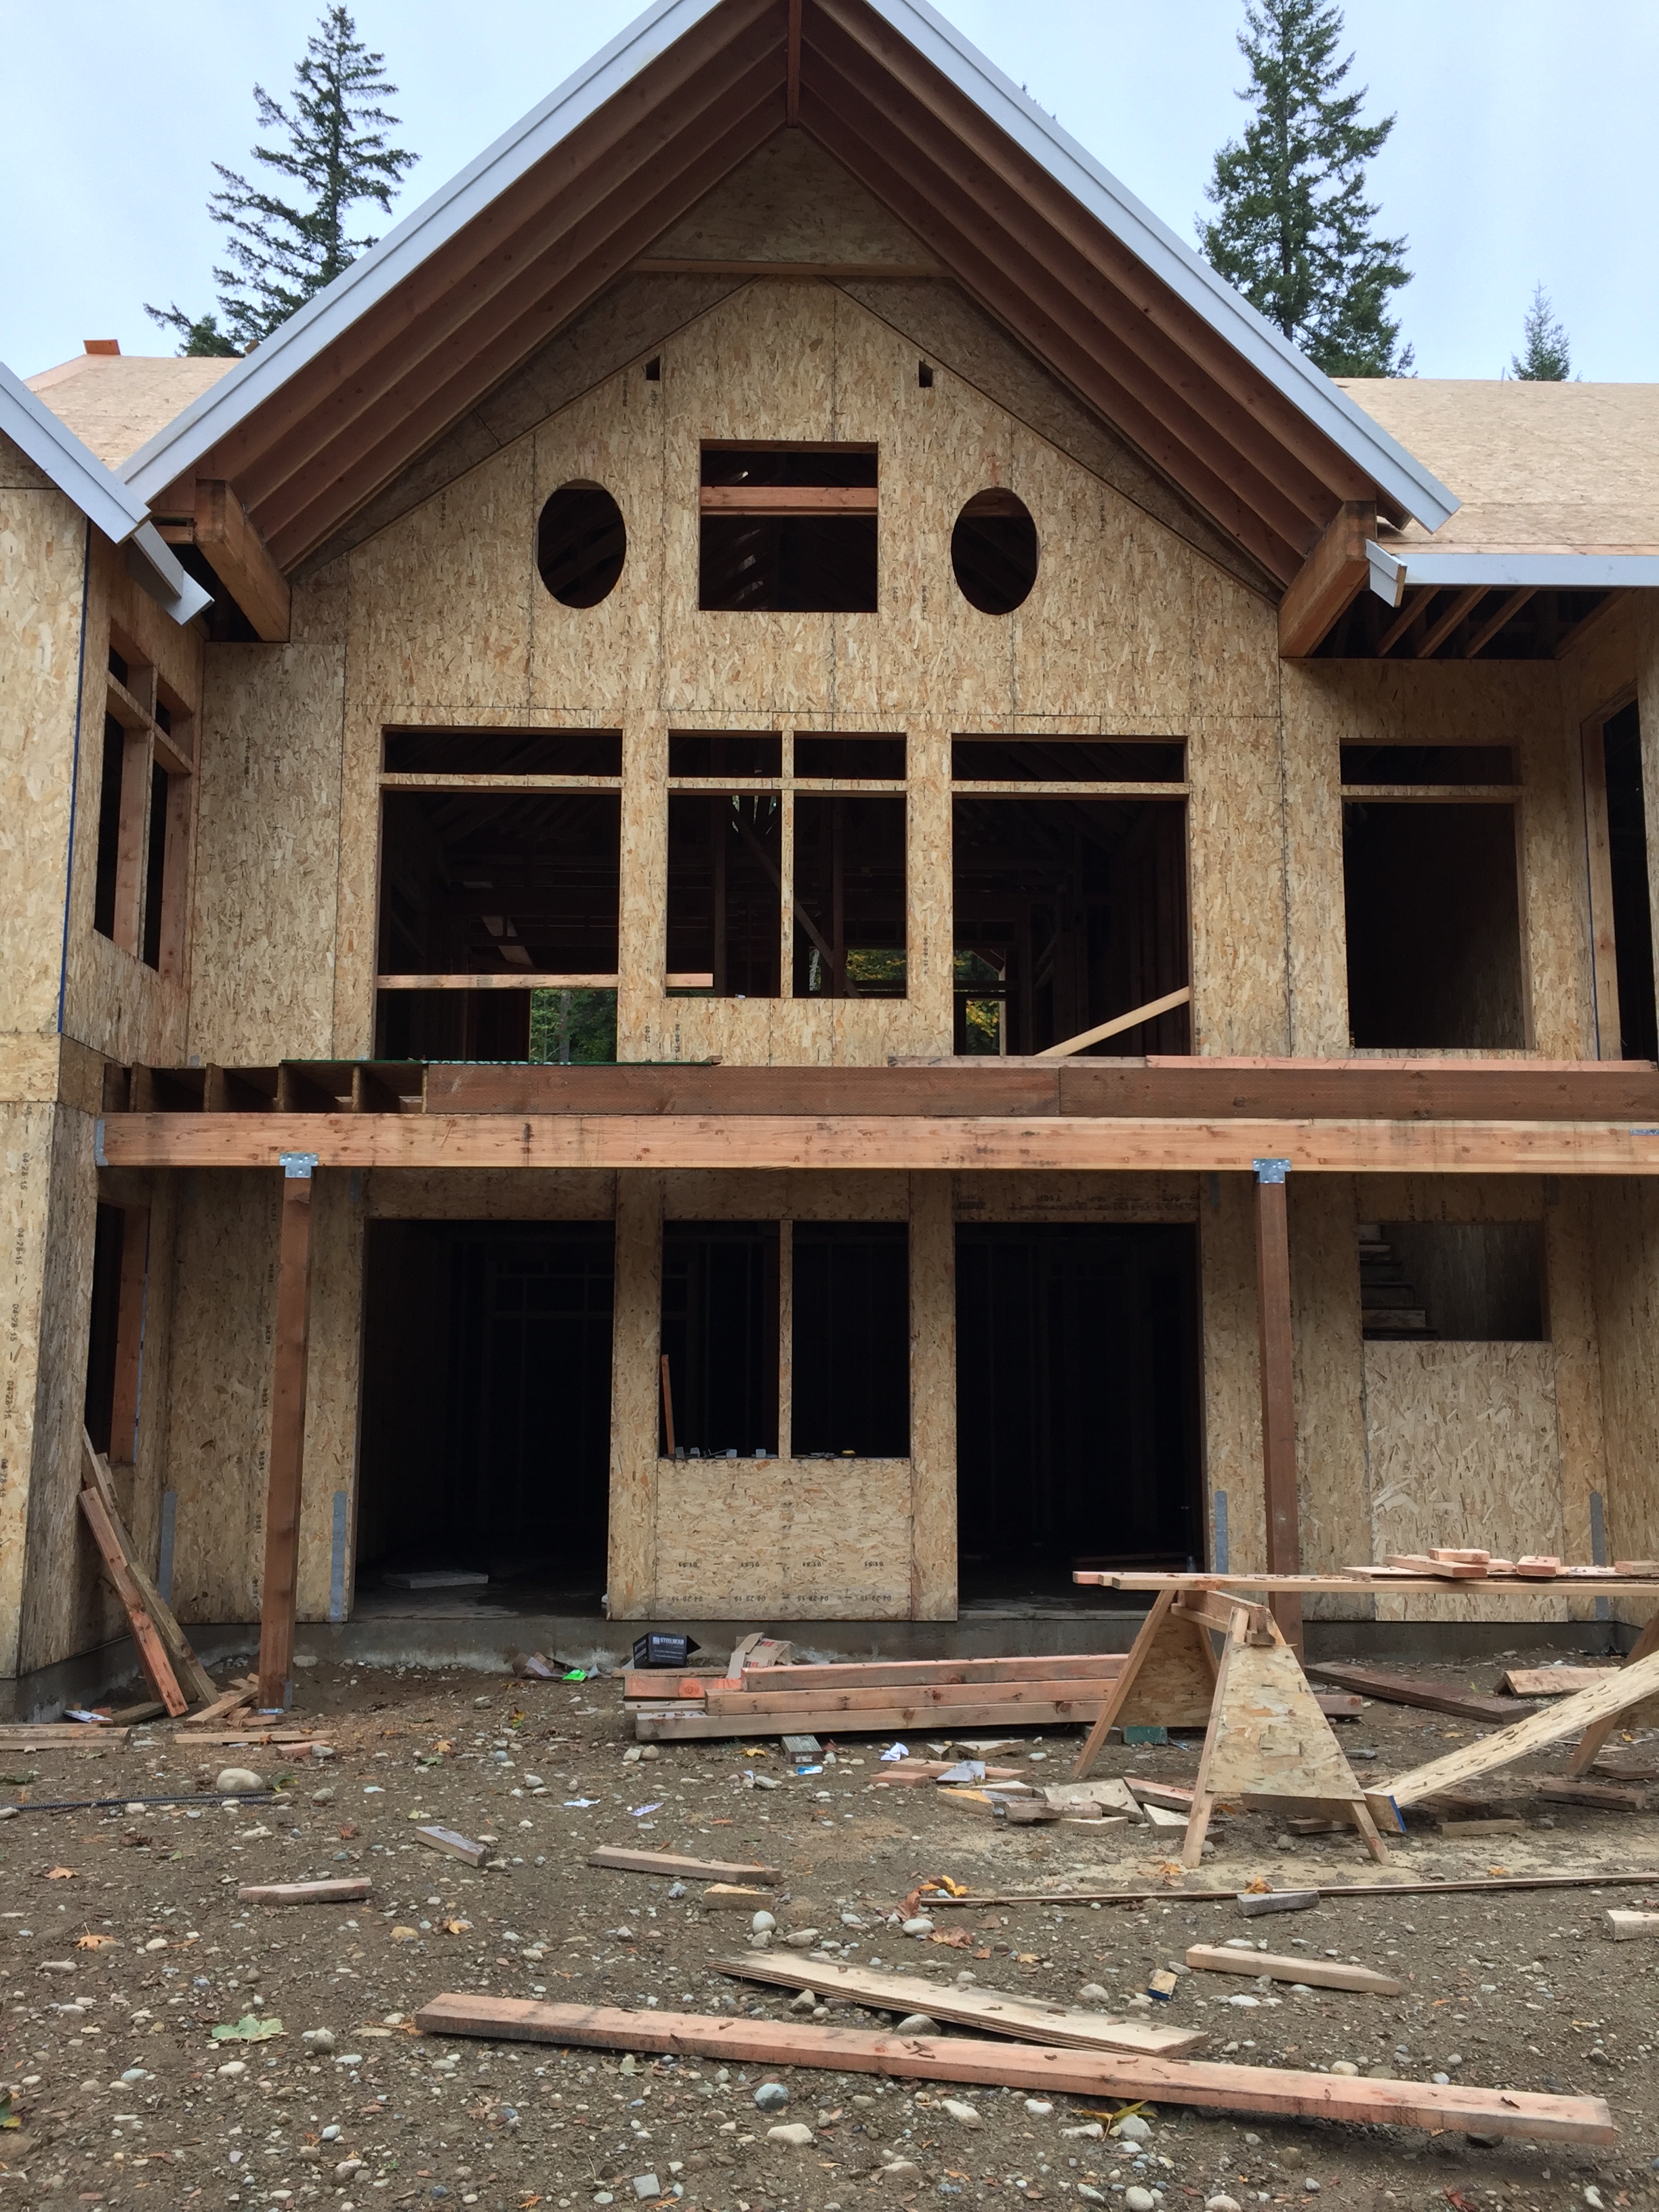
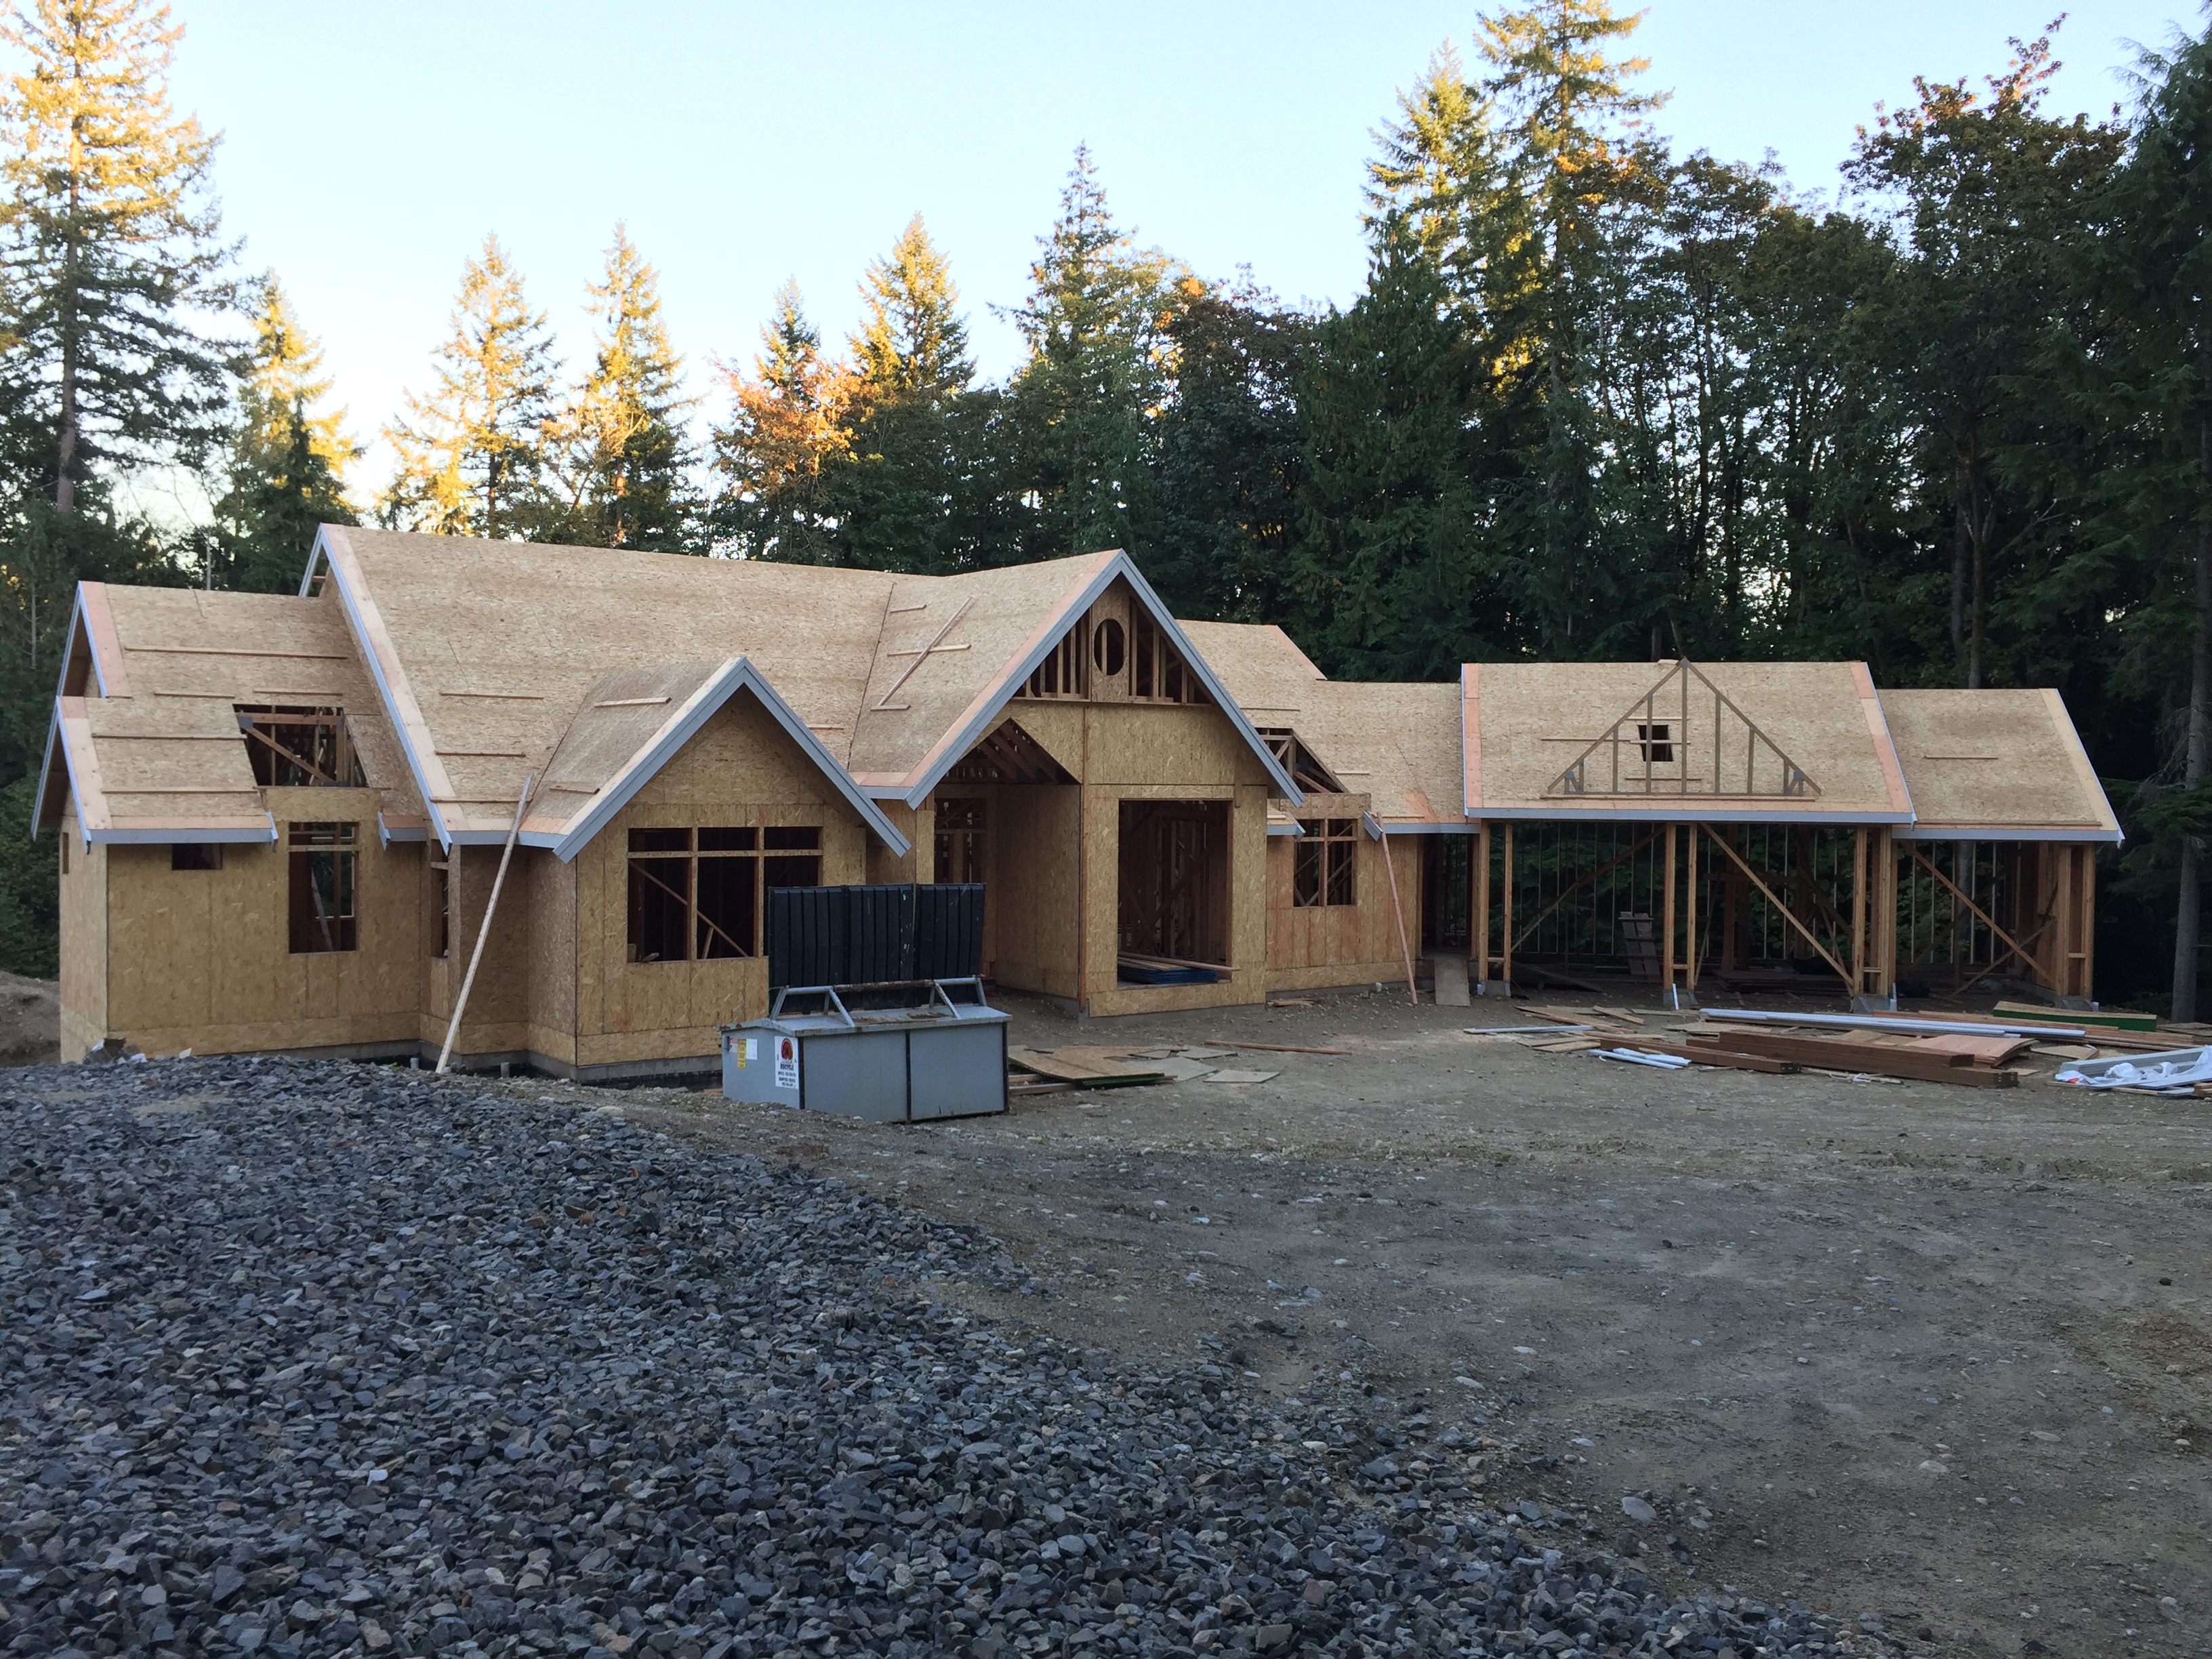
The front of the house really is taking shape now! So many changes this week including more work on the entry and garage doors!
Garage Doors
Our garage doors were also installed this week on Tuesday! It’s awesome to finally see garage doors instead of black plastic. We chose carriage style garage doors with X’s and windows on the front of them. The two garage doors on the left are 9′ doors while the one on the right is an 8′ door. I knew we wanted a 3 car garage since we always have so many outdoor toys for the boys and have NEVER been able to park in the garage because of them. This will give both Joel and I each a space to park, and another place for the boys’ bikes and outdoor toys. It’s shocking the number of nerf guns and scooters they have! The only problem with a 3 car garage is how massive it can look on the front of the house, so to make it look a little less intrusive (and so that it didn’t seem like the main focus of the house), we designed the 3rd bay to be set back and at a smaller height. I think it turned out great!

The garage doors were installed this week – the first two are 4 panel doors and the smaller one is a 3 panel door. They look good now, but they’ll look even better once the hardware has been installed.

Here’s a closer up look at the garage doors. We used Northwest Door’s Carriage Style door.

The doors and tracks were installed, but can’t open quite yet – we’re still missing the motors.
Pocket Door Frames
The frames for the pocket doors were also installed this week. We have two locations where we have pocket doors in the house. The first being the master bathroom entrance from our bedroom; and the second is a pocket dutch door that’s in the hallway between the mudroom and the rest of the house. Most of the time, this mudroom door will be open when we’re home. But when we’re away our Yorkshire Terrier, Bella, will be in the mudroom and by just closing the bottom half of the pocket dutch door we’ll be able to keep her in there and it’ll act as a little “doggy gate” for us.

The double pocket doors to enter the master bath were also installed. It’s fantastic to see the true opening width now.

The pocket door between the mudroom and the rest of the house was installed. This one will be a bit tricky to work out the details, because it’s a dutch door. The top will be on a track and I think the bottom will have casters.
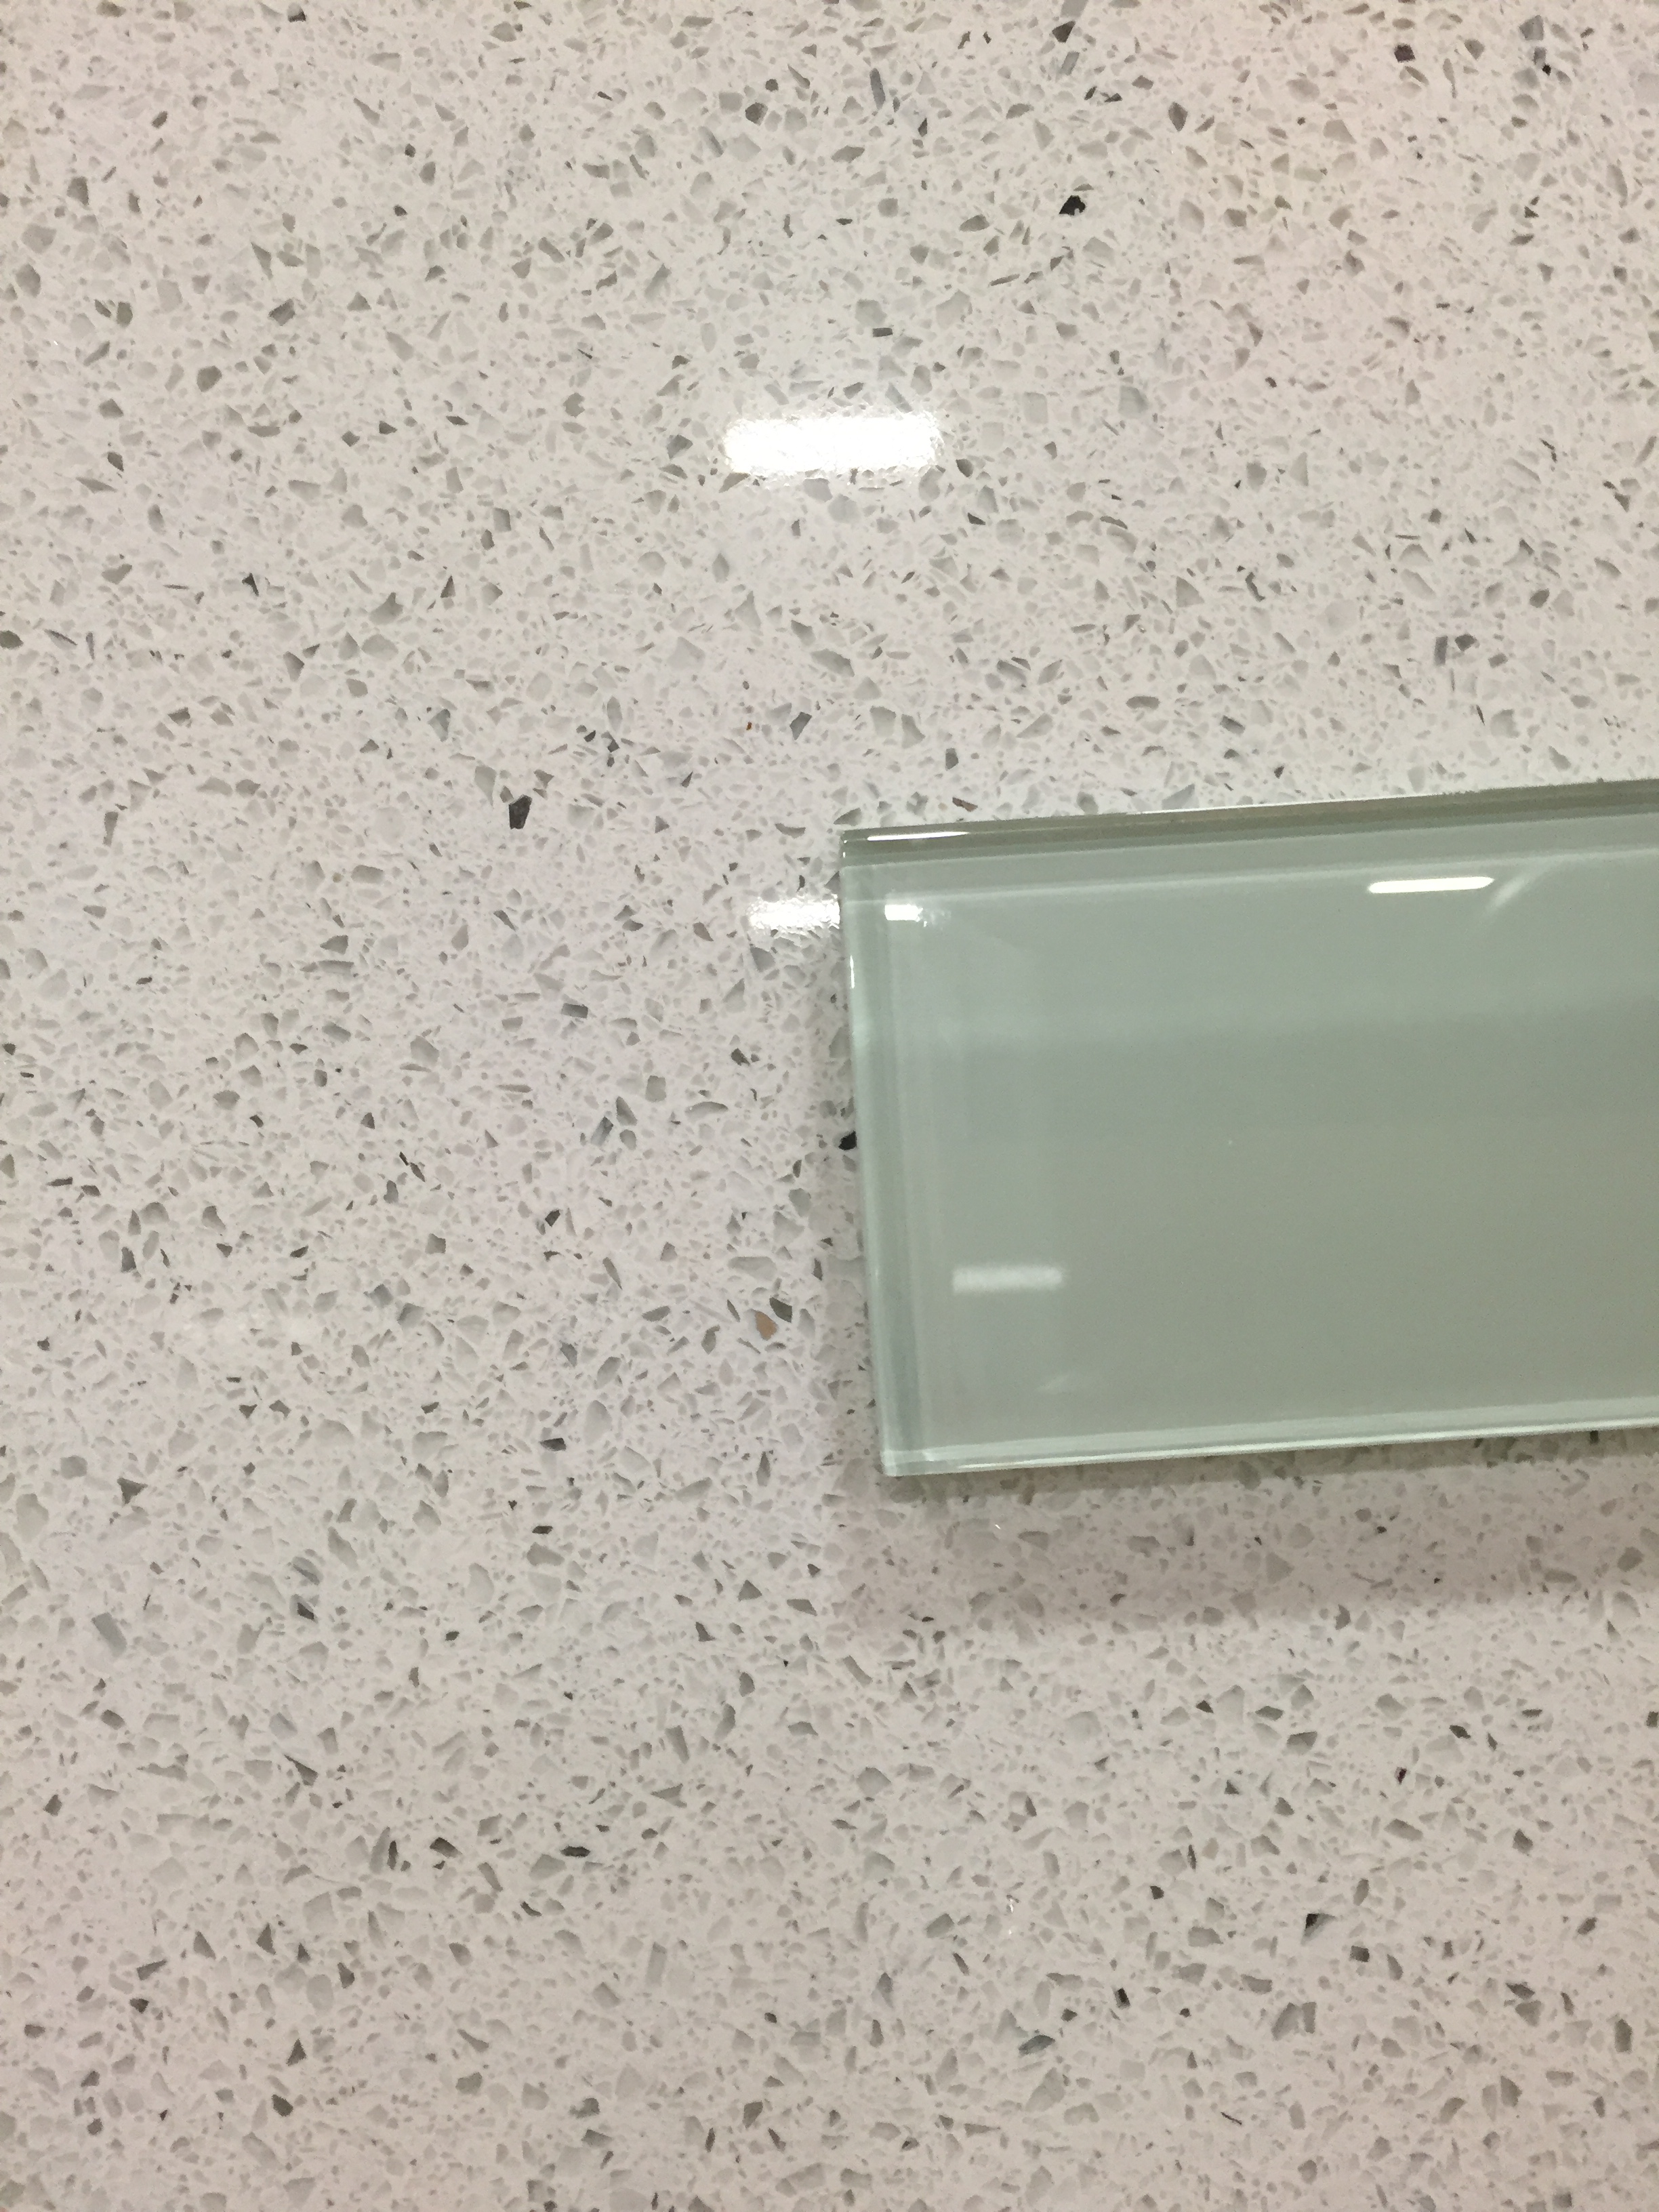
Prepping Studs for Drywall
The last thing worked on this week was prepping the studs for drywall on the inside of the house. They used lasers to tell which studs weren’t even with each other. In order to get a fully level wall, they either shaved off portions of the studs that stuck out too much or added cardboard shims to the face of the studs that weren’t quite wide enough. This was done all over the house on the studs or on the plywood surfaces.

Here’s an example of one of the walls where a couple of the studs were shaved down and if you look really close you can see that a shim was added to another one of them.

Here’s a close-up which shows the cardboard shim on the left and the shaving down of the stud on the right.

Shims were even added to walls where spots were low.