This week marked a huge milestone with the completion of the foundation and basement slab and the beginning of framing. Big deliveries of the lumber for our house too! We opted to use Douglas Fir which is regarded as the highest standard for framing material – all other woods are measured against Douglas Fir because of its high strength, stability values, and excellent performance against strong wind forces. Did you know Douglas Fir isn’t actually a true fir tree? It’s scientific name “Pseudotsuga” actually means “false hemlock”…how strange is that?
Anyhow, the builder’s standard would have been to use a Hem-Fir which is a combination of lumber from western hemlocks and true firs (nobles, grand, pacific silver, etc). Hem-Fir has a lower strength value than Douglas Fir, but it’s still capable of meeting the engineer’s span requirements. So Hem-Fir would have suited our building needs, but my dad insisted that we upgrade to Douglas Fir. Dad knows best, huh?! He thinks we’ll end up with straighter and stronger walls. Stronger walls…maybe. That was the case with ‘old growth’ Douglas Fir – which isn’t really around anymore. Everything now is fairly ‘young’ and our builder thinks that now there’s not much of a difference in strength between Hem-Fir and Douglas-Fir lumber. In any case, we opted for the upgrade to the stronger Douglas Fir.

Lumber was delivered to the property this weekend.
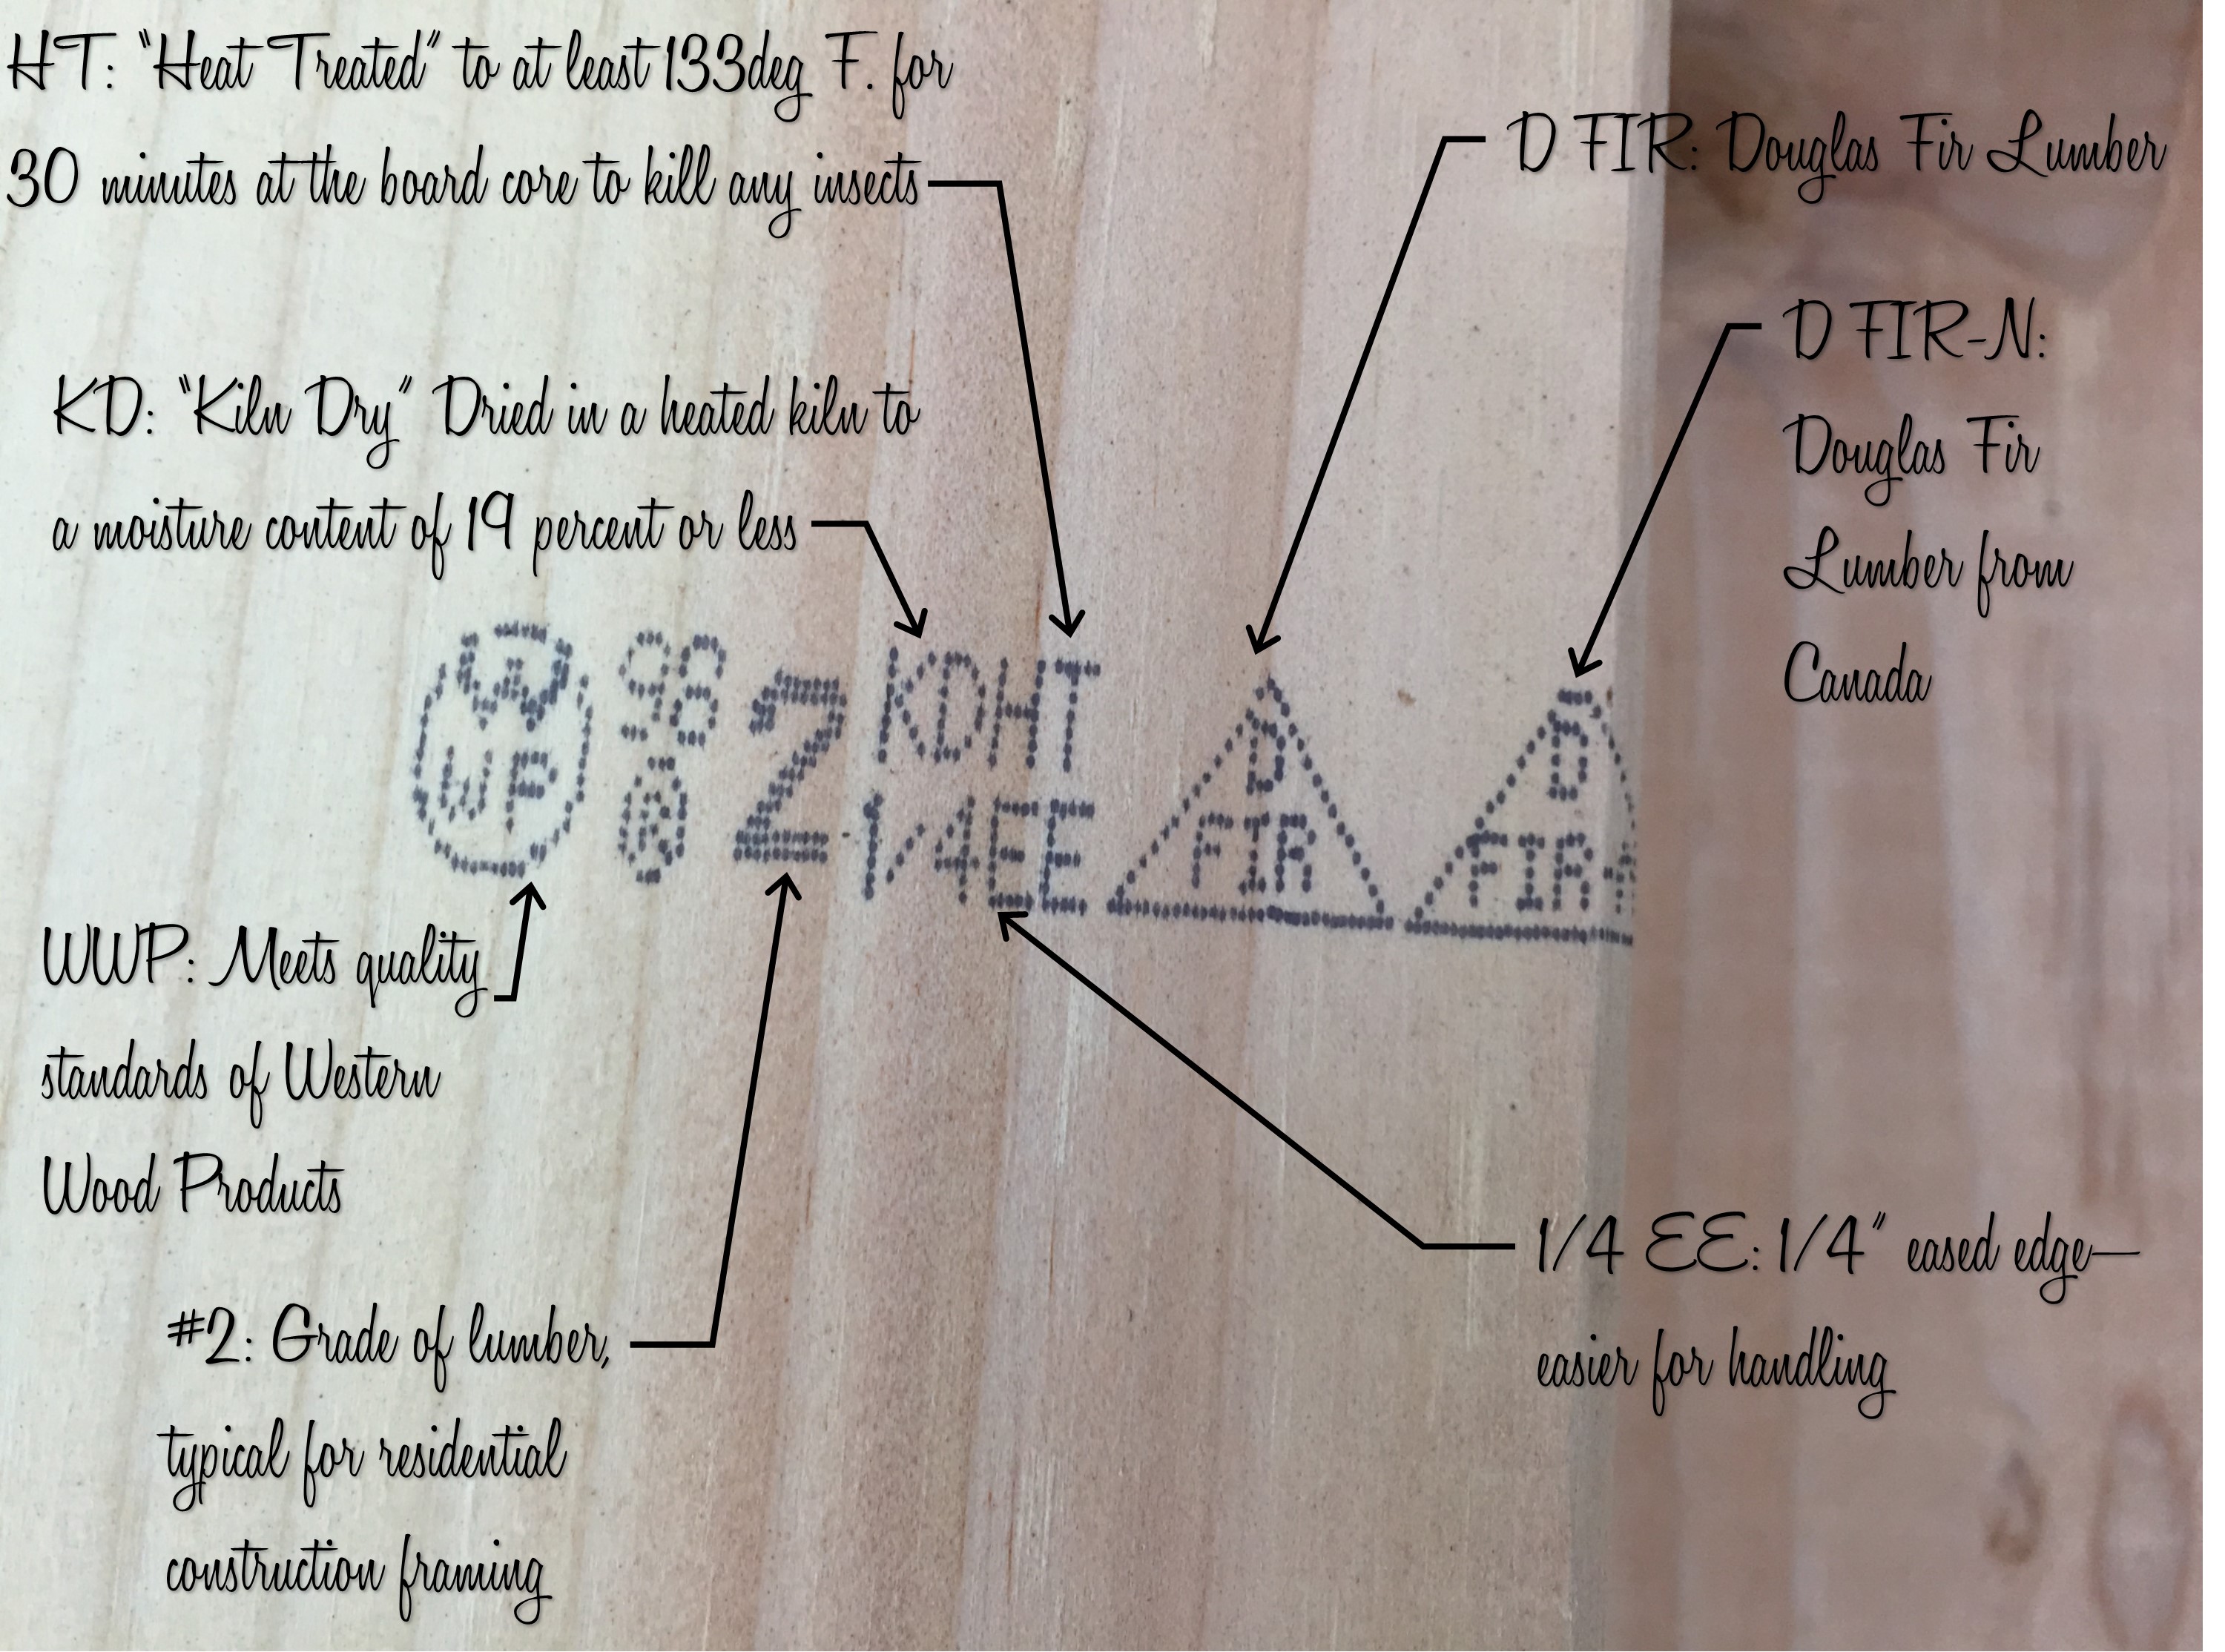
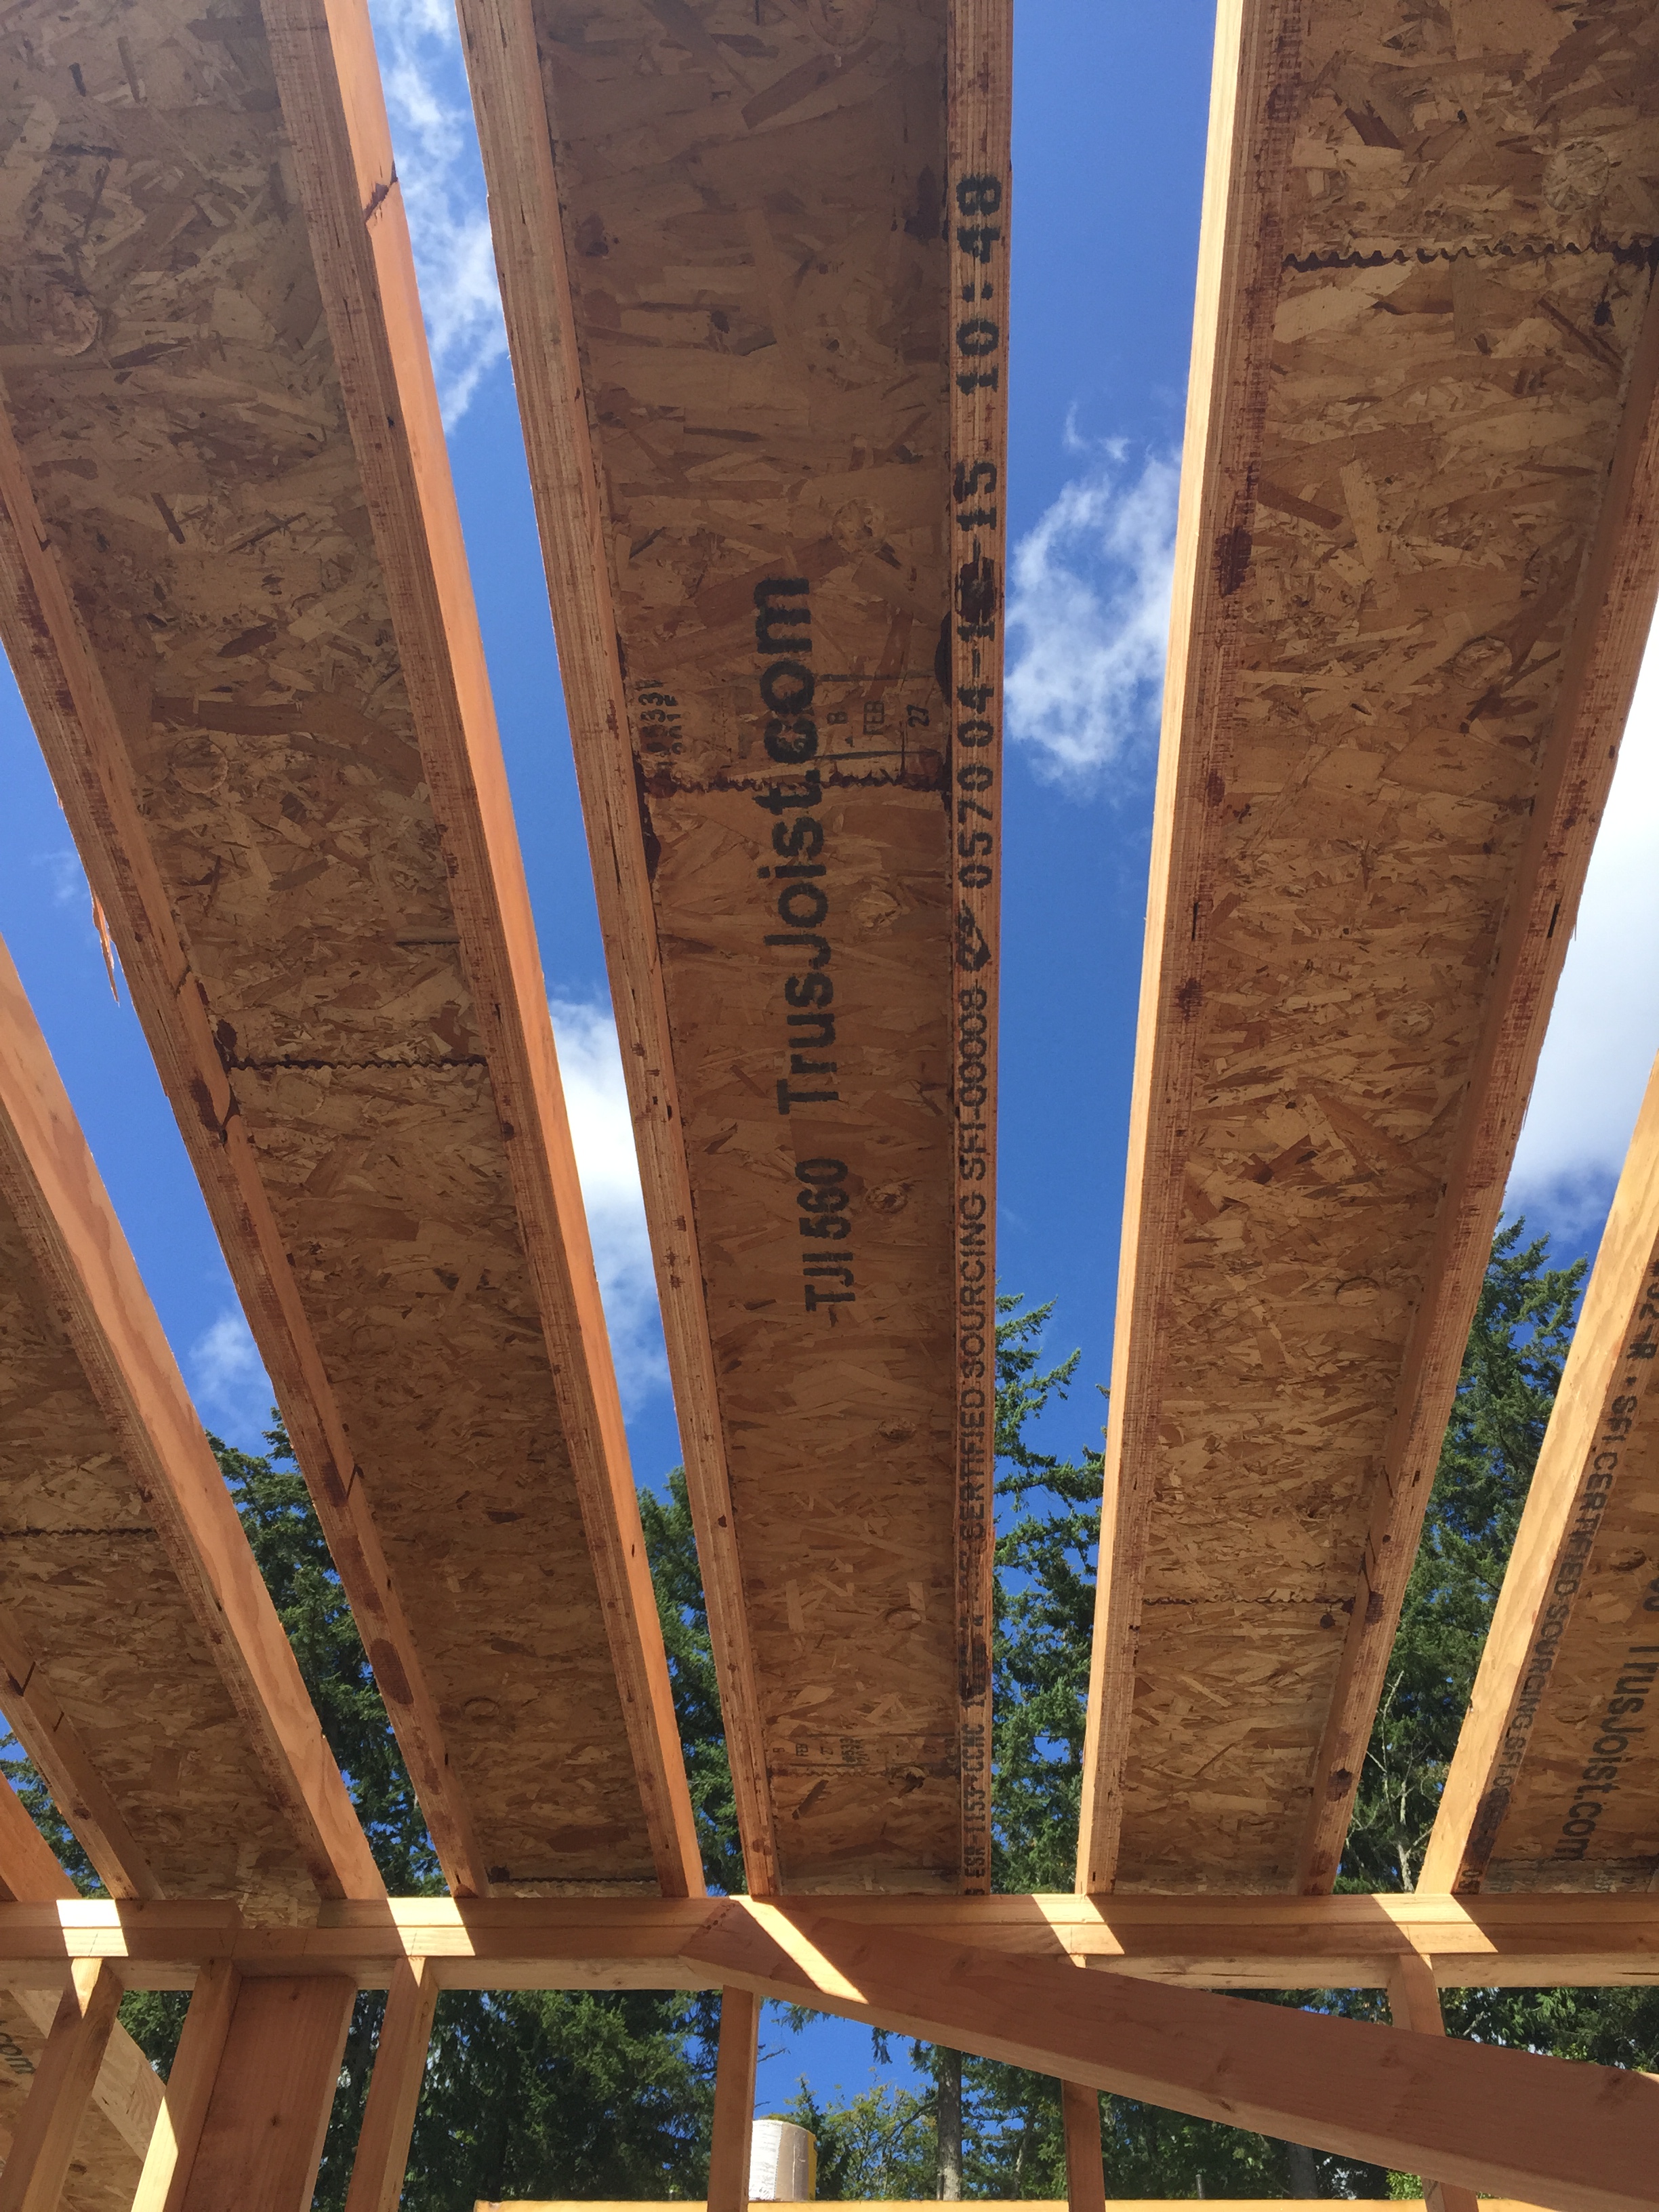
Each piece of lumber has a stamp on it which describes the wood species, grading, and processing. Here’s one of ours.
Also delivered was a lot of the material needed for the floor system between the two floors. This includes our plywood, TJI joists, and some laminated strand lumber needed in certain spots. Our engineer spec’d for us to use 110 TJI’s at 24″ on center spacing with 3/8″ plywood sheeting for the subfloor, but we opted to use 210 & 560 TJI’s at 16″ on center spacing with 1 1/8″ plywood sheeting. So we’re using stronger TJI joists, at a closer spacing, and with thicker plywood – this results in a much stronger floor system, without any deflection or ‘bounciness’ in the floor.

Even some of the material for the flooring system between the main and lower levels were delivered, including our 1 1/8″ tongue & groove plywood subfloor, Laminated Strand Lumber (LSL’s) and our TJI joists.
Ok, to the fun stuff…the guys started framing the house last Saturday, by snapping lines and prepping for the sill plates. It’s amazing to see the amount of work they can get done in just one week. The majority of the basement walls have been framed and you can walk through each of the rooms now. After working on designing the house for a year, it’s crazy to see it actually taking shape and being able to walk through all of the rooms. Now that we can walk through them, all of the rooms’ dimensions feel really good – I don’t think any of the rooms feel too small (which I was a little worried about in the guest room). And the only space that feels big is the storage room downstairs – I guess that’s expected though since it’s 620 square feet! It’s going to be so nice to actually have some storage in a house – we were definitely missing that in our old house and our garage was always filled with ‘junk’ (as Joel says), like Christmas decorations, patio furniture, and camping gear. And now that we added a door to the backyard into the storage room we’re really going to be able to access it easily. Super excited for that space!
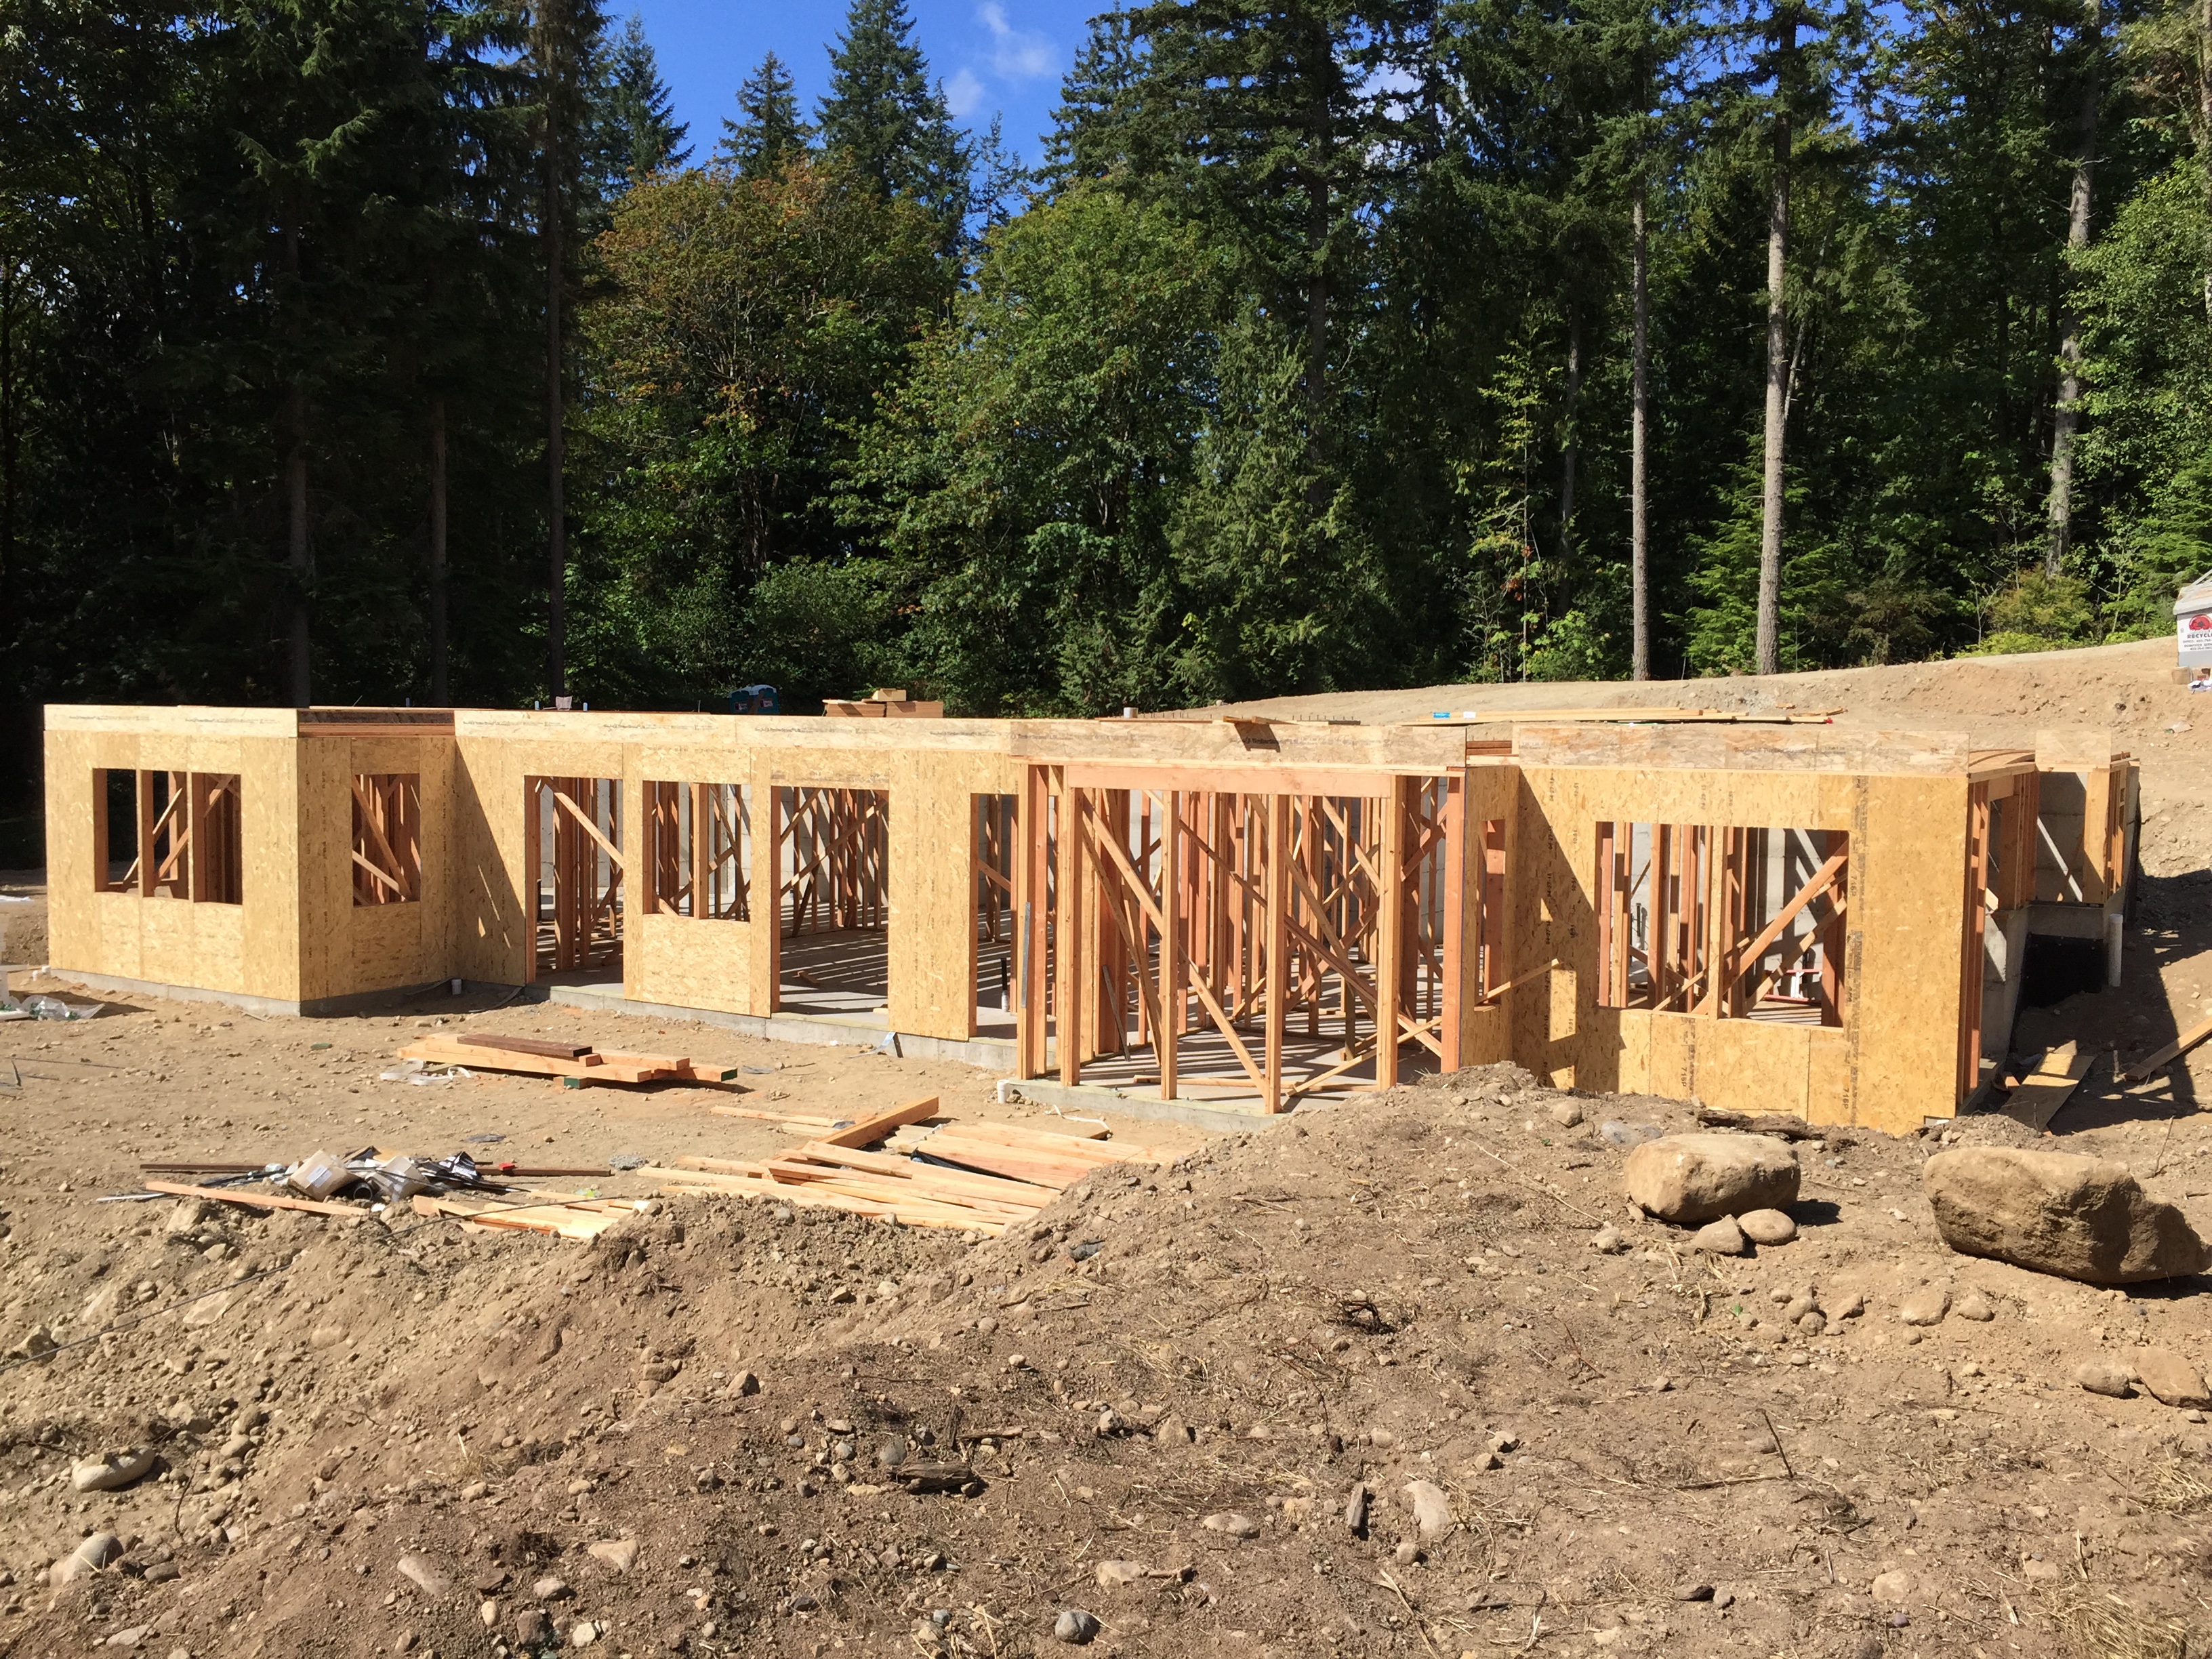
Check out our lower level! It’s so fantastic to see it go up and be able to walk through it now!
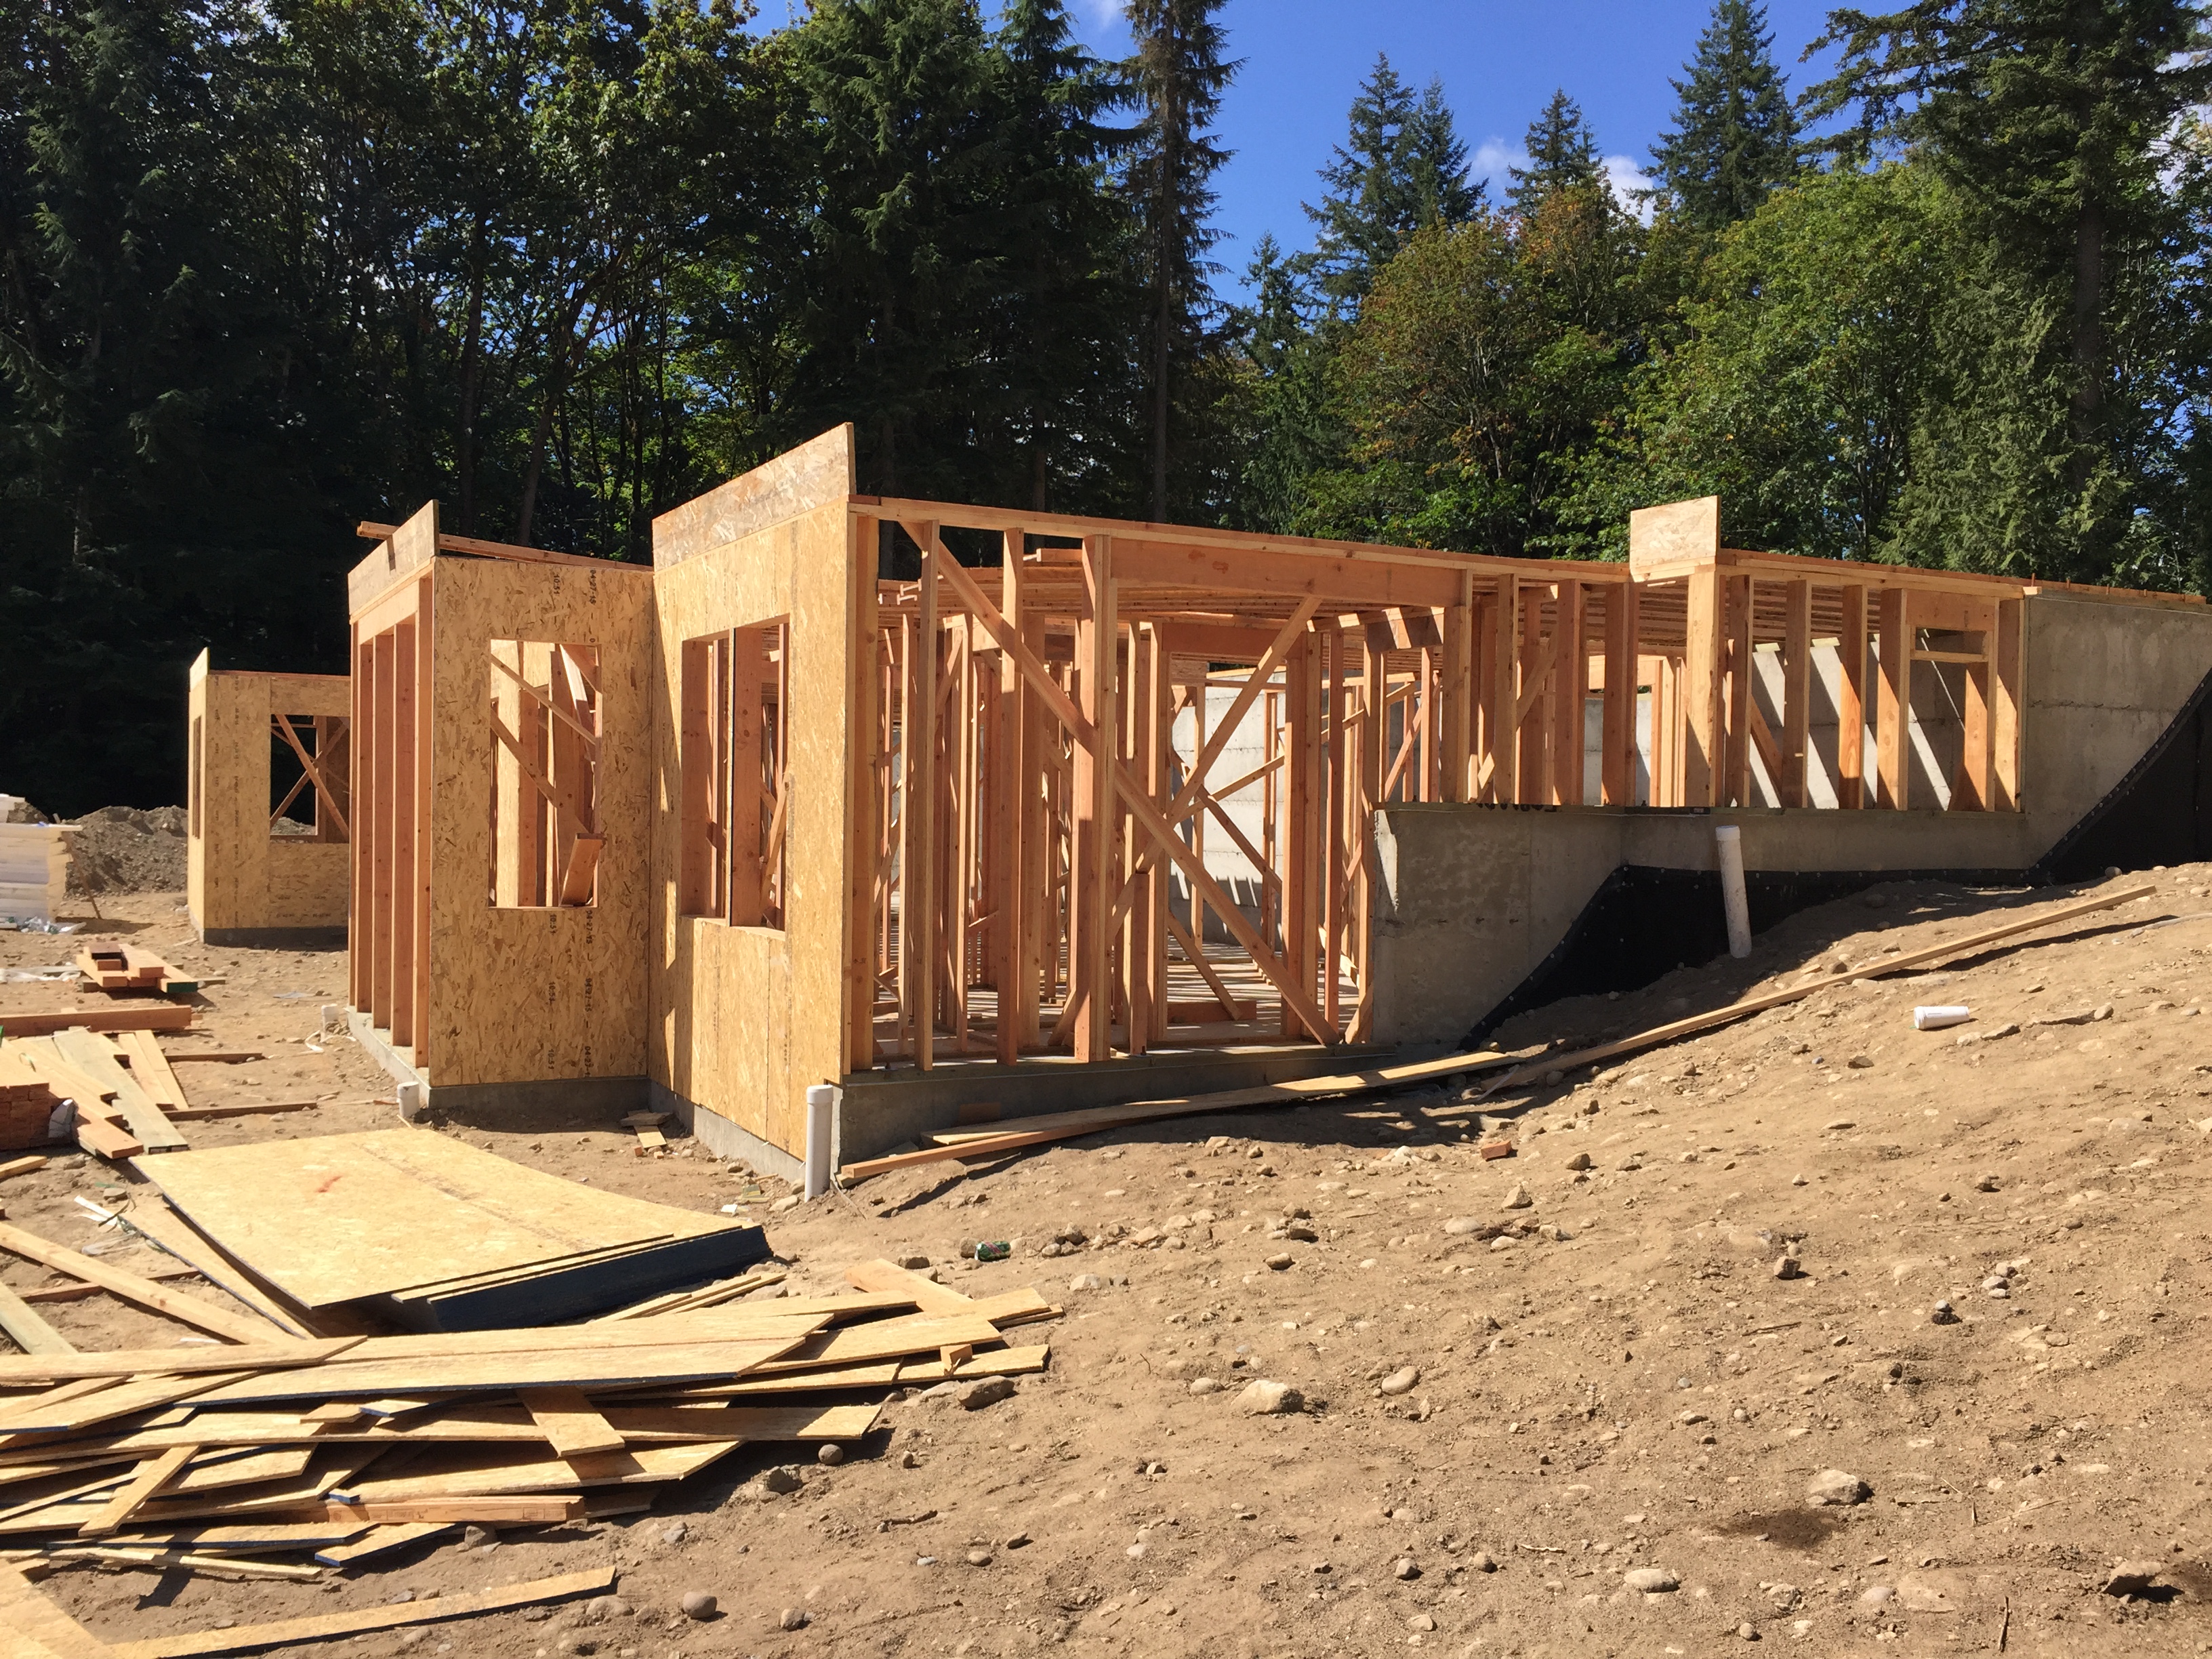
It’s so awesome to walk down the property and see the house! This is looking south at the house, which has Spencer’s room on the closest corner.
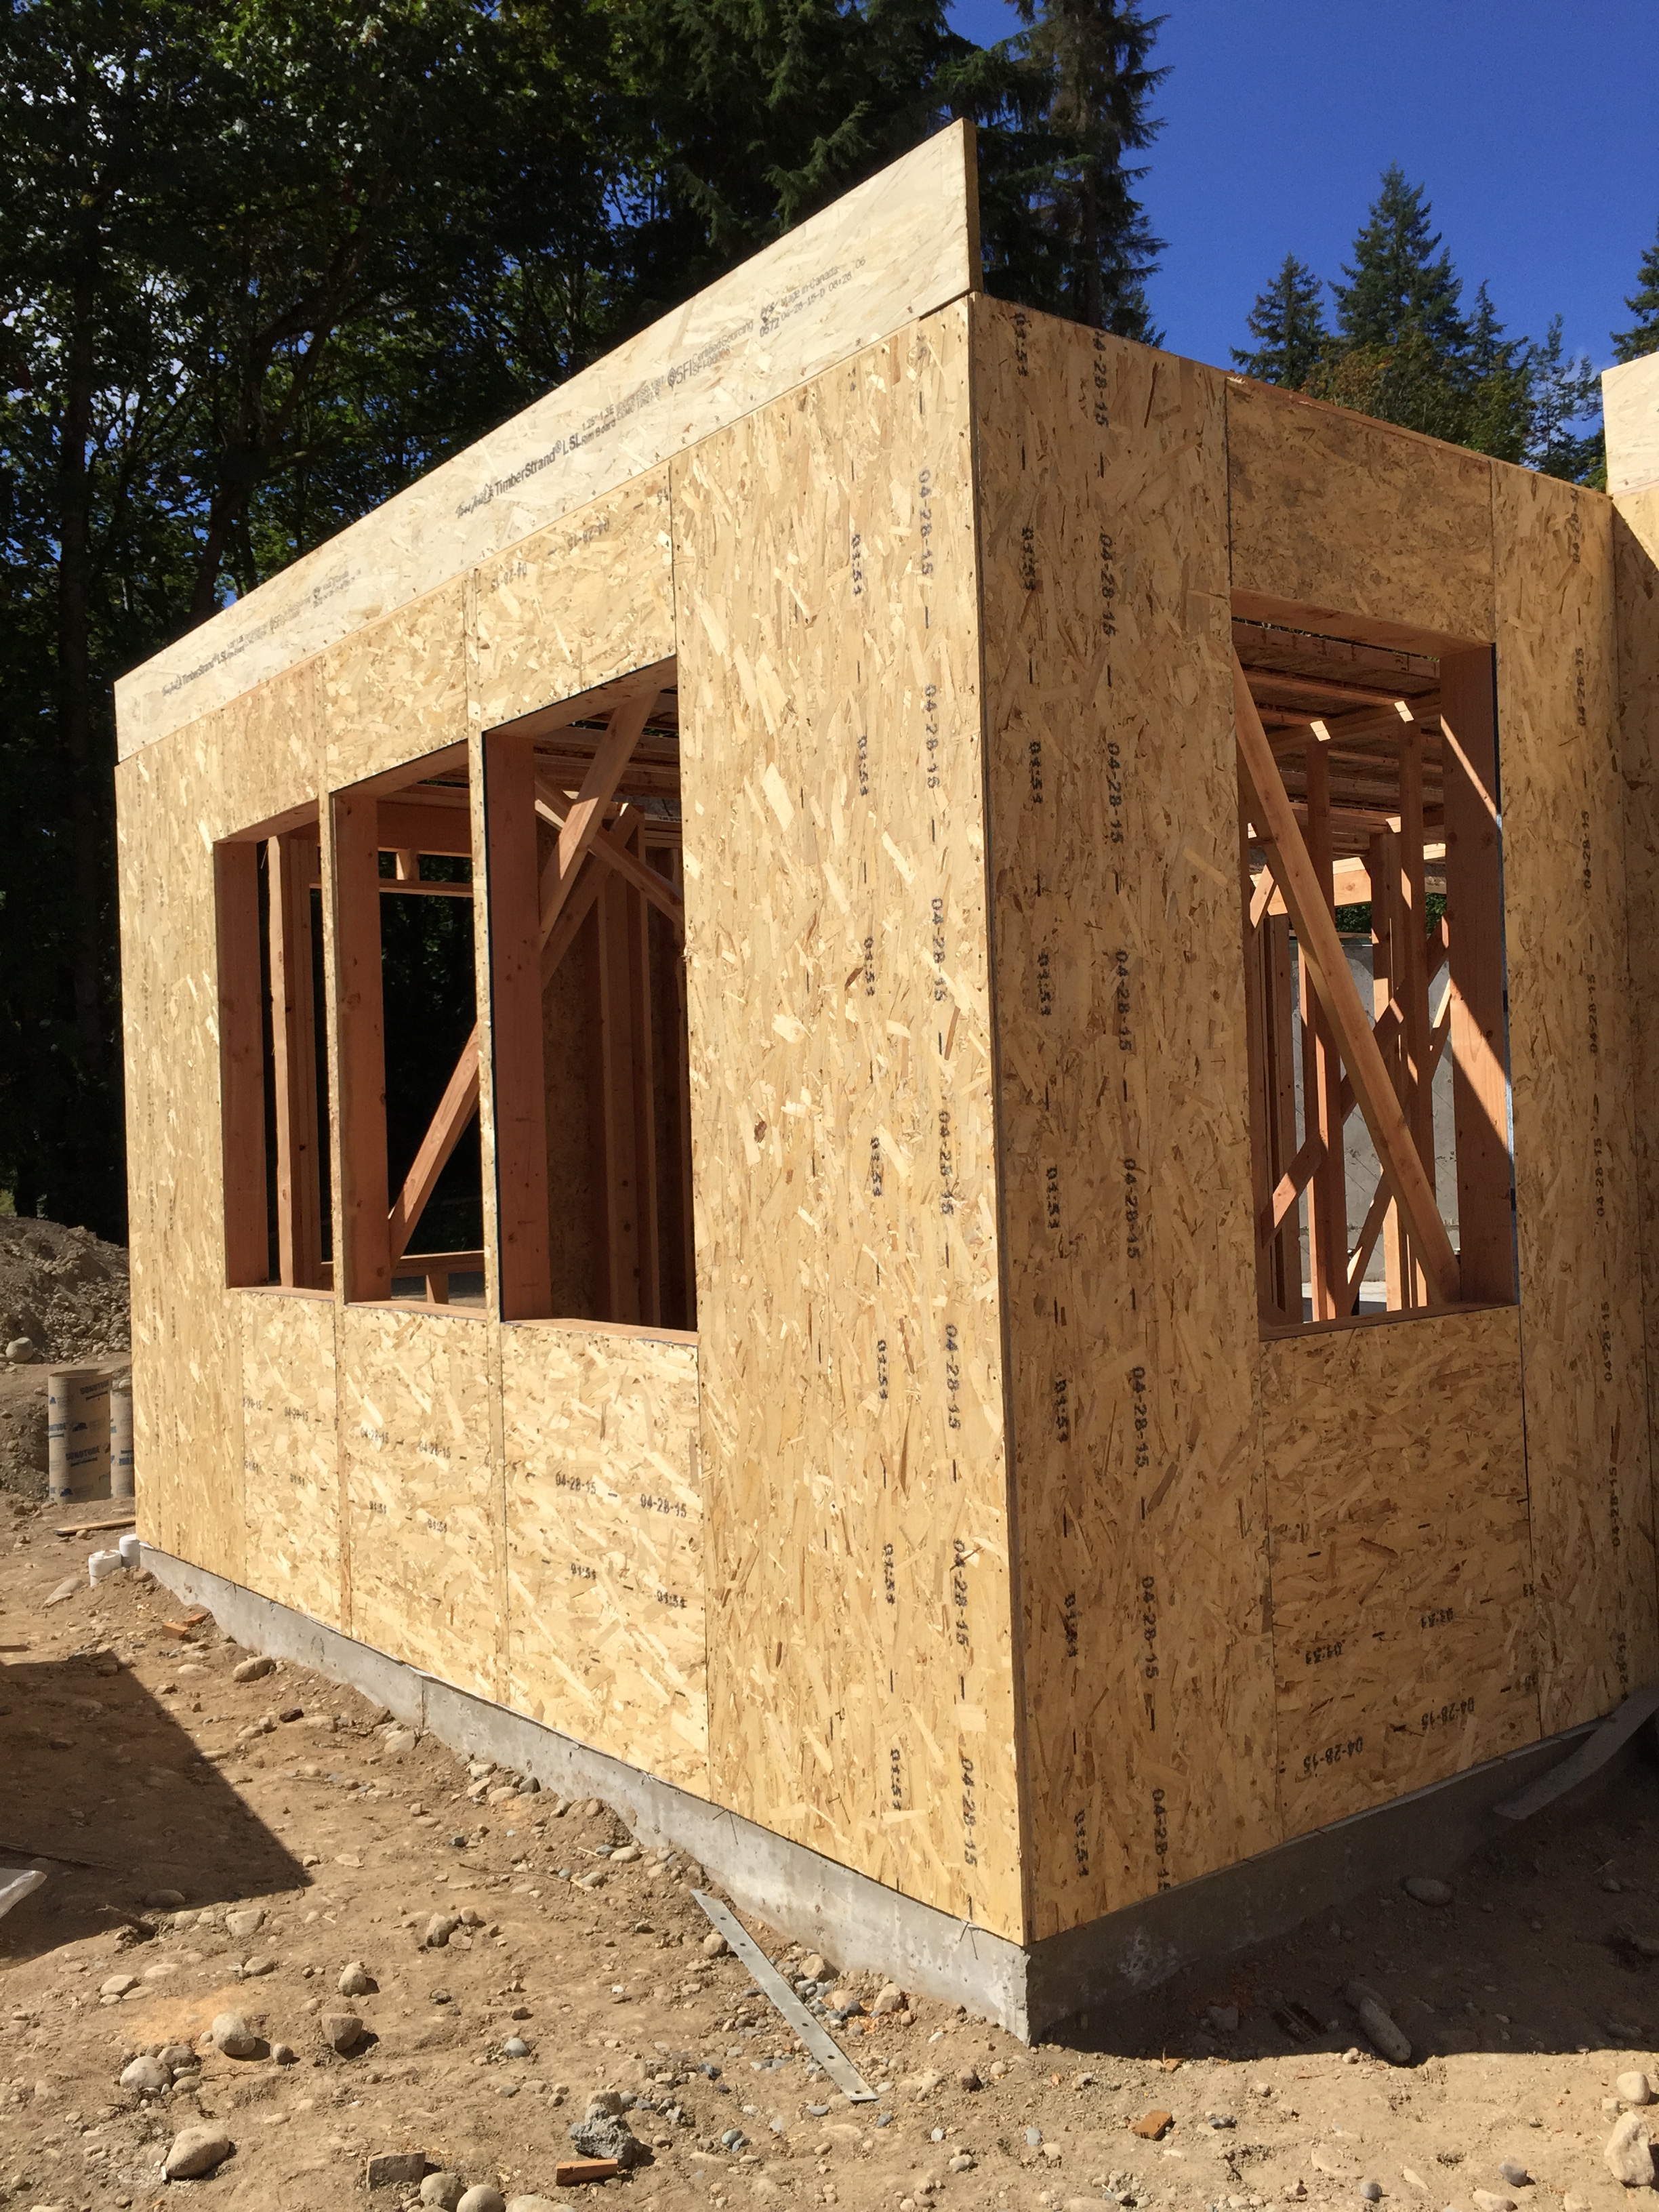
Here’s 4 out of 5 of the windows in the guest room.

This is a good look at what it’ll feel like looking out of the downstairs rec room. All said and done, there will be two double doors with a pair of windows in between them.

Here’s the framing so far in the boys’ playroom. There will be a couch to the right and a TV & art center on the left wall. The boys’ bathroom is straight ahead and bedrooms are in the far right corner.
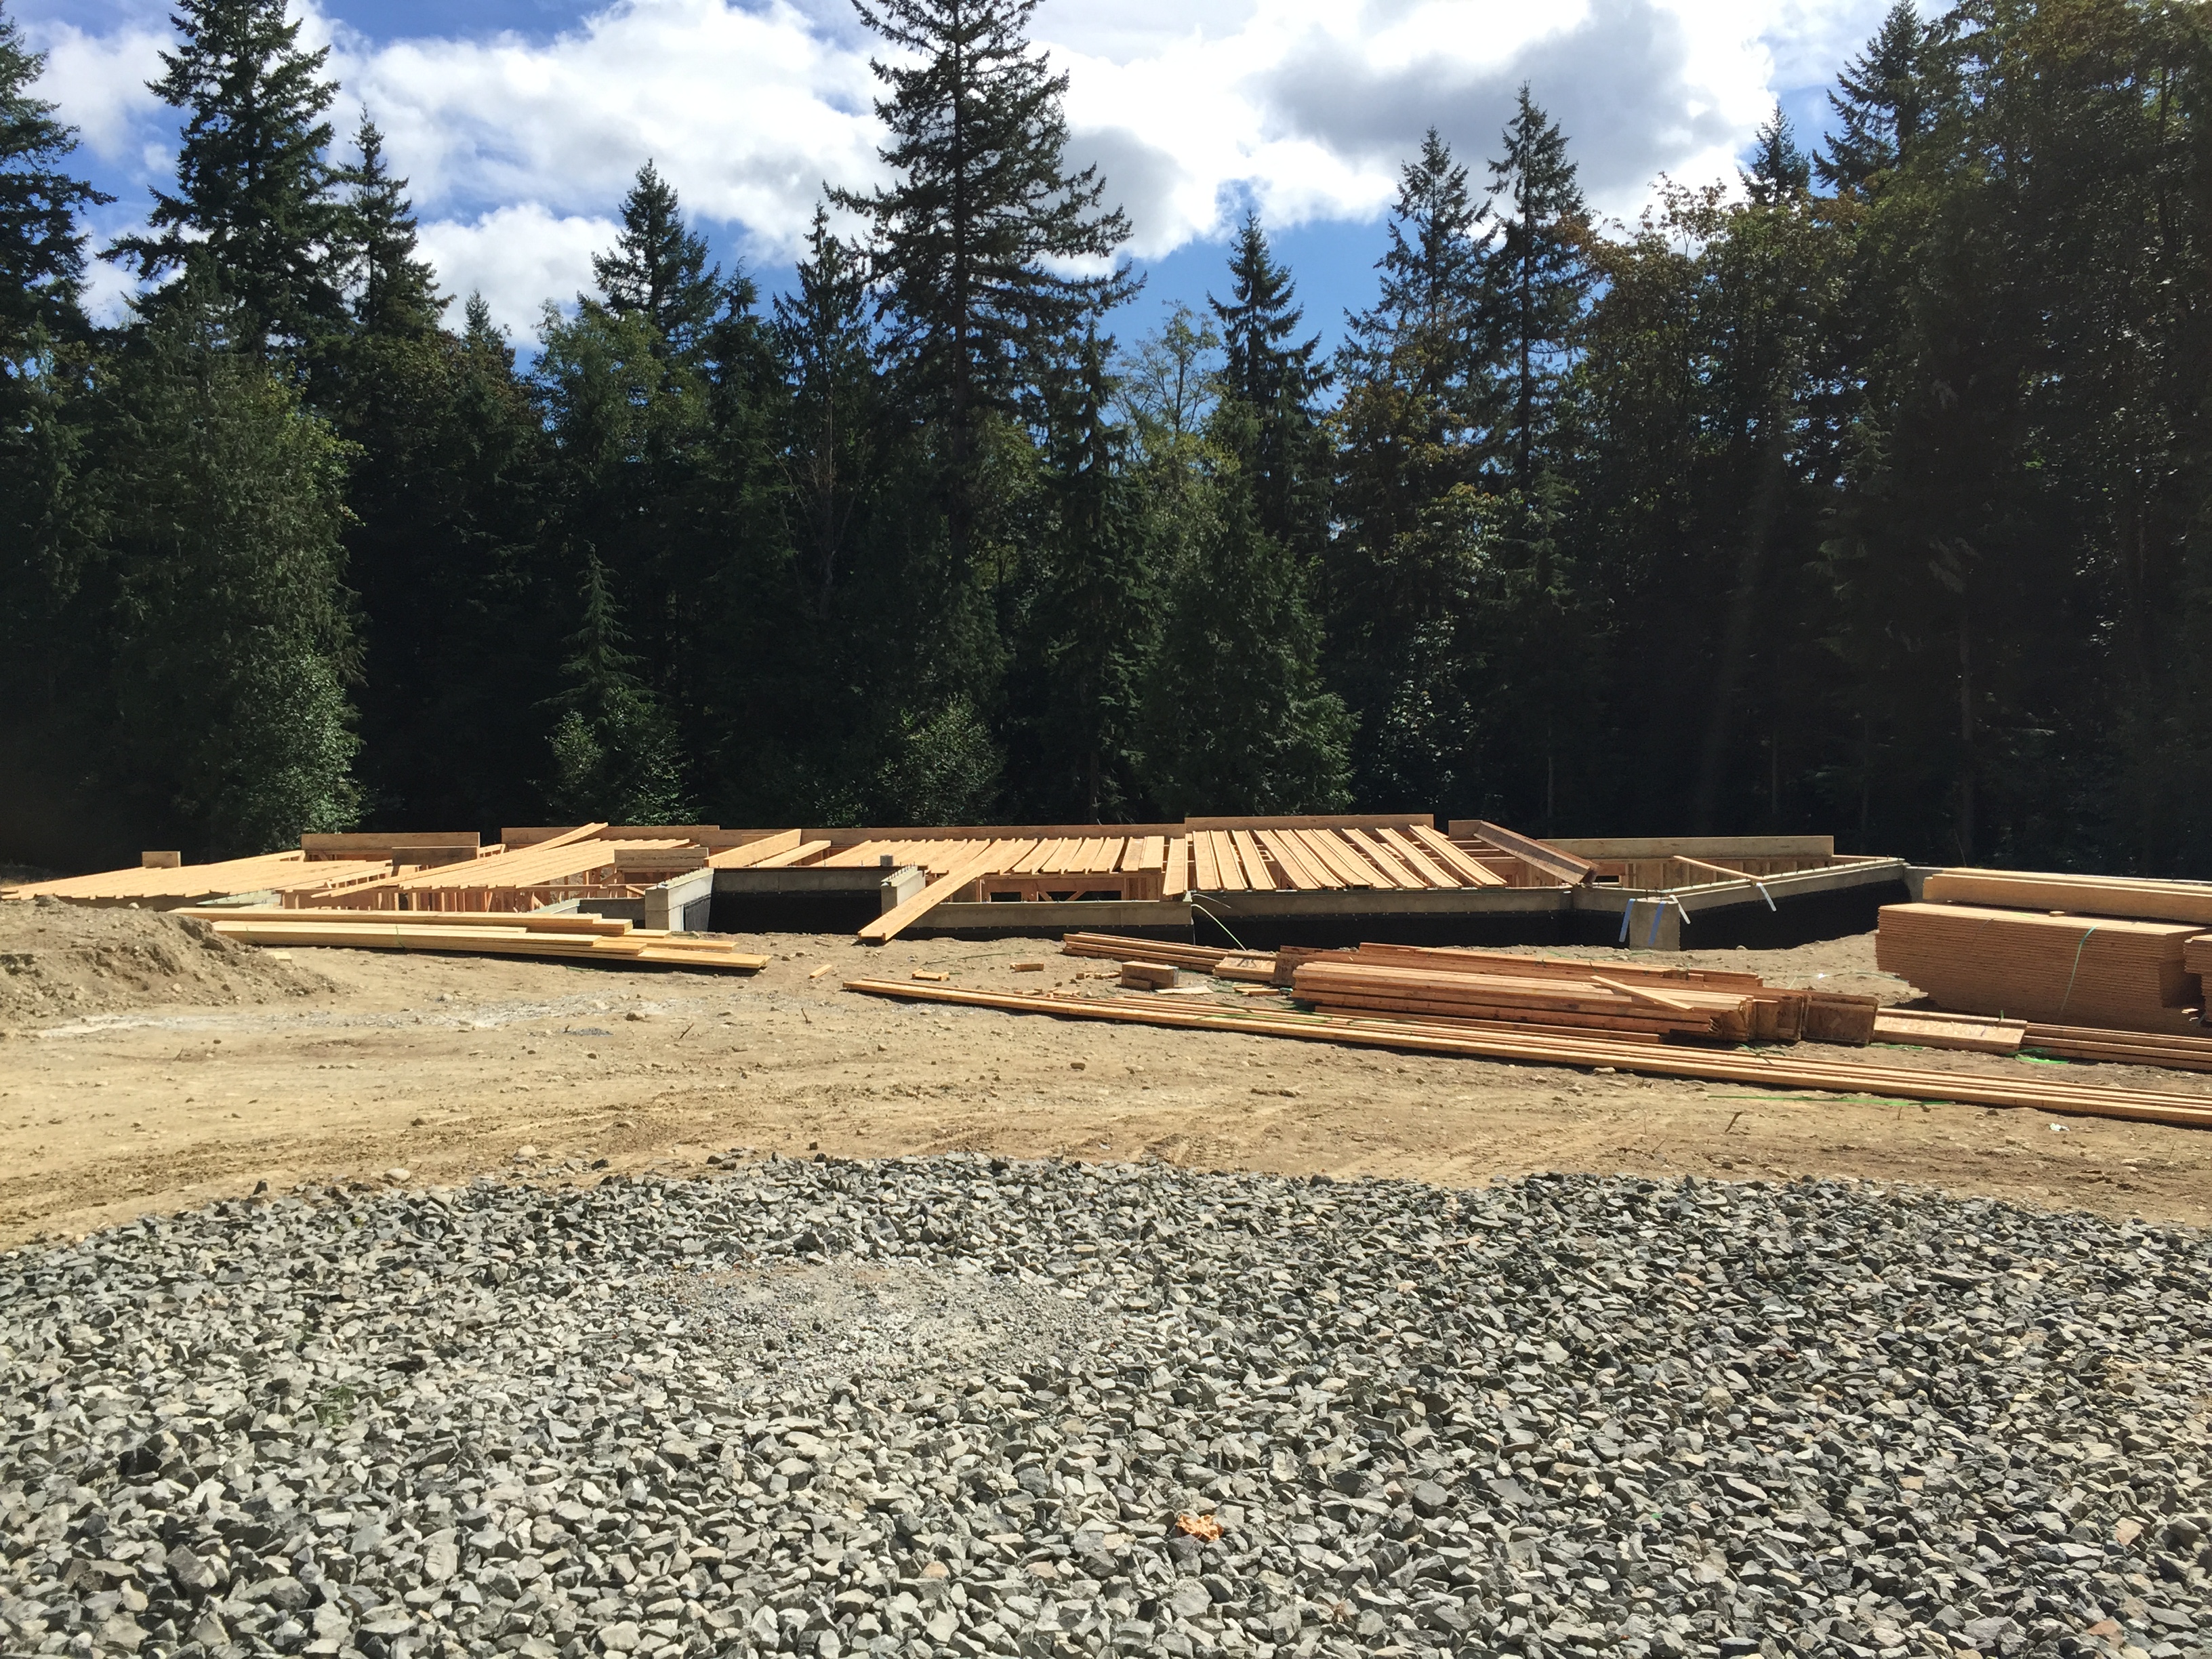
Here’s what the house looks like from our street as you drive up. They’ve already got the trusses laying down, which they’ll be installing the first part of next week. It’ll be crazy to see the main level being worked on next week for sure! Then it’ll actually look like a house from the street!
Here’s a view of what those trusses look like from down below…I’m sure they’ll be standing them up on Monday.


