Week 12: Framing Continues, Trusses Delivered & Fireplace Shopping

This week Matt’s subs worked on more framing of the main level of the house.  The garage was started, more walls were put up around the house and by the end of the week, the trusses were delivered!

The garage framing started this week. We're going to enjoy finally being able to park our cars in the garage and having a space for all of the boys' toys in the extra bay.

The garage framing started this week. We’re going to enjoy finally being able to park our cars in the garage and having a space for all of the boys’ toys in the extra bay.

This will be our staircase, which is located just behind the fireplace in the great room.

This will be our staircase, which is located just behind the fireplace in the great room.

The walls are now all up it the master bedroom. Joel and I think it's the perfect size.

The walls are now all up it the master bedroom. Joel and I think it’s the perfect size.

Here's our master bath. Underneath the big window we'll have our vintage clawfoot tub.

Here’s our master bath. Underneath the big window we’ll have our vintage clawfoot tub.

It was neat to see how they constructed the main focal wall in the great room - first on the ground and then they raise it up.

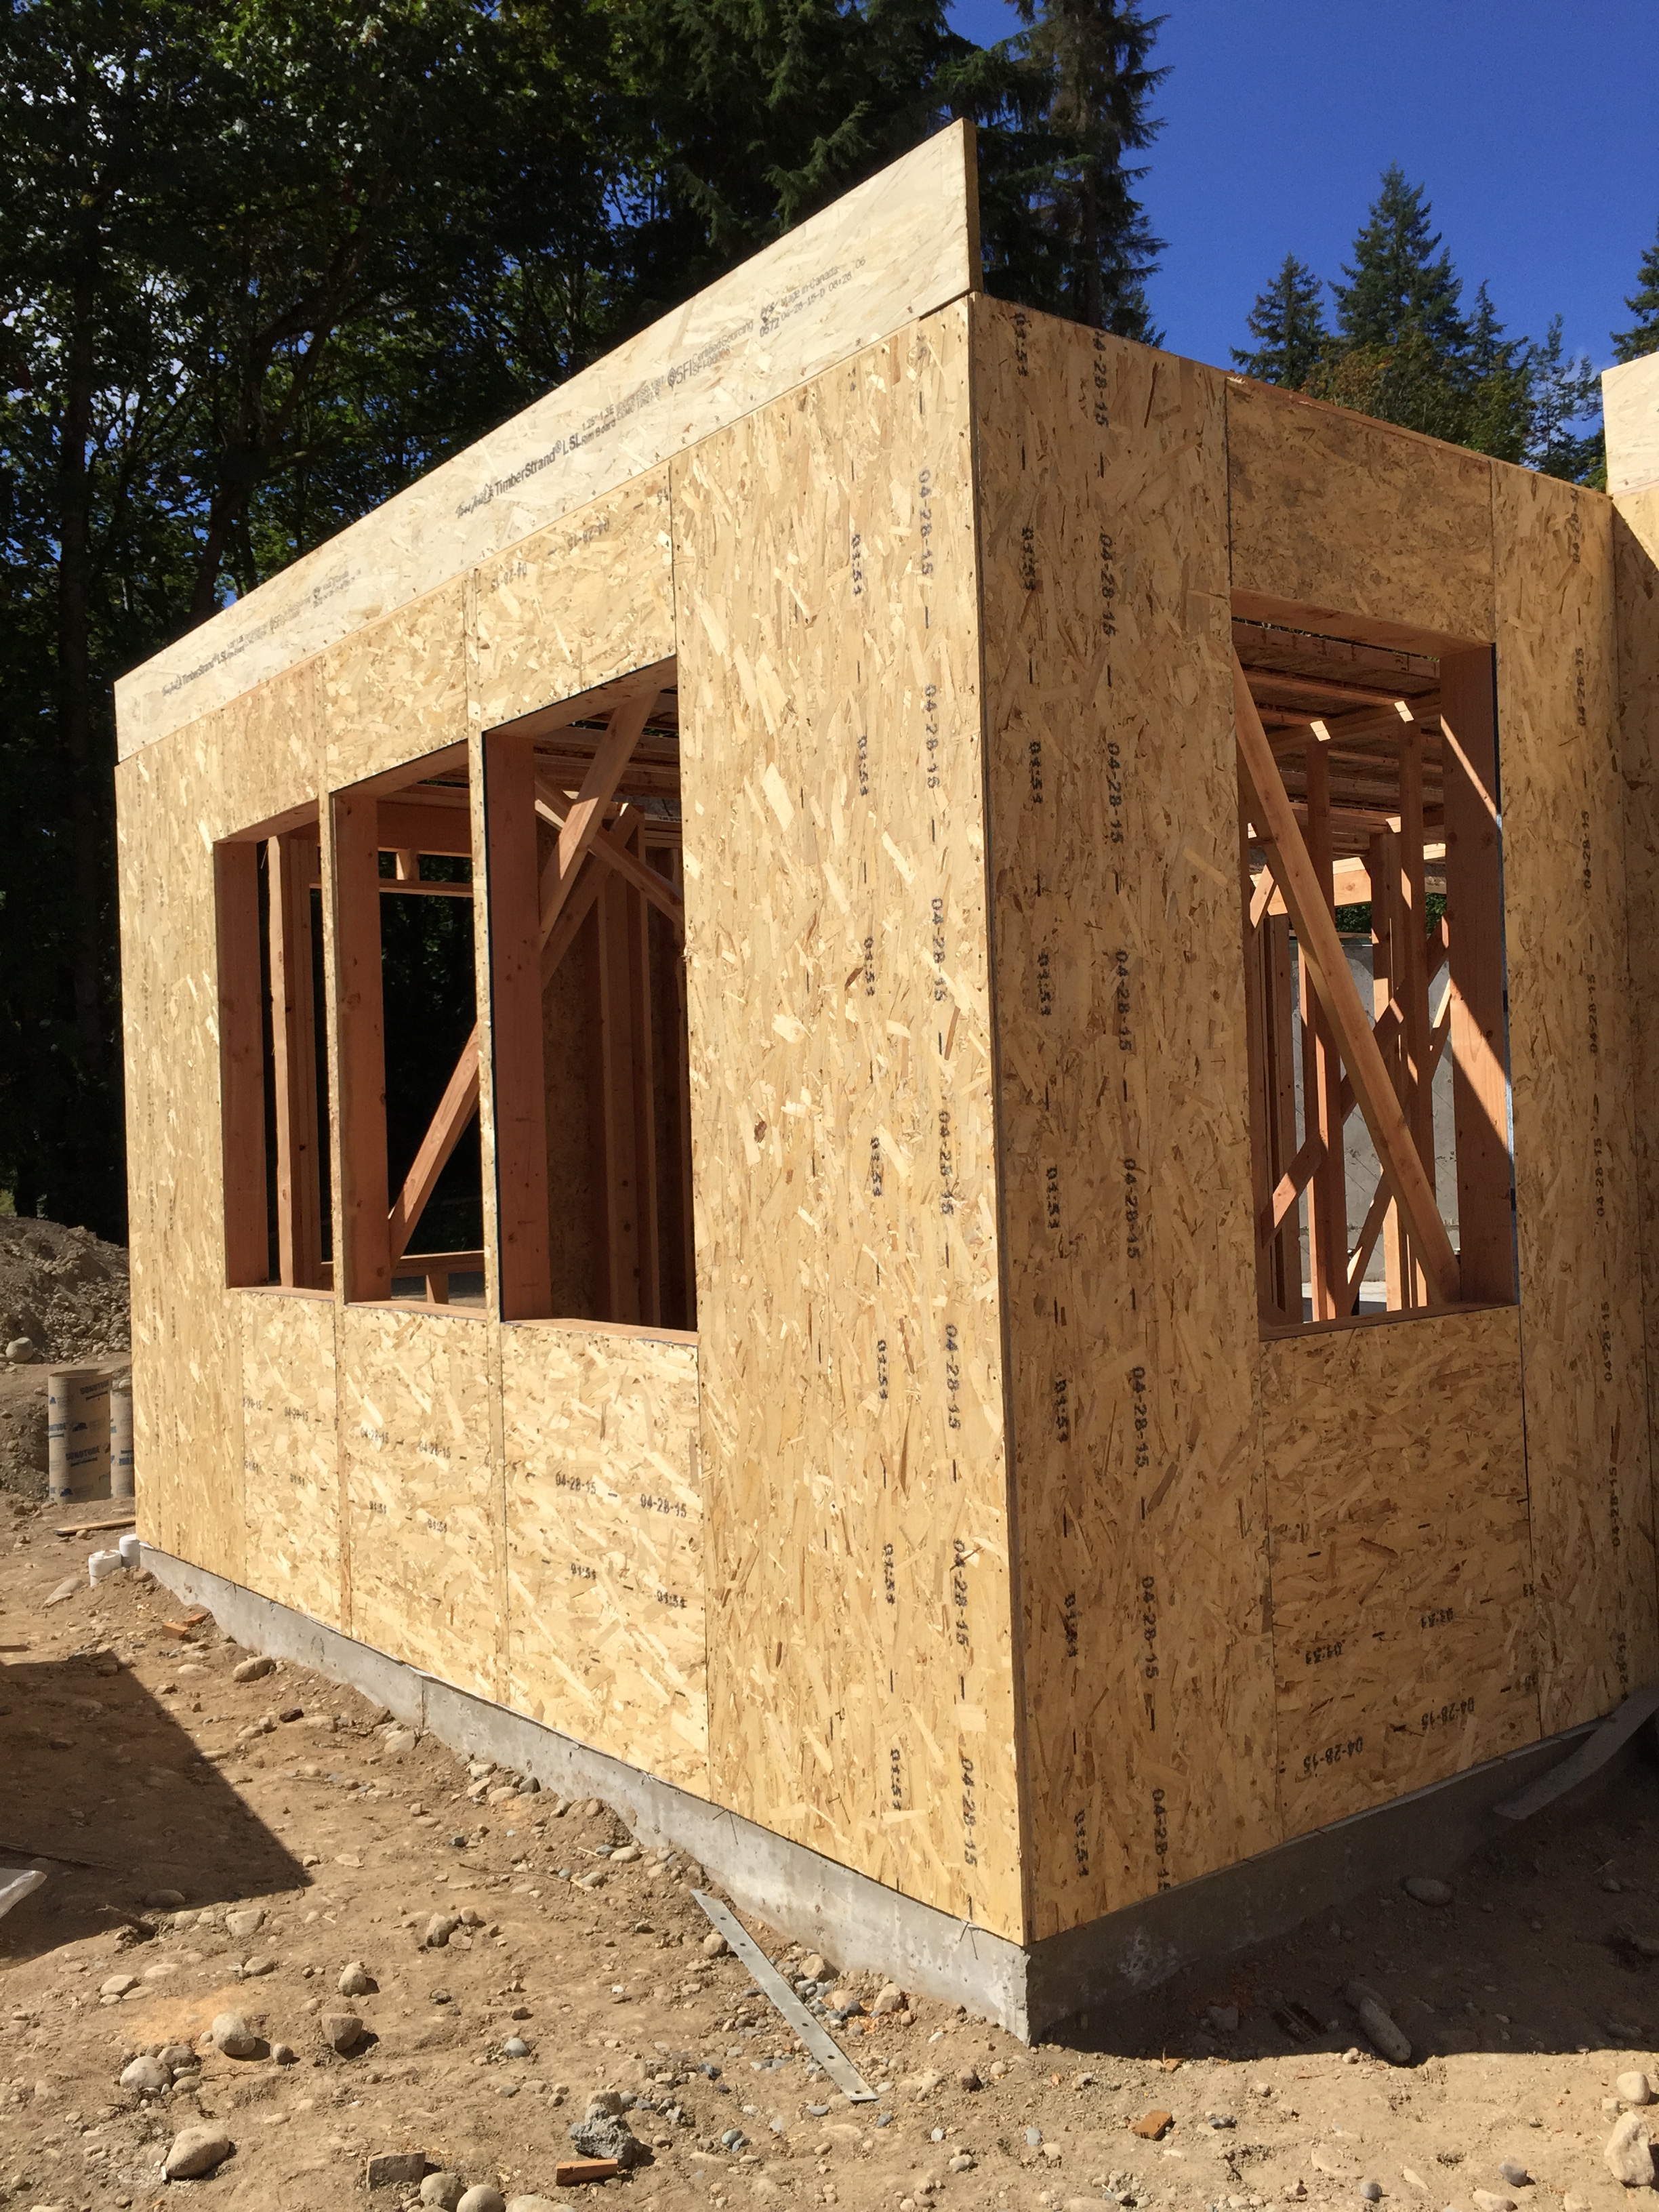
It was neat to see how they constructed the main focal wall in the great room – first on the ground and then they raise it up.

Before the trusses could go on, they braced all of the walls in the house. Now it's so difficult to walk through the house - like a giant spider web of 2x4's.

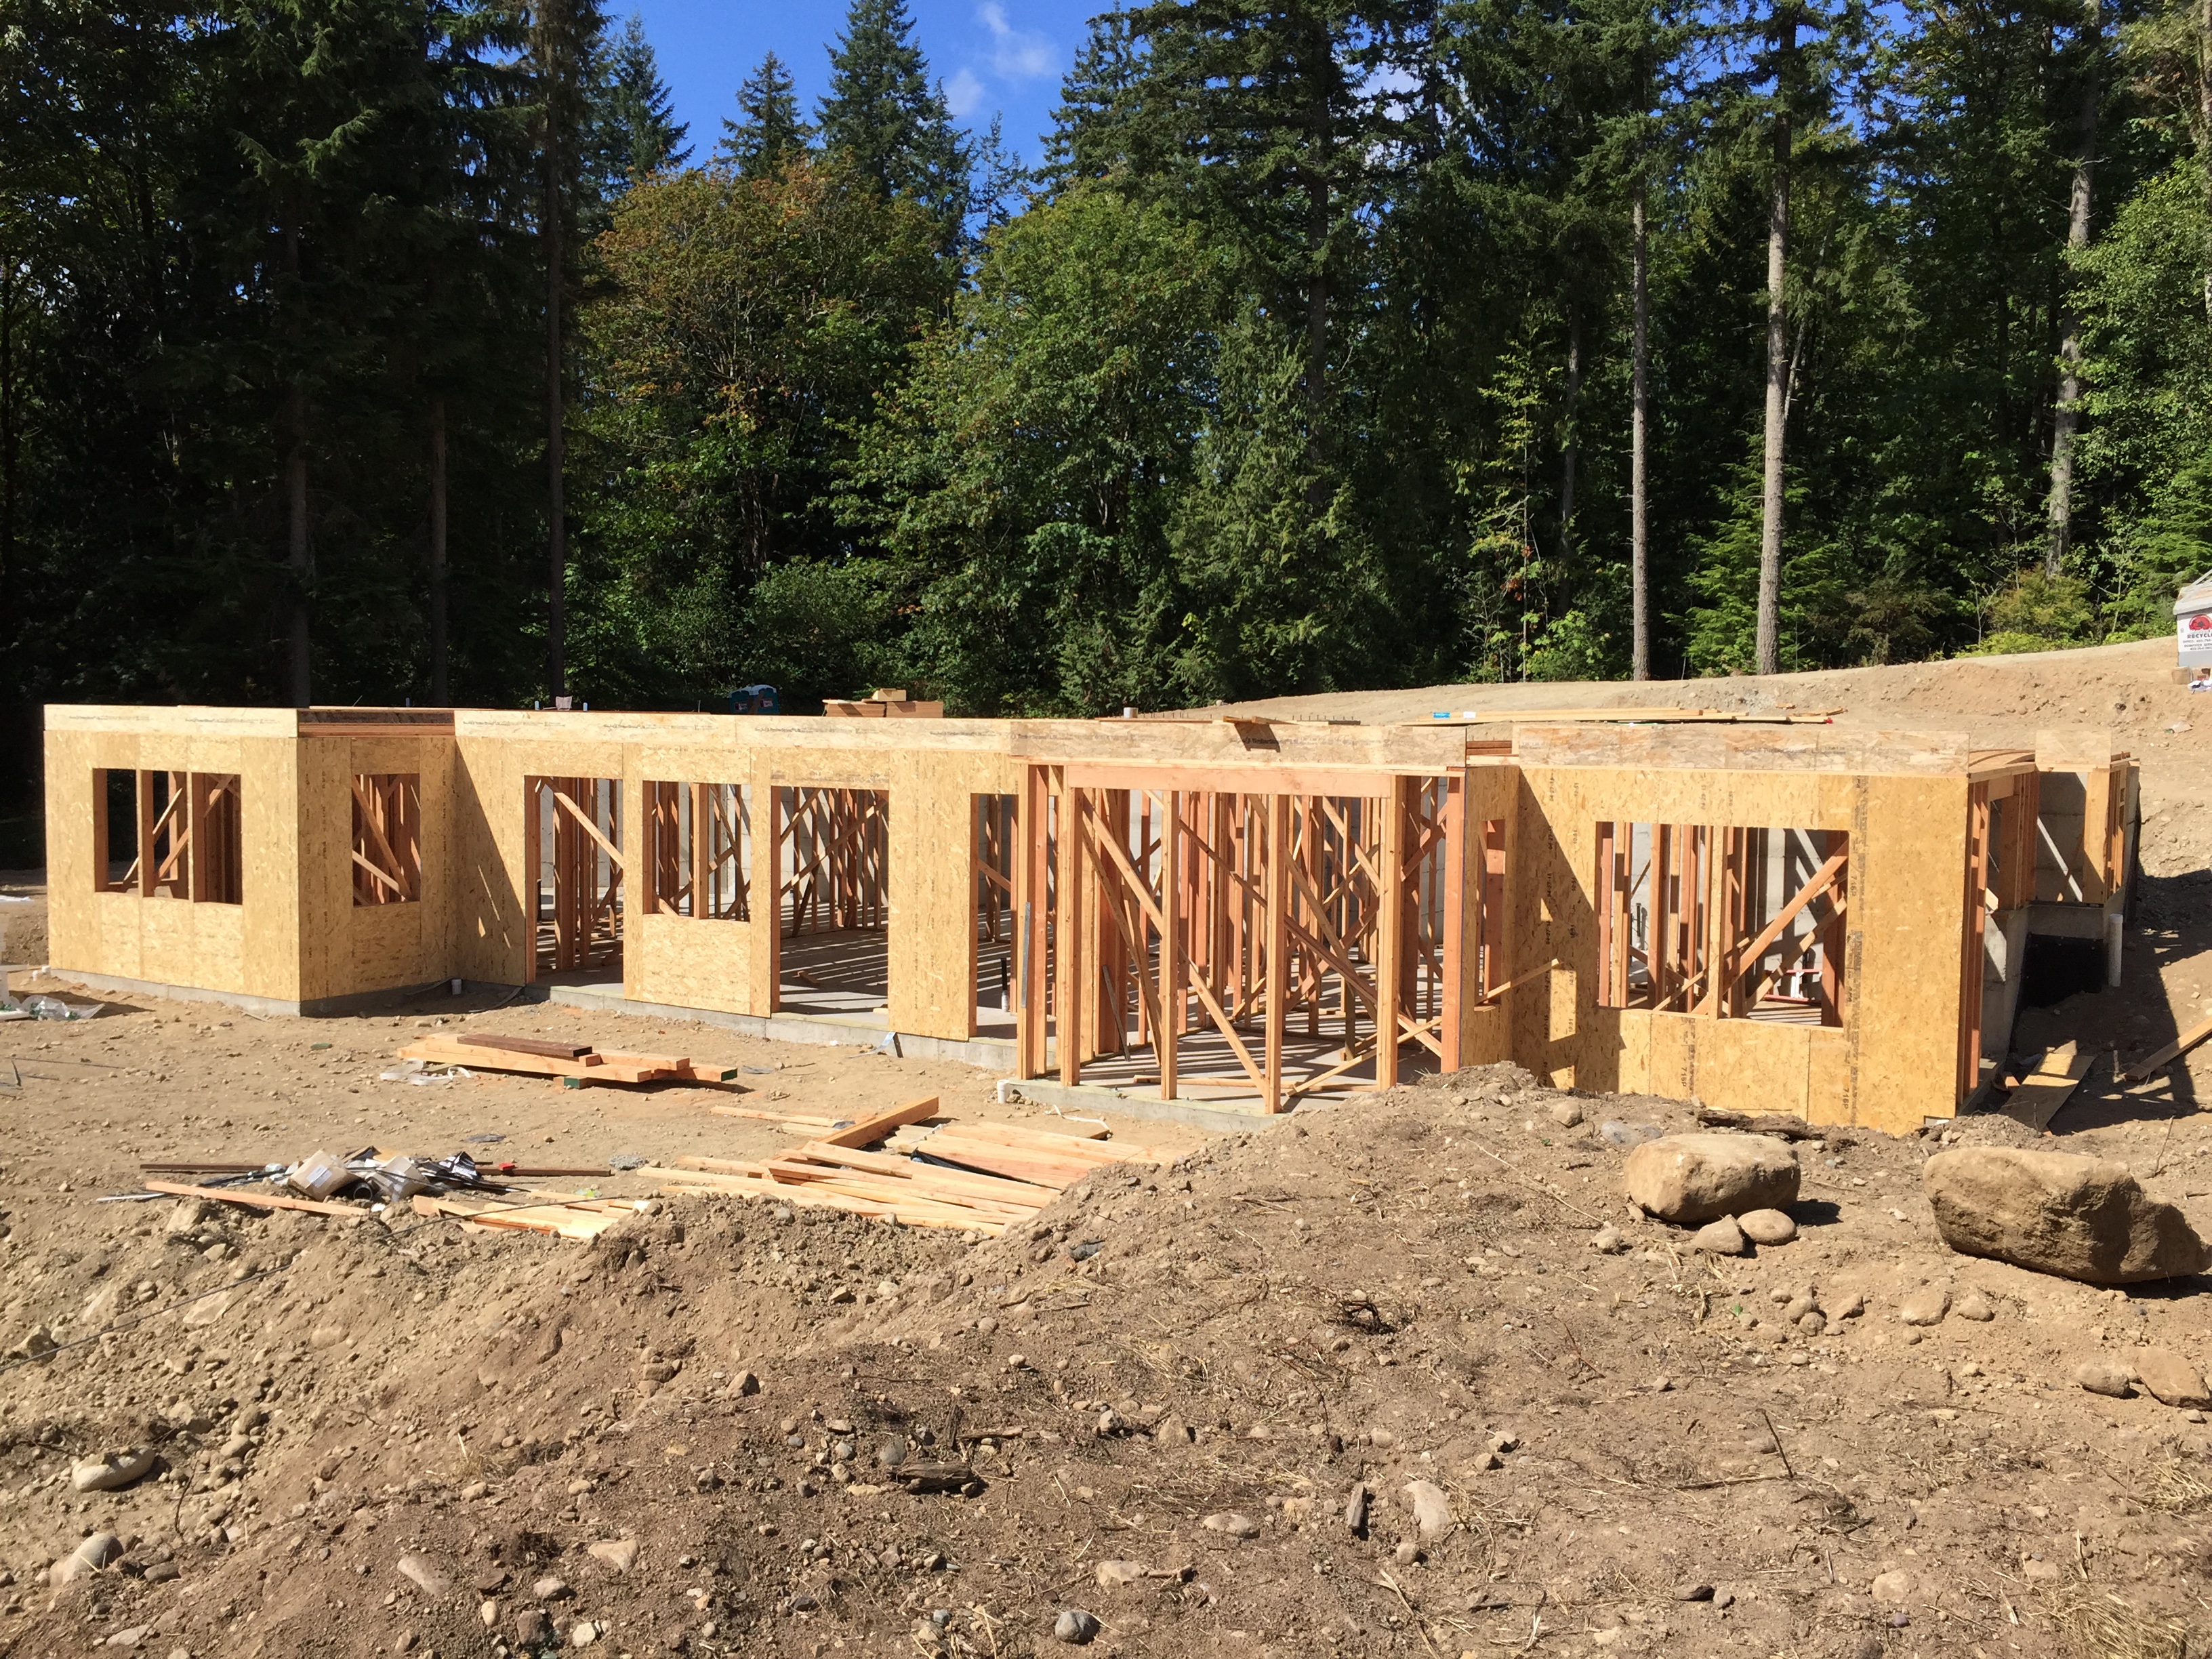
Before the trusses could go on, they braced all of the walls in the house. Now it’s so difficult to walk through the house – like a giant spider web of 2×4’s.

By Friday, two truckloads of trusses were up on the roof! Next week they'll work on standing them upright and in place.

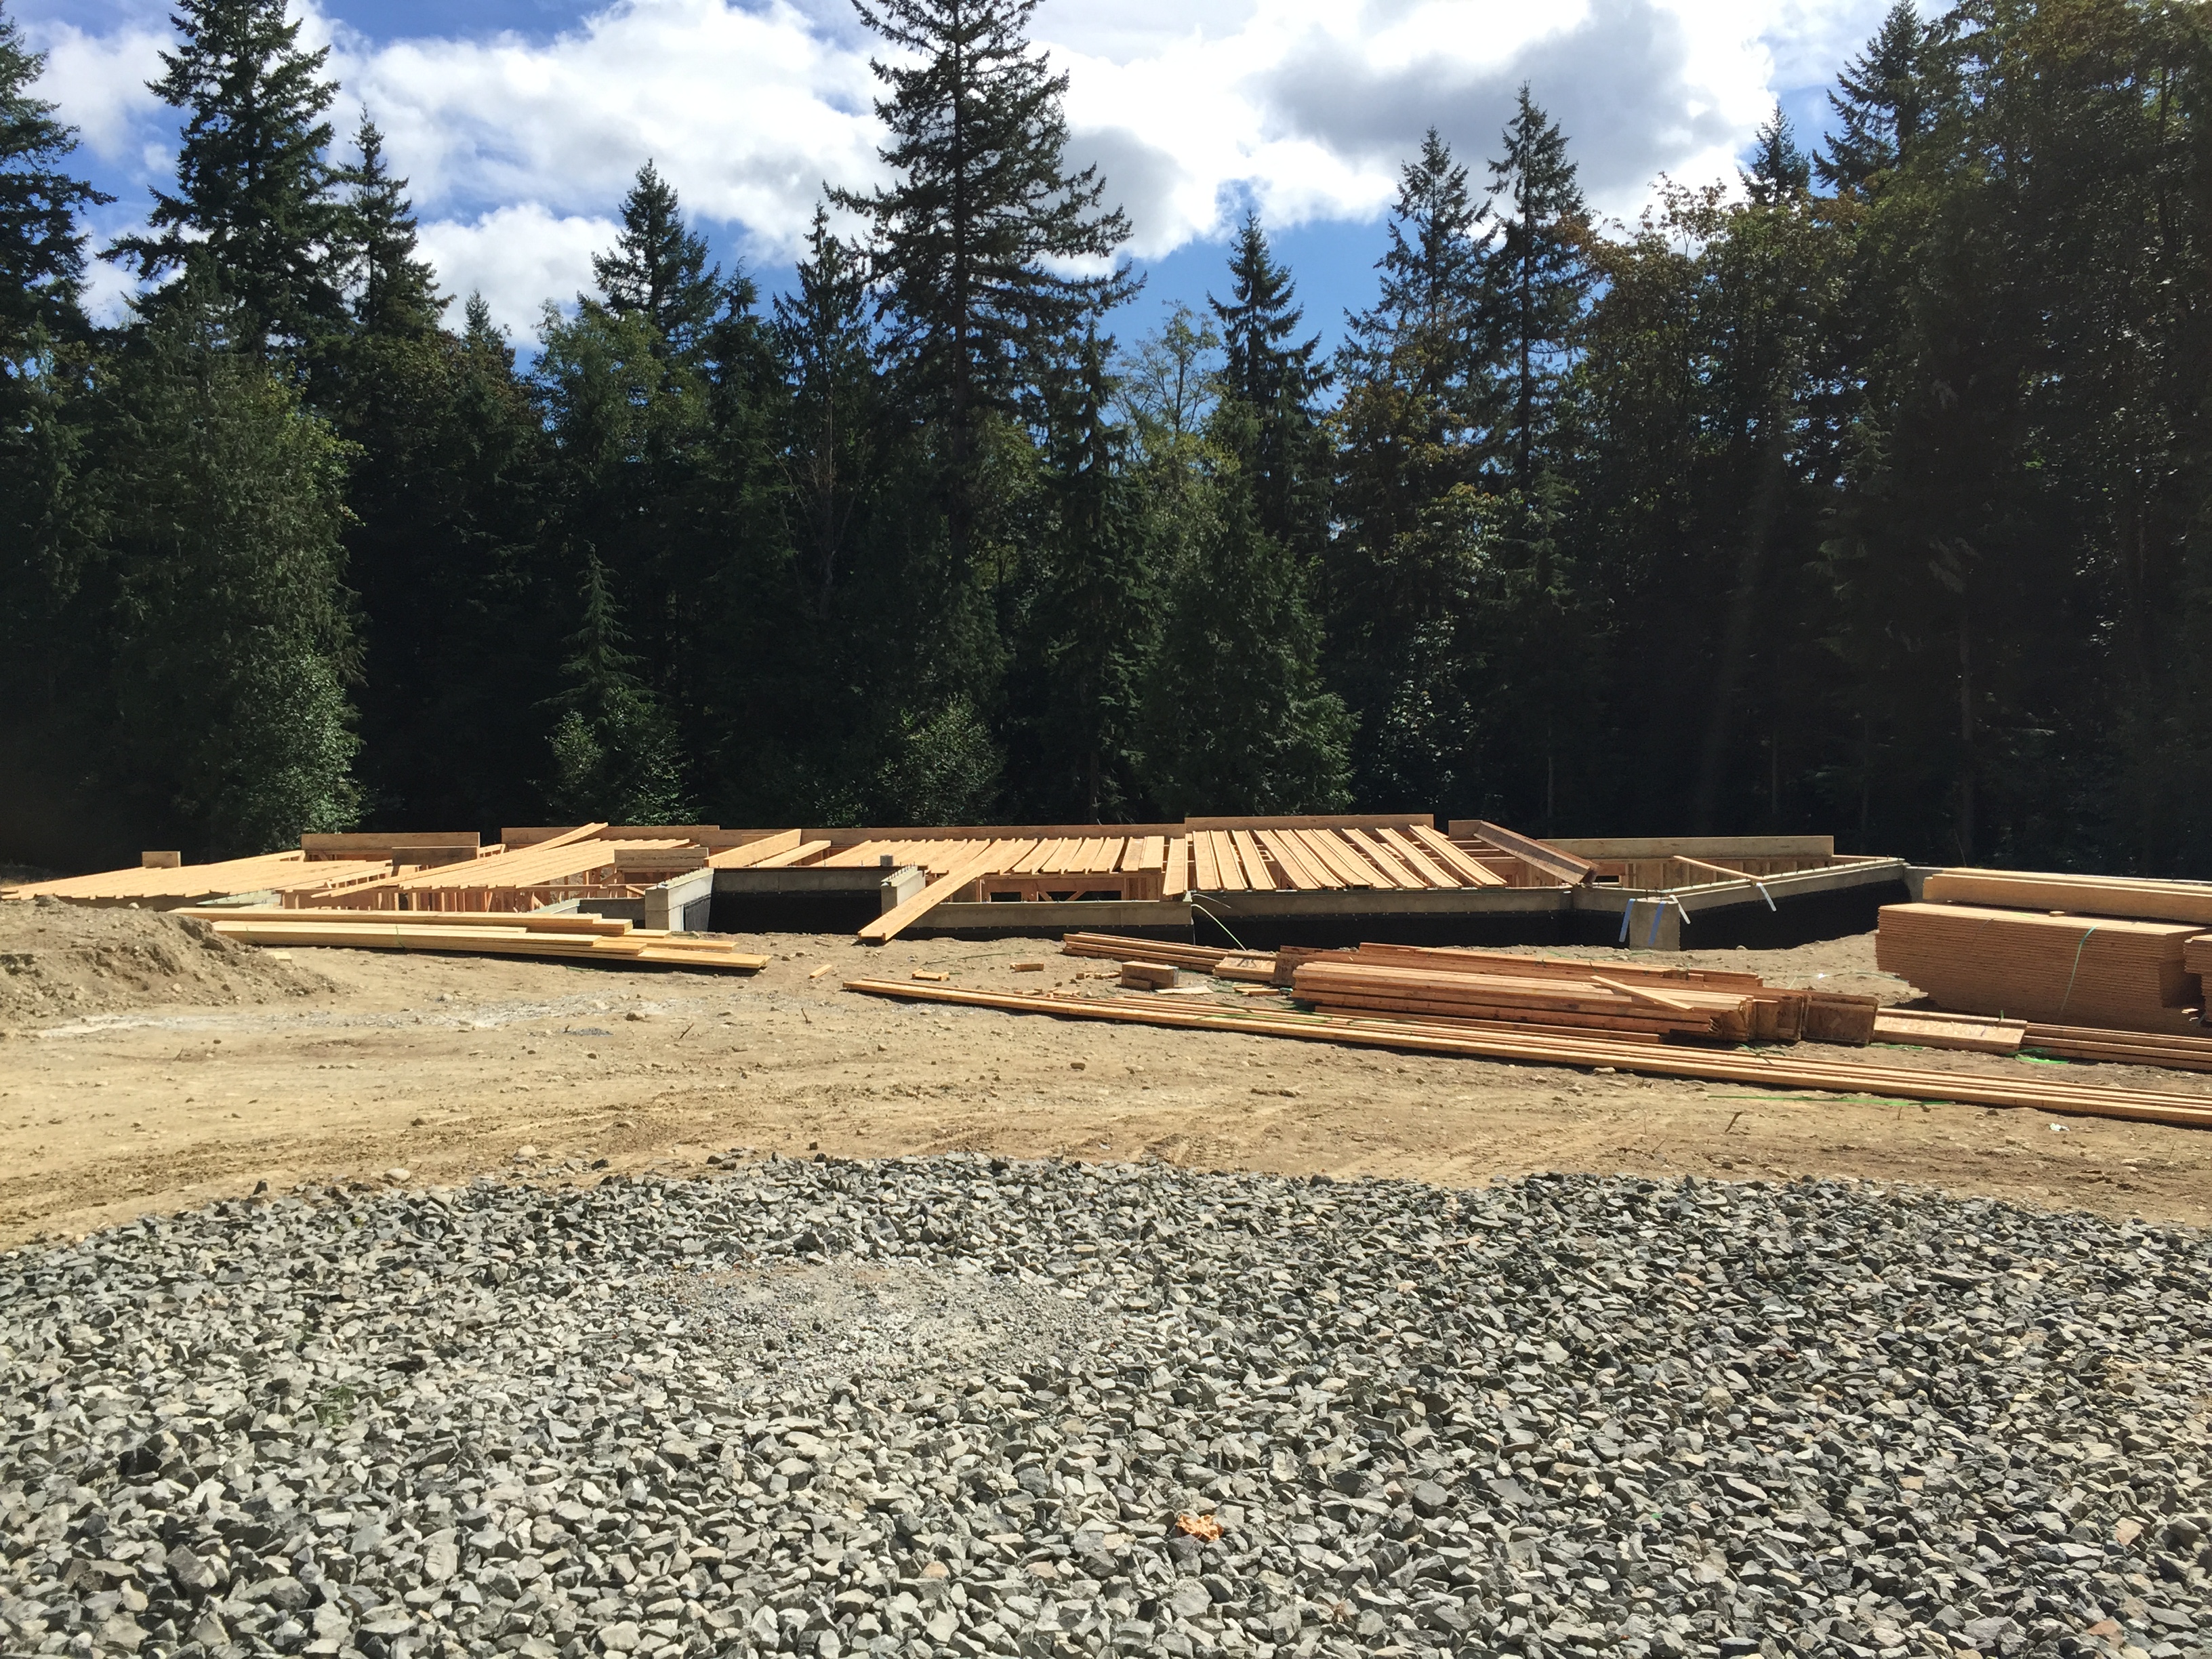
By Friday, two truckloads of trusses were up on the roof! Next week they’ll work on standing them upright and in place.

The great room wall is finally up!

The great room wall is finally up!

Here's what the house looks like from the backyard - really the only view you can see that it's two stories.

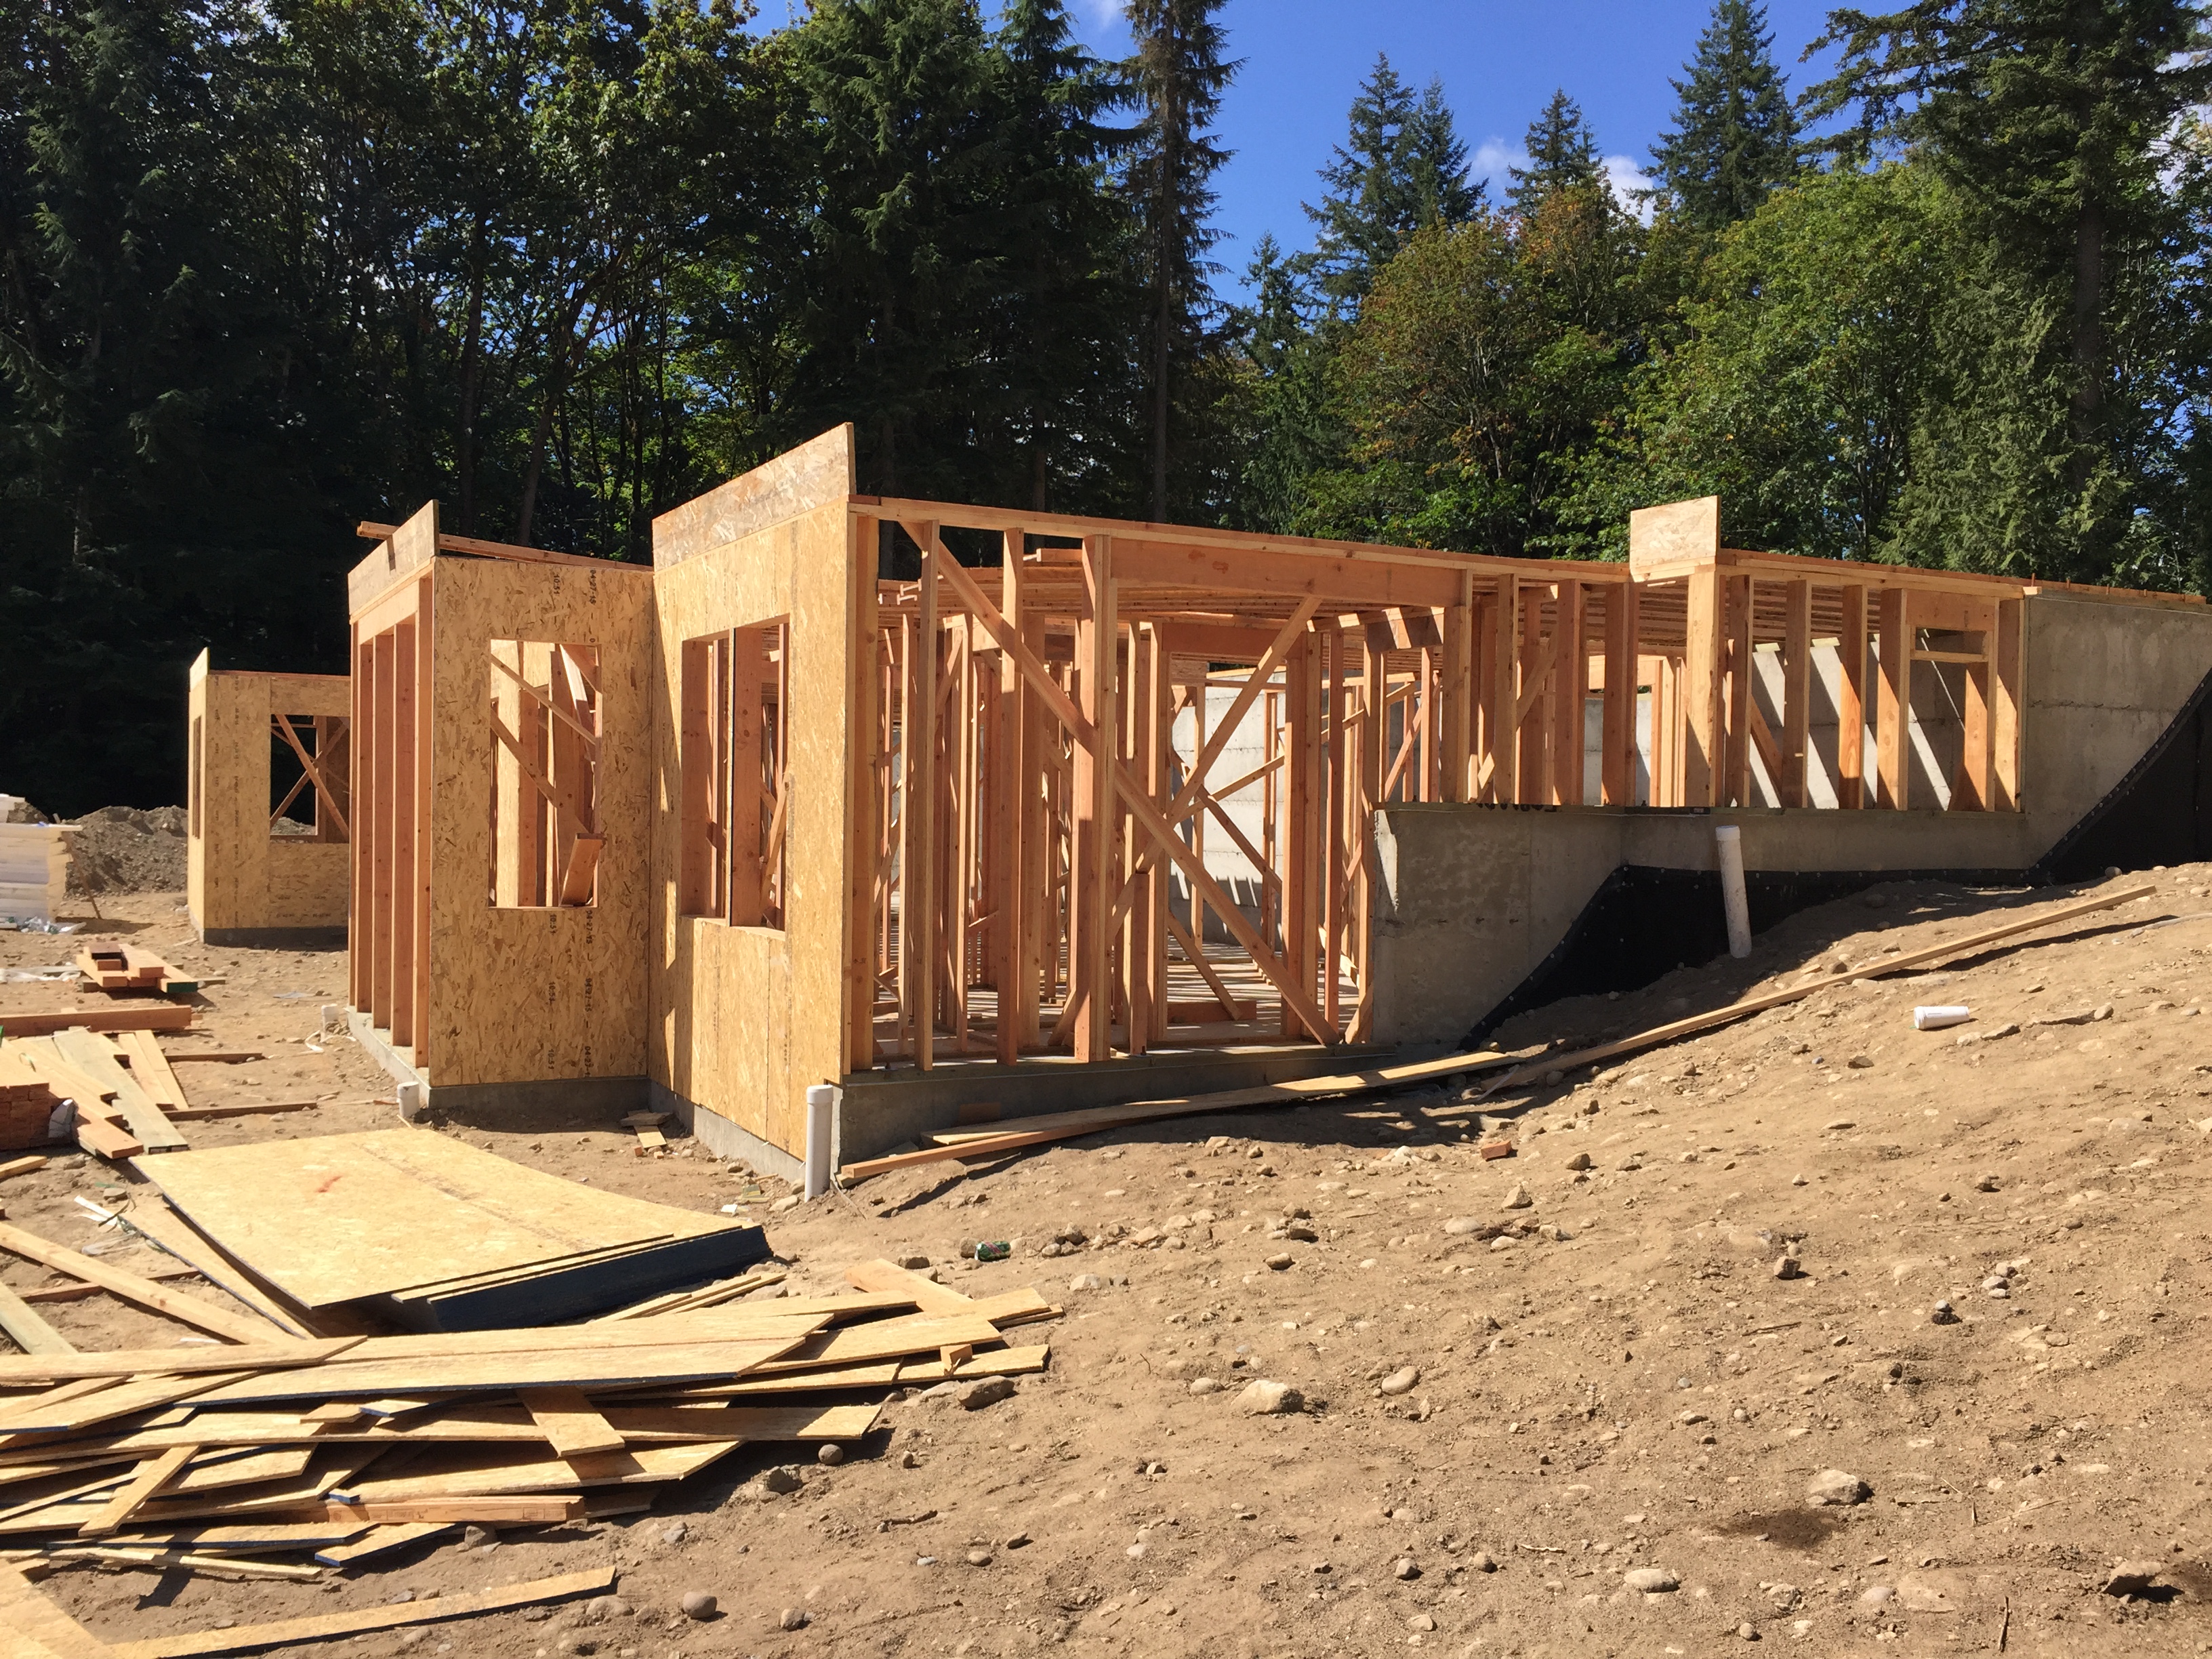
Here’s what the house looks like from the backyard – really the only view you can see that it’s two stories.

Another view of the back of the house.

Another view of the back of the house.

Here you can see what the house looks like from the other end of the house and you can finally see where the windows are going to be on the side of the garage. I still haven't decided if we'll keep those or not.

Here you can see what the house looks like from the other end of the house and you can see where the windows are going to be on the side of the garage. I still haven’t decided if we’ll keep those or not.

Besides all of the work on the house, Matt sent us to pick out a fireplace for the great room.  For the fireplace, I really just want something simple and easy looking.  No fancy arches, iron work, flames, etc.  Just a simple gas fireplace.  Joel and I totally agree on this too – we don’t really use the fireplace, but it’s just something nice to look at and brings in the traditional feel that we want in the great room.  That said, my mom and I went up to Monroe Fireplace which was recommended to us by the builder, but it was a total disappointment.  They only had ONE fireplace that was super simple.  The others all felt like they belonged in a cabin.  And to top it off, the majority of their fireplaces were at the Evergreen State Fair on display!  And honestly, the proportions weren’t great on the one fireplace they had either – it wasn’t very tall.  And I was looking for something more square.

We had some more shopping to do in Kirkland, stopped for lunch, and  then checked out Fireside Home Solutions in Bellevue.  Their showroom was WAY bigger than the one in Monroe and they had three different fireplaces that met what I was looking for!  We ended up choosing the least expensive of the three since the fireplace really isn’t a high priority for us.

We ended up choosing this Heat-n-Glo Slimline. Much better dimensions for our space, very simple and clean looking too.

We ended up choosing this Heat-n-Glo Slimline. Much better dimensions for our space, very simple and clean looking too.

Week 11: Framing the Main Level Begins

This week they started to build the walls for our main level, which was fantastic because now you can see our home start to take shape from the street.  And we’re able to really walk through the space and see how it’s all coming together.  There’s still a lot more framing to do on the first floor, but below are some in progress photos which show pretty much what some of the spaces will end up feeling like.

By the end of the week, there was a TON of progress on the main level!

By the end of the week, there was a TON of progress on the main level!

Our entry!! The top window will end up being arched, and we're also having them start the side windows lower - so those will increase in height.

Our entry!! The top window will end up being arched, and we’re also having them start the side windows lower – so those will increase in height.

This is what the office windows look like from the outside. It faces the street at the front of the house.

This is what the office windows look like from the outside. It faces the street at the front of the house.  We’ll have vaulted ceilings in here.

This will be the eating area in the kitchen. Joel and I love all of the windows, and how much light it will let into the kitchen.

This will be the eating area in the kitchen. Joel and I love all of the windows, and how much light it will let into the kitchen.

This is also in the kitchen - our sink will be centered underneath the three windows and that door opening will lead outside to the deck.

This is also in the kitchen – our sink will be centered underneath the three windows and that door opening will lead outside to the deck.

These are the windows and door to the deck in our master bath. We love the view!

These are the windows and door to the deck in our master bath. We love the view!

Still framing in progress! Lots to do next week for sure. This will end up being the back wall of the great room where we'll have a set of french doors.

Still framing in progress! Lots to do next week for sure. This will end up being the back wall of the great room where we’ll have a set of french doors.

Throughout the build, we’ve been having the cutest deer family visit us!  There’s definitely a male, female, and I think three (maybe four) little baby deer.  So cute!!

The daddy deer!

The daddy deer!

The cute couple hanging out in our backyard!

The cute couple hanging out in our backyard!

Design Changes

Our only design hiccup this week was that the dining room windows were sized to be 11-feet tall at the height of the curve, but the architect spec’d that the ceiling height in the dining room also be 11-feet!  Eeek, that can’t happen!  So I spent a few hours Tuesday night fixing it and coming up with the plan below.  I ended up having to adjust both the dining room and the entry windows to make it all work. But I think it’ll turn out great!  And bonus, we were able to get rid of the vaulted ceiling in our foyer which I was never a huge fan of anyways!

I changed the entry and dining windows this week to work with the 11' ceiling height.

I changed the entry and dining windows this week to work with the 11′ ceiling height.

Week 10: Floor Joists & Door Delivery

Compared to last week when the majority of the framing was done for the downstairs, this week definitely seemed less eventful.   By week’s end they had installed all of the TJI’s joists and beams on top of the downstairs as well as installed all of the plywood sheeting.  This was pretty important because now they’re able to backfill completely around the house.  Besides backfilling, the sitework guys also started graded out a bit more of the front yard, back yard and the trench for the waterlines running from the well.

It doesn't look like much, but the floor system is now in place and the house has been completely backfilled.

It doesn’t look like much, but the floor system is now in place and the house has been completely backfilled.

Here's a shot of the little bulldozer they used for some site grading this week.

The little bulldozer they used for some site grading this week.

They also started on the trench for the water lines.

They also started on the trench for the water lines.

The really fun part was that they snapped all of the lines for the first floor on top of the plywood so you and we could start to get an idea of the outlines of each room.  It’ll be really fun once the first floor framing is done and we can really walk through each room!  But for now, it’s a start and nevertheless is pretty neat to be able to do.

The upstairs wall lines are all laid out and we can start to get an idea of what the first floor will feel like.

The upstairs wall lines are all laid out and we can start to get an idea of what the first floor will feel like.

Besides construction we also got delivery of the doors for our new house.  We bought these outside of our construction contract because we got a great deal through my cousin’s work.  On Saturday, we unloaded all of them into the office in our house.  There’s 54 doors in the house (although 3 of them are dutch doors so it felt like we moved 57 of them), they’re all solid fir (some with glass) and it’s nuts how much some of them weigh.  Some of the exterior ones are crazy heavy – probably because they’re 8 feet tall.  So, here’s where they’ll stay – in our office until they’re ready to be painted, framed and installed.  I have a feeling we’re going to have them here for a long time!

Our doors were delivered - and now they're being stored in our office.

Our doors were delivered – and now they’re being stored in our office.

Here's a few of the inspiration pictures that I used when I ordered my doors.  Not exactly what I ordered, but pretty close!

Here’s a few of the inspiration pictures that I used when I ordered my doors. Not exactly what I ordered, but pretty close!

Week 9: Lower Level Framing has Begun

This week marked a huge milestone with the completion of the foundation and basement slab and the beginning of framing.  Big deliveries of the lumber for our house too!  We opted to use Douglas Fir which is regarded as the highest standard for framing material – all other woods are measured against Douglas Fir because of its high strength, stability values, and excellent performance against strong wind forces.  Did you know Douglas Fir isn’t actually a true fir tree?  It’s scientific name “Pseudotsuga” actually means “false hemlock”…how strange is that?

Anyhow, the builder’s standard would have been to use a Hem-Fir which is a combination of lumber from western hemlocks and true firs (nobles, grand, pacific silver, etc).  Hem-Fir has a lower strength value than Douglas Fir, but it’s still capable of meeting the engineer’s span requirements.  So Hem-Fir would have suited our building needs, but my dad insisted that we upgrade to Douglas Fir.  Dad knows best, huh?!  He thinks we’ll end up with straighter and stronger walls.  Stronger walls…maybe. That was the case with ‘old growth’ Douglas Fir – which isn’t really around anymore.  Everything now is fairly ‘young’ and our builder thinks that now there’s not much of a difference in strength between Hem-Fir and Douglas-Fir lumber.  In any case, we opted for the upgrade to the stronger Douglas Fir.

Lumber was delivered to the property this weekend.

Lumber was delivered to the property this weekend.

Each piece of lumber has a stamp on it which describes the wood species, grading, and processing.  Here's an example of ours.

Each piece of lumber has a stamp on it which describes the wood species, grading, and processing. Here’s one of ours.

Also delivered was a lot of the material needed for the floor system between the two floors.  This includes our plywood, TJI joists, and some laminated strand lumber needed in certain spots.  Our engineer spec’d for us to use 110 TJI’s at 24″ on center spacing with 3/8″ plywood sheeting for the subfloor, but we opted to use 210 & 560 TJI’s at 16″ on center spacing with 1 1/8″ plywood sheeting.  So we’re using stronger TJI joists, at a closer spacing, and with thicker plywood – this results in a much stronger floor system, without any deflection or ‘bounciness’ in the floor.

A lot of the lumber for the house was delivered this week!

Even some of the material for the flooring system between the main and lower levels were delivered, including our 1 1/8″ tongue & groove plywood subfloor, Laminated Strand Lumber (LSL’s) and our TJI joists.

Ok, to the fun stuff…the guys started framing the house last Saturday, by snapping lines and prepping for the sill plates.  It’s amazing to see the amount of work they can get done in just one week.  The majority of the basement walls have been framed and you can walk through each of the rooms now.  After working on designing the house for a year, it’s crazy to see it actually taking shape and being able to walk through all of the rooms.  Now that we can walk through them, all of the rooms’ dimensions feel really good – I don’t think any of the rooms feel too small (which I was a little worried about in the guest room).  And the only space that feels big is the storage room downstairs – I guess that’s expected though since it’s 620 square feet!  It’s going to be so nice to actually have some storage in a house – we were definitely missing that in our old house and our garage was always filled with ‘junk’ (as Joel says), like Christmas decorations, patio furniture, and camping gear.  And now that we added a door to the backyard into the storage room we’re really going to be able to access it easily.  Super excited for that space!

Check out our lower level!  It's so awesome to see it go up and be able to walk through it now!  Absolutely surreal!

Check out our lower level! It’s so fantastic to see it go up and be able to walk through it now!

It's so awesome to walk down the property and see the house!  This is looking south at the house, which is Spencer's room on the corner.

It’s so awesome to walk down the property and see the house! This is looking south at the house, which has Spencer’s room on the closest corner.

Here's 4 out of 5 of the windows in the guest room.

Here’s 4 out of 5 of the windows in the guest room.

This is a good look at what it'll feel like in the downstairs rec room.  All said and done, there will be two double doors with a pair of windows in between them.

This is a good look at what it’ll feel like looking out of the downstairs rec room. All said and done, there will be two double doors with a pair of windows in between them.

Here's the framing so far in the boys' playroom.

Here’s the framing so far in the boys’ playroom.  There will be a couch to the right and a TV & art center on the left wall.  The boys’ bathroom is straight ahead and bedrooms are in the far right corner.

Here's what the house looks like from the road as you drive up - so much progress this week!

Here’s what the house looks like from our street as you drive up.  They’ve already got the trusses laying down, which they’ll be installing the first part of next week.  It’ll be crazy to see the main level being worked on next week for sure!  Then it’ll actually look like a house from the street!

Here's a view of what those trusses look like from down below...I'm sure they'll be standing them up on Monday.

Here’s a view of what those trusses look like from down below…I’m sure they’ll be standing them up on Monday.

Week 8: Basement Slab & Passed our Well Report

This week flew by fast, and it was awesome to see the progress on the house.  At the beginning of the week they were busy working on backfilling and grading around the house, and installing the plumbing lines that needed to be in the basement slab.  I was there on Tuesday morning to talk with Matt about some of the site grading and already they were testing the plumbing to ensure there wasn’t any leaks in the pipe network.  To do this they ran a garden hose from our well up to the house – how crazy is it that we’re already using the water!?!

Here's what the house looked like at the start of the week.

Here’s a panoramic of what the house looked like at the start of the week.

Most of the backfilling around the basement had been done by now, and it's pretty awesome to see the backyard grading start to take shape.

Most of the backfilling around the basement had been done by now, and it’s pretty awesome to see the backyard grading start to take shape.

Here's Cameron, standing in the garage with it backfilled part of the way - he'll never get to do that again!

Here’s Cameron, standing in the garage with it backfilled part of the way – he’ll never get to do that again!

A good amount of site grading occurred this week.  A bit more heavy equipment was on site.

A good amount of site grading occurred this week. A bit more heavy equipment was on site.

All of the plumbing that had to be run in the basement slab was installed.

All of the plumbing that had to be run in the basement slab was installed.

Speaking of that, Matt brought a sample of the well water to AMTest Laboratories for bacterial testing.  With a $10 upgrade for overnight results, on Tuesday we received the word that our water passed – no amounts of bacteria were present!  Such a relief, because that test result coupled with our well log meant that we had our source of water and the bank would be able to now allow us to draw on our construction loan.  Phew!  I also dropped off some more water to test for a complete scan which will include testing for nitrates, arsenic, ph levels, etc.  Those results will be back in two weeks.

Check out Cameron with the water coming out of the well...like a fire hose!

Check out Cameron with the water coming out of the well like a fire hose!

Our well log - finally!  This well log + bacterial test results on the water = construction funding!

Our well log – finally! This well log + bacterial test results on the water = construction funding!

Every day there seemed to be a bit of progress, but it felt like it really moved along towards the end of the week.  On Wednesday and Thursday they were leveling out the gravel in the slab, installing the vapor barrier and the rigid foam insulation over the entire slab.

Here you can see the vapor barrier (black plastic) and a bit of the rigid foam insulation which is installed underneath the concrete slab.  To meet King County's energy codes, we opted to install R-10 insulation underneath our entire slab.  That'll also help keep the boys' toes toasty in the winter.

Here you can see some of the vapor barrier (black plastic) and a bit of the rigid foam insulation which is installed underneath the concrete slab. To meet King County’s energy codes, we opted to install R-10 insulation underneath our entire slab. That’ll also help keep the boys’ toes toasty in the winter.

R-10 rigid foam insulation all stacked up before it was installed

R-10 rigid foam insulation all stacked up before it was installed

Friday was when all of the fun happened though.  Our oldest, Cameron, had a soccer tournament all day, so I took the day off of work to be the ‘soccer mom’ and drive him up to Burlington.  But we didn’t have to leave for the first game until 10:30am, so we went out to check out the construction going on – and it was so much fun.  They were pouring basement slab on Friday so we really got to see a lot of great construction going on.  My dad even met us out there (actually got there before we did) and we all hung out for a couple hours.  Cameron had a blast and a ton of questions too!

We talked to the slab guy (Jeremy) a bit and he said that because it’s been so hot (95 degrees) out, he added in a retarder to slow down the concrete curing.  If concrete cures too fast, it will crack, and even though they started pouring at 8am, it takes at least a full 24 hours for the main curing to occur, so the afternoon heat could have really done some damage.  To help it stay cool even longer, in the early afternoon they sprayed water all over the slab to saturate and cool it down.  Without slowing down the curing, the concrete will dry (and crack) before gaining it’s full tensile strength.

The concrete and pump trucks were situated up by the road with the arm of the pump truck reaching over the basement wall.

The concrete and pump trucks were situated up by the road with the arm of the pump truck reaching over the basement wall.

Here's the pump truck - you can really see how uneven and sloped our future driveway is right now!

Here’s the pump truck – you can really see how uneven and sloped our future driveway is right now!

The arm on the pump truck was so big!

The arm on the pump truck was so big!

The crew worked so quickly and so well together - each of them had different jobs and it was really neat to watch how orchestrated the pour was.  You can tell they had all been working together for a while and really knew what they were doing.  They were making it look easy - but it was definitely hard work.

The crew worked so quickly and so well together – each of them had different jobs and it was really neat to watch how orchestrated the pour was. You can tell they had all been working together for a while and really knew what they were doing. They were making it look easy – but it was definitely hard work.

My dad came out and watched the slab pour too - it was fun having him there.

My dad came out and watched the slab pour too – it was fun having him there.

The final product!   Very exciting to have it done!!!

The final product! Very exciting to have it done!!!

Quick Design Changes

At the last minute, just before the plumbing went in, I shifted the wall between the guest shower and the tech closet to increase the size of the guest shower.  Hopefully it feels roomier in there (and there’s less splashing outside of the shower since I don’t want a shower door.  Other than that, Matt shifted a wall in the boys’ bathroom because the exterior foundation wall was longer than our architect had planned, and that created a thicker exterior wall.  Instead of shrinking the boys’ shower size (which wasn’t very big to begin with), he reduced the walking space by the sinks from 3’6” to 3’0”.